{
    "lazyNodes": false,
    "abFitnotesFlag": false,
    "abCrawlReviews": true,
    "productOptionsCookie": false,
    "orderDelayFlag": false,
    "skipSessionCookie": false,
    "covidMessage": false,
    "fullTitleCookie": false,
    "nrLoggerCookie": true,
    "checkoutReviewCookie": false,
    "productOptionSeqCookie": false,
    "maintenanceFlag": false,
    "bufferETACookie": false,
    "multiShippingDiscountFlag": false,
    "newFitmentFlag": false,
    "surveyOptInFlag": true,
    "crossSellFlag": false,
    "skuMappingFlag": false,
    "paySplitCookie": false,
    "callDisableFlag": true,
    "zipPaymentFlag": "c",
    "hassleFreeReturn": true,
    "lifetimeReplacement": true,
    "cpn_off": false
}Stub Axles
Shop Catalog
![]() WARNING: This product can expose you to chemical which is known to the State of California to cause cancer and birth defects or other reproductive harm. For more information go to www.P65Warnings.ca.gov.
WARNING: This product can expose you to chemical which is known to the State of California to cause cancer and birth defects or other reproductive harm. For more information go to www.P65Warnings.ca.gov.
![]() WARNING: This product can expose you to chemicals including Chromium, which is known to the State of California to cause cancer and birth defects or other reproductive harm. For more information go to www.P65Warnings.ca.gov.
WARNING: This product can expose you to chemicals including Chromium, which is known to the State of California to cause cancer and birth defects or other reproductive harm. For more information go to www.P65Warnings.ca.gov.
![]() WARNING: This product can expose you to chemical which is known to the State of California to cause cancer and birth defects or other reproductive harm. For more information go to www.P65Warnings.ca.gov.
WARNING: This product can expose you to chemical which is known to the State of California to cause cancer and birth defects or other reproductive harm. For more information go to www.P65Warnings.ca.gov.
Popular Products
Shopping for Stub Axle
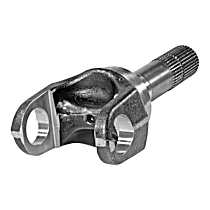
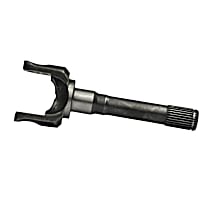
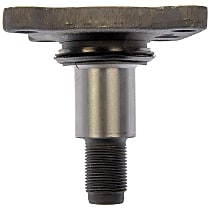
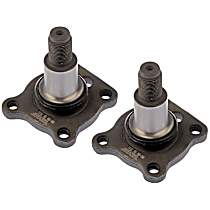
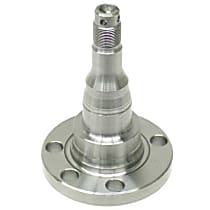
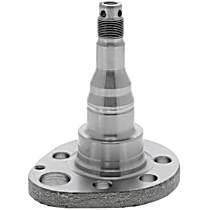
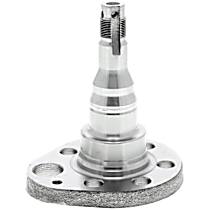
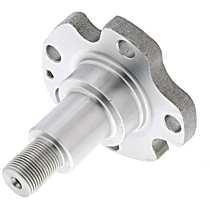
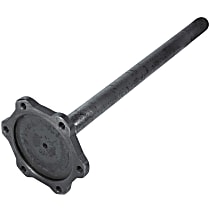
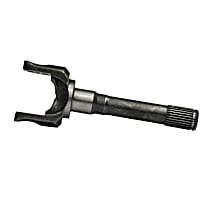
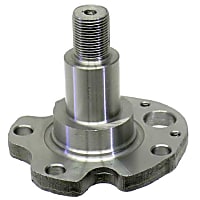
Stub axles are like independent suspensions on sports cars, allowing each wheel assembly to move independently. These axles are integral parts of the suspension system, giving it freedom to move freely. For cars or trucks, a stub axle improves their braking characteristics and cornering, especially when driving on slippery roads. Stub axles are prone to wear and tear, since they are part of the suspension system. Depending on the vehicle owner's driving habits, a stub axle's lifespan can be shortened. Here's a few tips on how to choose the right stub axle for your vehicle.
Welded or brand new?
Some car enthusiasts prefer welding their broken stub axles to save money. Well, in some cases this is a good idea. However, since stub axles go through a lot of pressure especially when the wheels turn, it can easily break off, and do more damage. The welded or repair stub can fail due to the strain and pull from the wheel. A lot of aftermarket bolt-on stub axles are available in the market today, making it easier to purchase a new one. Always think of your safety and shell out a few dollars for a better part for your car.
Materials and fit
Some of the materials used to cast these stub axles are "chromoly", cast iron, aluminum alloy, and carbon steel. Chromoly, carbon steel, and aluminum alloy are the most durable and reliable of all the materials. Cast iron is porous and it easily deteriorates as time goes by. Carbon steel is the strongest and it can withstand the strain, or pressure while driving.
Fit is very important when buying a replacement stub axle. It should always be compatible with your vehicle's make and model. Never go for something less than perfect, your life depends on it.
Stub axles work like a sports car's independent suspension, allowing each wheel and tire assembly to move independently. It helps the vehicle while cornering and braking on slippery roads. When your stub axle wears out, it will affect your vehicle's performance. Replacing it is a challenging job but it can be done in your own garage. We listed the steps, reminders, and tools that you need to help you replace your vehicle's stub axle.
Difficulty Level:
Moderate
Tools that You'll Need:
- Pry bar
- Solvent
- Adapter
- Car jack
- Socket set
- Wrench set
- Lug wrench
- Grease seal
- Car jack stands
- A can of grease
- Slide hammer
- Bearings (sealed-type)
- Brand new stub axle replacement parts
Tips:
- Use a puller to remove the outer bearing from the stub axle. To remove the lower arm's lower bearing and grease seal, use a length of pipe of the proper diameter.
- For cars with rear disc brakes, never let the brake caliper hang by its hose. You can either use a wire to fasten it or let it rest on a suspension member.
- Make sure that you're working on a solid, level surface, and engage the parking brakes. Place wheel chocks at the vehicle's rear wheels.
- Always use new seal bearings and a grease seal when installing replacing your car's stub axle. Refer to your vehicle owner's manual for the part number before purchasing the replacement parts.
Step 1: Use a lug wrench to loosen the vehicle's front wheels. Place the car jack underneath the vehicle and lift it off the ground.
Step 2: Unfasten the wheel's lug nuts and remove the wheels. Next, remove the half shaft to access the disc brakes.
Step 2-A: If your car has a rear disc brake, unfasten the bolts holding the brake caliper and move it aside. Then, remove the brake disc. For cars with drum brakes, remove the brake drum.
Step 3: Removing the stub axle nut requires a great deal of force. Use a pry bar to firmly hold on the sub axle from the outside, while using a wrench to remove the nut from the axle shaft side.
Step 4: Use a slide hammer and adapter to remove the stub axle and outer wheel bearing. Detach the companion flange from the lower arm. Remove the inner bearing and grease seal from the lower arm. Discard them since they will be replaced with new parts. Use solvent to clean all the parts to be reused.
Step 5: Install the new bearings and make sure that its sealed side is facing out. The outer bearing's sealed side must face the wheel, while inner bearing's sealed side must face the differential. Apply pressure on the outer bearing when pressing it onto the stub axle.
Step 6: Install a new spacer on the stub axle, and make sure that it has the same marking as the bearing housing. Next, install the stub axle into the vehicle's lower arm.
Step 7: With the stub axle now in place, insert the new inner bearing into the lower arm. Do not forget to install the new grease seal.
Step 8: Connect the companion flange onto the stub axle.
Step 9: Fasten the stub axle nut and use a wrench to torque it to 181-239 lbs-ft.
Step 10: Install the drum or brake disc, brake caliper, and the vehicle's half shaft. Make sure that all these parts are secured.
Step 11: Install the wheel, remove the car jack stands, and lower the vehicle to the ground.
Changing a stub axle will take about 1 hour and 15 minutes for an expert DIYer, and around 1 hour and 30 minutes for a beginner. Take your time when working on your vehicle's wheels. Stay safe!
