{
    "lazyNodes": false,
    "abFitnotesFlag": false,
    "abCrawlReviews": false,
    "productOptionsCookie": false,
    "orderDelayFlag": false,
    "skipSessionCookie": false,
    "covidMessage": false,
    "fullTitleCookie": false,
    "nrLoggerCookie": false,
    "checkoutReviewCookie": false,
    "productOptionSeqCookie": false,
    "maintenanceFlag": false,
    "bufferETACookie": false,
    "multiShippingDiscountFlag": false,
    "newFitmentFlag": false,
    "surveyOptInFlag": false,
    "crossSellFlag": false,
    "skuMappingFlag": false,
    "paySplitCookie": false,
    "callDisableFlag": false,
    "zipPaymentFlag": "u",
    "hassleFreeReturn": false,
    "lifetimeReplacement": false,
    "cpn_off": false
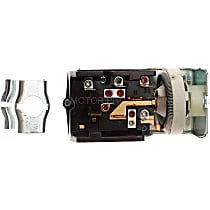
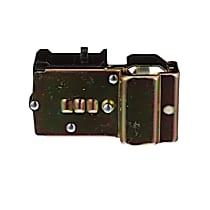
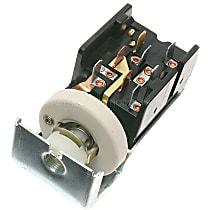
}Ford E-150 Econoline Headlight Switches
Shop Catalog
![]() WARNING: This product can expose you to chemicals including Phthalates, which is known to the State of California to cause cancer and birth defects or other reproductive harm. For more information go to www.P65Warnings.ca.gov.
WARNING: This product can expose you to chemicals including Phthalates, which is known to the State of California to cause cancer and birth defects or other reproductive harm. For more information go to www.P65Warnings.ca.gov.
![]() WARNING: This product can expose you to chemical which is known to the State of California to cause cancer and birth defects or other reproductive harm. For more information go to www.P65Warnings.ca.gov.
WARNING: This product can expose you to chemical which is known to the State of California to cause cancer and birth defects or other reproductive harm. For more information go to www.P65Warnings.ca.gov.
Top Rated Products
Popular Products
Product Questions & Answers
Customer Guides
Four Signs that Point to a Bad Ford E-150 Econoline Headlight Switch
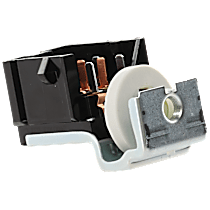
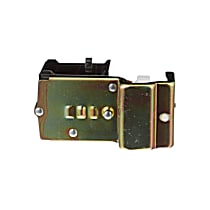
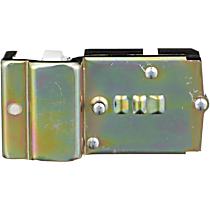
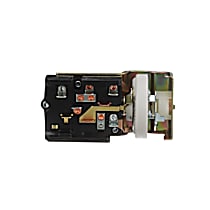
The headlight switch of a Ford E-150 Econoline is designed to give you total control of the van's headlamps. However, instead of making things easier for you when you drive the vehicle at night, the same device is known to be the reason behind various kinds of lighting problems. Most of the issues can be caused by a switch with corroded internal parts and loose contacts. If left unattended, this eventually fails to the headlights on and off. Here are four signs to look for that can help you know if the ones on your E-150 have gone bad:
Headlights are completely dead.
The switch is responsible for bringing power to the headlights. Lights that don't come to life, despite having fresh lights and a solid electrical system, are a clear sign that something's already wrong. Both regular and high-beam settings shouldn't work if you have a blown switch. There's no second guessing if this is the case despite turning the knob to the "on" position. Never drive with dead headlamps if you want to avoid accidents.
Headlights turn on only on one setting and/or side.
When you turn on and adjust the headlights, you should be able to control the intensity coming out of both lamps. Both high-beam and low-beam settings should be available for you to choose. If only one type of option can be done, it's safe to say you have a bad switch on the E-150. Also, being able to turn the lights on and off from one side is a problem indicator.
Other lights die when headlights are on.
Dead parking, signal, dash, and other lights are another sign of a bad switch. The power that goes to the headlights when you turn the switch on shouldn't kill other components in the electrical system-especially those that are near or part of the headlight assembly.
Fuses are blown when headlights are on.
This problem is a little tricky because the lights work fine at first. Give it some time and they eventually die with no apparent reason why these did. Check the fuses assigned to the headlights and see if these are blown, burnt, and melted. A bad switch is to blame why this happens.
Many problems regarding the Ford E-150 Ecoline's lighting system is caused by a bad and problematic headlight switch. This small accessory is known to affect bulbs, fuses, and other components simply because it has become dirty, loose, and corroded. It's safe to say that maintaining this switch goes a long way in ensuring the affected components return to normal. Other than this, you also avoid the cost and hassle of getting a replacement part. With some patience and the use of a few tools, here are some simple ways that you can do to avoid problems caused by a bad headlight switch:
Clean and remove dust from contacts.
The headlight switch accumulates dirt, dust, and lint. These particles eventually make their way inside the device and block the contacts that send electrical signals to the lights. Remove the switch from the panel and disassemble it to expose its internal parts. Give it a good clean to get rid of all the dirt inside. It may take a few repetitions before you're able to remove everything that shouldn't be there. You can also dip the parts in a prescribed cleaning solvent for a more thorough approach.
Solder old and worn contacts.
Other than wiping and dipping the contacts, these pins should also be soldered if they appear worn and dull. Beat up ones aren't good conductors. Having these is a step closer to a switch that will eventually go bad and need replacement.
Test the flow of electricity in the switch.
A multimeter is a great way to see if any electrical device is still working properly. If you don't have one in hand, you can use some wires, batteries, and a small light bulb. Regardless of what you have, proper use both devices can easily tell if the switch has minor issues or it's completely gone bad that you have no other choice but to get a complete replacement.
Smear enough dielectric grease.
After cleaning the switch's contacts, remember to reapply some dielectric grease. The old one has been dried up overtime and has been cleaned away whenever you wipe and clean the part. Only use a fair amount so that you won't end up with a messy and gooey switch after the maintenance.
