A car’s cooling system keeps the engine running at a safe temperature to prevent overheating. One component that aids in maintaining proper temperature is the radiator, which disperses a mix of antifreeze and water to release the engine’s heat.
The radiator has another component attached to it called the radiator cap. Despite its small size, the cap plays a big part in keeping the engine safe.
Caution: Never, under any circumstances, remove the radiator cap from a hot cooling system to avoid serious injury.
What Is a Radiator Cap?
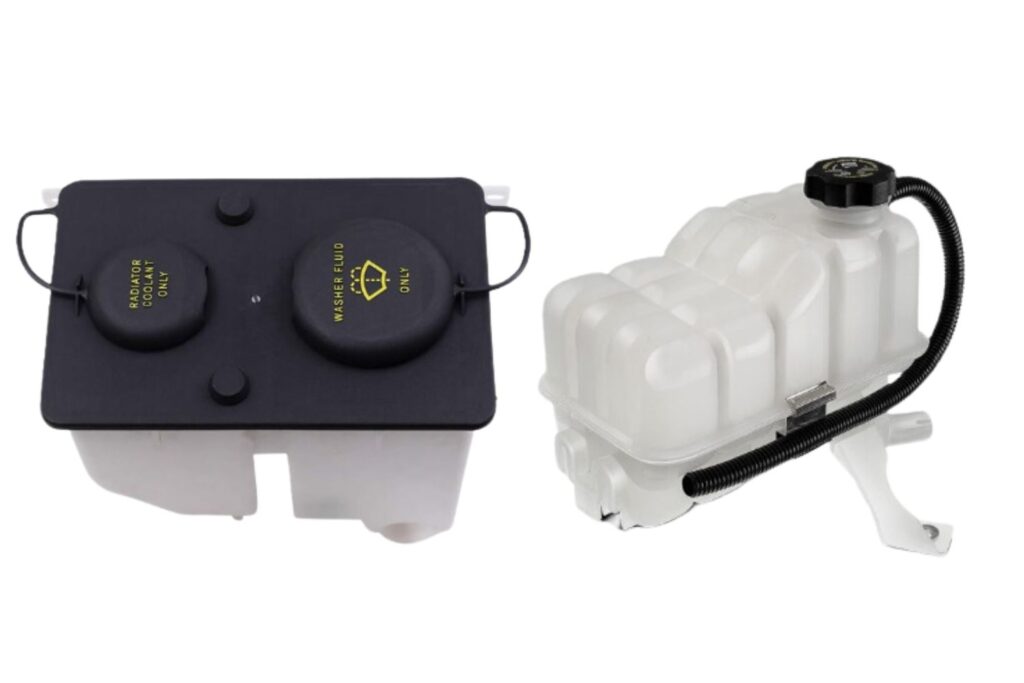
Some cooling systems have a radiator with no cap because the fill point is at the surge tank rather than on the radiator. If the radiator has a cap, it will have a degas tank instead of a robust surge tank.

This is a surge tank or “degas” tank. This type will be designed to hold pressure and will have a screw-on pressure cap and is typically the fill point for the cooling system. |Image Source: Richard McCuistian
This is a coolant reservoir. This type won’t have a screw-on cap because it’s not designed to hold pressure. The coolant enters this bottle as it expands and then returns to the radiator as the engine cools and the radiator cap valve opens.
This is a surge tank or “degas” tank. This type will be designed to hold pressure and will have a screw-on pressure cap and is typically the fill point for the cooling system.
Older vehicles usually have the radiator cap on the radiator, which is fitted with a filler neck.


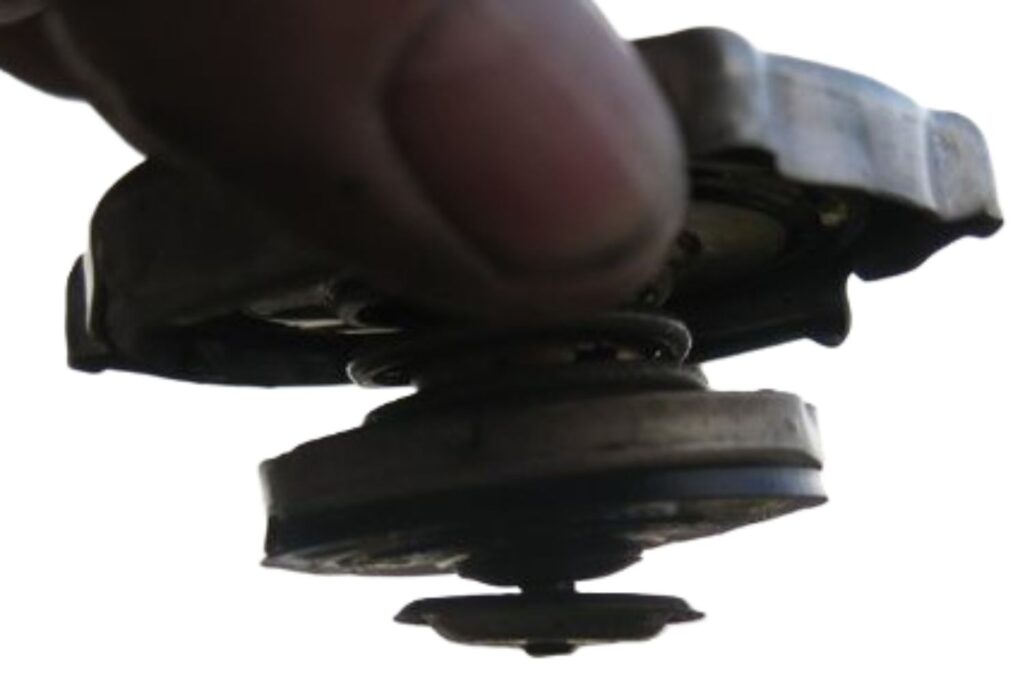
Essentially, the cooling system is pressurized to raise the boiling temperature of the coolant. When the pressure rises above the cap’s threshold due to coolant expansion, the heavy spring is compressed, the gasket is lifted from its sealing seat in the radiator neck, and coolant travels to the degas tank until the pressure returns to the cap’s calibrated psi.

- The boiling temperature increases by 3°F for each pound of increase in pressure.
- At sea level, water boils at 212°F. With a 15 PSI (pounds per square inch) pressure cap, water boils at 257°F, the maximum operating temperature of engines.
This process serves three functions:
- It allows the engine to run at an efficient temperature, negating the potential dangers of boiling the coolant.
- The higher the coolant temperature, the more heat the coolant system transfers. The transferred heat is proportional to the temperature difference between the coolant and outside air.
- The prevention of outside air from entering the cooling system minimizes oxidation/corrosion.
What Happens If Radiator Cap Pressure Is Too High?

How to Tell If the Radiator Cap Is Bad
Some symptoms of a bad or faulty radiator cap include:
- Steam coming from under the hood
- Overheating engine
- Coolant leaks
- Air pockets in the cooling system
- A collapsed radiator hose
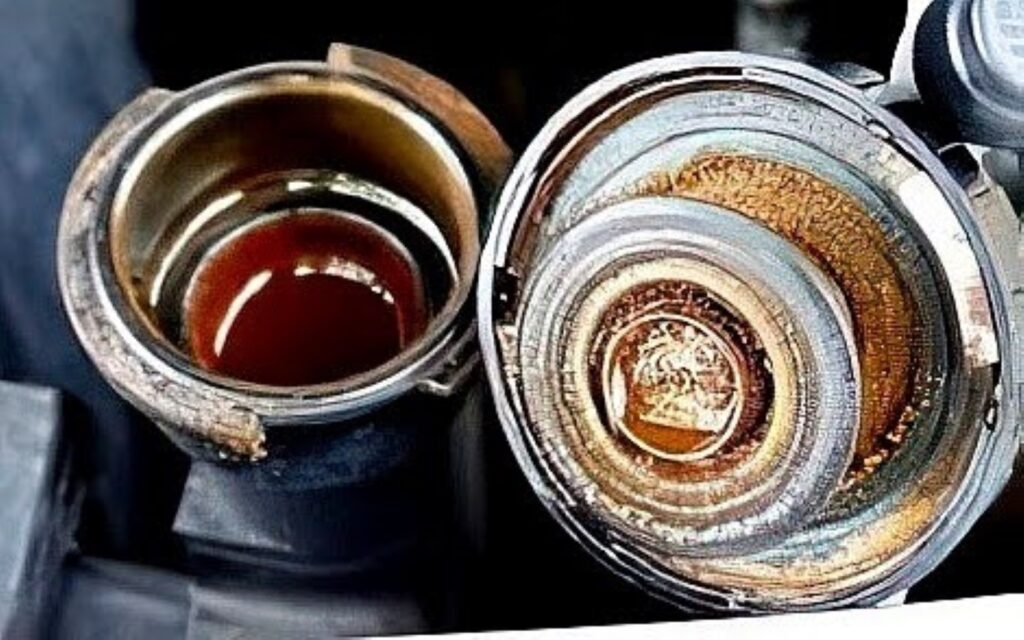
If you’re inspecting the cap, cracked rubber seals or gaskets and/or a dangling center degas valve can also indicate a faulty radiator cap.
Let’s take a closer look at some of the symptoms:
Coolant Leak
A faulty rad cap can cause excess pressure buildup in the cooling system, forcing the coolant to find an escape route, either through the radiator hoses or the water pump seal. A cap that isn’t sealing properly may allow expanding coolant to percolate and overflow the degas tank.
As a result, coolant leaks, which leads to low coolant levels and eventually overheating. Once the coolant dries and burns off, it typically leaves white stains or streaks on the radiator.
If you’re inspecting the cap, cracked rubber seals or gaskets and/or a dangling center degas valve can also indicate a faulty radiator cap.
– Richard McCuistian, ASE Certified Master Automobile Technician
Air Pockets in the Cooling System
Air may enter the cooling system through the damaged radiator cap, creating air pockets within the cooling system. The pockets could reduce the coolant’s effectiveness, create bubbling sounds as the coolant percolates. If an air pocket finds its way to the coolant temperature sensor, the gauge might not read hot even though the engine is overheating.
Collapsed Radiator Hose
The pressure in the cooling system drops when the engine is turned off. This creates a suction effect that could result in the radiator hose collapsing if the small valve in the center of the cap isn’t opening to allow coolant to return from the degas tank.
Steam From Under the Hood
Steam from under the hood could indicate different issues, one of them being a faulty radiator cap. This occurs when a radiator hose leak drips coolant onto the hot engine, resulting in vapors or steam.
Similarly, a faulty rad cap may not maintain the necessary pressure and cause the liquid coolant to boil, resulting in steam coming through the coolant system. It also decreases the coolant level over time, which could result in overheating.
How to Remove and Replace a Radiator Cap
A bad radiator cap is repairable, but it might be better to replace it, as some solutions to physical damage are only temporary. To replace a faulty rad cap, follow the steps below:
- Step 1: Let the car sit for around 30 minutes to cool the engine down and prevent potential accidents or injuries caused by the hot engine. Afterward, look for the radiator, which is usually at the front of the engine compartment behind the vehicle’s grille.
- Step 2: Remove the cap by either pushing down and turning the cap clockwise or twisting it counterclockwise. The proper way of removing the cap depends on its type.
- Step 3: Inspect the cap for damage by checking the rubber disc inside to look for cracks. If there are, replace the rad cap immediately. Look for a replacement with the same PSI rating as the original for better compatibility.
- Step 4: Put the replacement cap back onto the radiator by pushing and twisting it in or by twisting it back clockwise, depending on how you removed the cap in the first place.
If you can’t replace the radiator cap on your own, you can always visit an auto shop. This way, you’re guaranteed to get a proper replacement, as the mechanics will have more knowledge and experience working with rad caps.
The price of replacing the cap differs depending on the car model, but expect it to cost around $10 to $50. New rad caps cost $5 to $25, while labor fees are usually free of charge due to how quick it is to replace them.
How Often Should You Replace the Radiator Cap?
Replace the radiator cap every four or five years. Rad caps naturally wear out over time and won’t be as efficient even if they haven’t failed yet. This could affect your cooling system and result in damaged components.
Where to Get a High-Quality Radiator Cap for Your Vehicle
A damaged or worn radiator cap needs replacement as soon as possible, since it may cause your engine’s cooling system to malfunction. Get a high-quality replacement by ordering your new rad cap from CarParts.com.
We guarantee the quality of the products in our catalog because they are sourced from the top parts manufacturers in the industry. These replacement parts are engineered to specifications in world-class facilities.
We also have strategically located distribution centers equipped with the latest technologies for efficient order processing and faster shipping. Expect your order to arrive in as fast as two business days.
Shop now, and get the best deals on radiator caps today!
Any information provided on this Website is for informational purposes only and is not intended to replace consultation with a professional mechanic. The accuracy and timeliness of the information may change from the time of publication.


