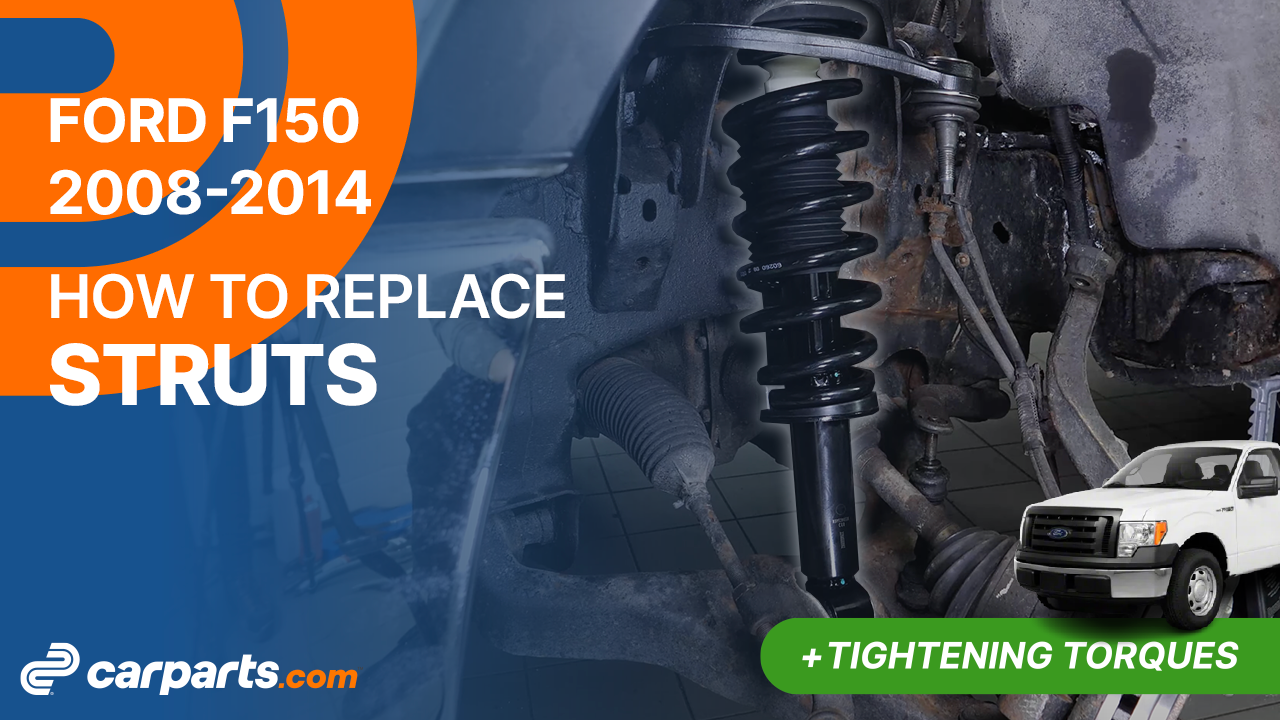
How to replace the struts 2009-2014 Ford F-150
To replace the struts on your F-150 this tutorial was tailor-made for you. You will be asked to take off the wheels, remove the strut, finalize the operation as well as carry out a few other steps. You can accomplish this tutorial of 13 chapters in 150 minutes. Take your ratchet and your 18 mm socket and let’s get started!
Duration
150 minutes
Number of steps
13
Difficulty out of 5
4
Average savings
$250
Parts You Will Need
Tools You Will Need
Step-by-Step Installation
Chapter 1:
Open the hood
Step 1/1
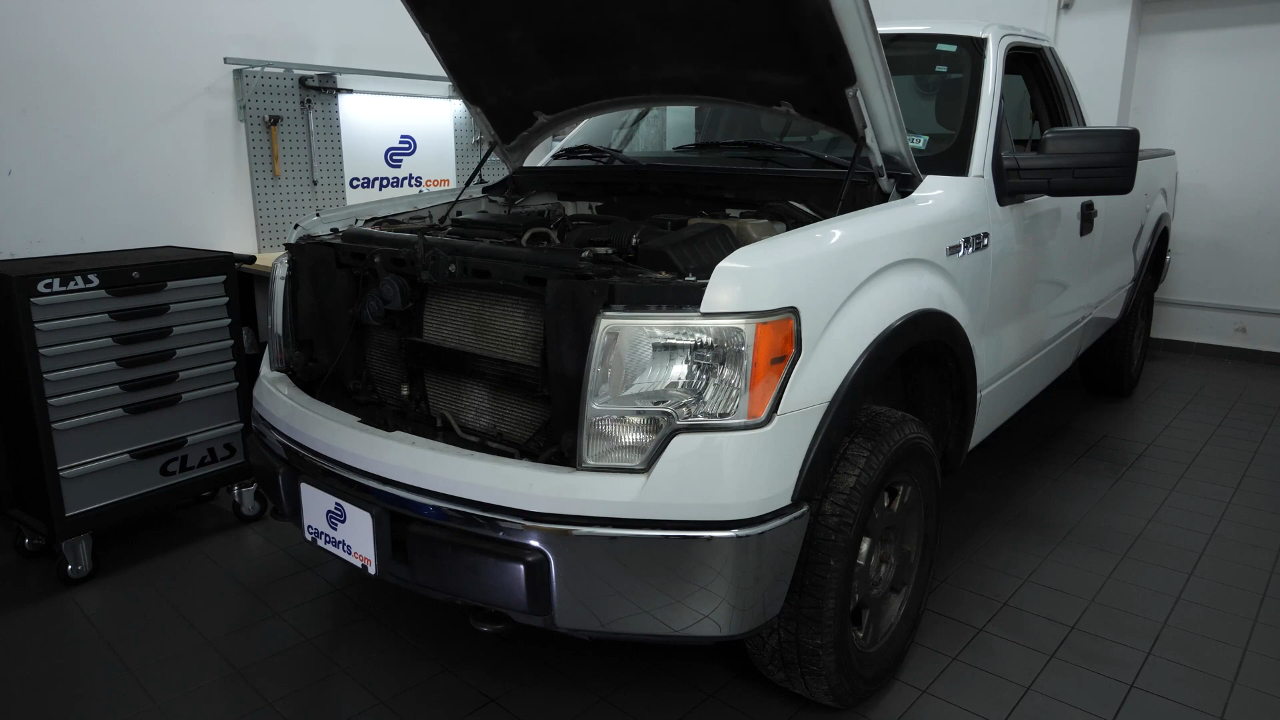
Turn your engine off, set the parking brake, pull on the bonnet release handle, open the bonnet.
Chapter 2:
Measure
Step 1/1
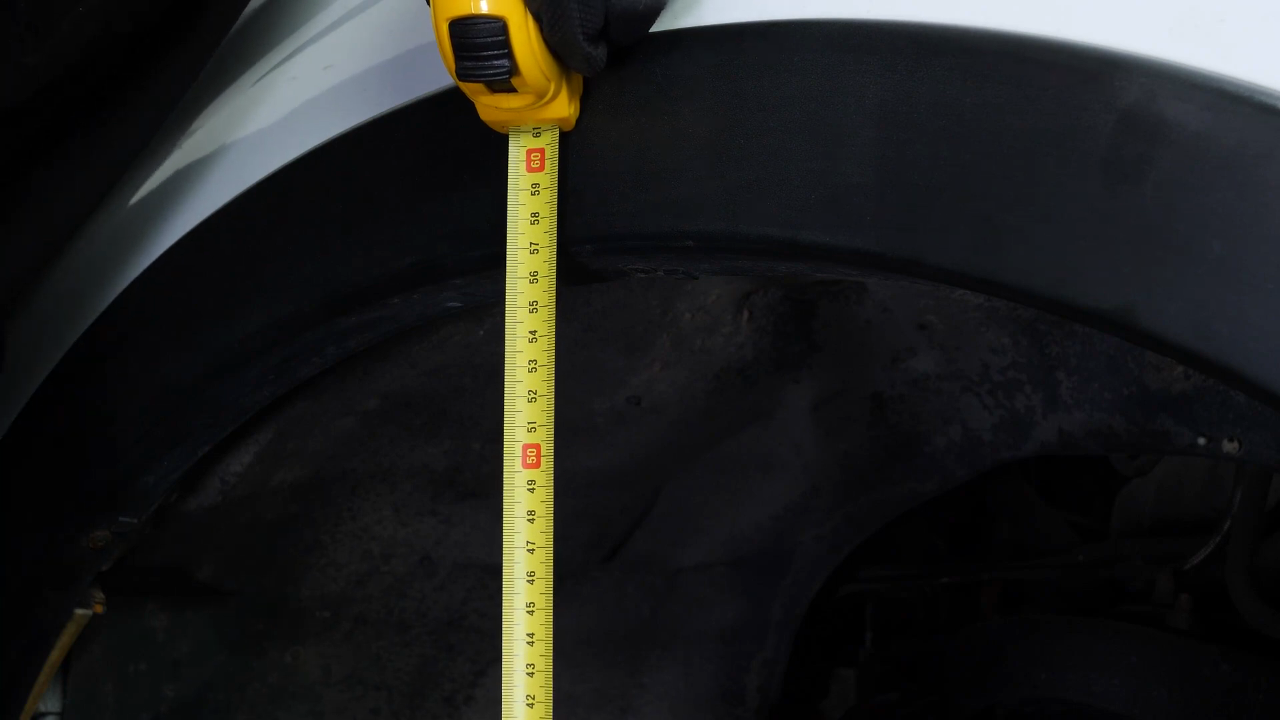
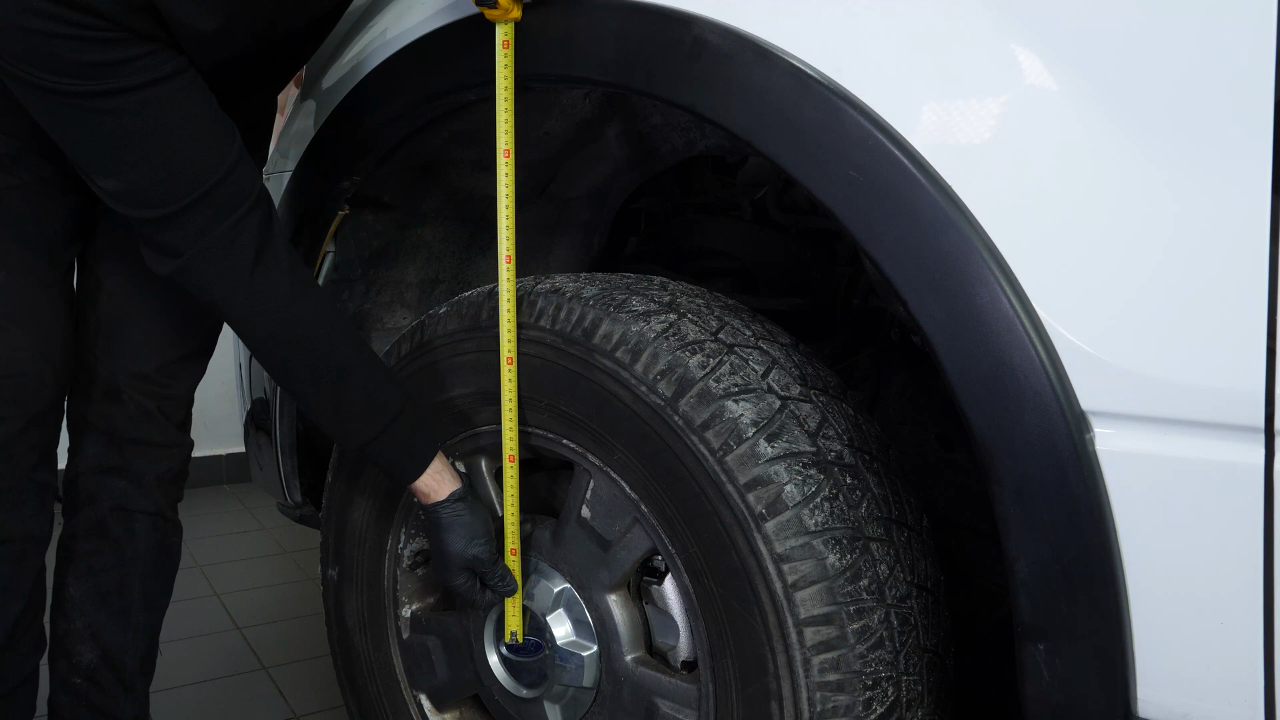
Before lifting your vehicle, it is necessary to measure the distance between the centre of your wheel and the wheel arch. This will allow you to achieve an optimal tightening of the silentblock equipped elements in their initial position.
Chapter 3:
Lift the vehicle
Step 1/1
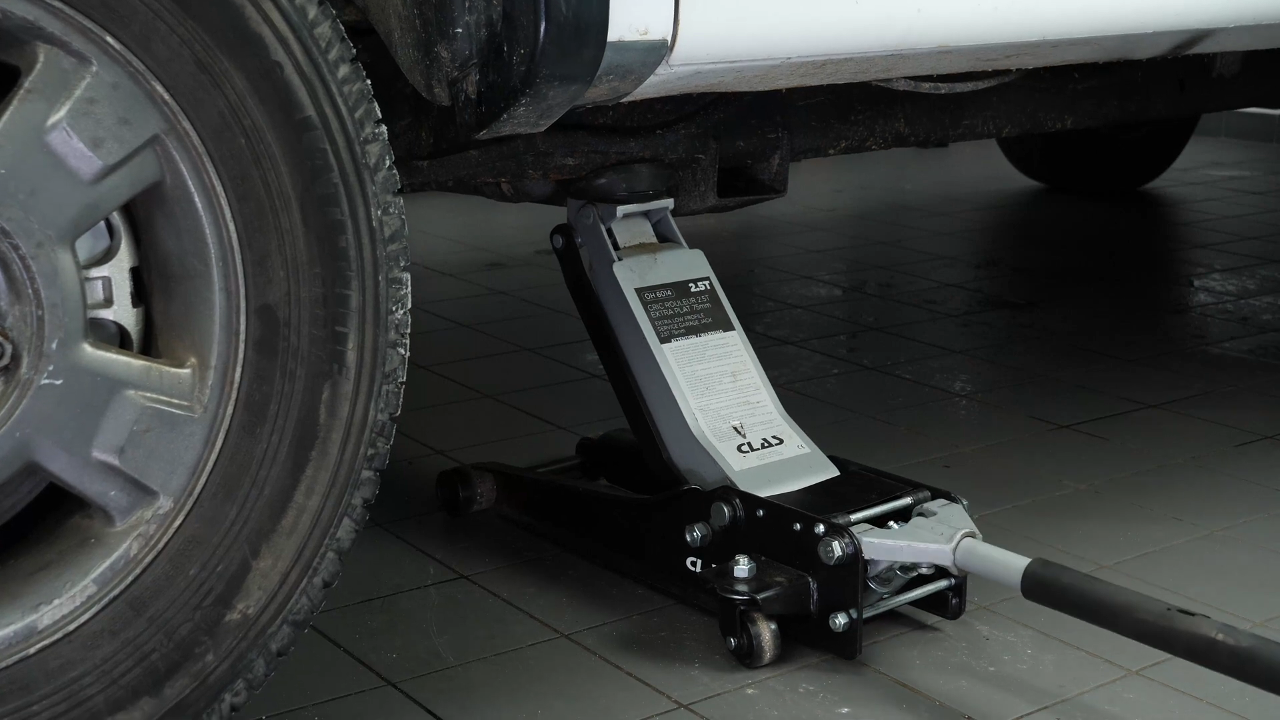
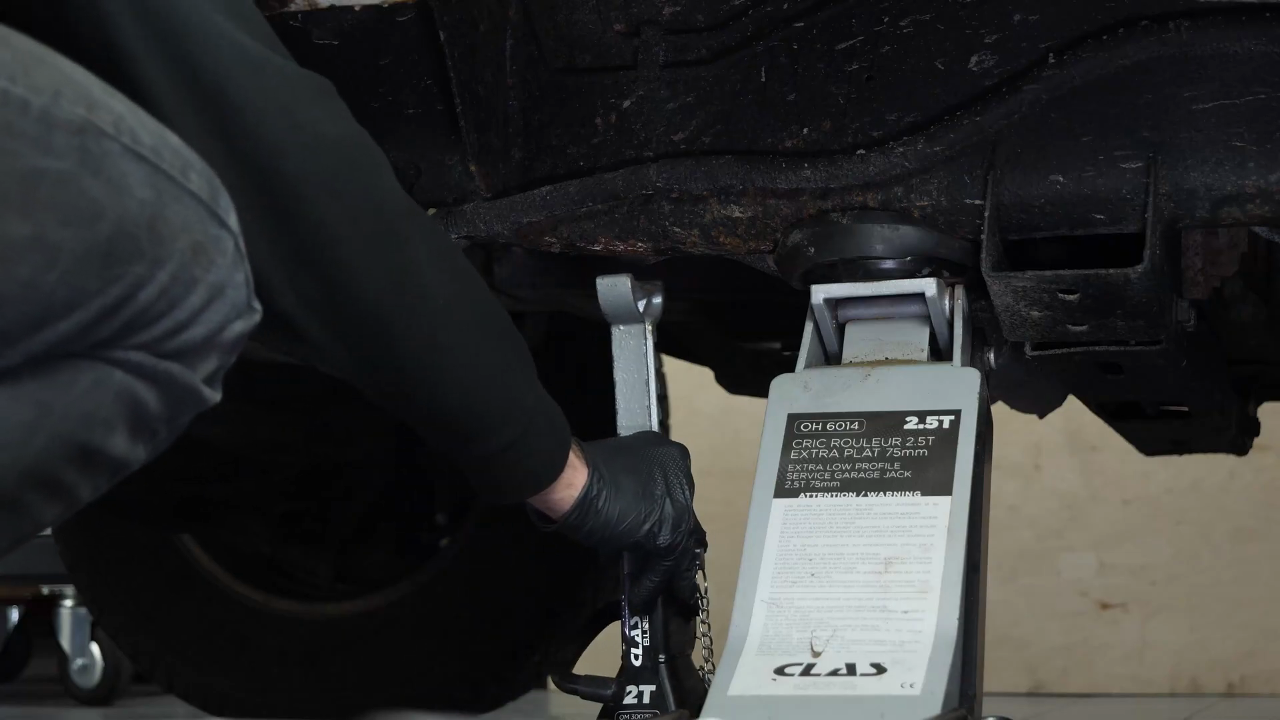
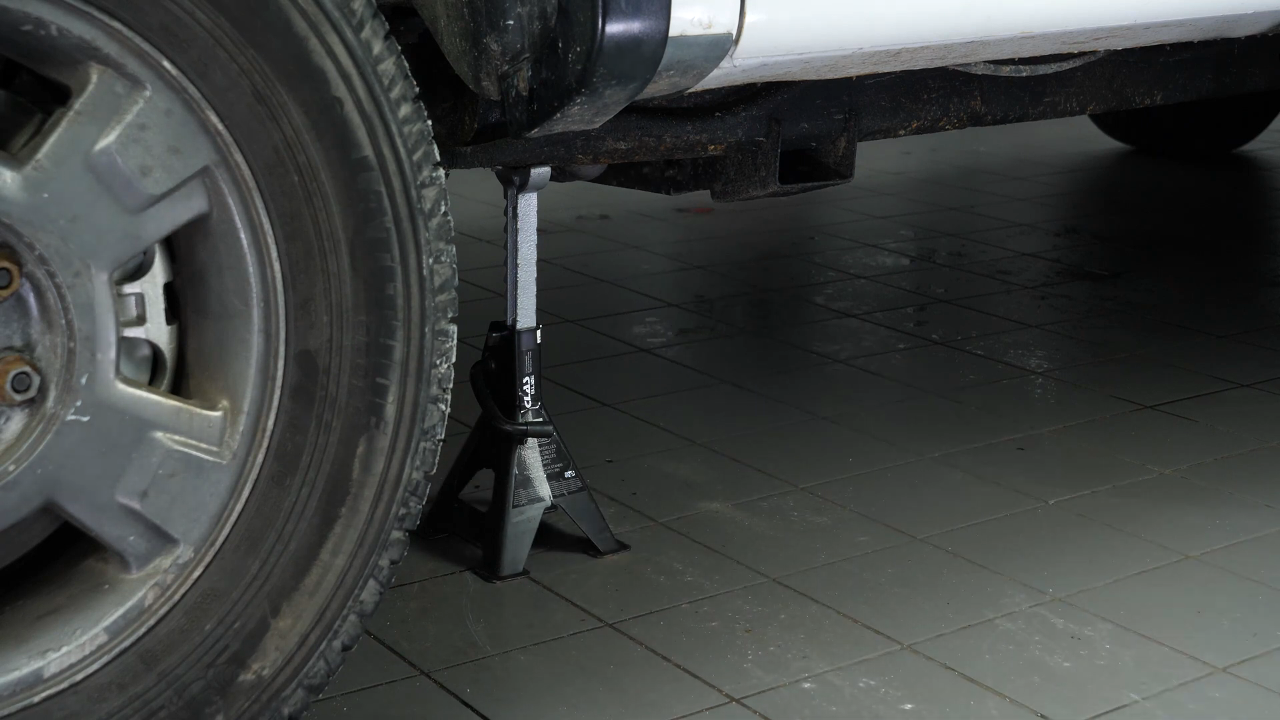
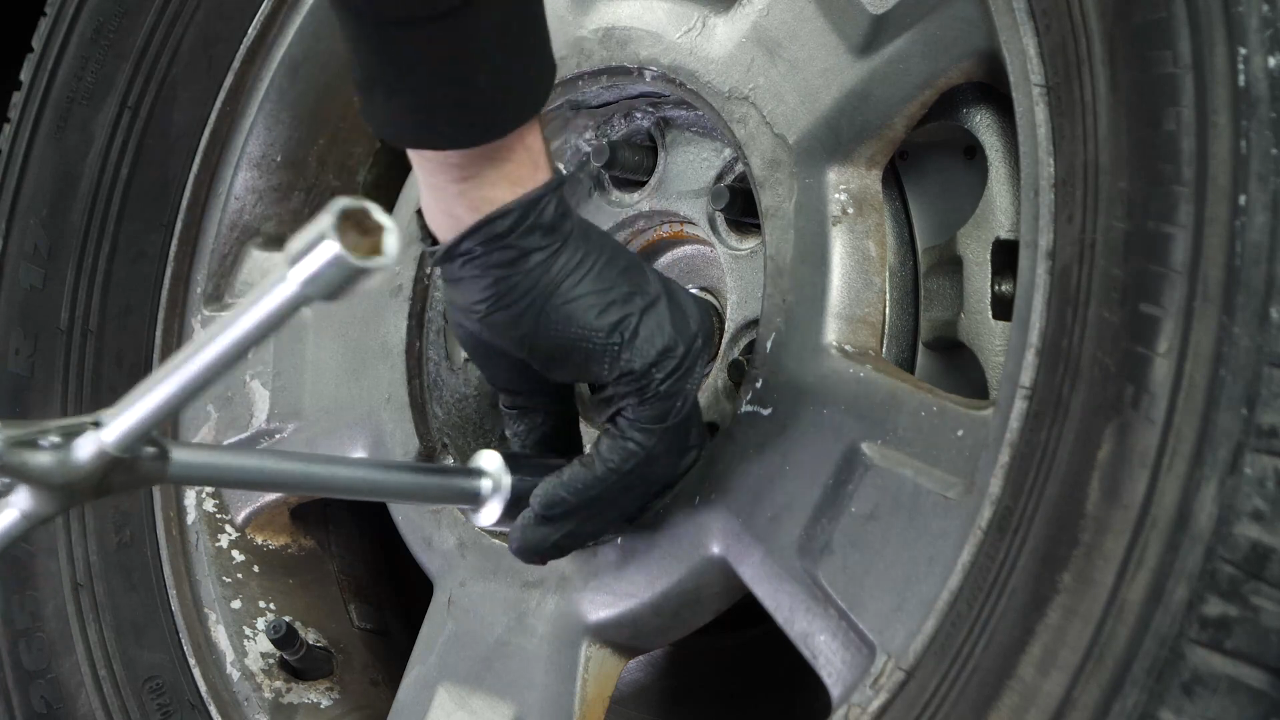
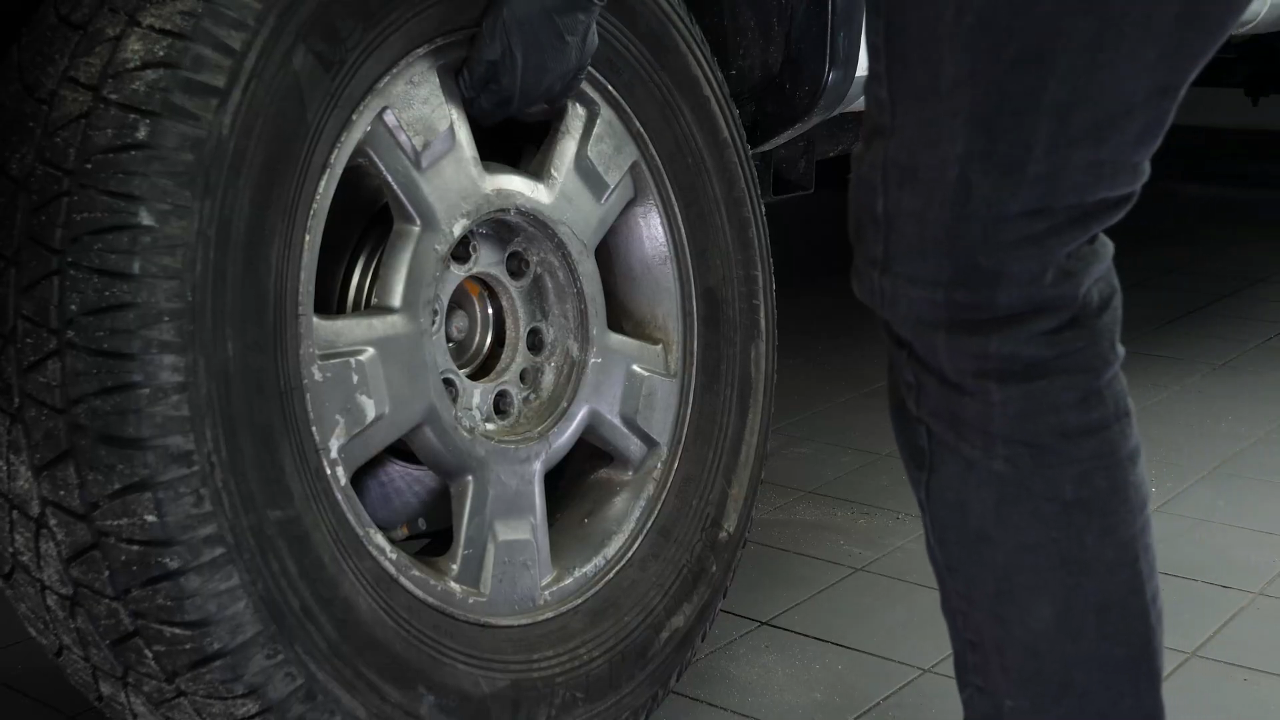
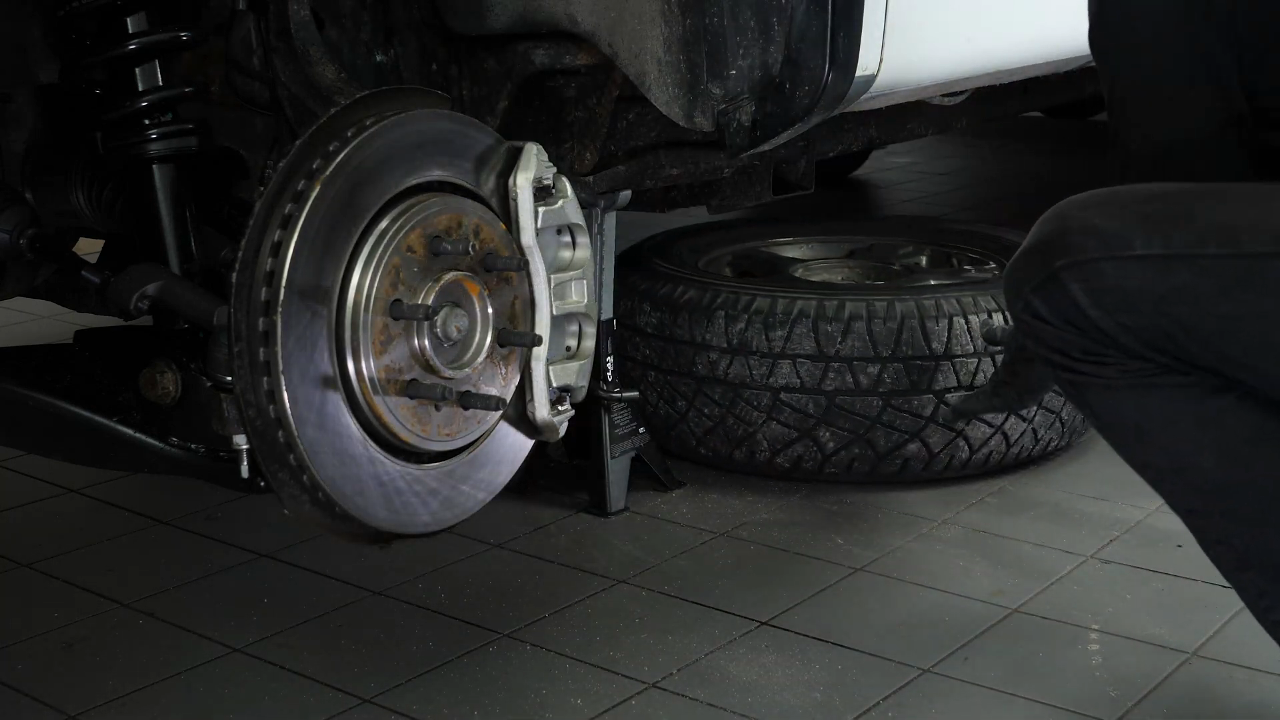
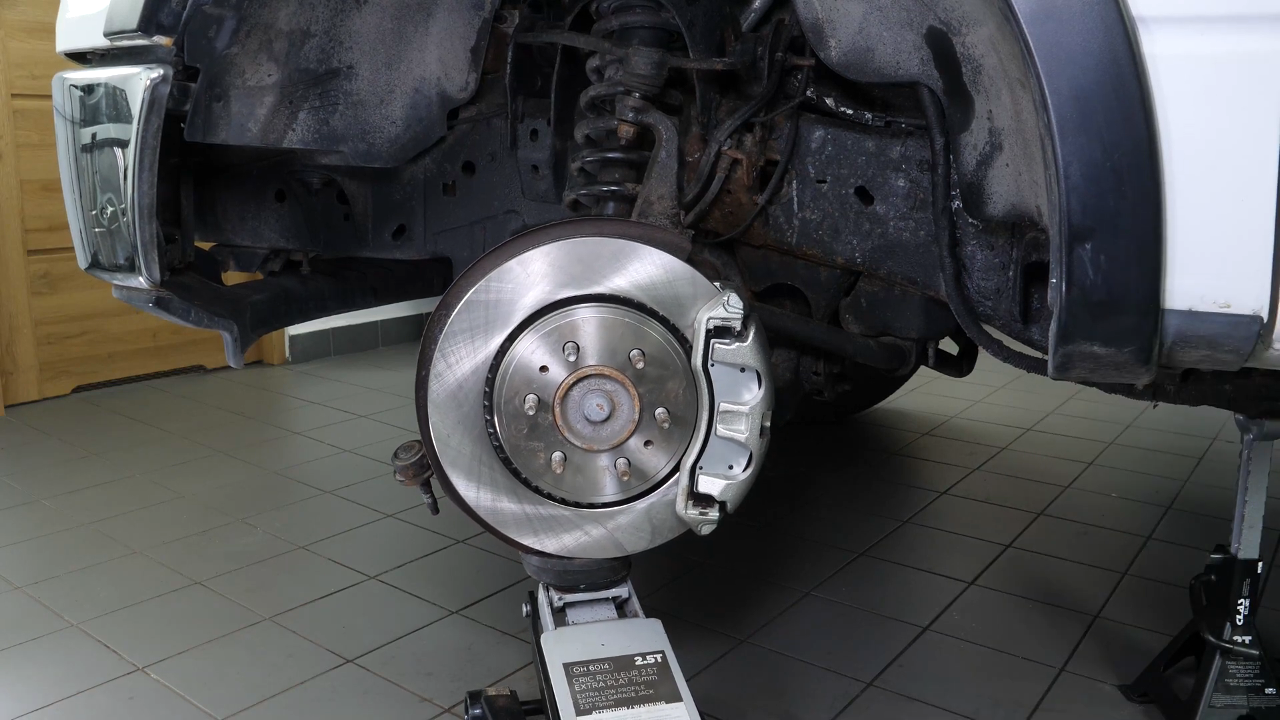
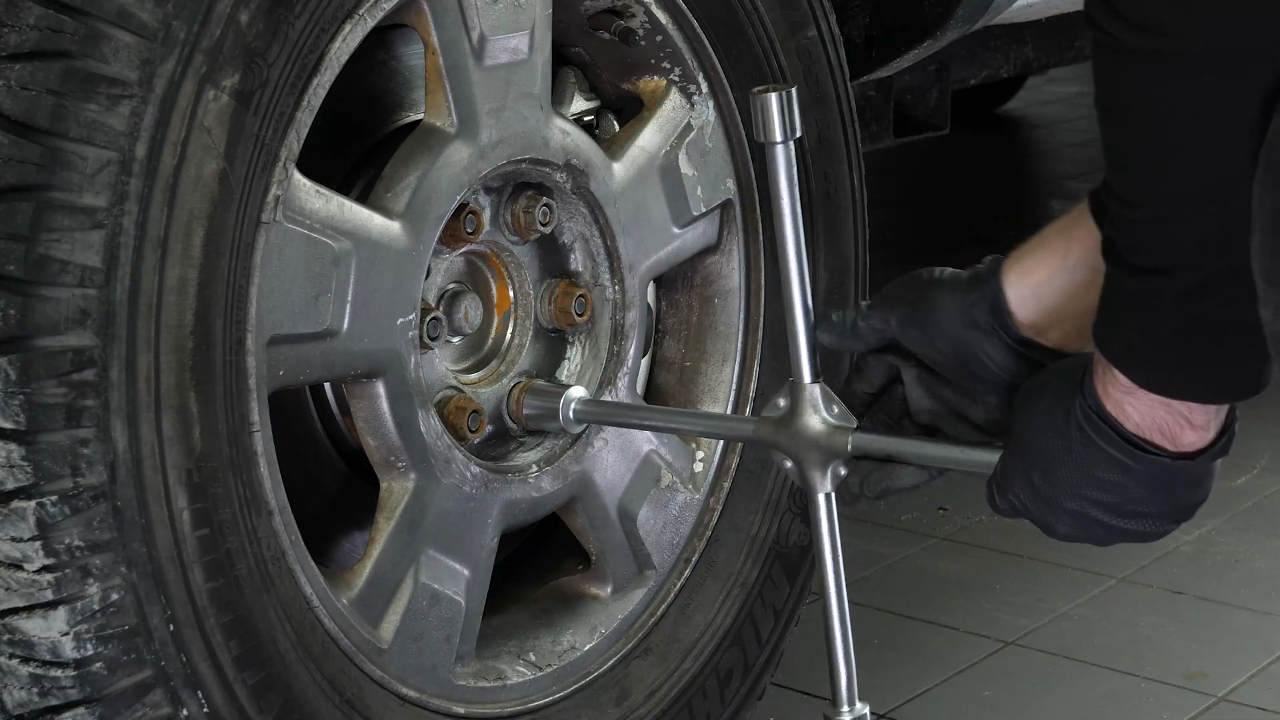
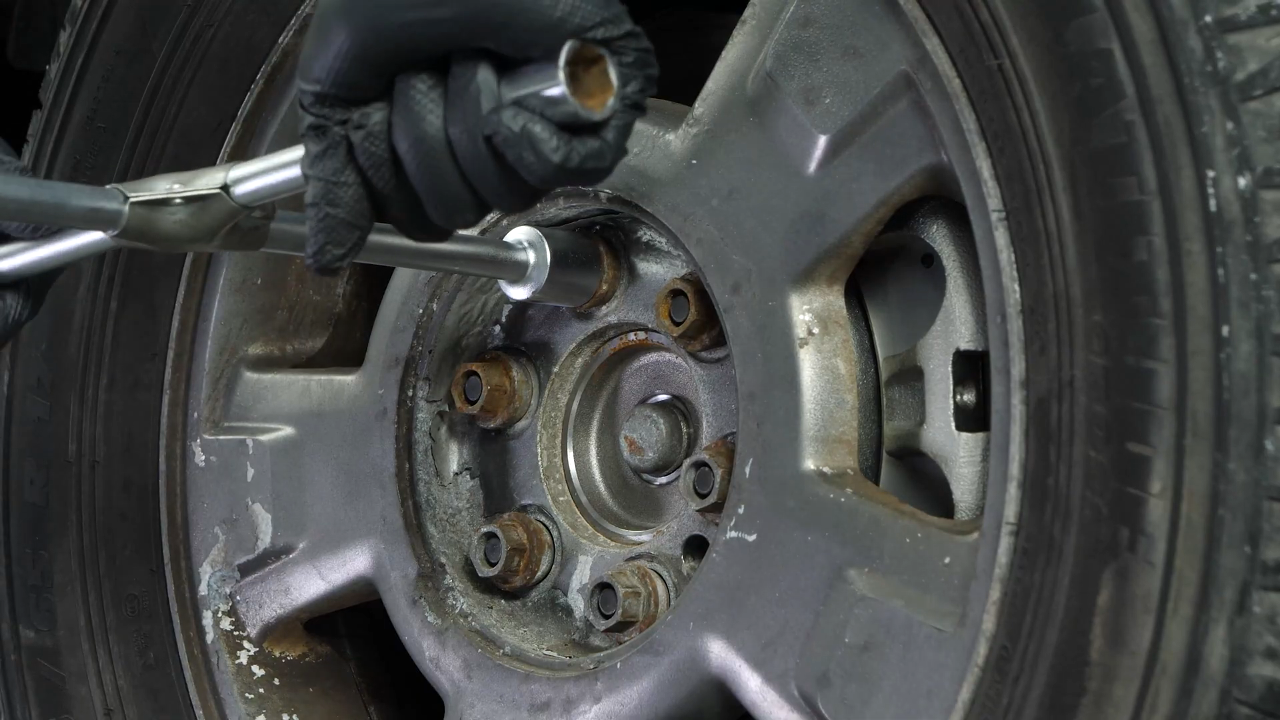
Loosen the stud bolts on the front wheels. Lift the front of your vehicle. Place the vehicle on the axle stands. To be able to replace the struts on your vehicle, you need to remove the wheels to gain complete access to the suspension system. Don’t forget to put the wheels under the vehicle!


Chapter 4:
Remove the outer tie rod
Step 1/1
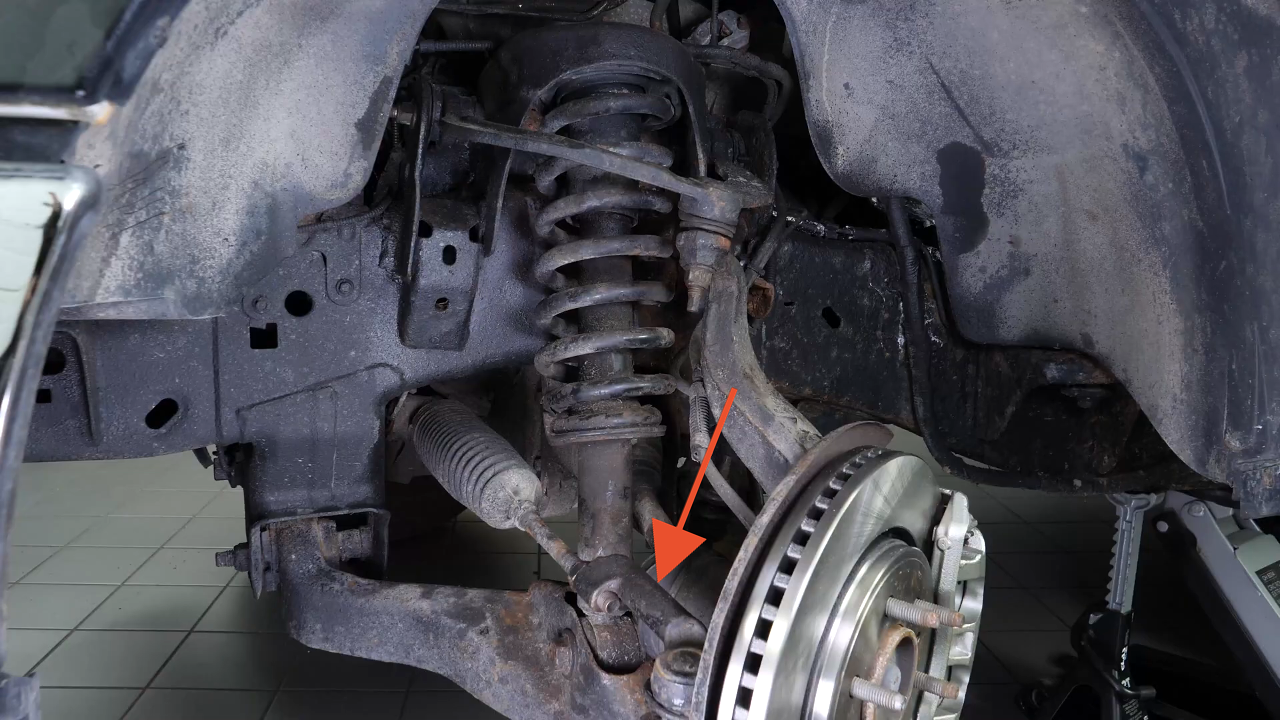
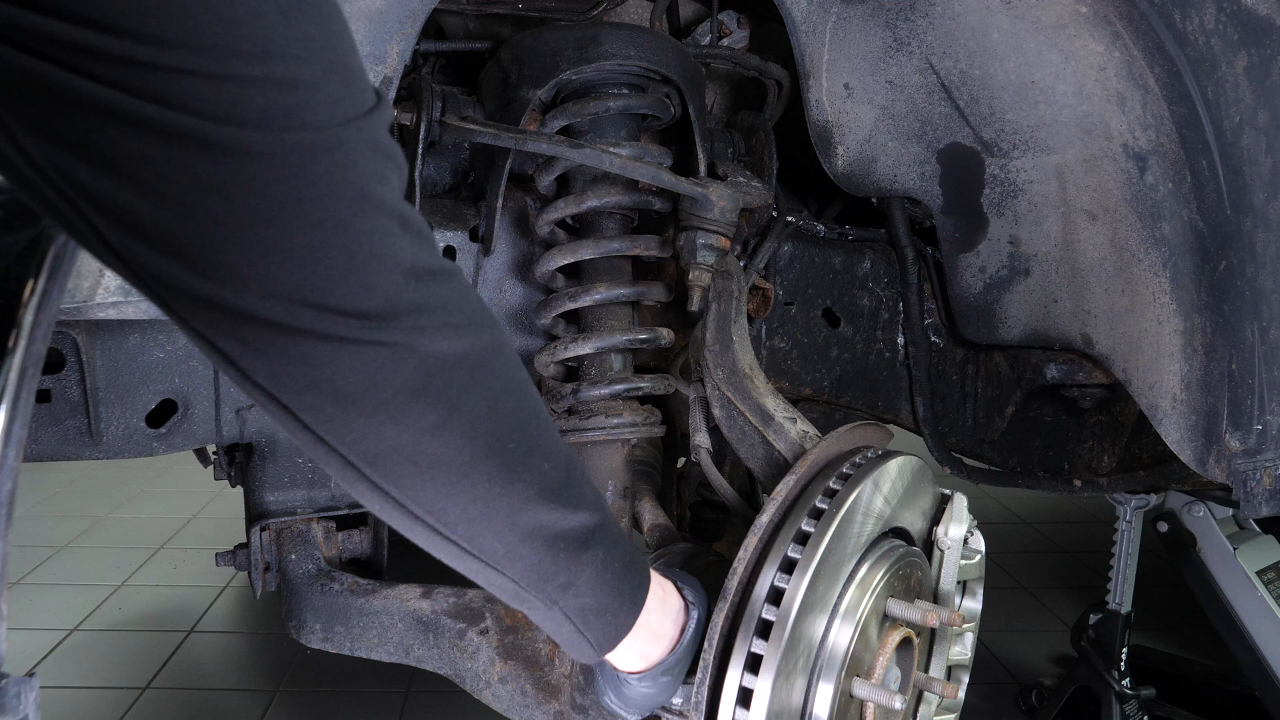
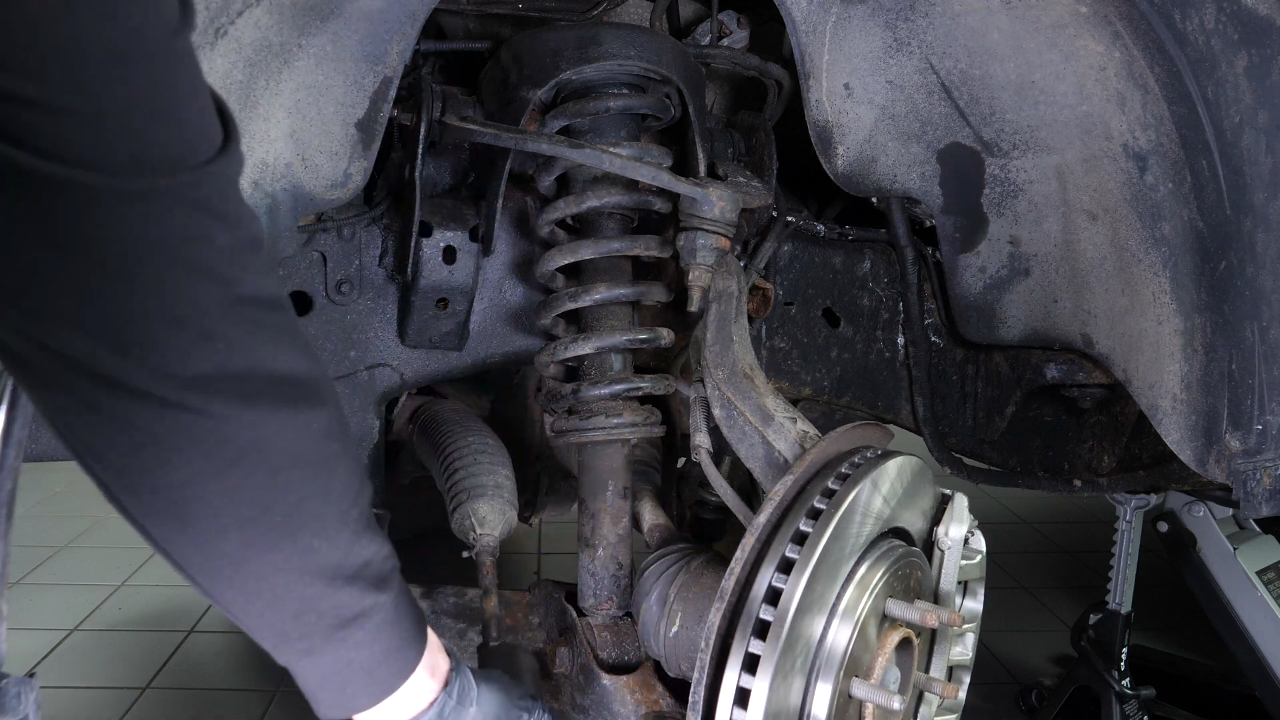
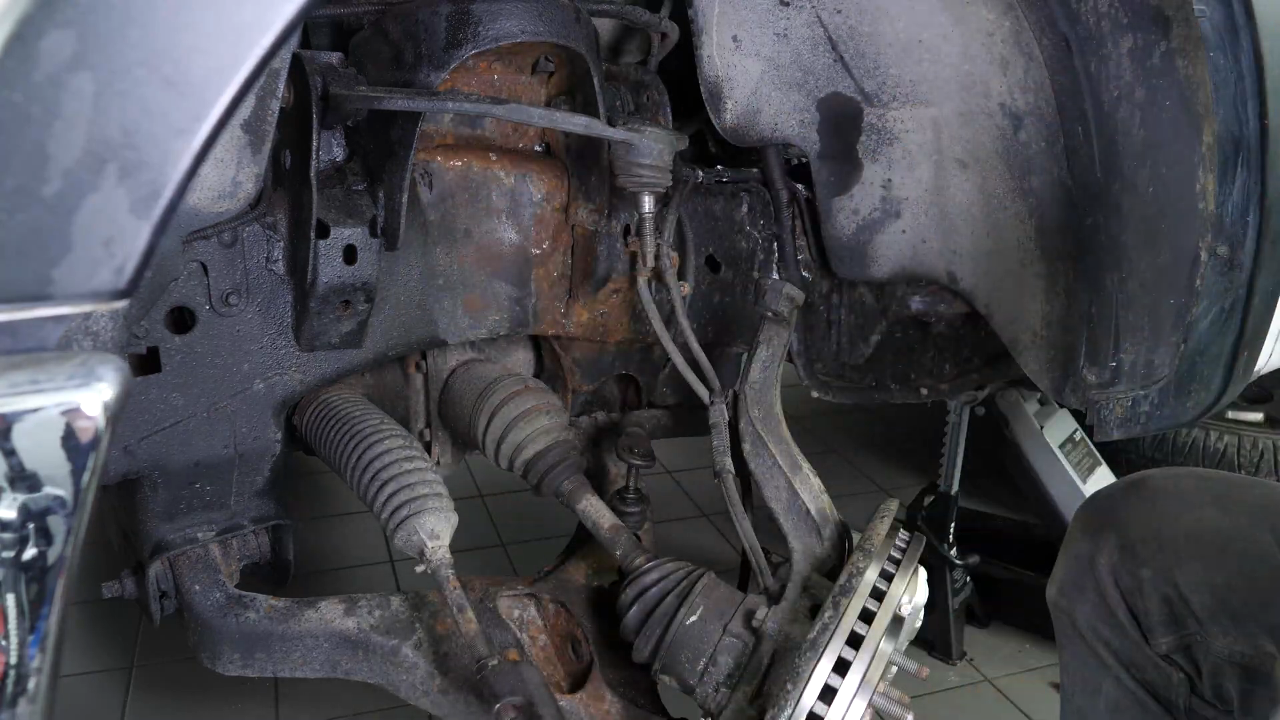
You can now see your car’s strut, as well as the outer tie rod that need to be taken out in order to change the strut. To do so, we recommend watching the video : “How to replace the outer tie rod Ford F-150?”

Chapter 5:
Loosen the strut foot
Step 1/1
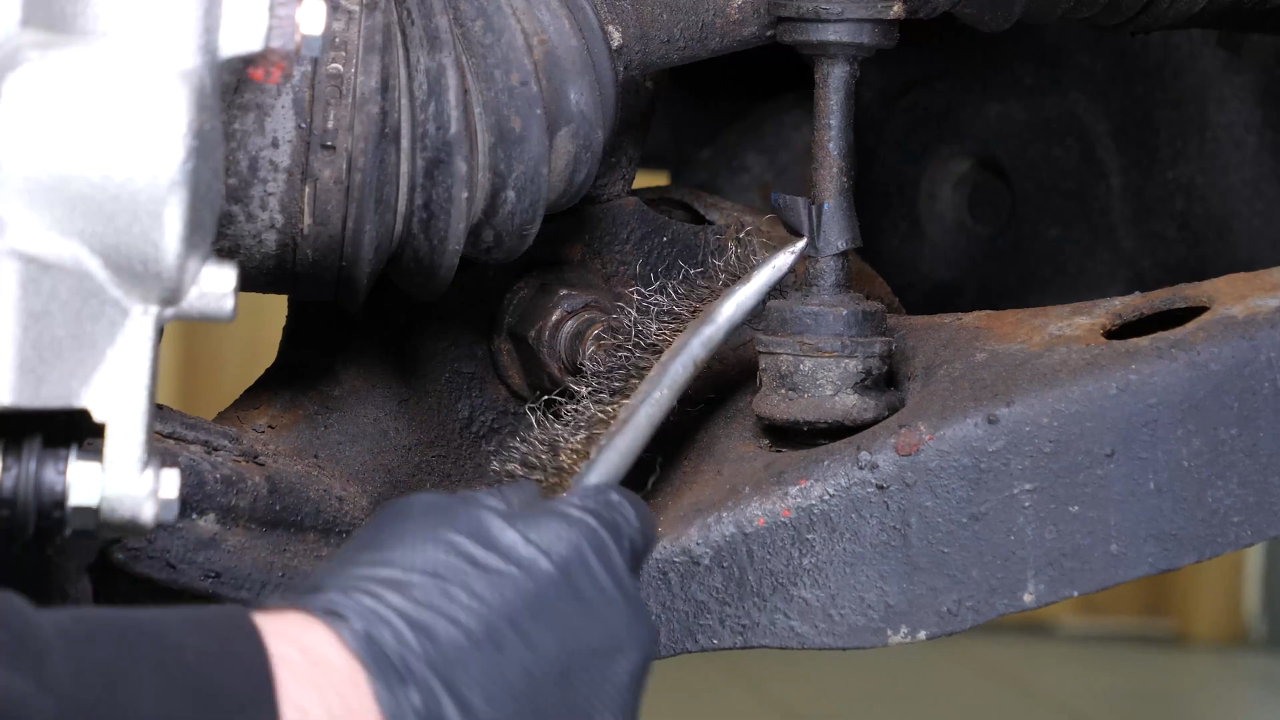
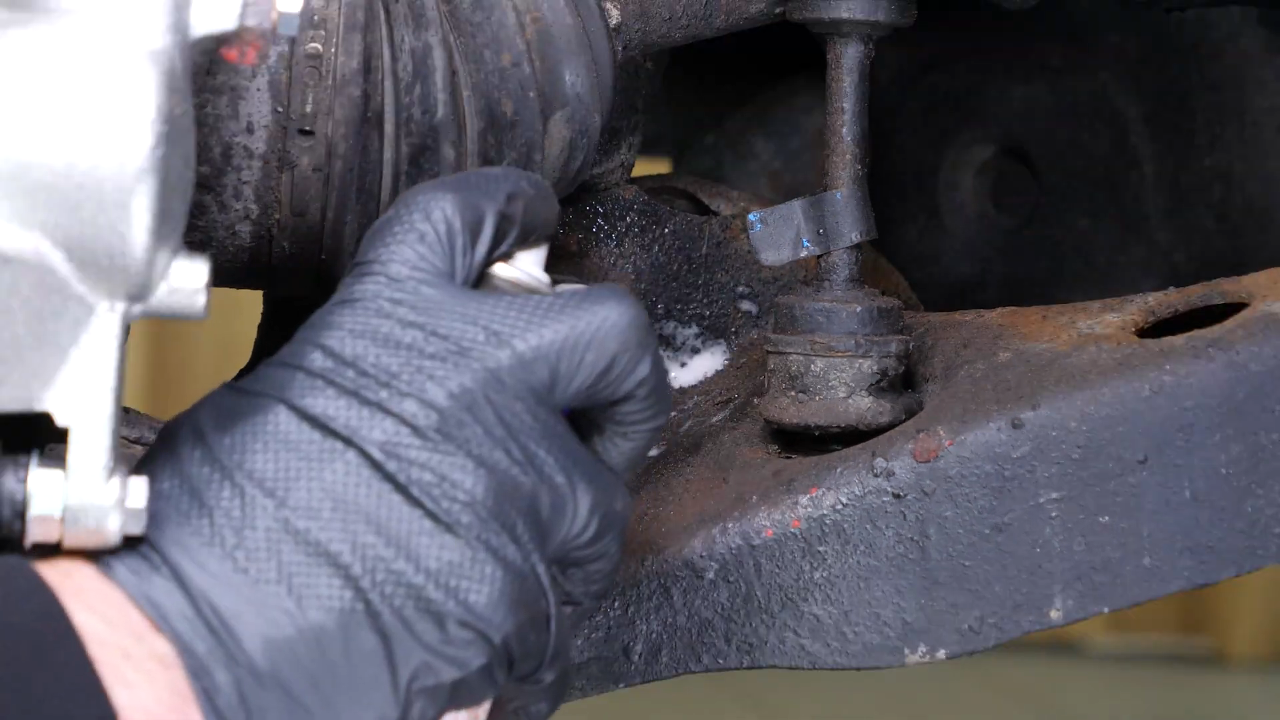
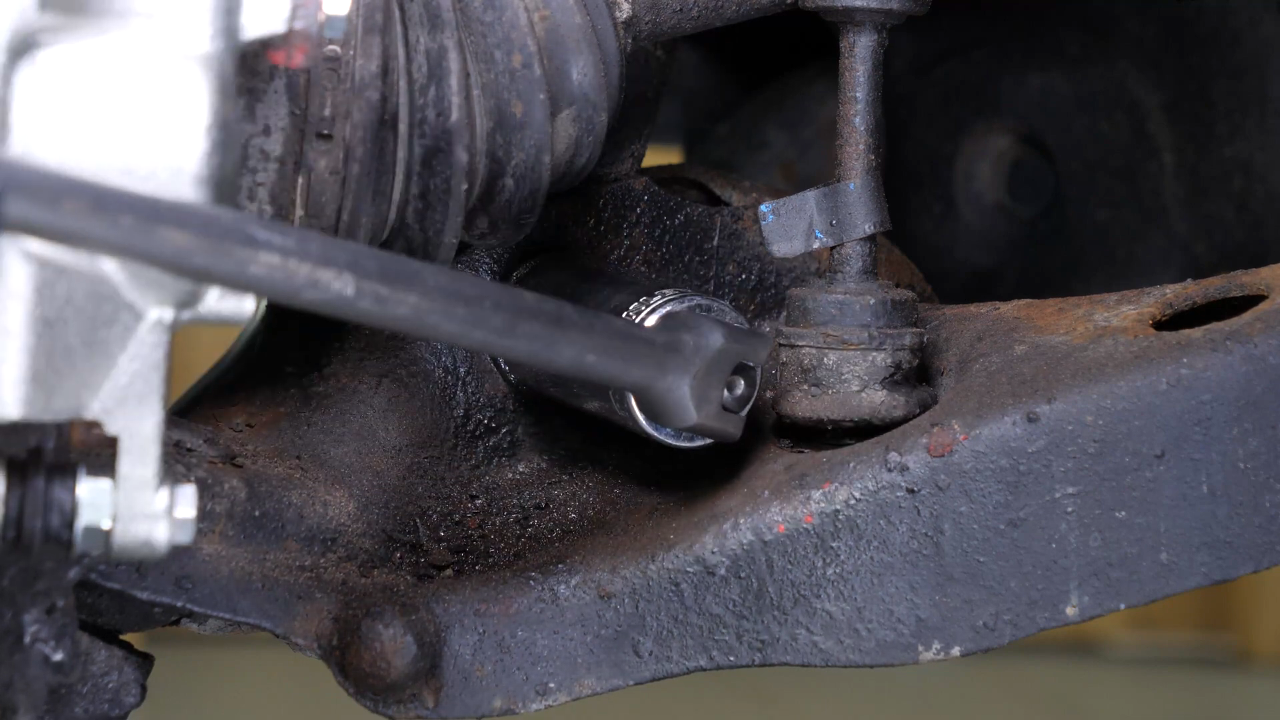
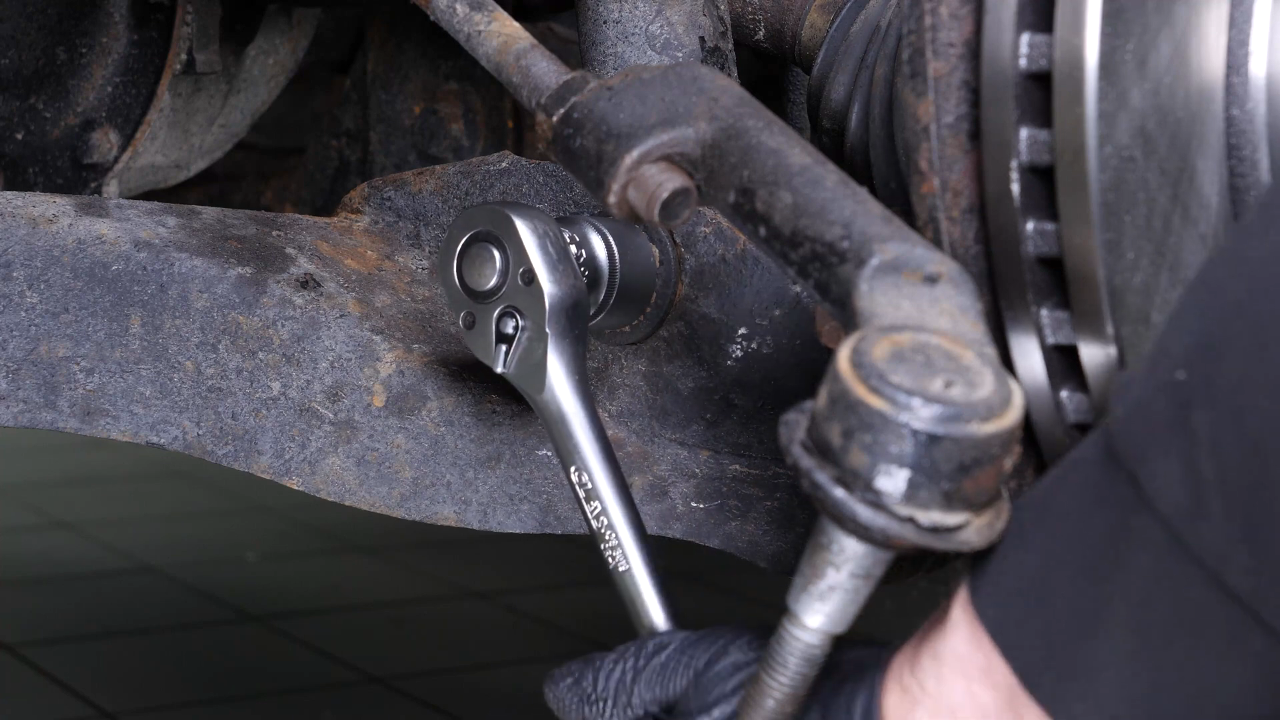
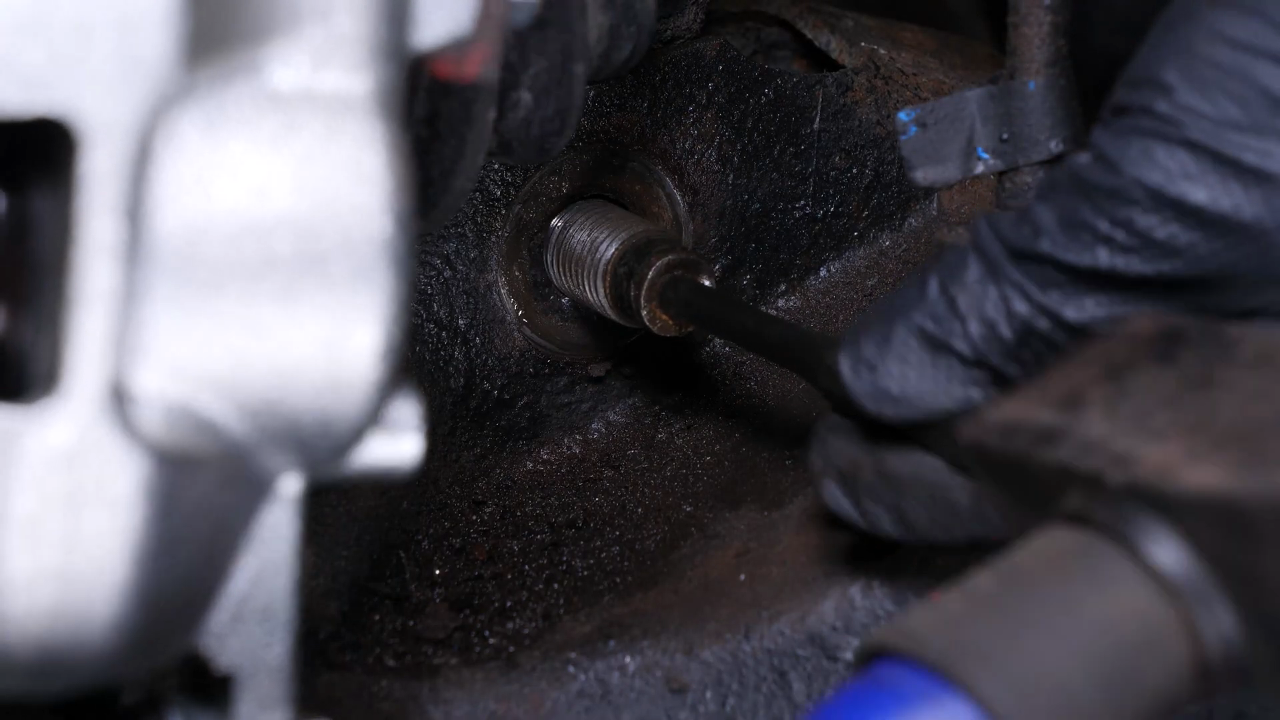
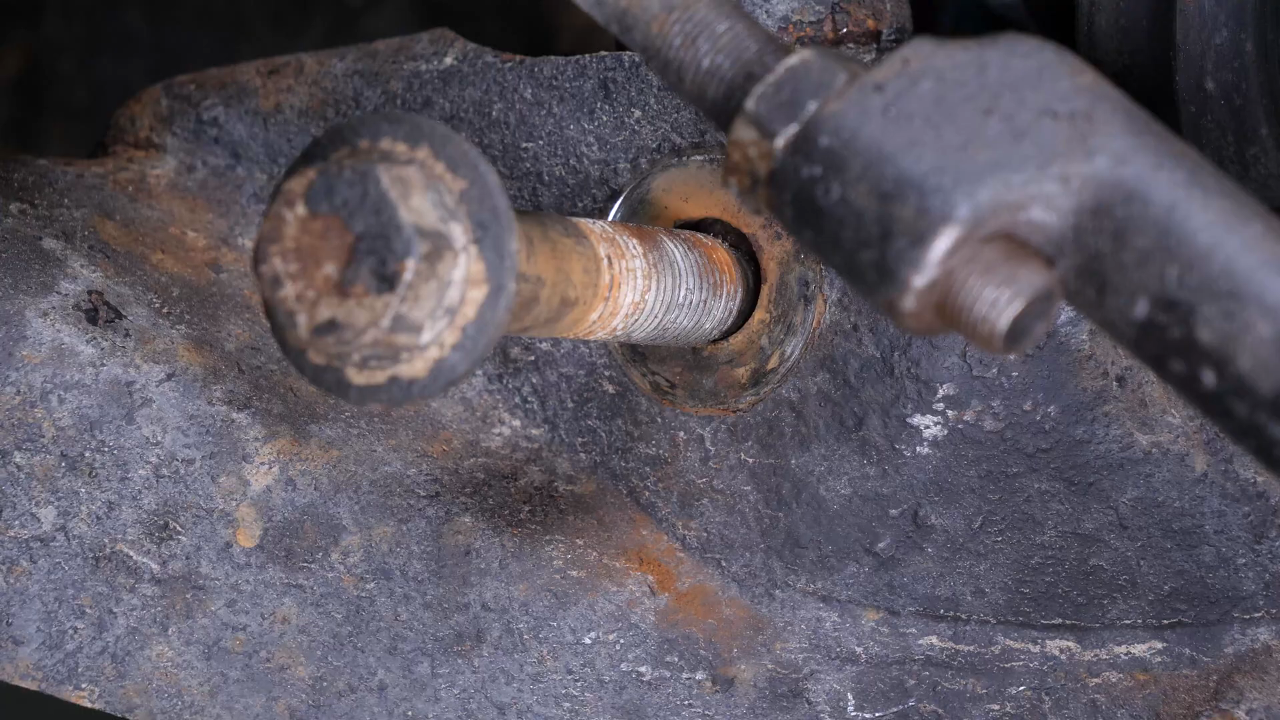
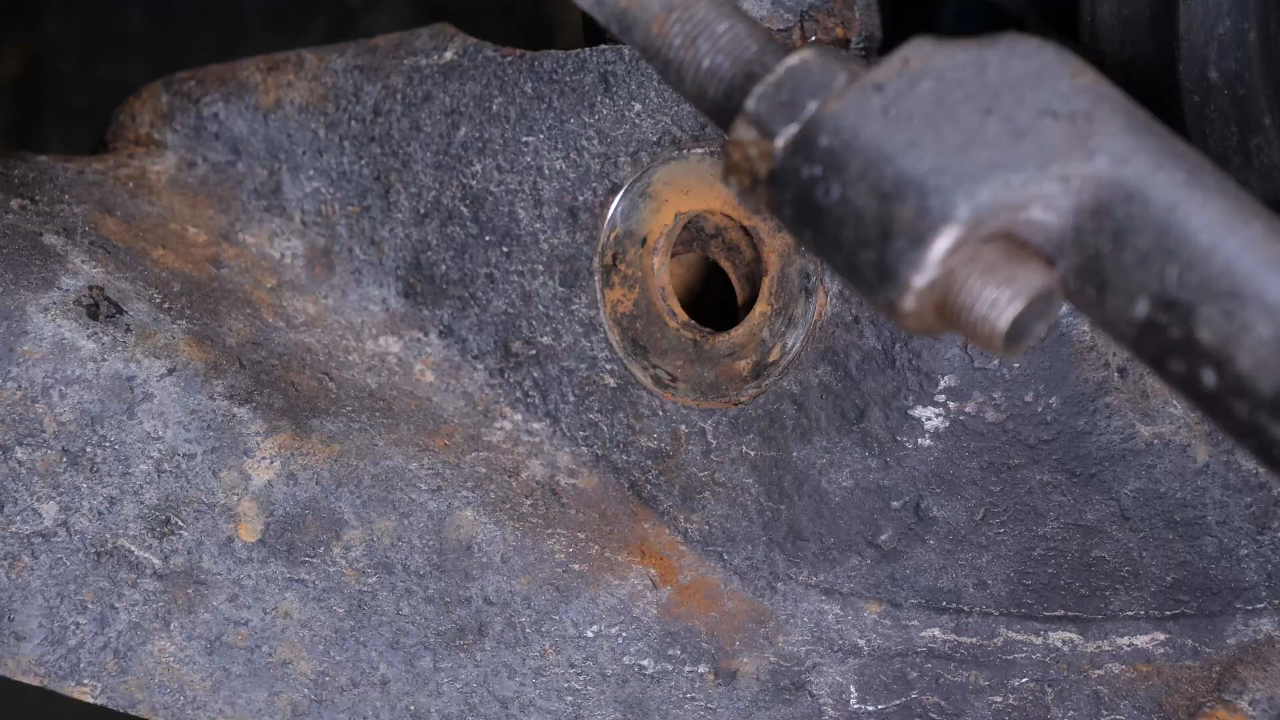
Brush the screw of the strut foot and spray it with penetrating oil. Then, using a breaker bar, a 30mm socket, and a ratchet and 27mm socket, unscrew the strut foot nut. Then remove the screw. You can use a pin punch and a hammer to help you remove it.
Chapter 6:
Unscrew the strut mount bearing nuts
Step 1/1
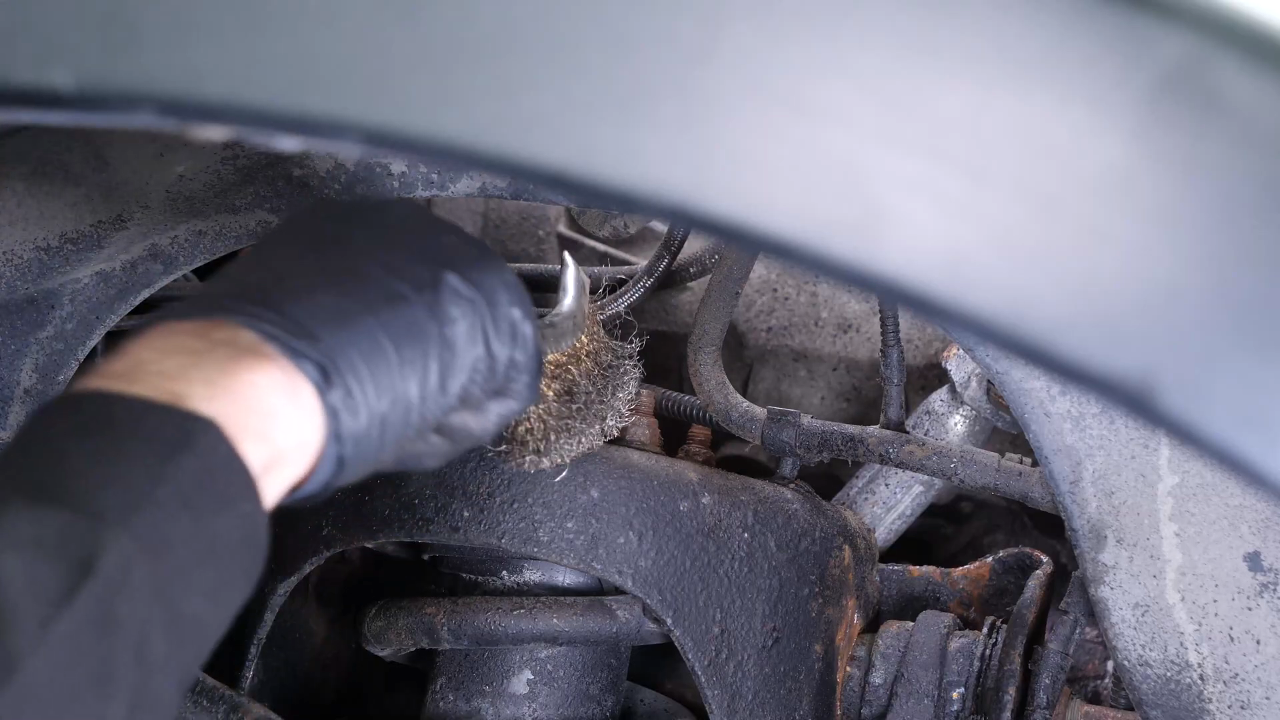
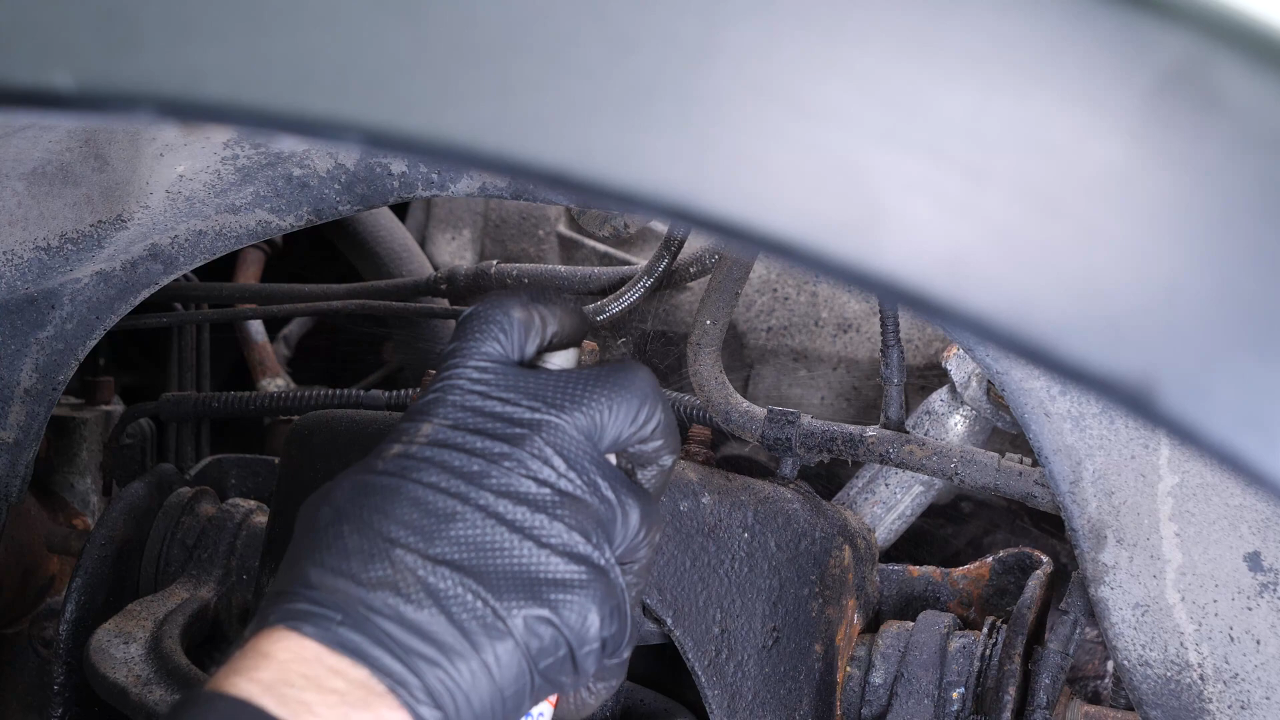
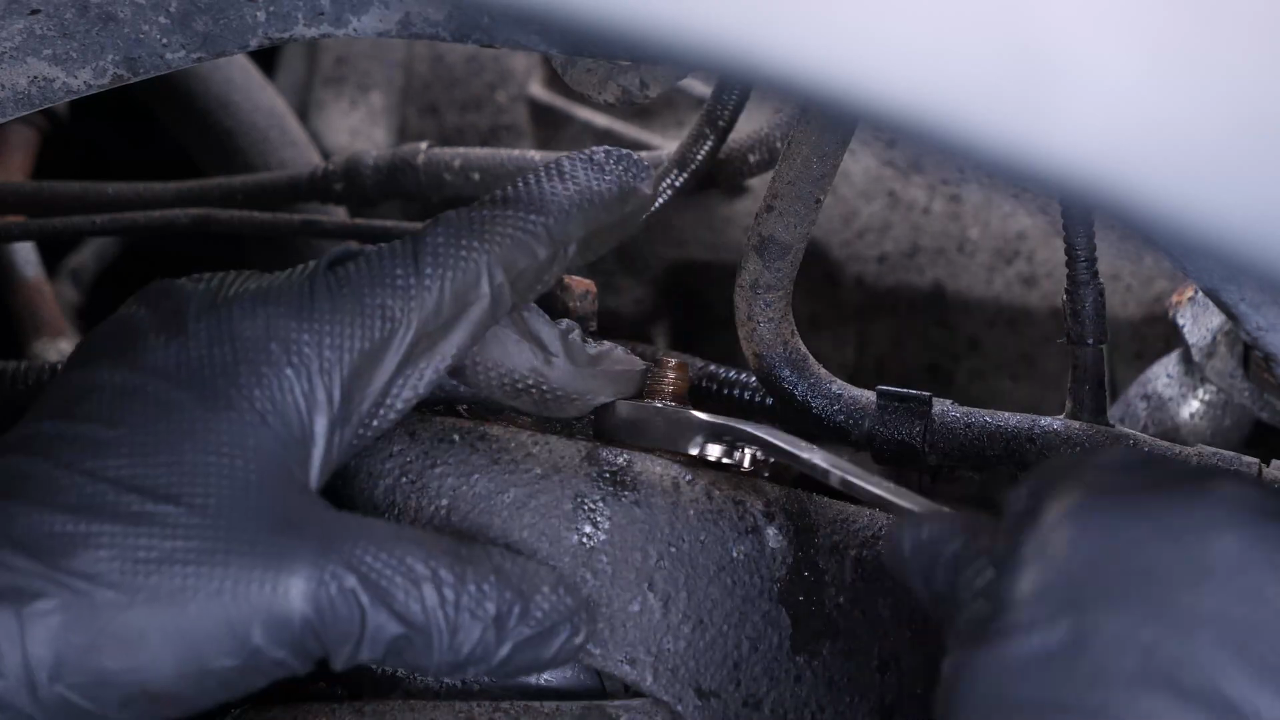
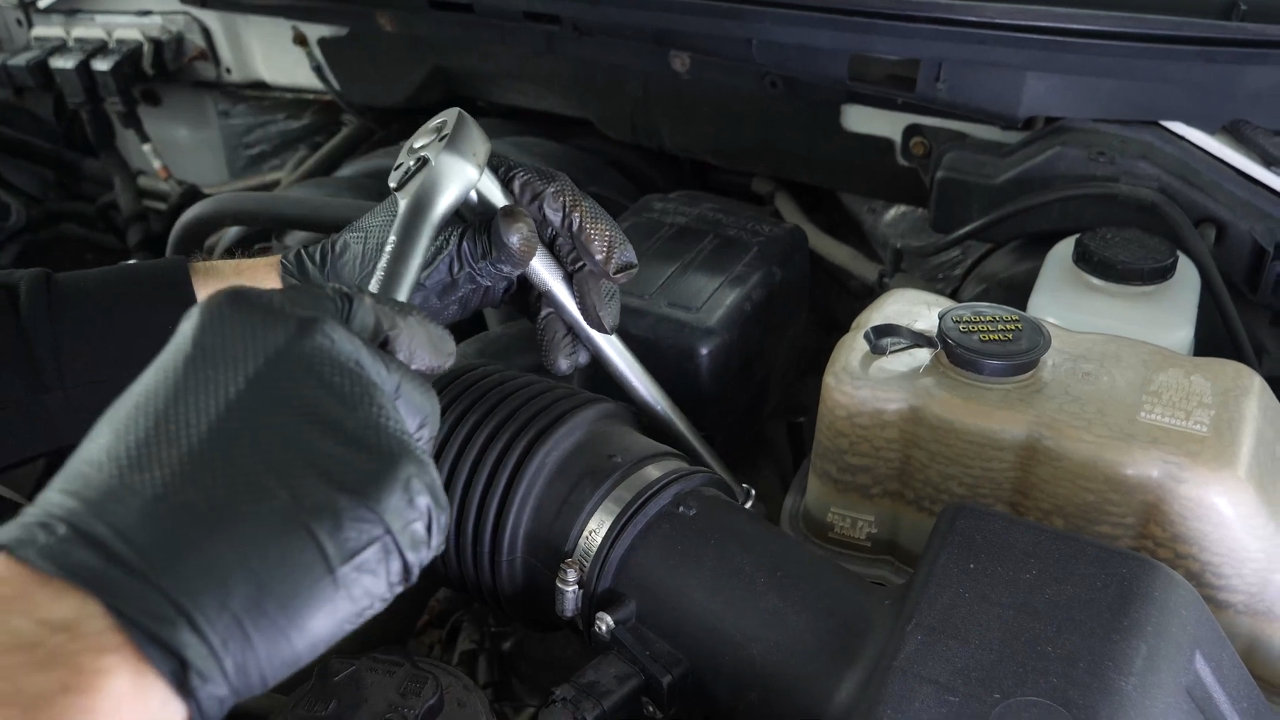
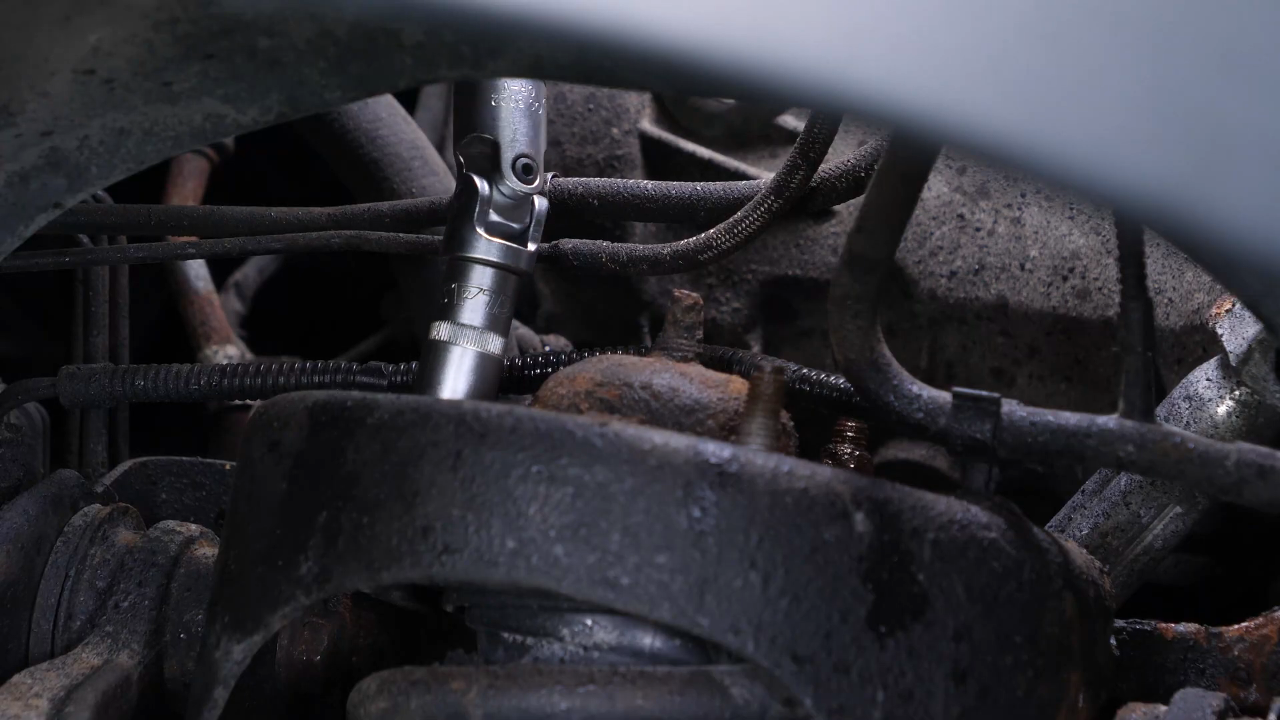
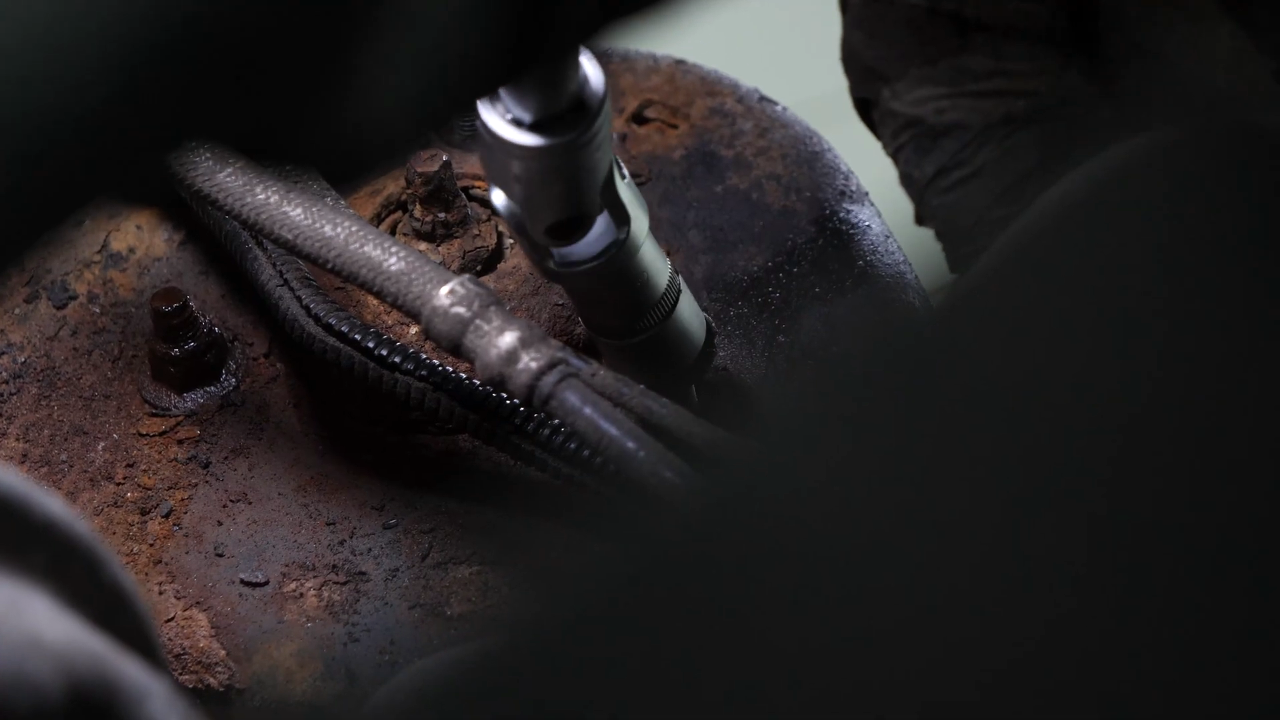
Brush the 3 screws holding the strut mount bearing and spray it with penetrating oil. You can unscrew the first nut using a 15mm ratchet ring spanner. For the remaining 2, we advise you to go through the engine compartment, and to use a ratchet, an extension, a gimbal and a 15mm socket.
Chapter 7:
Remove the sway bar end link
Step 1/1
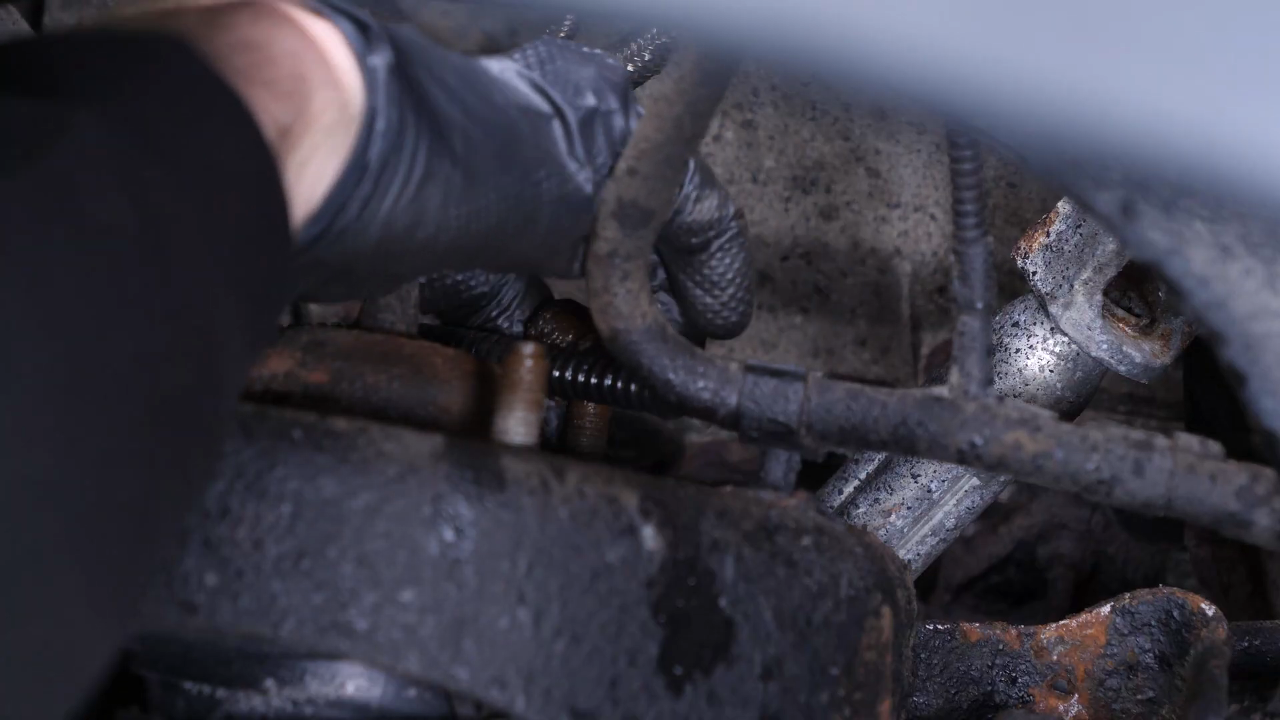
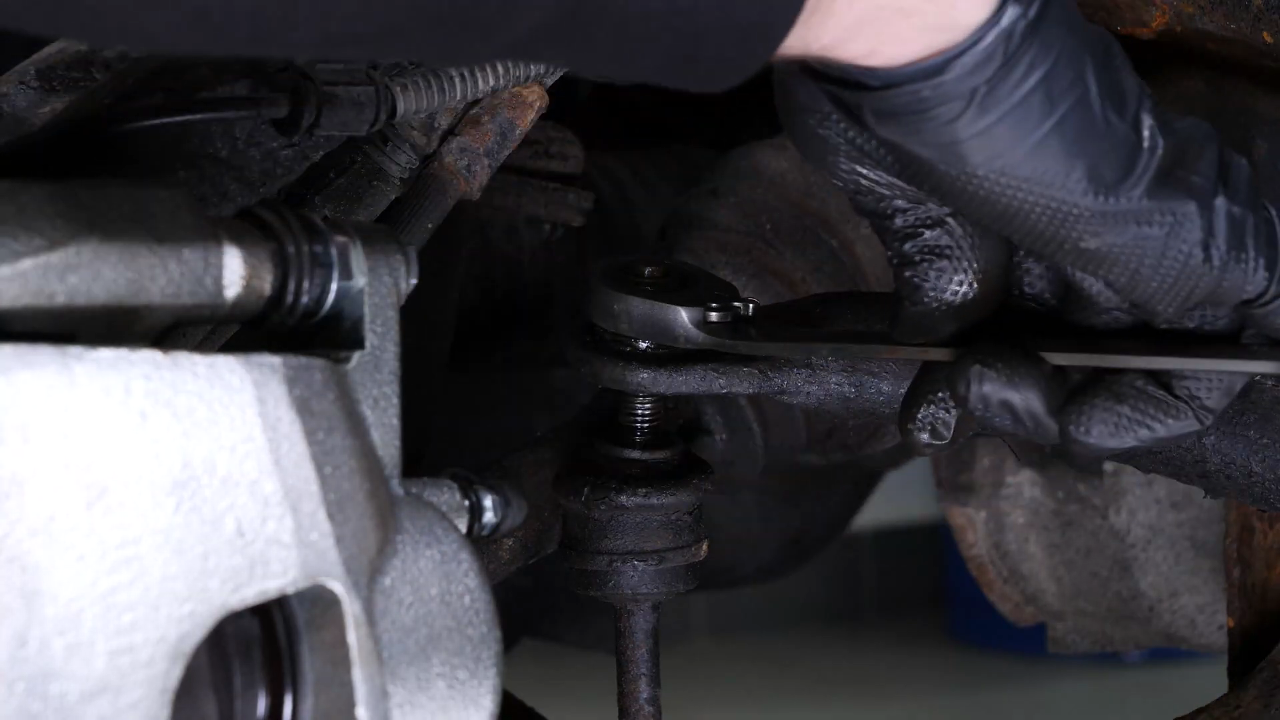
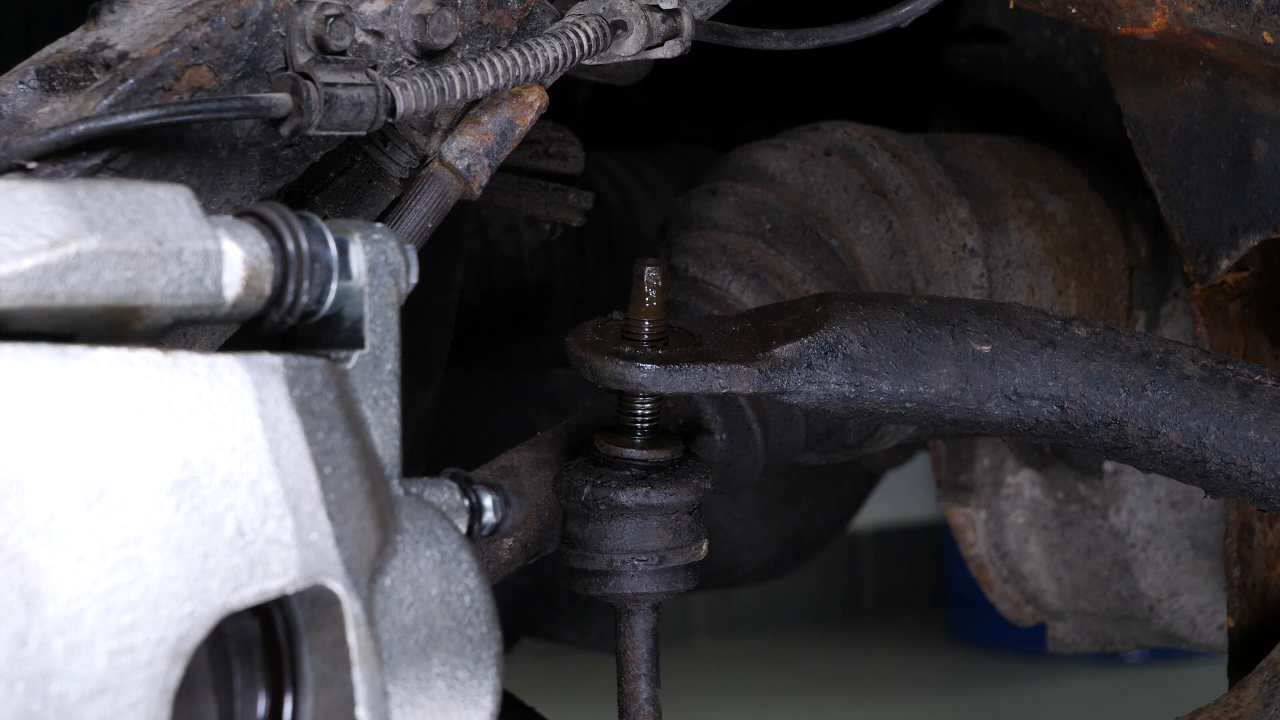
The strut is now free. Yet, other elements must be removed in order to extract it. Start by disassociating the sway bar end link from the sway bar. To do so, we recommend watching the video : “How to replace the sway bar link Ford F-150?”
Chapter 8:
Unscrew the upper control arm ball joint nut
Step 1/3
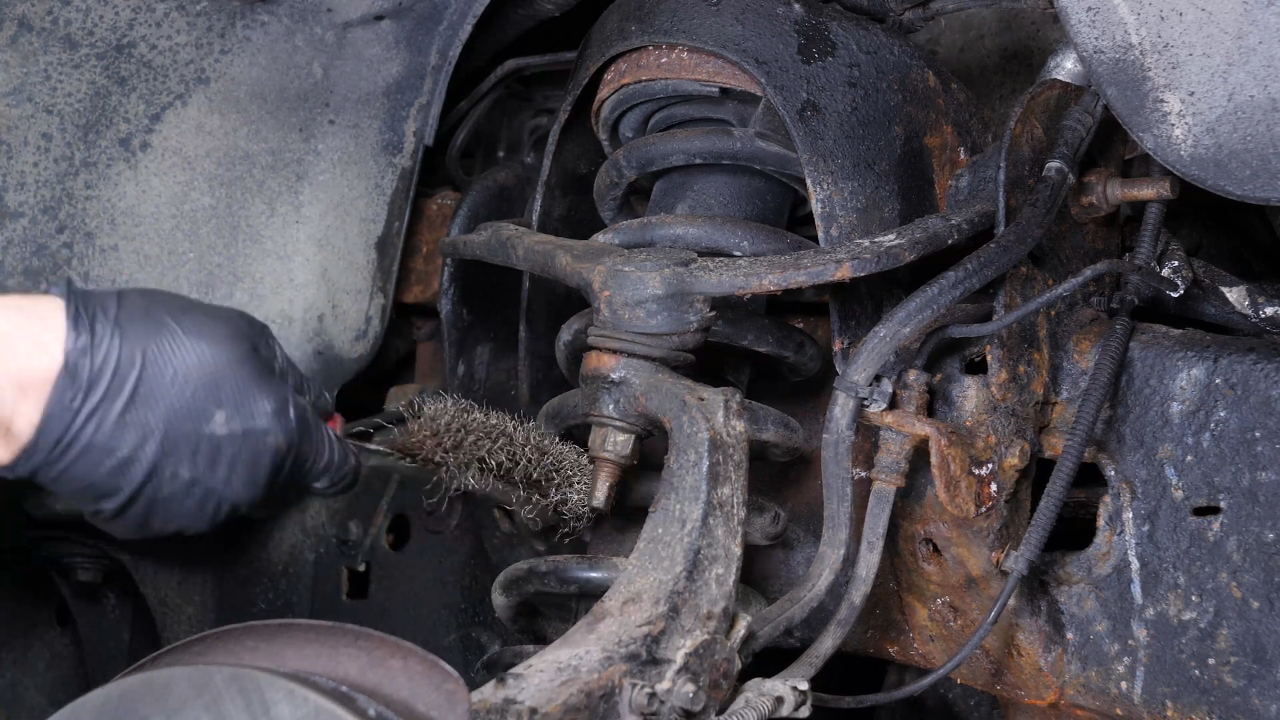
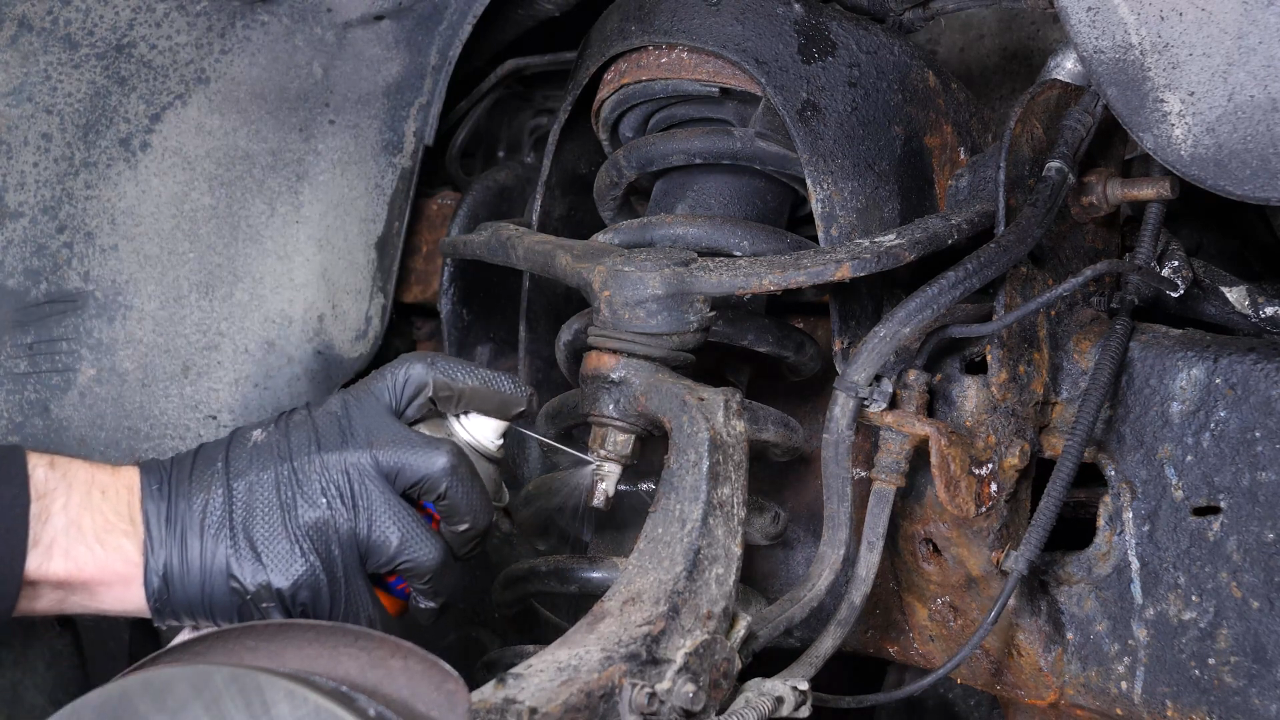
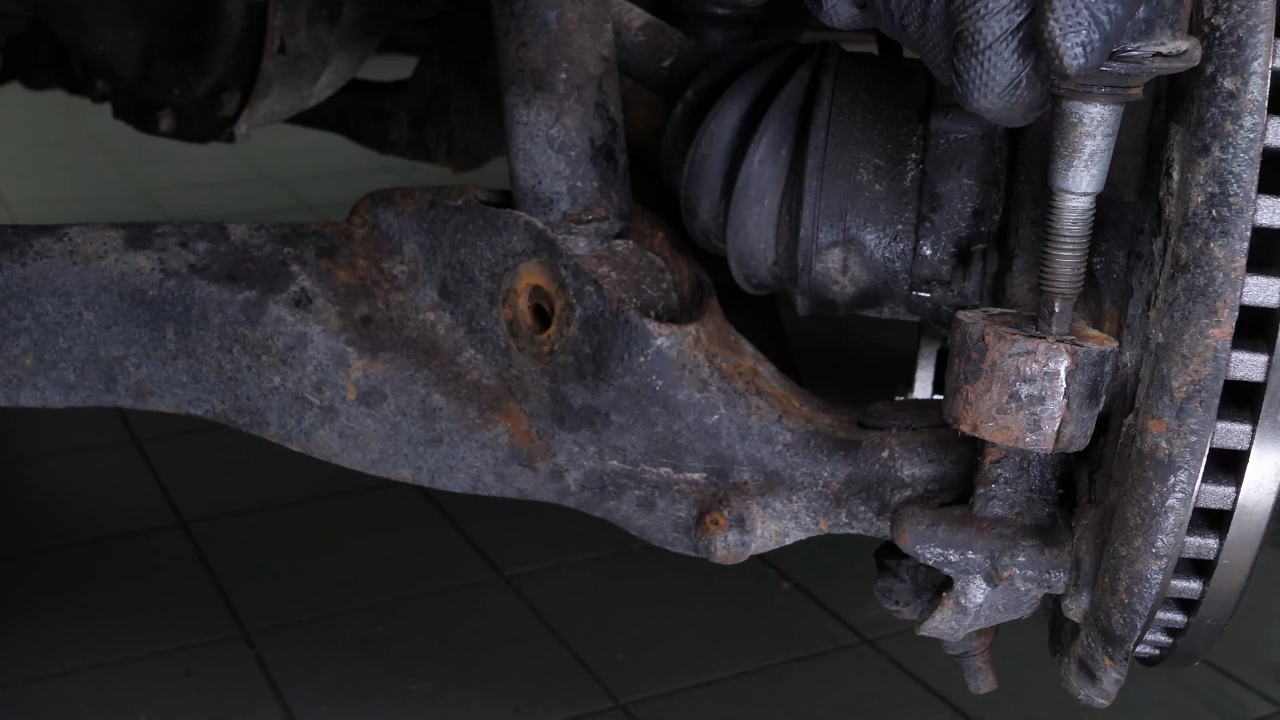
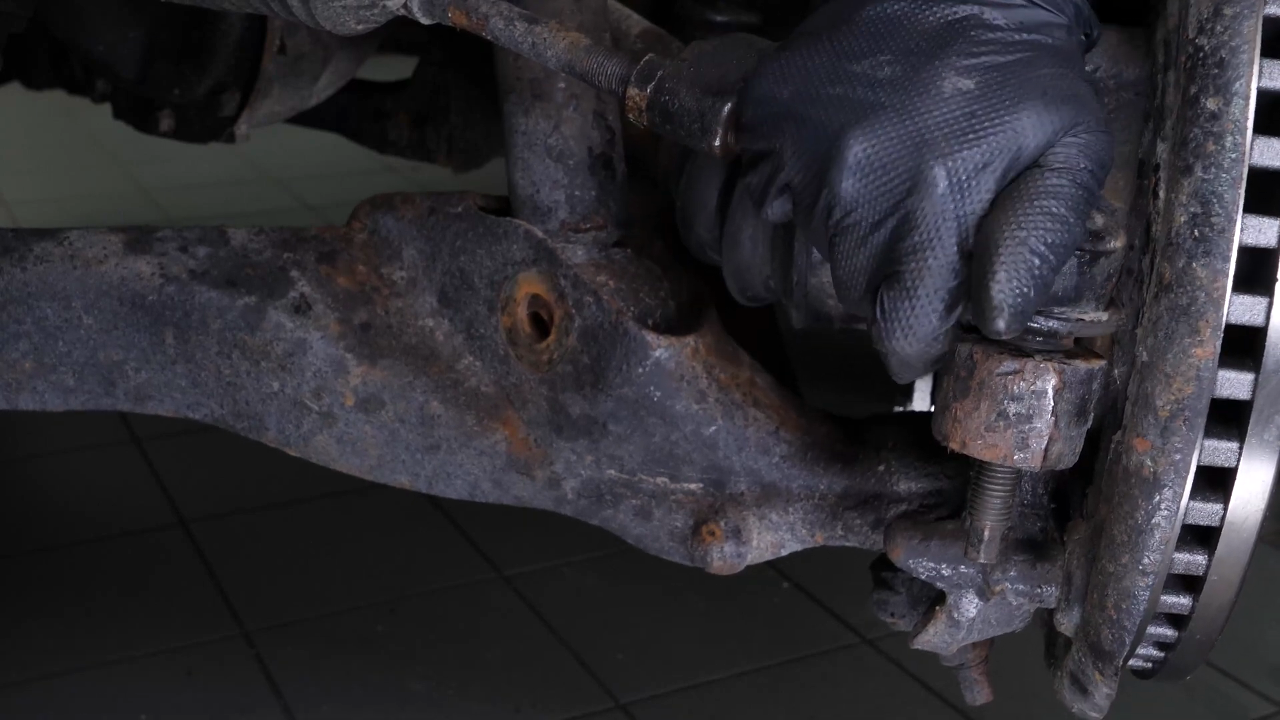
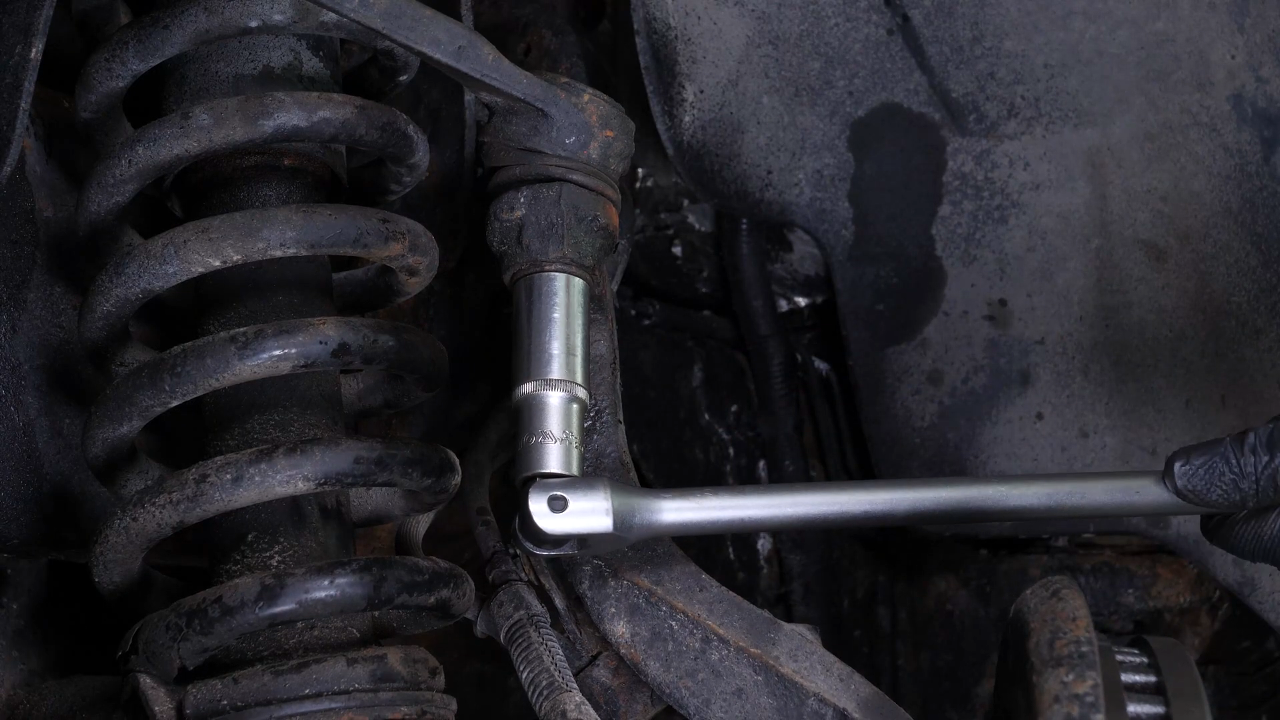
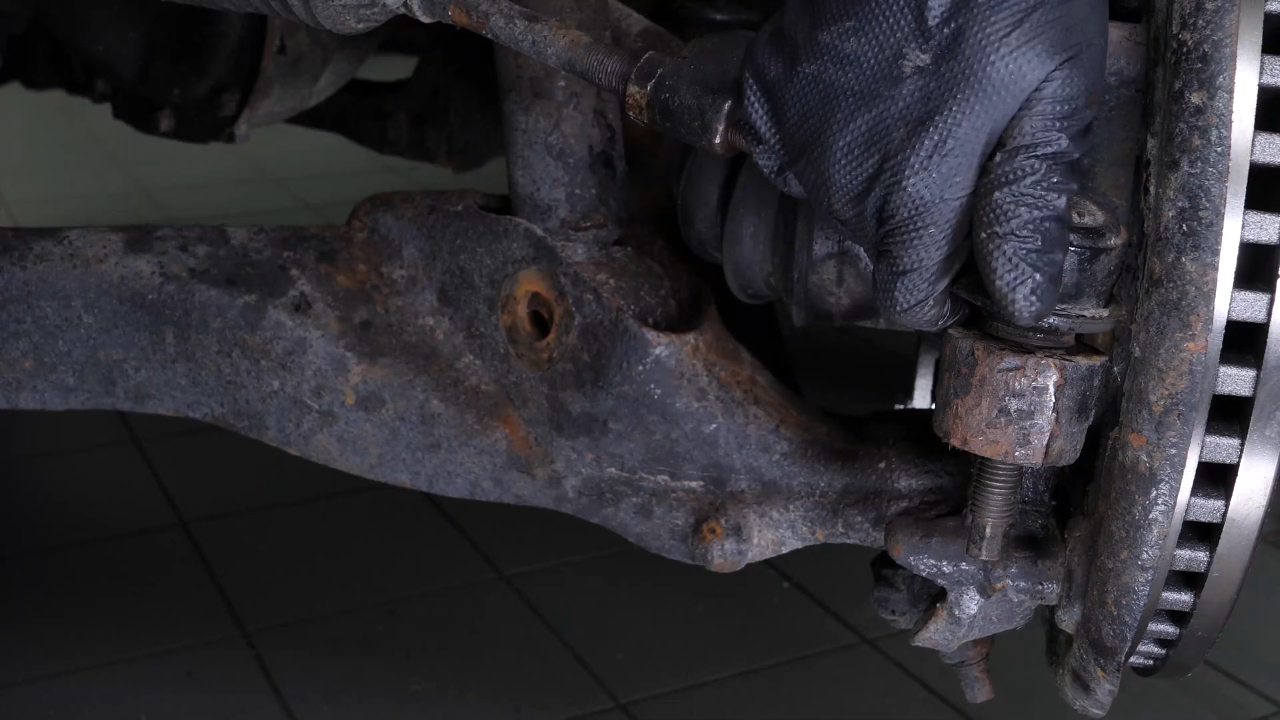
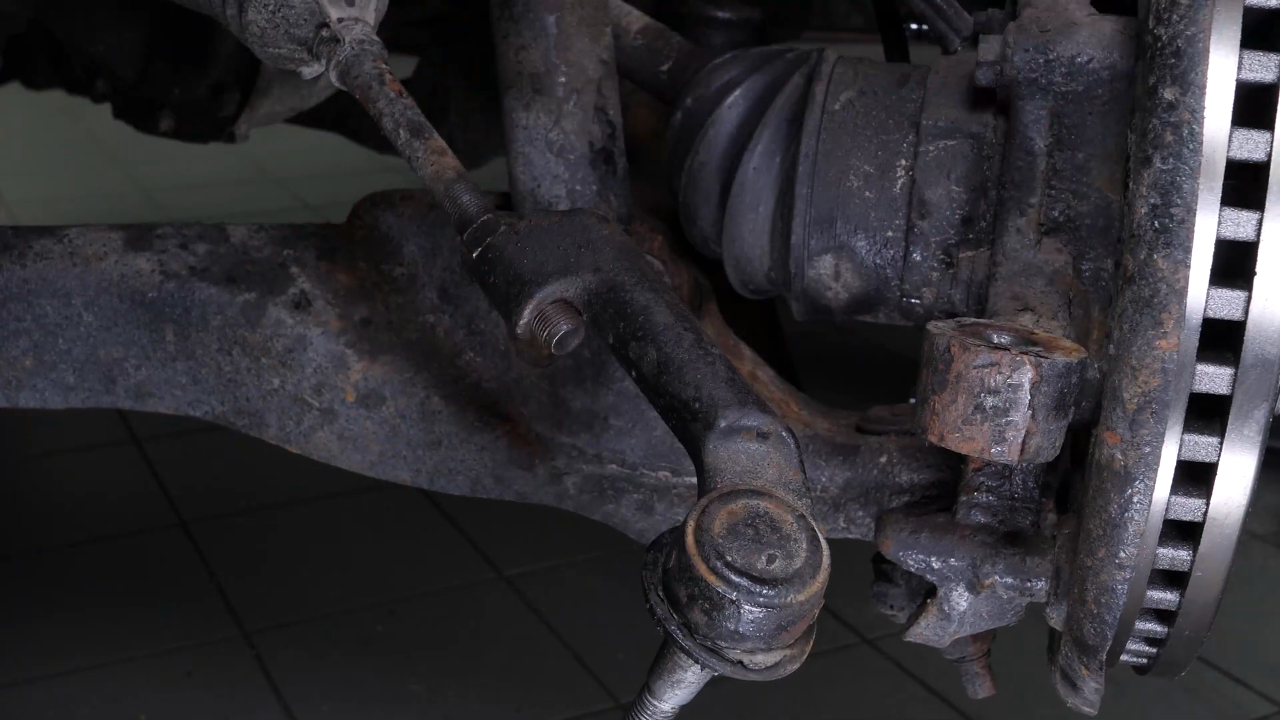
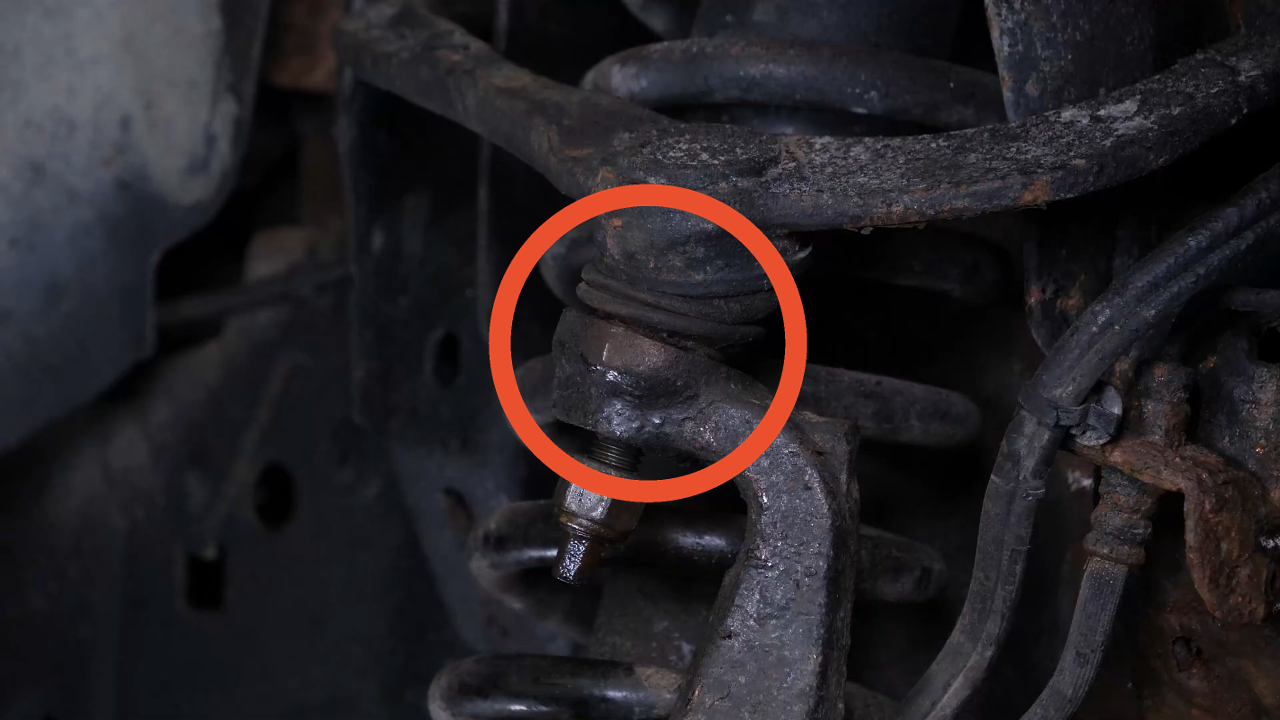
This will give you the necessary leeway to remove the shock absorber foot later on. You must then disengage the upper control arm ball joint of the wheel knuckle. Brush the upper control arm ball joint retainer nut and spray it with penetrating oil.
Chapter 8:
Step 2/3
Tip: to avoid everything rotating when unscrewing, reinsert the outer tie rod into its knuckle without screwing it back in. Then release the ball joint with a breaker bar and a 21mm socket. Then remove the outer tie rod.
Chapter 8:
Step 3/3
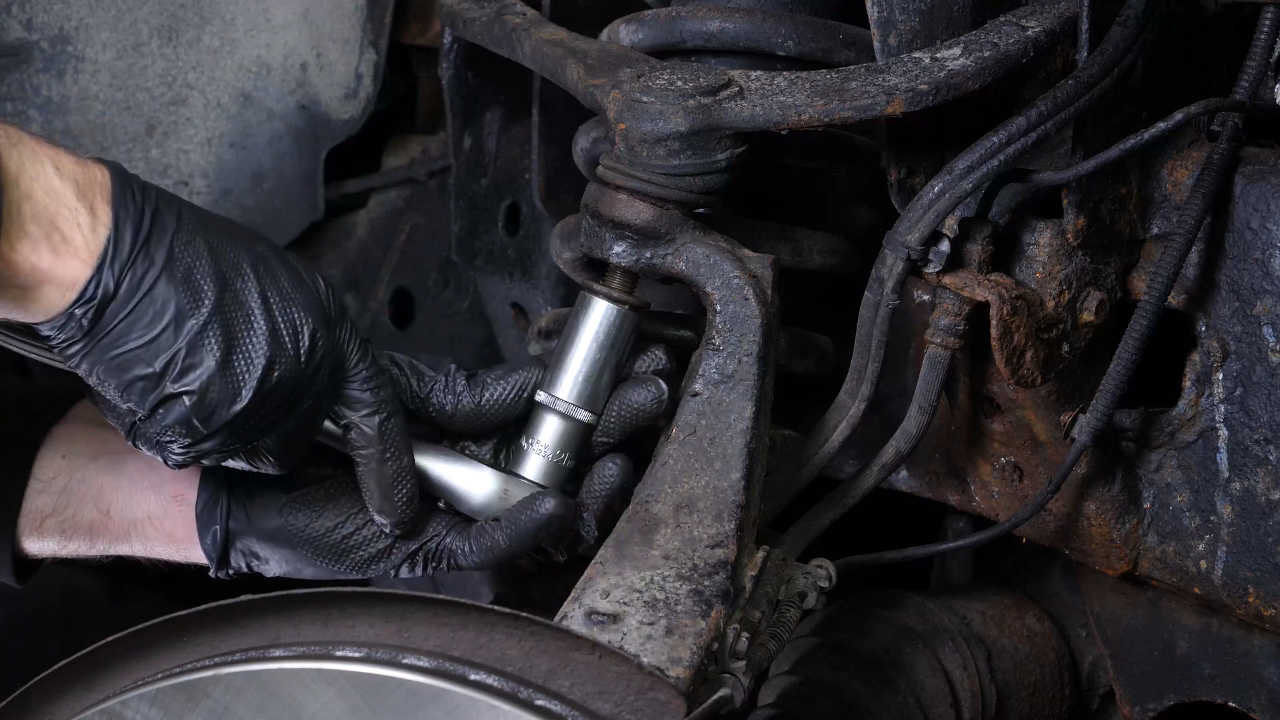
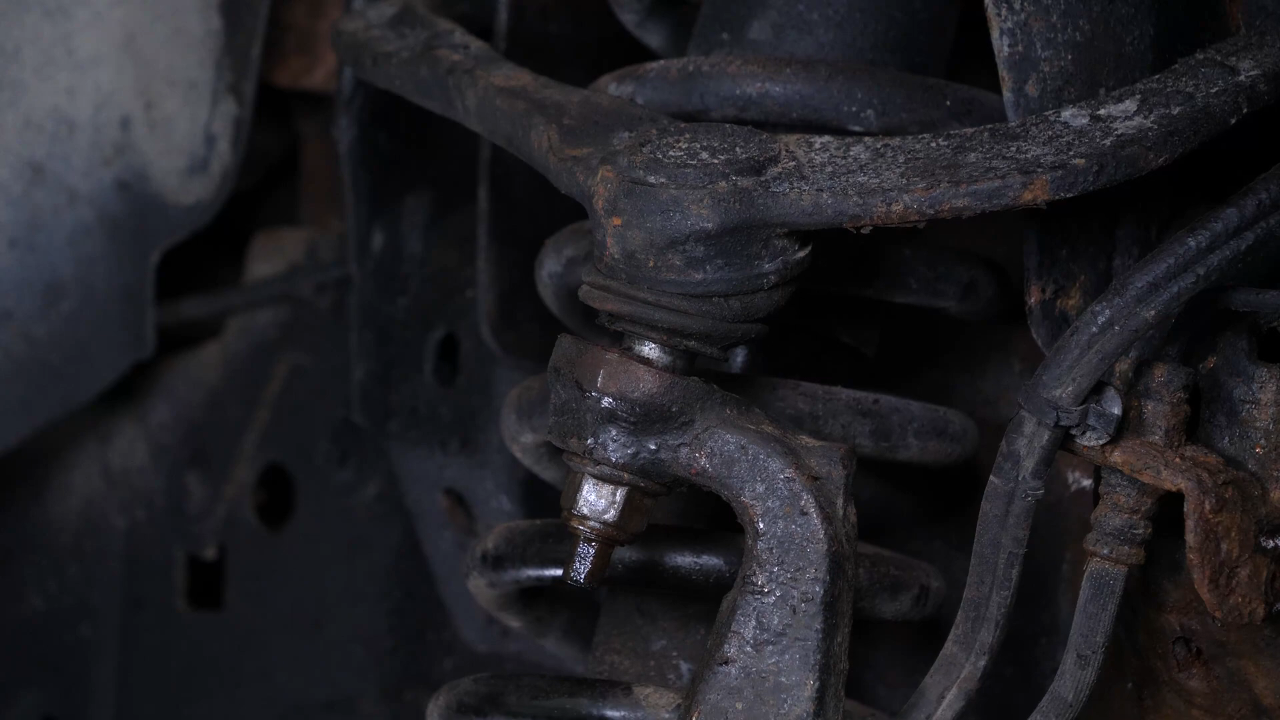
Unscrew the nut with a ratchet without removing it completely. Disengage the ball joint from the knuckle hitting it with a hammer.
Chapter 9:
Remove the strut
Step 1/2
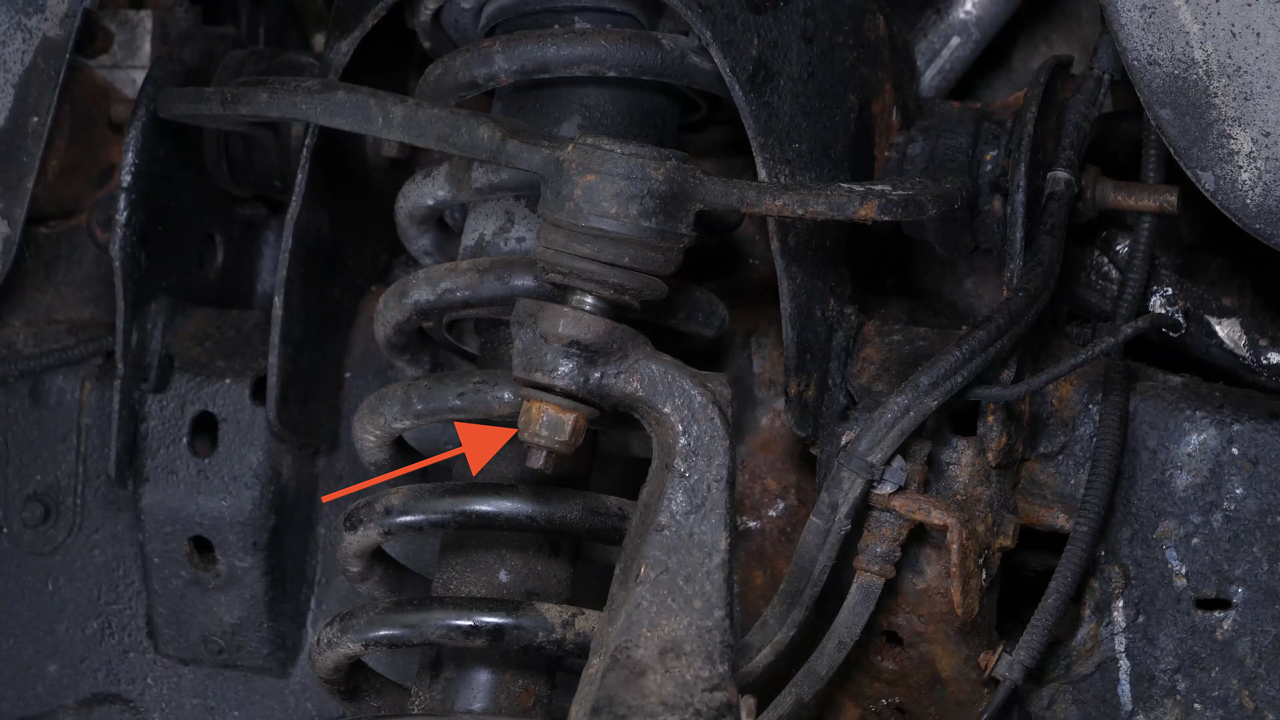
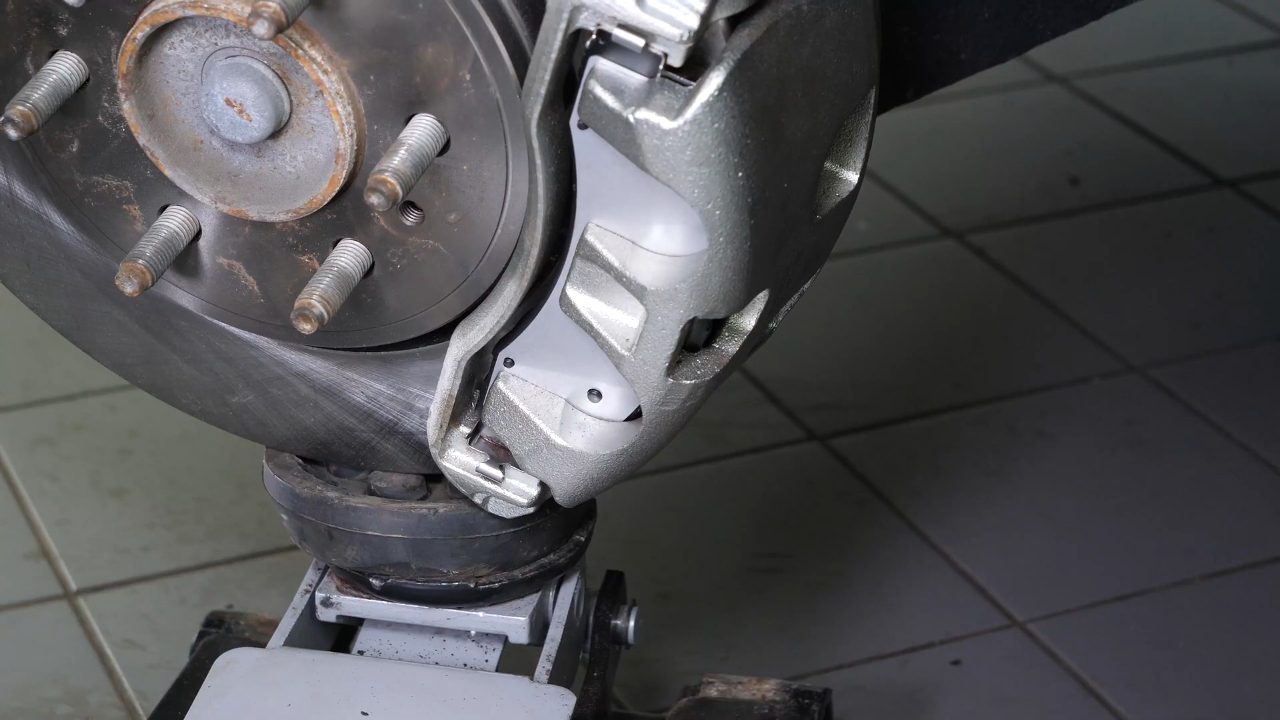
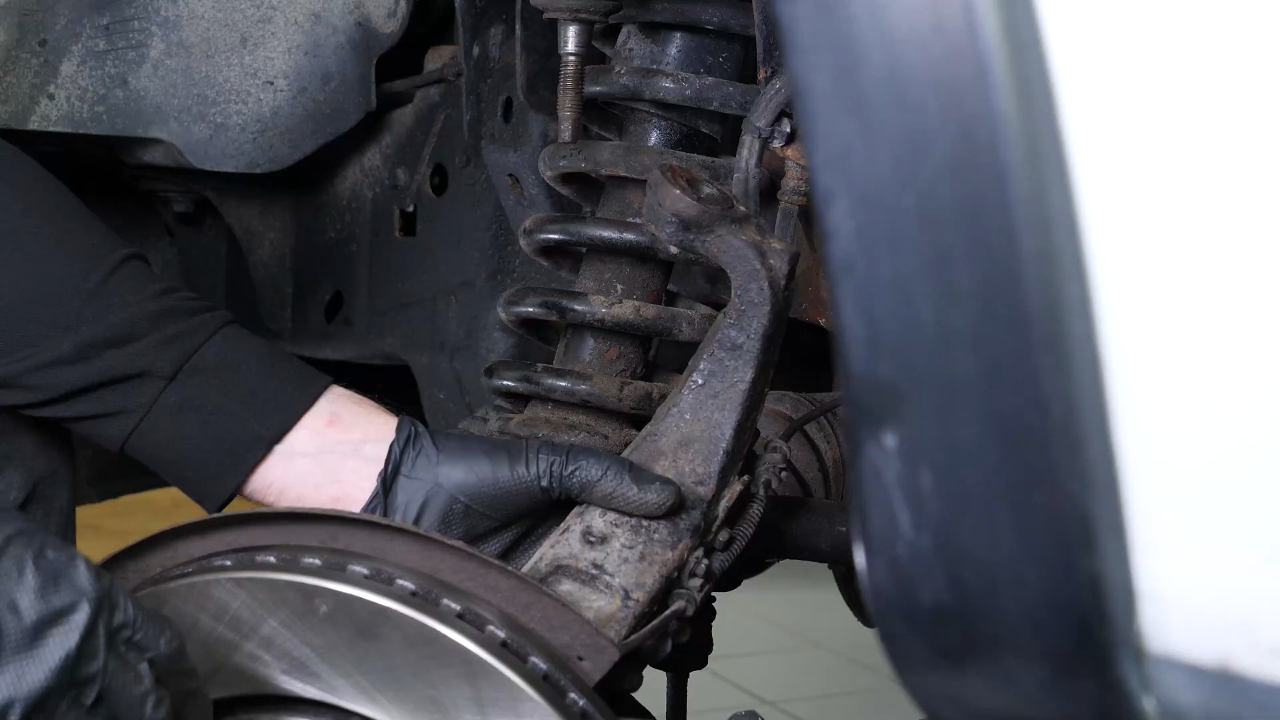
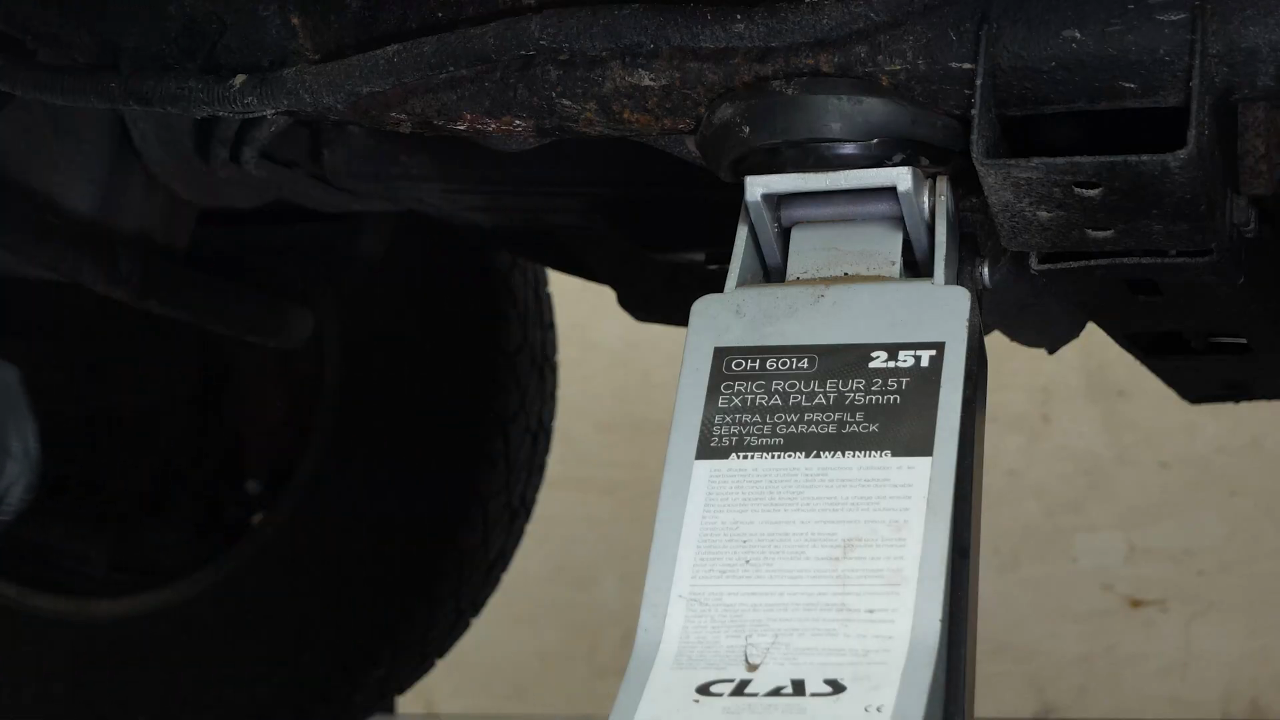
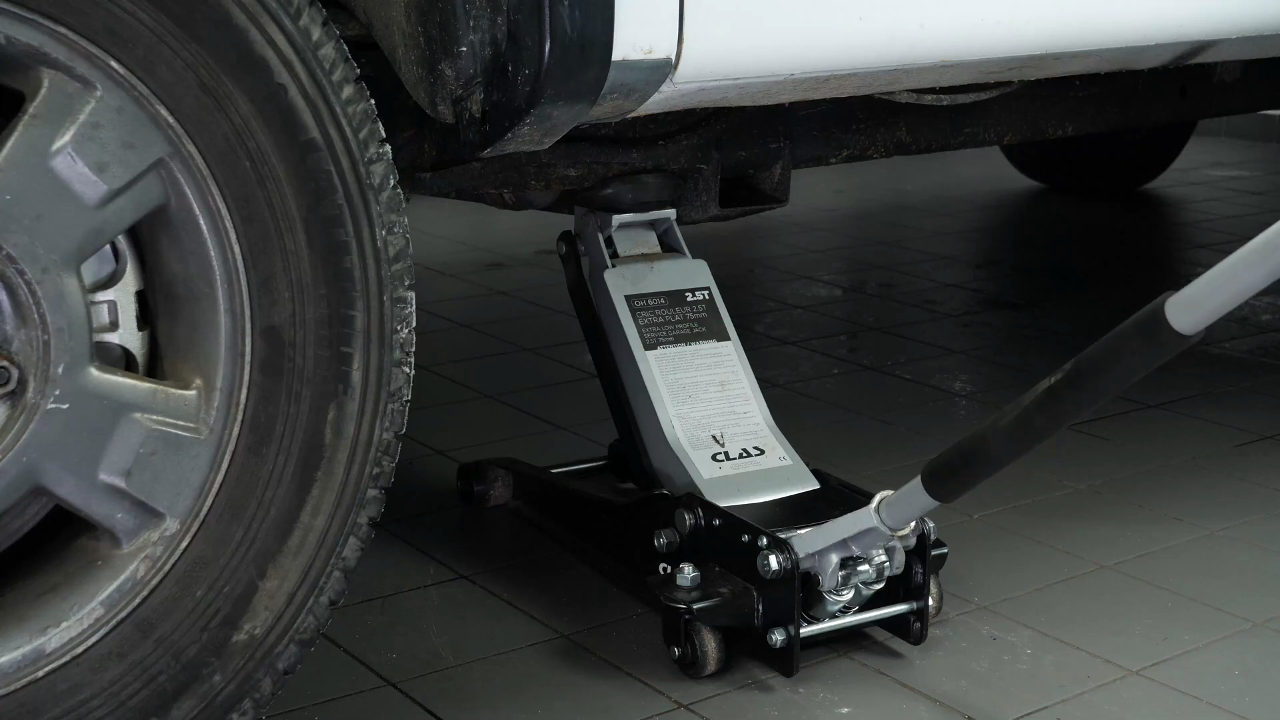
Before removing the nut, it is necessary to support the lower control arm with a jack to prevent the wheel knuckle from falling. Once the whole is secured, finish unscrewing the nut.


Chapter 9:
Step 2/2
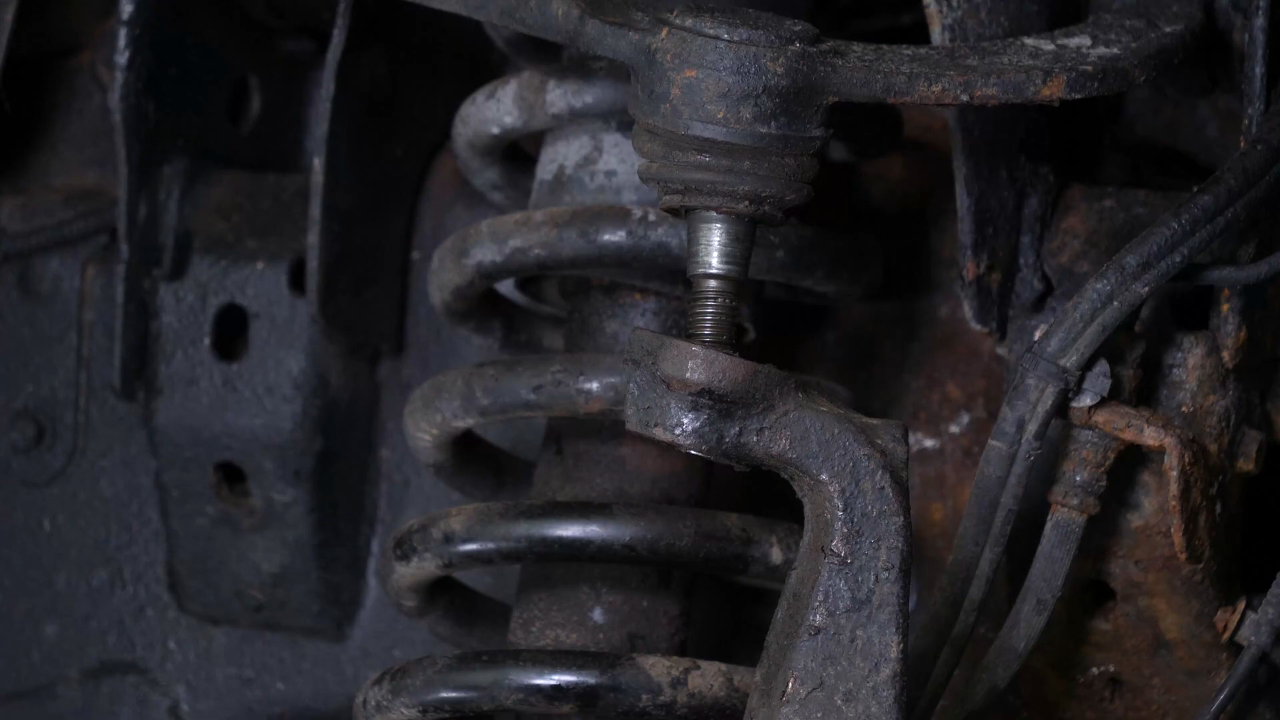
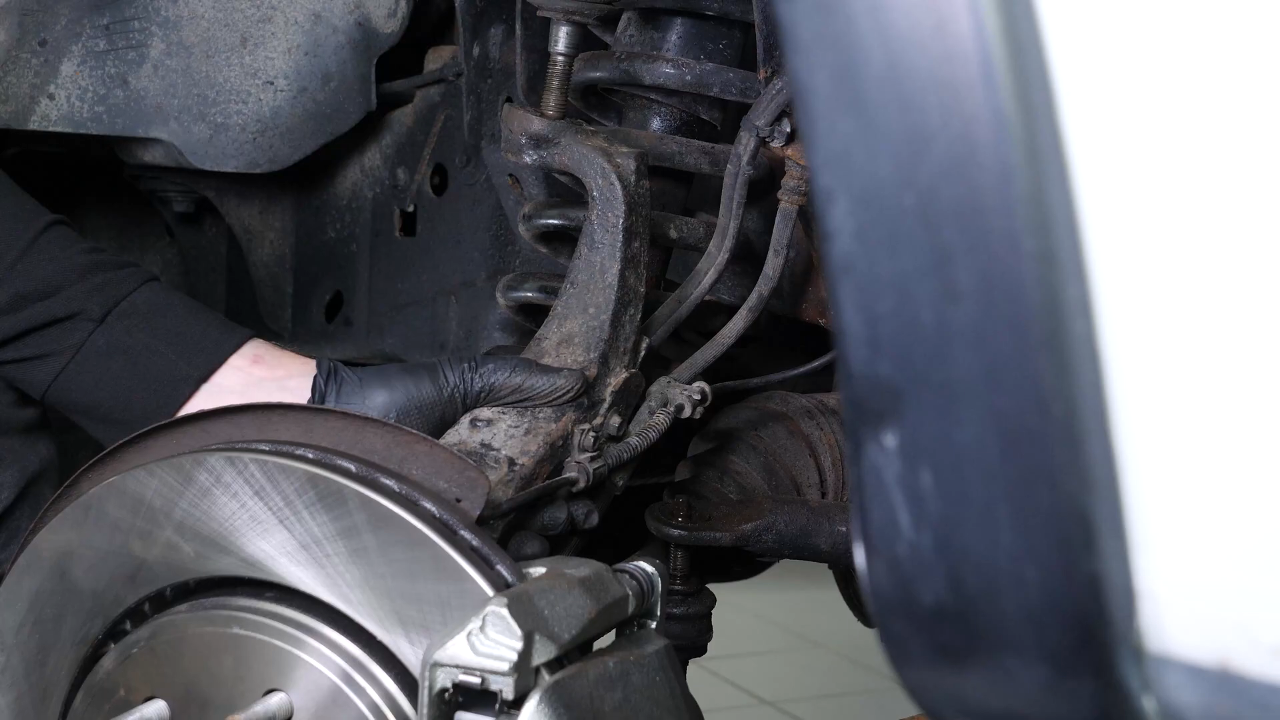
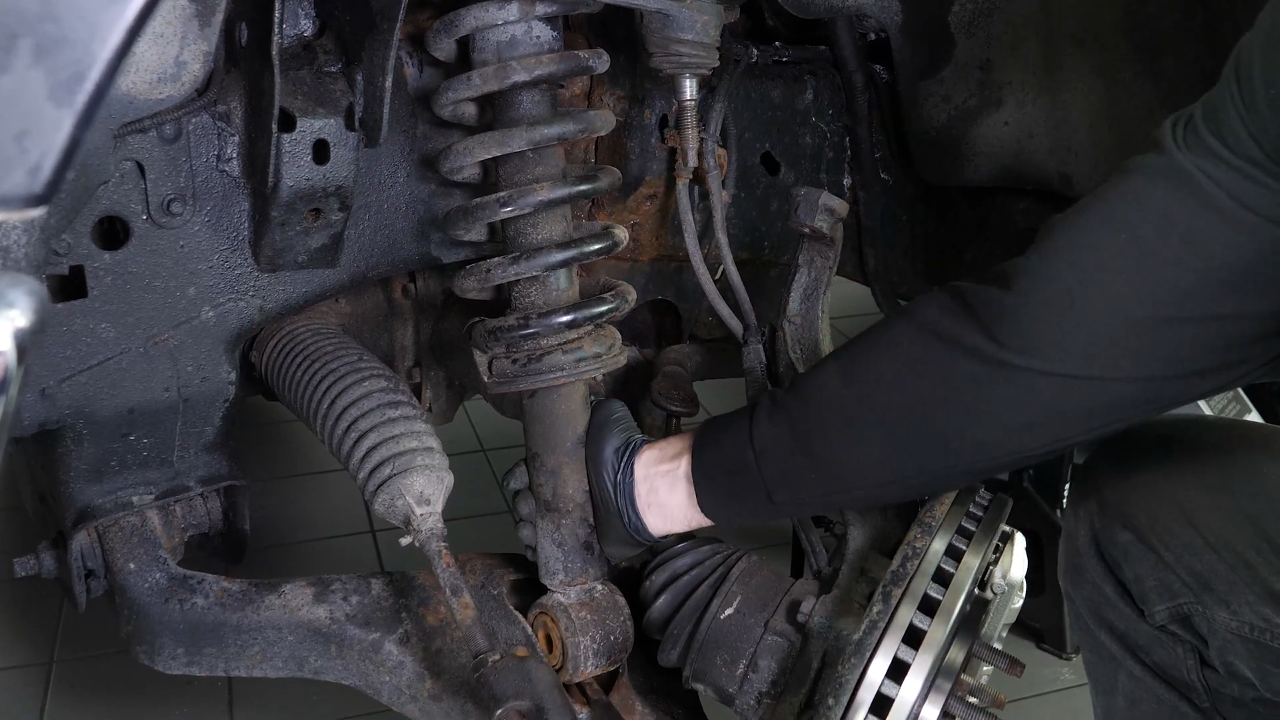
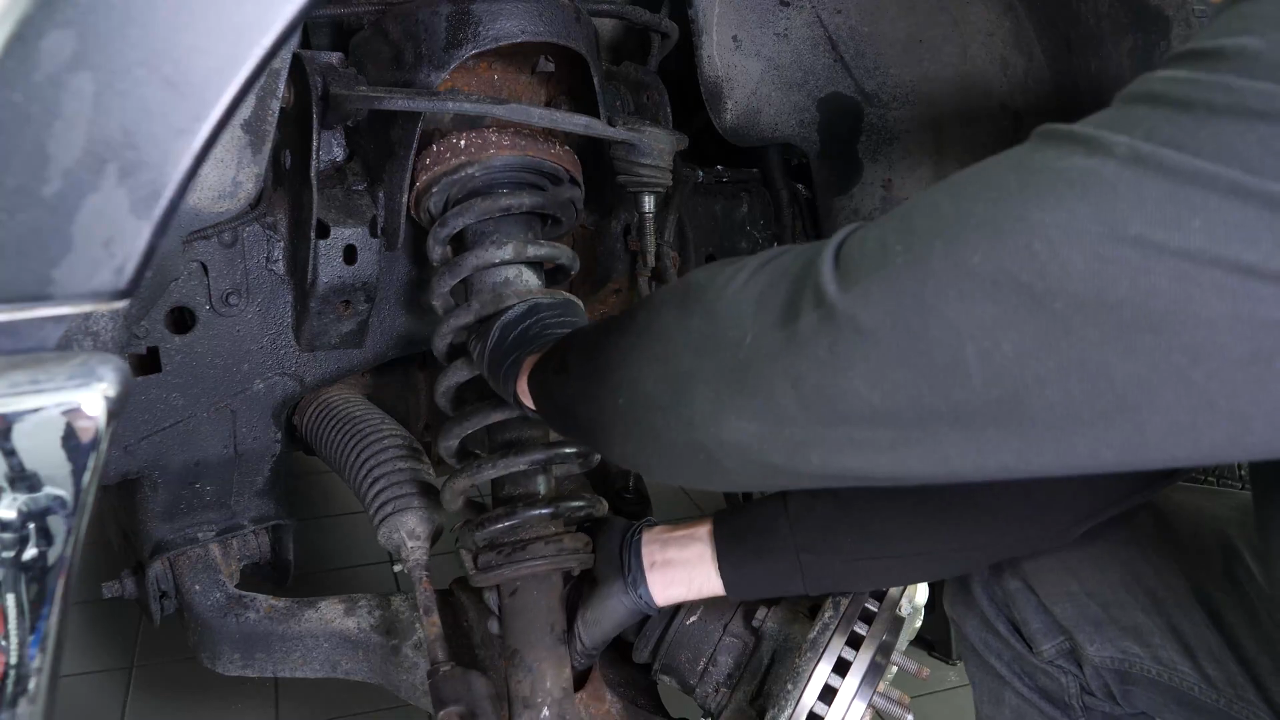
Lower the wheel knuckle slightly with the jack to disconnect the ball joint, to create the space needed to remove the strut. Using a crowbar, release the strut foot from the control arm. Remove the strut.

Chapter 10:
Install the new strut
Step 1/3
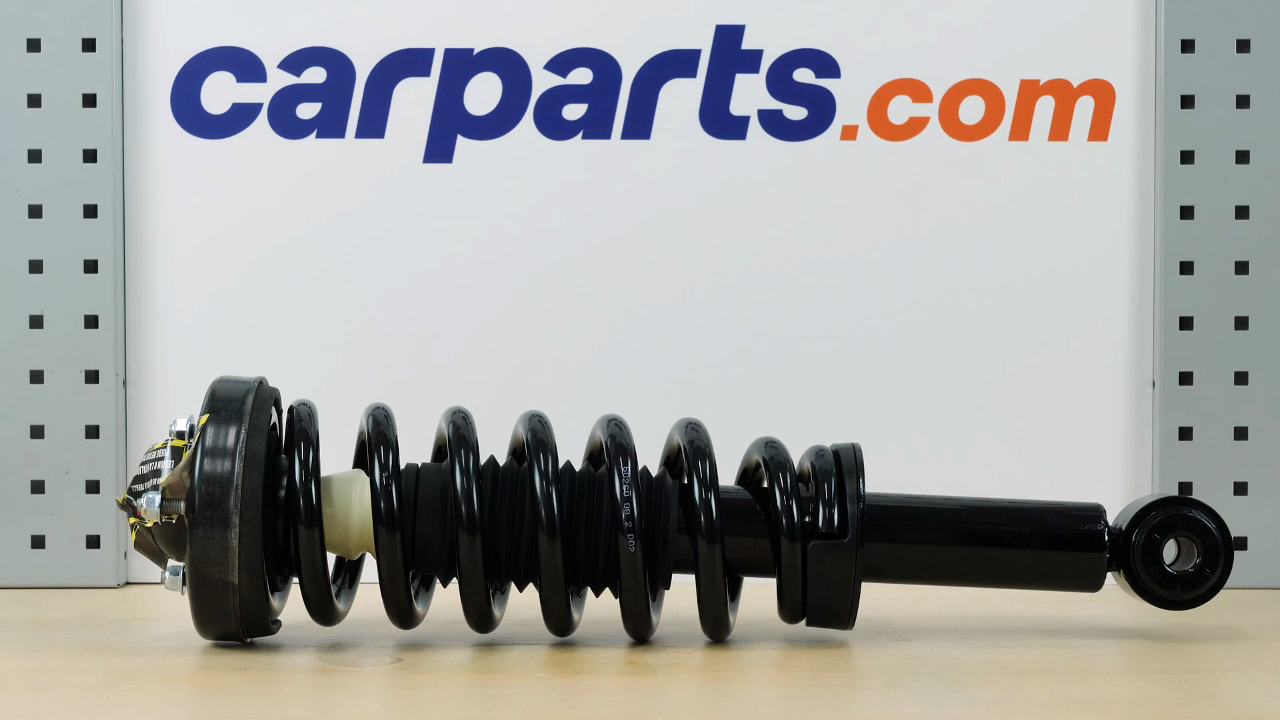
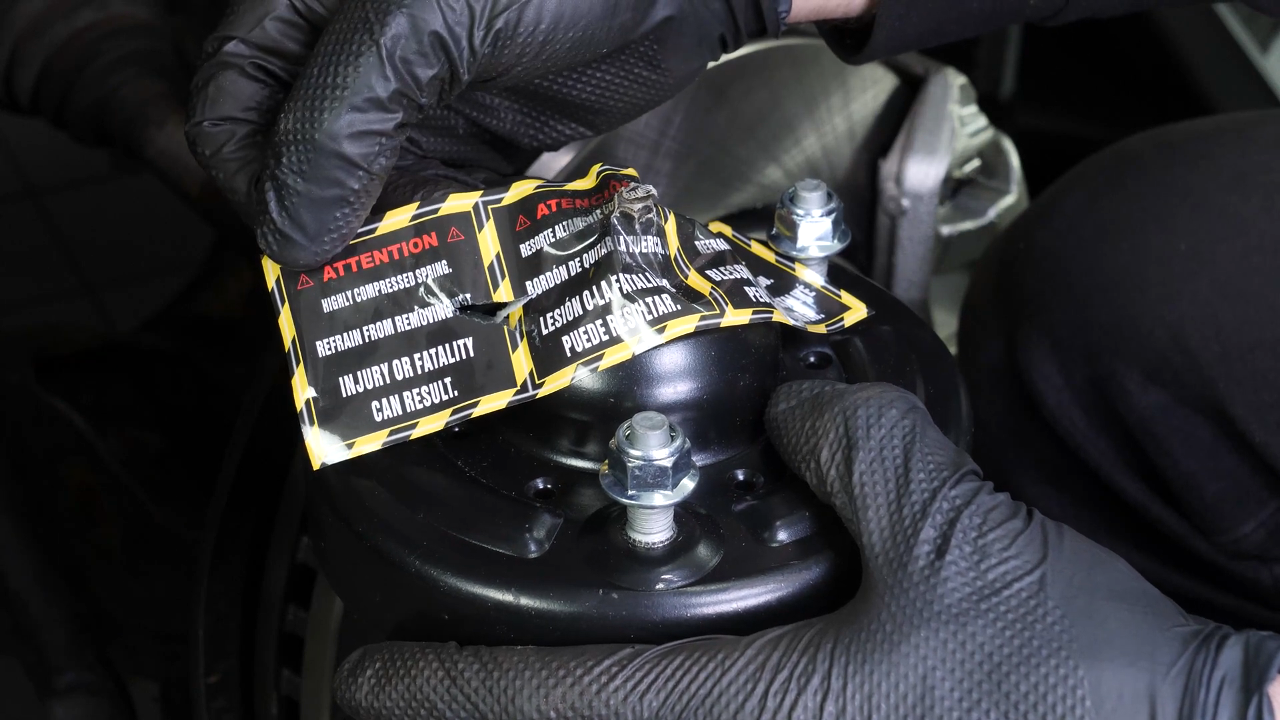
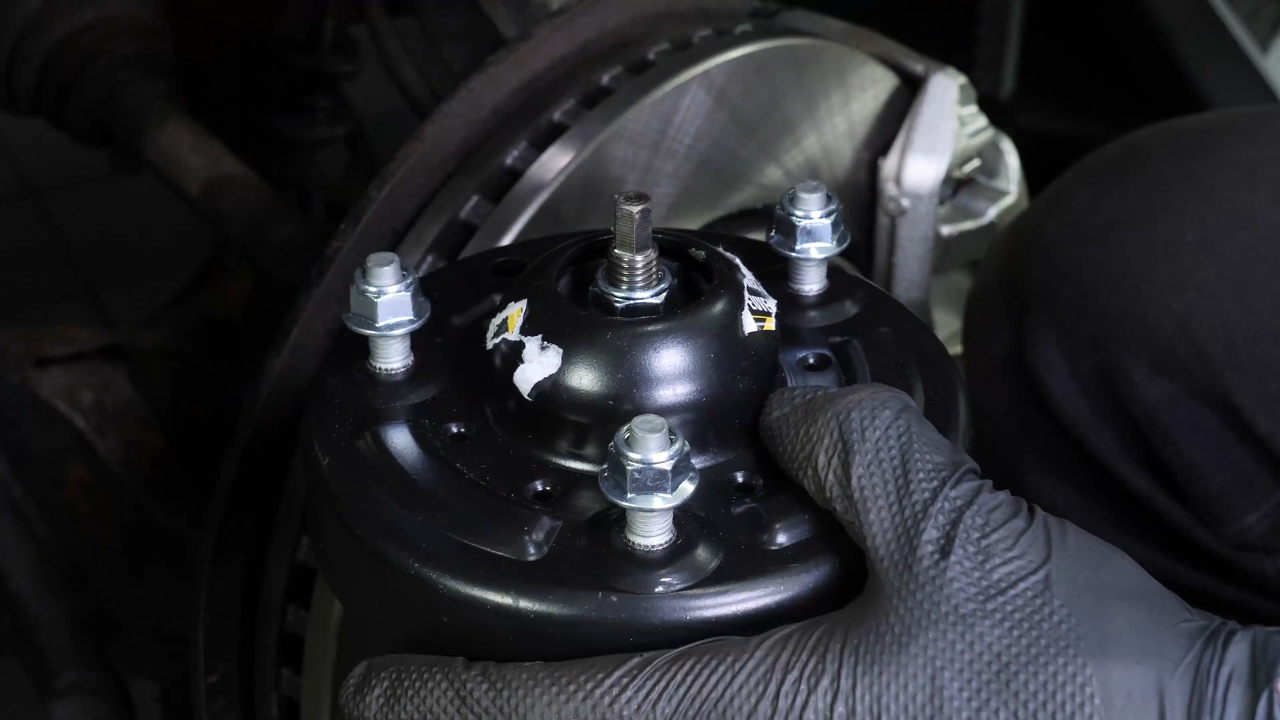
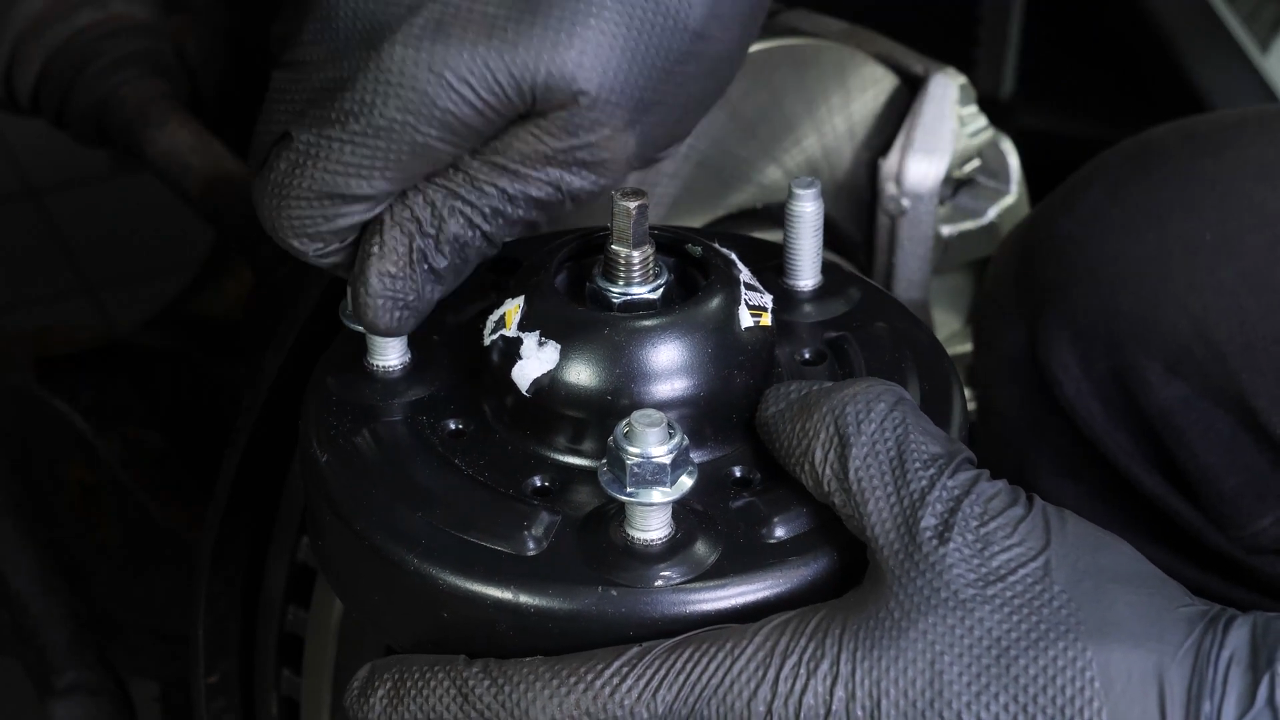
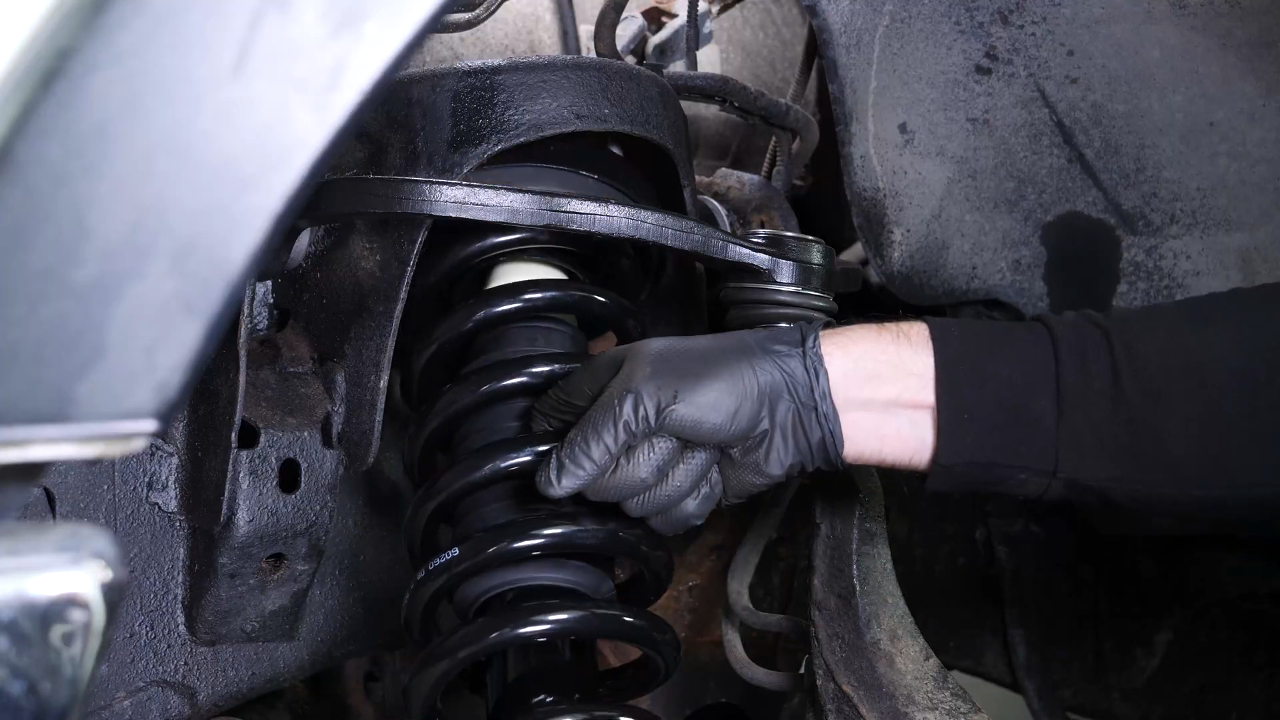
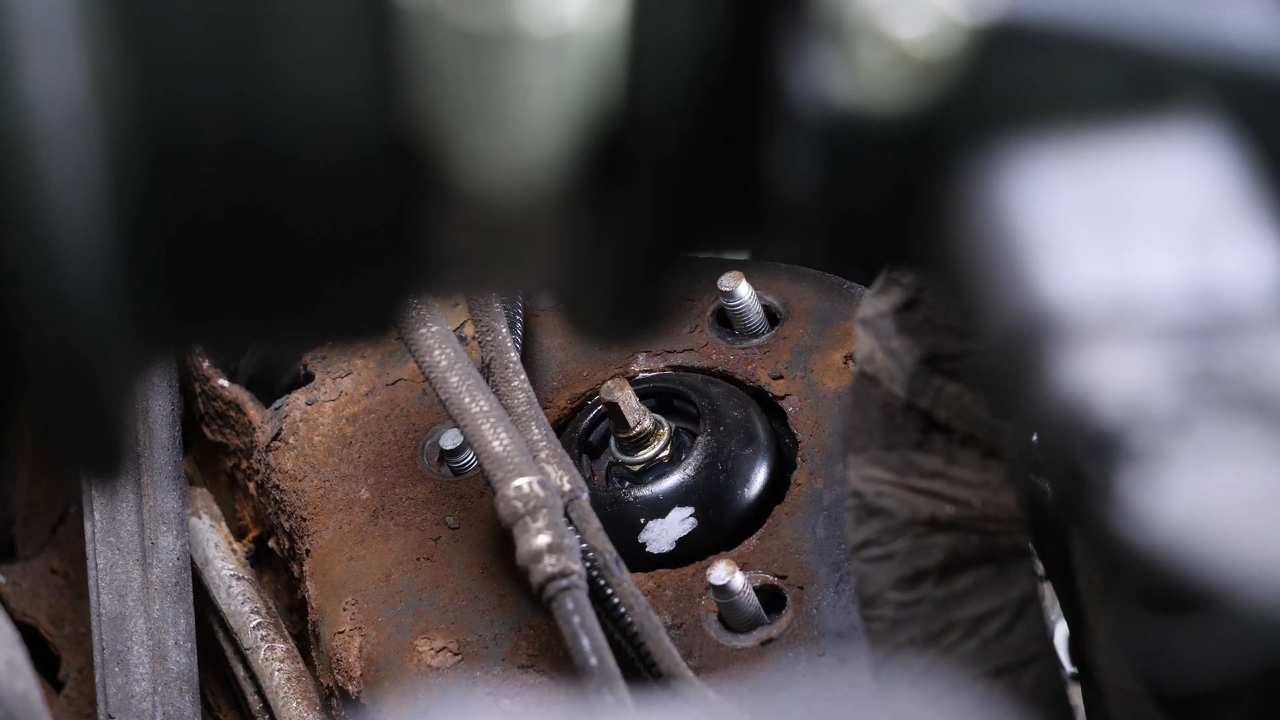
Take your new strut. Then remove the safety tape. Unscrew the 3 nuts holding the strut mount bearing. Insert the strut starting from the top part.

Chapter 10:
Step 2/3
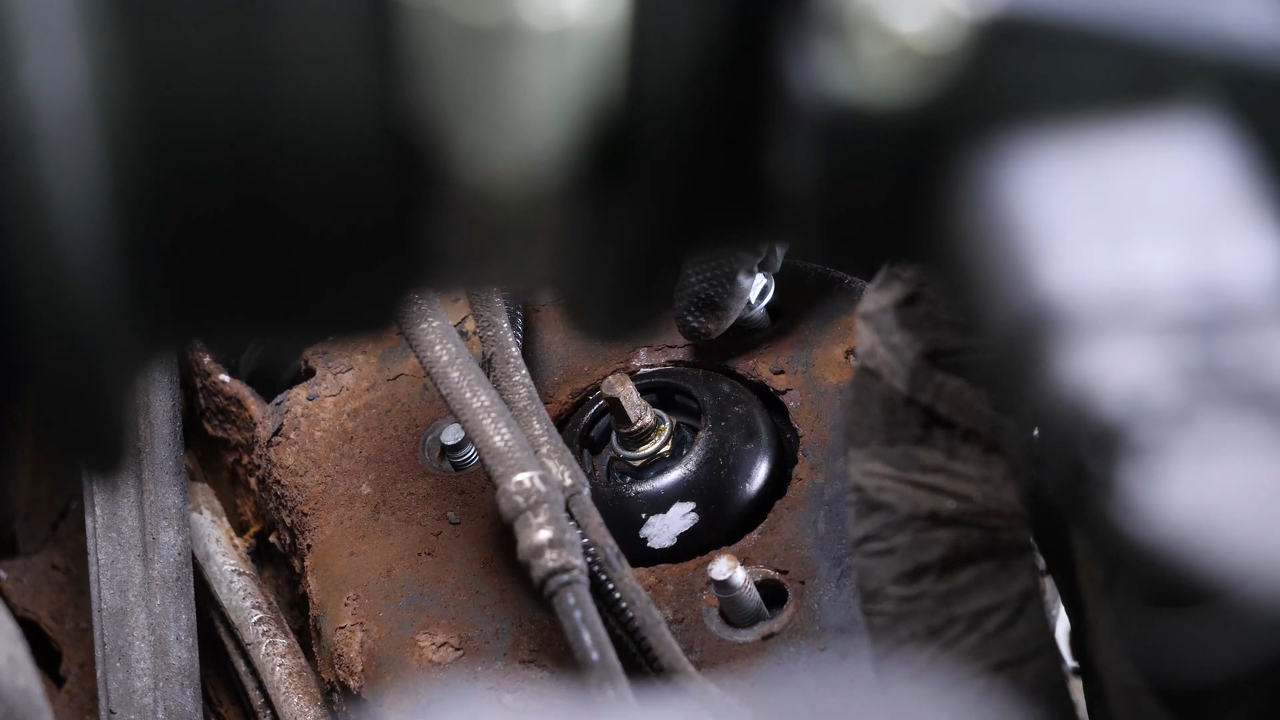
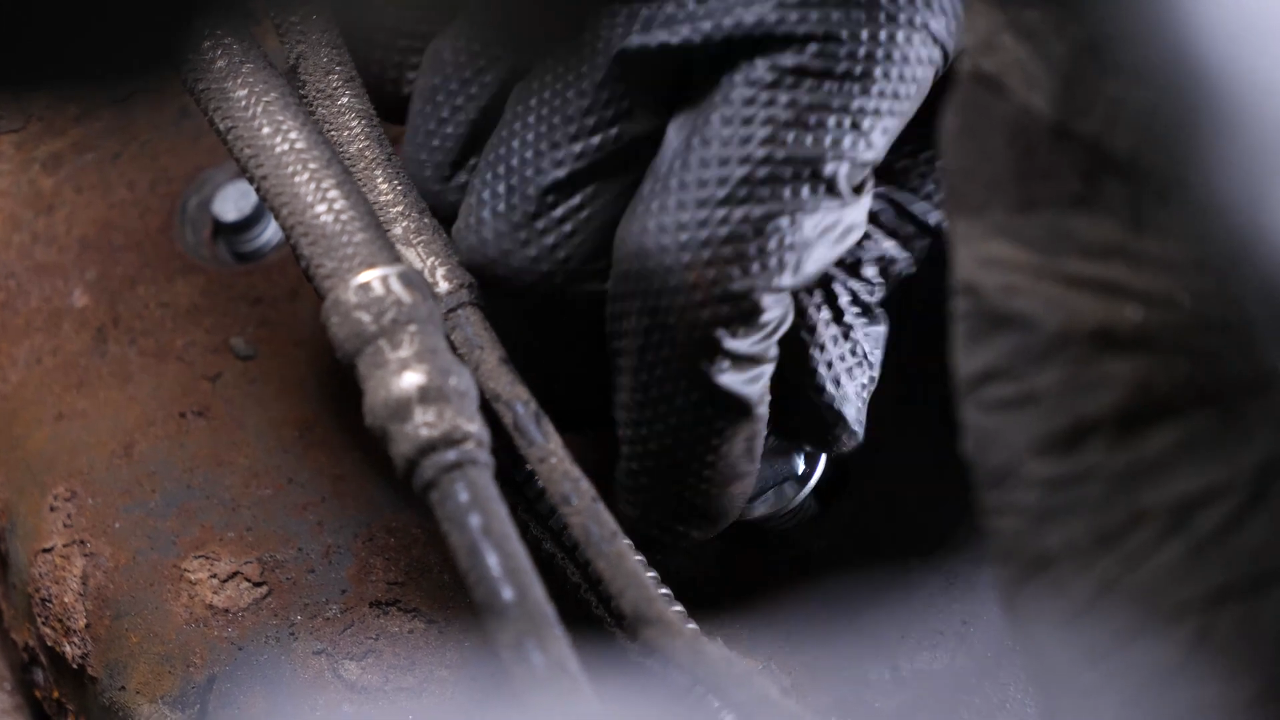
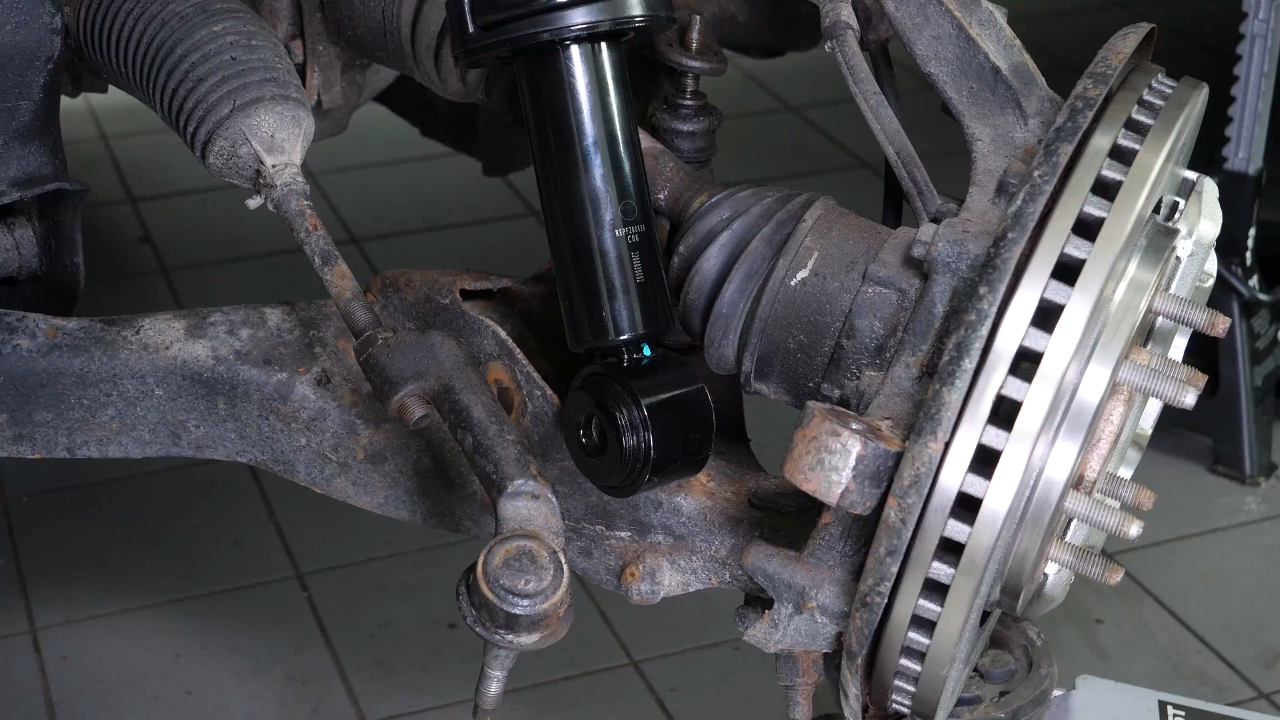
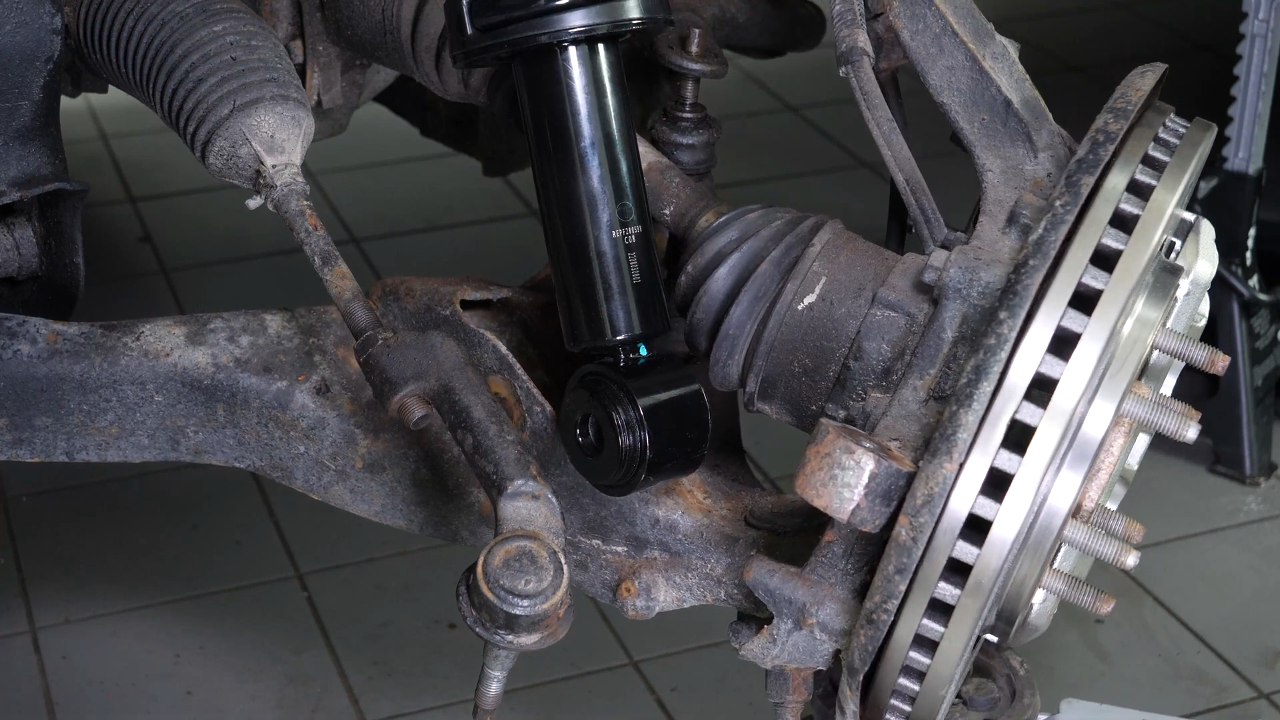
Then loosely screw the 2 outer nuts back on so that there is enough slack for the next operations. Using the jack, lower the wheel knuckle slightly to facilitate the installation of the new strut.
Chapter 10:
Step 3/3
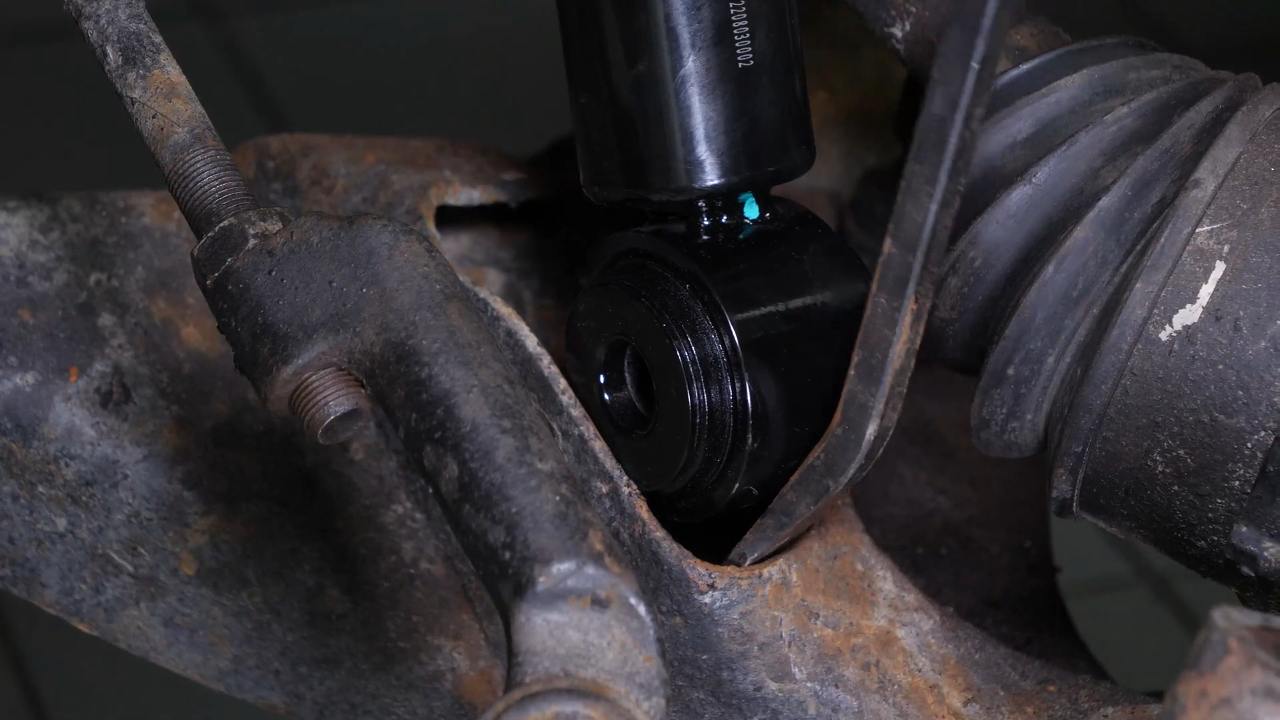
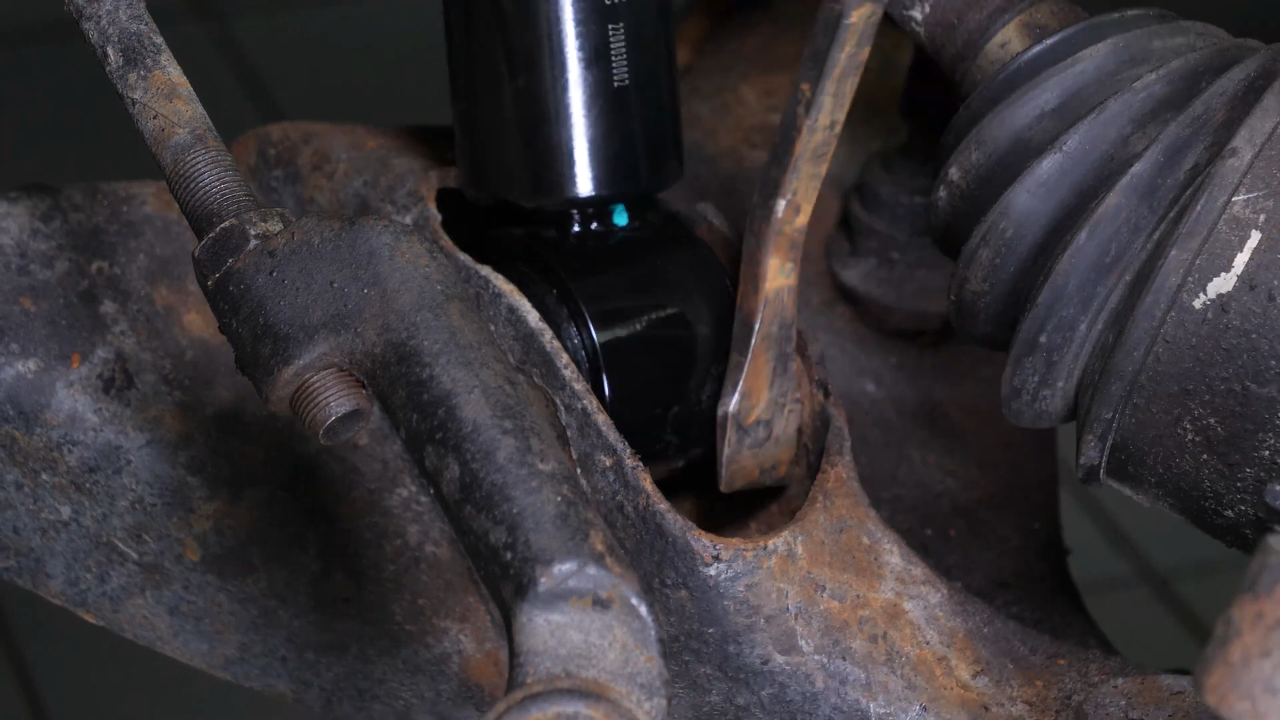
Then insert the strut foot into the lower control arm by levering with a crowbar. You can now insert the screw in the strut foot .
Chapter 11:
Put the components back in place
Step 1/3
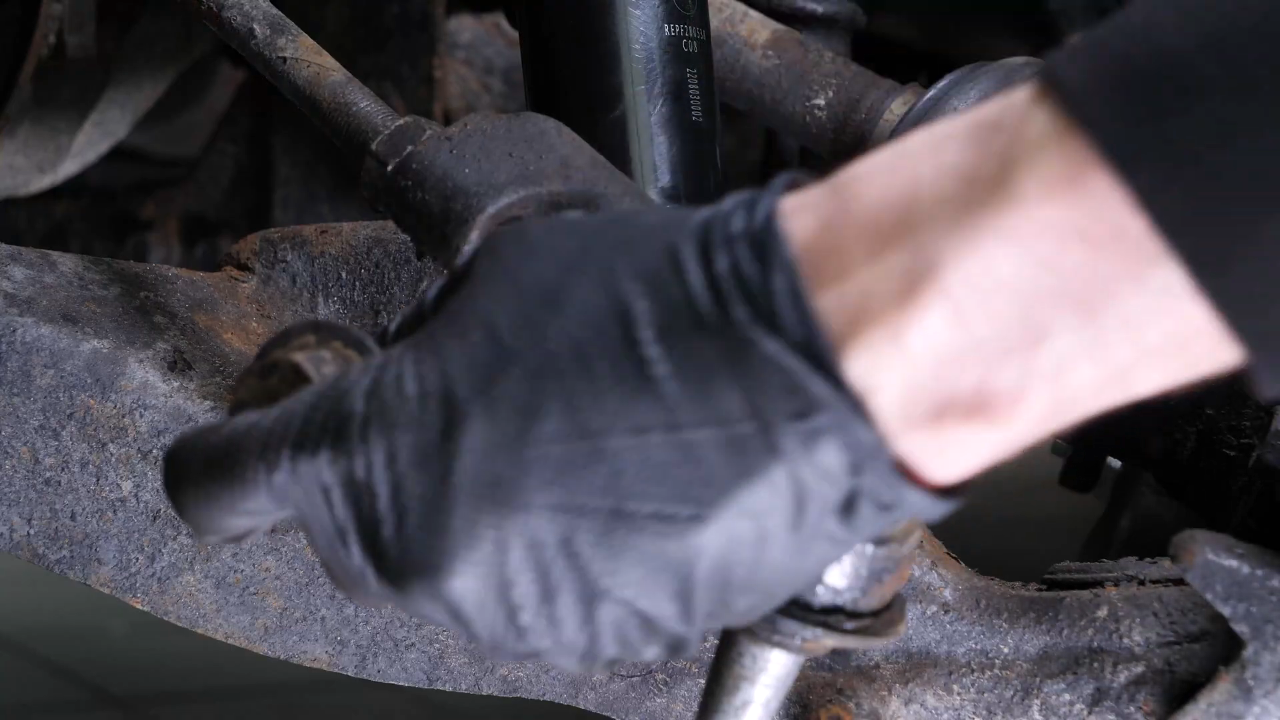
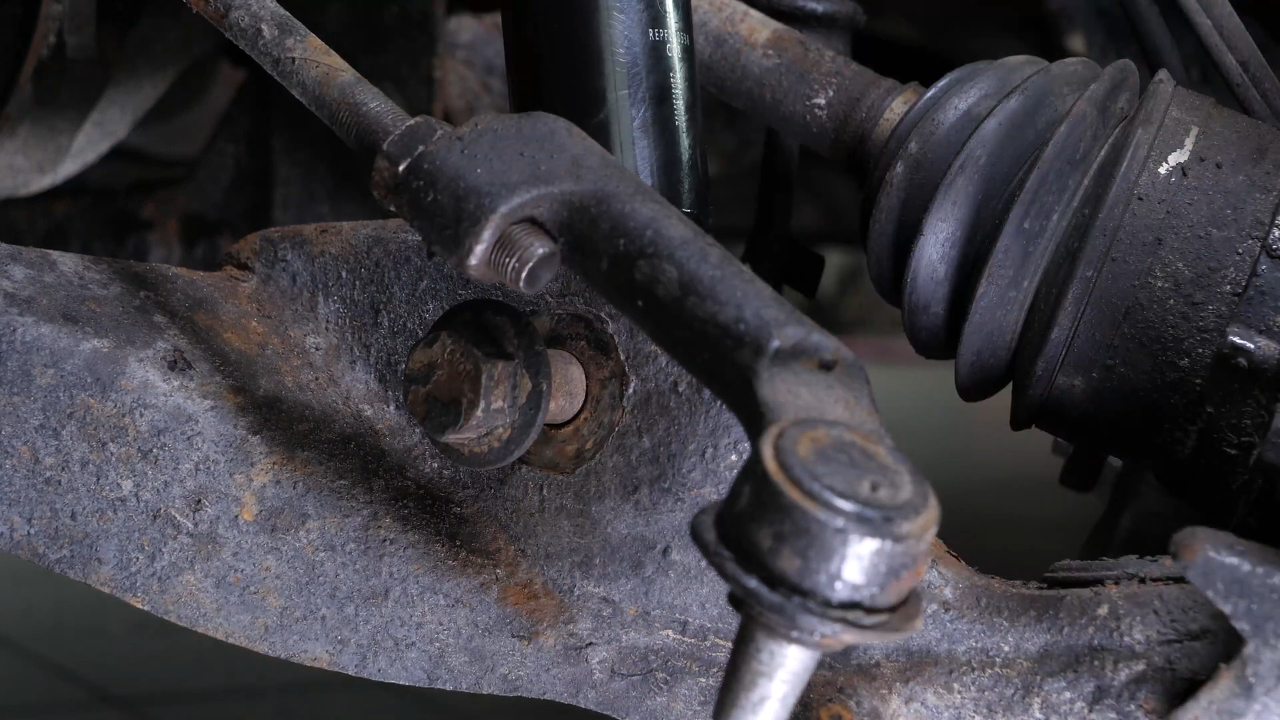
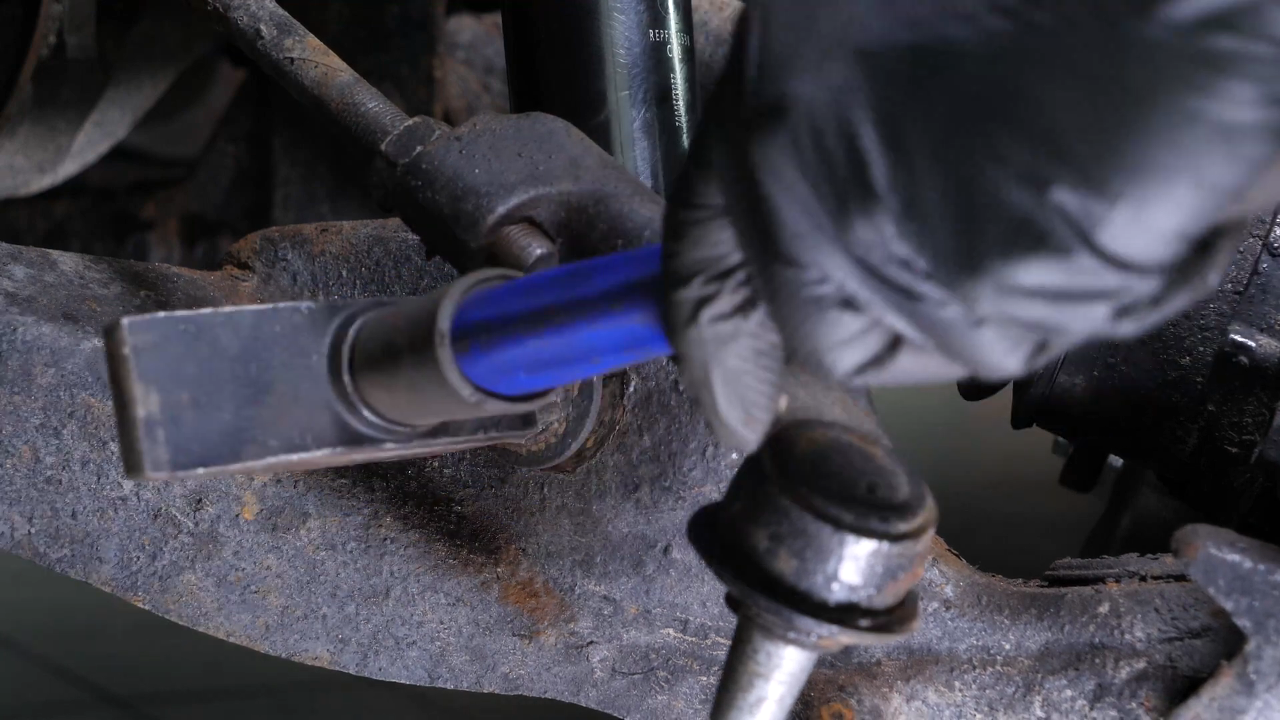
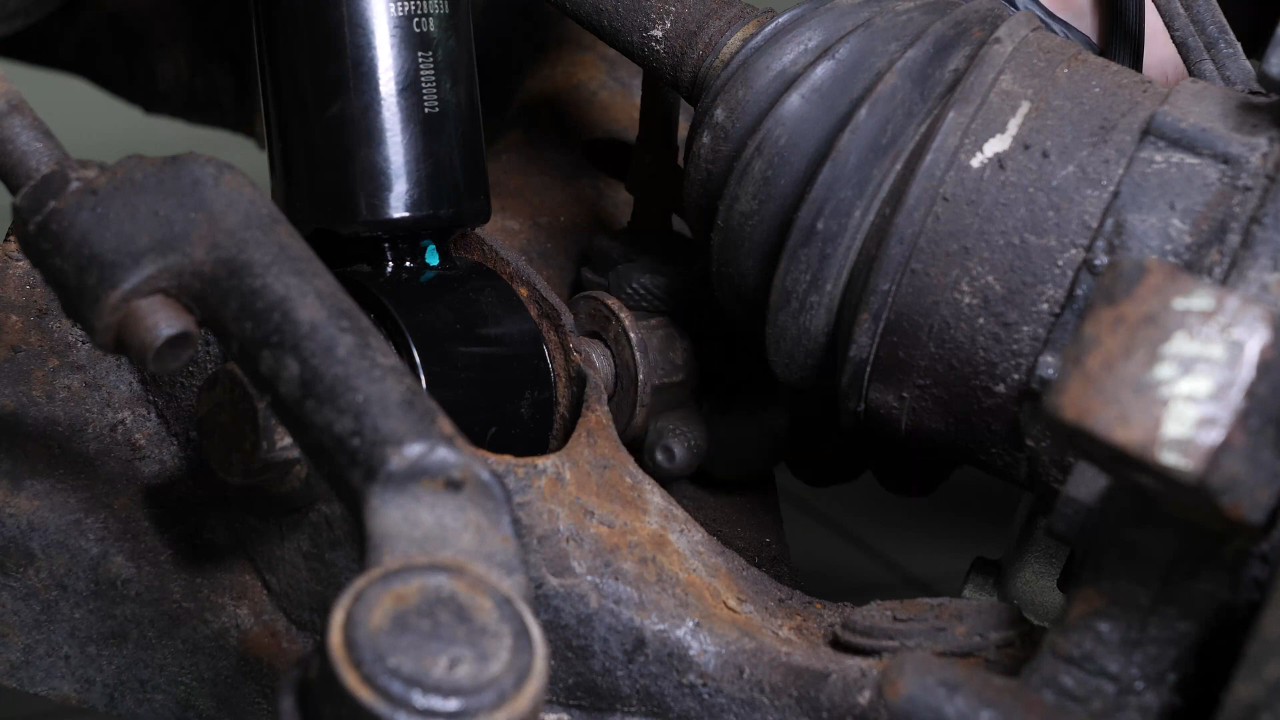
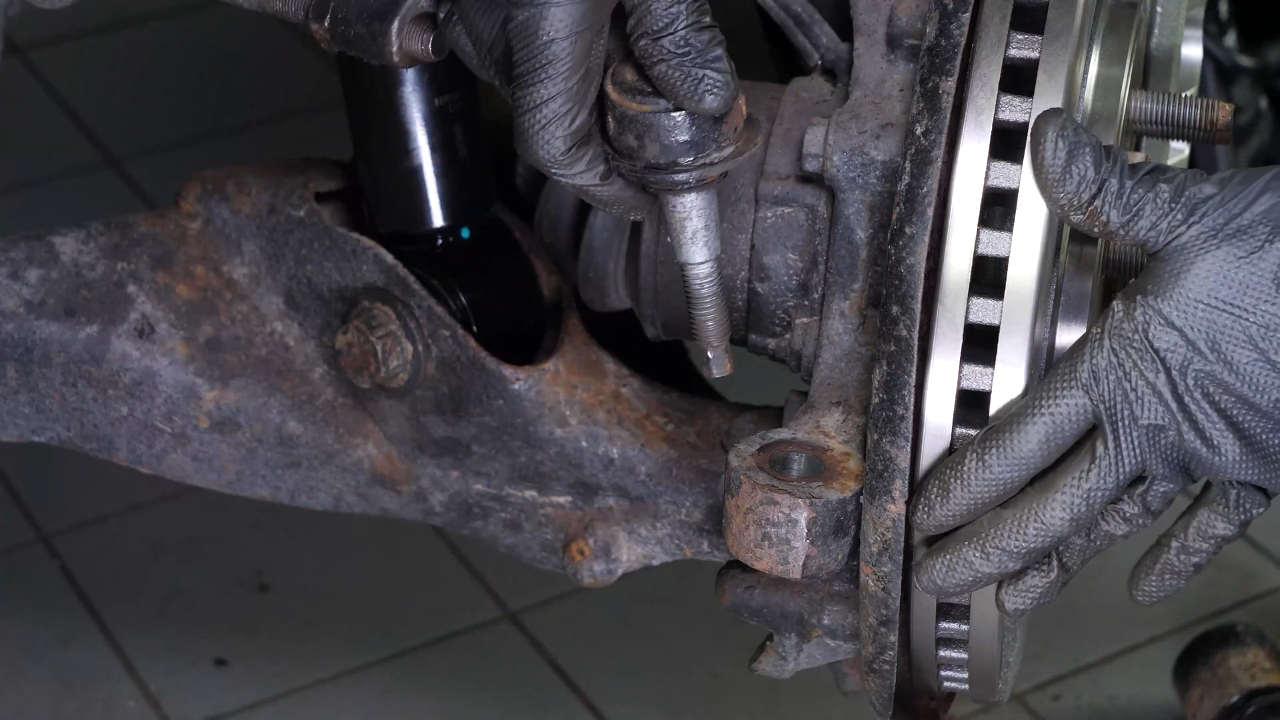
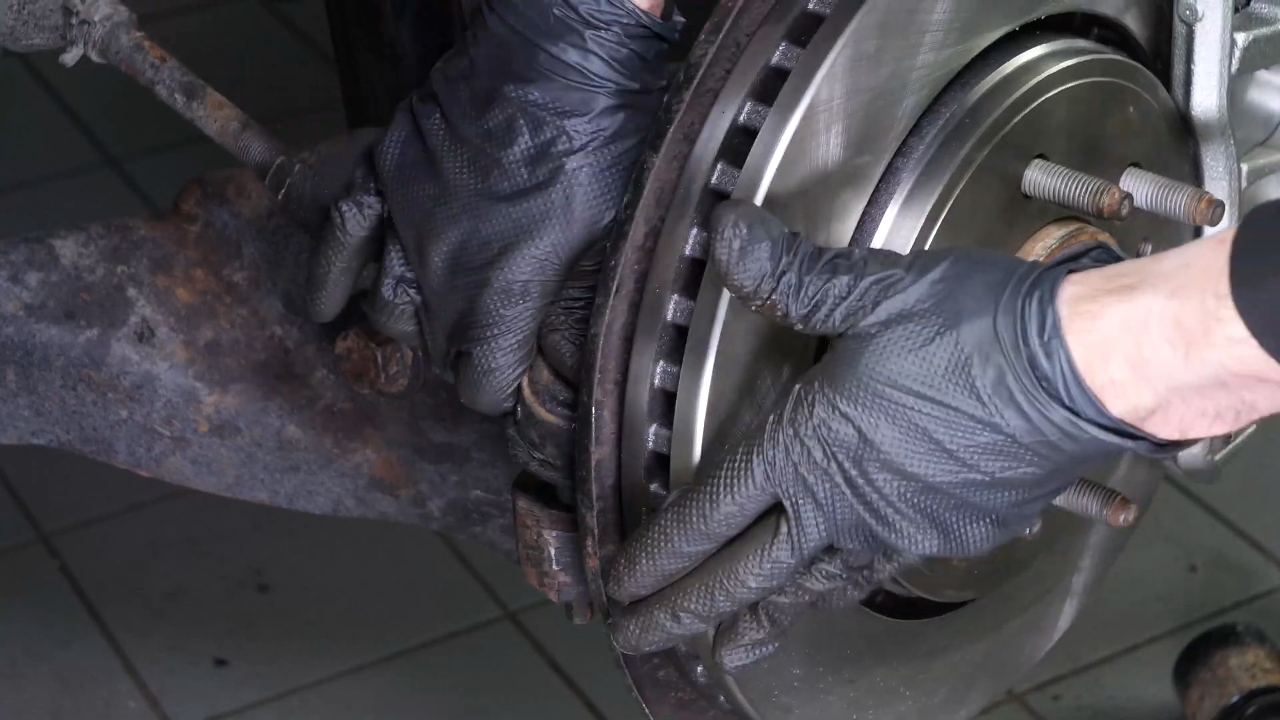
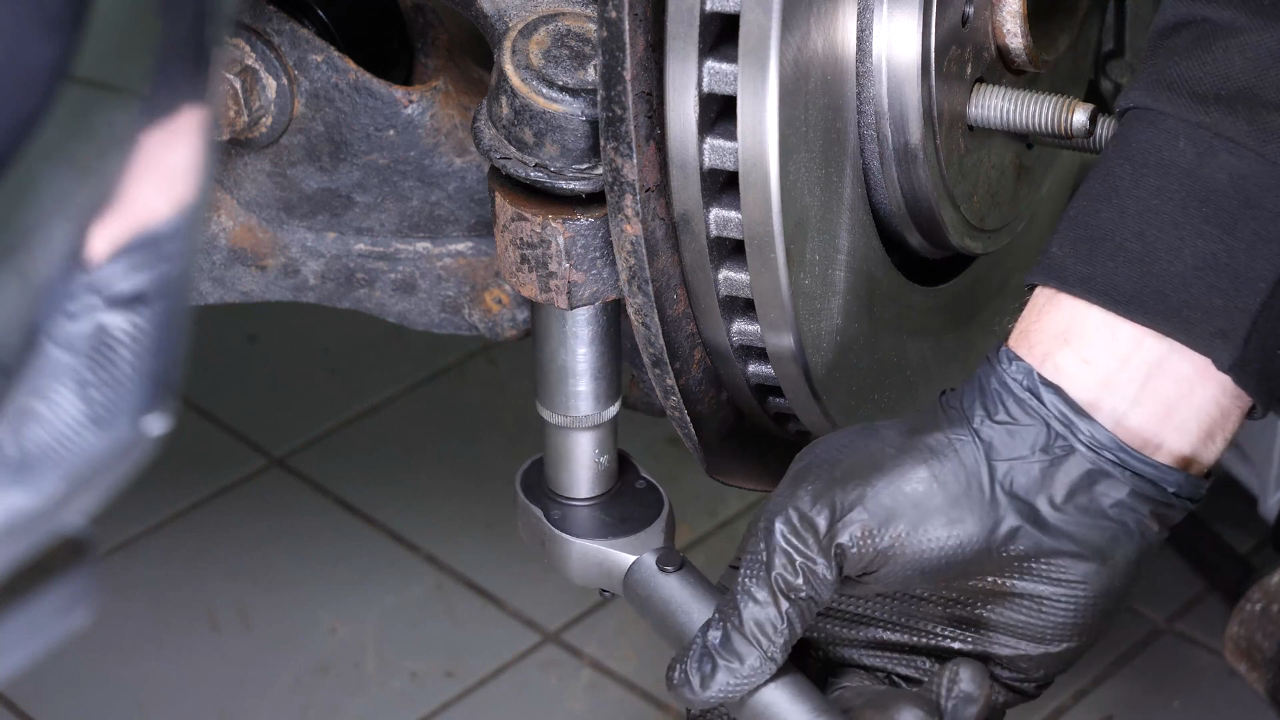
You can use a hammer to help you. Then screw the nut back on by hand. Put the outer tie rod back in place. Then screw it back on. Finish tightening using a torque wrench.
Chapter 11:
Step 2/3
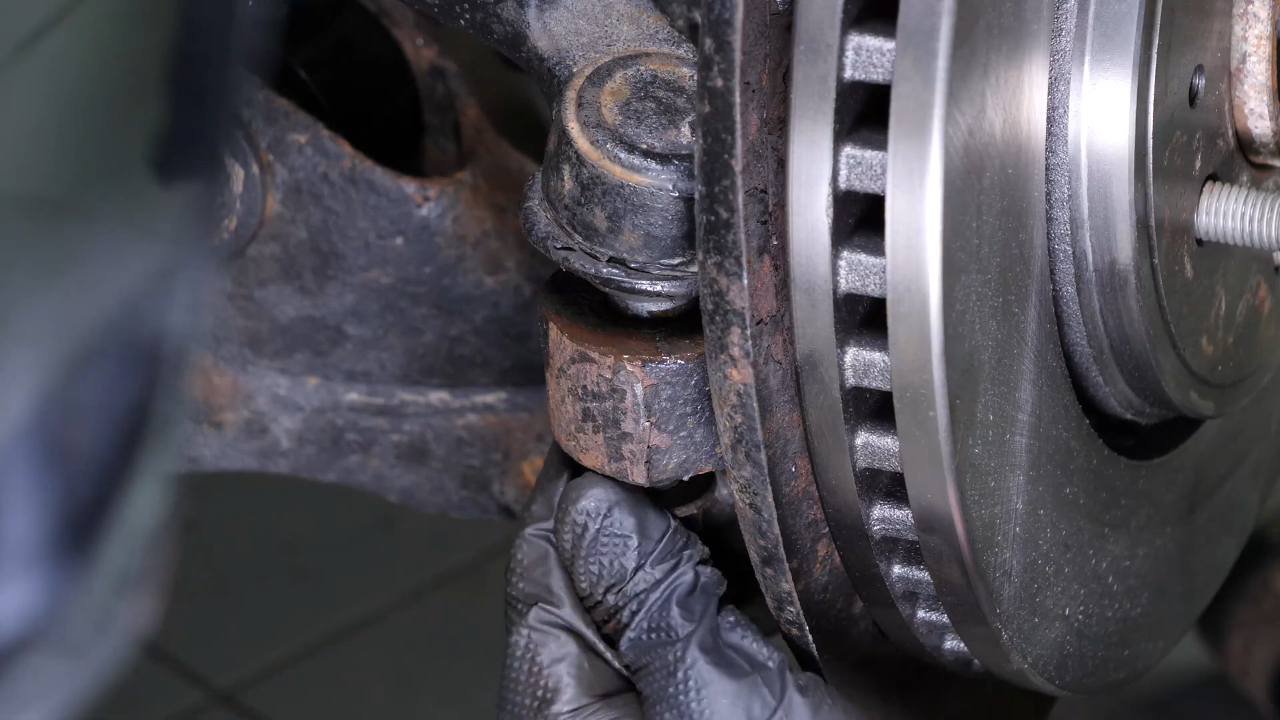
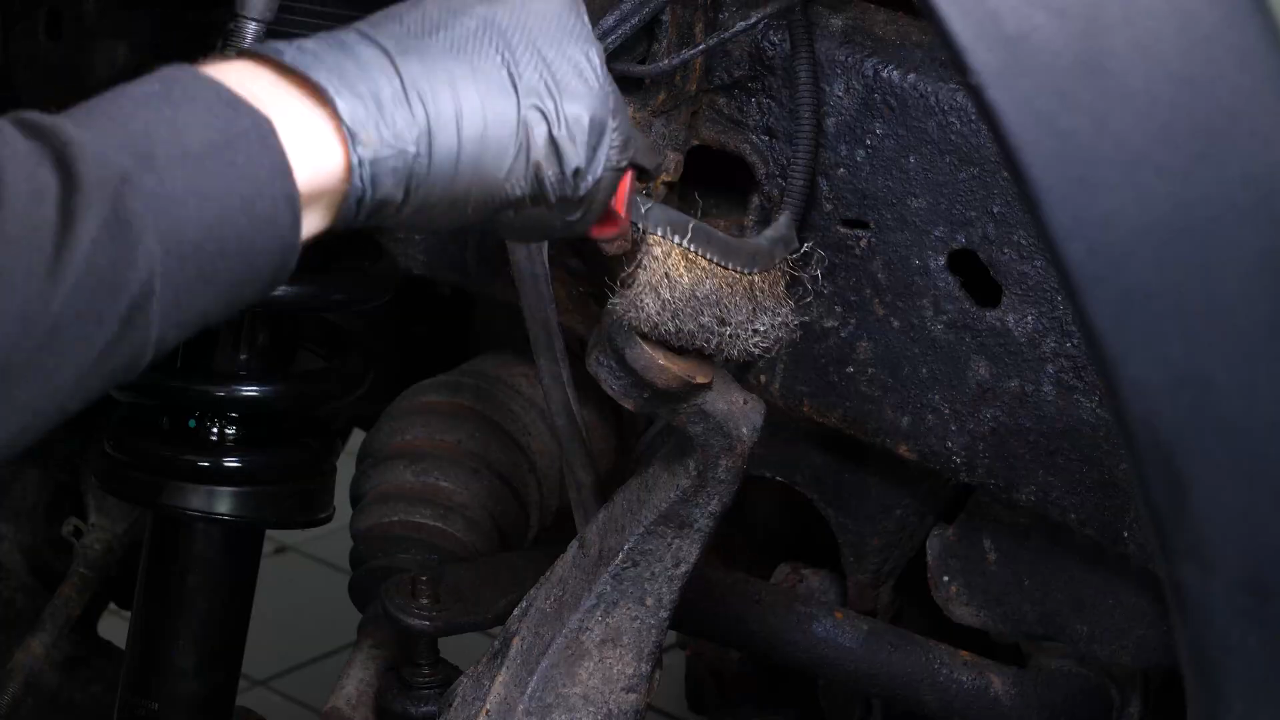
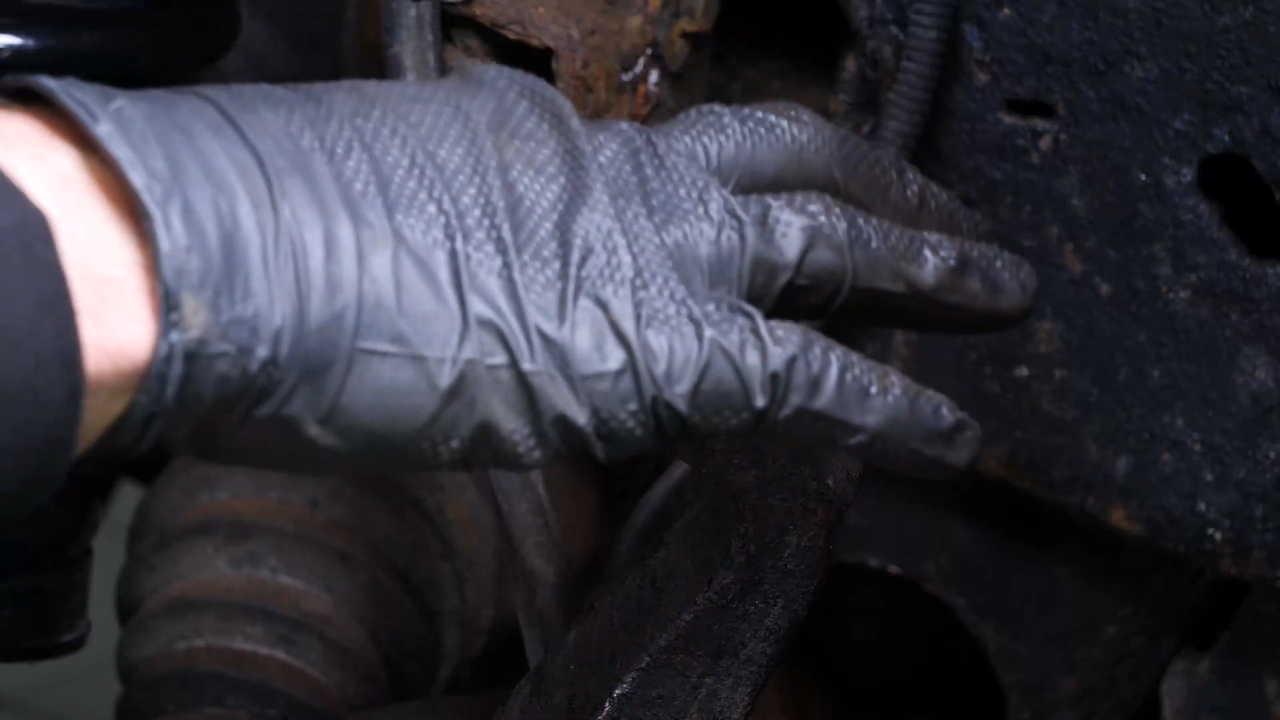
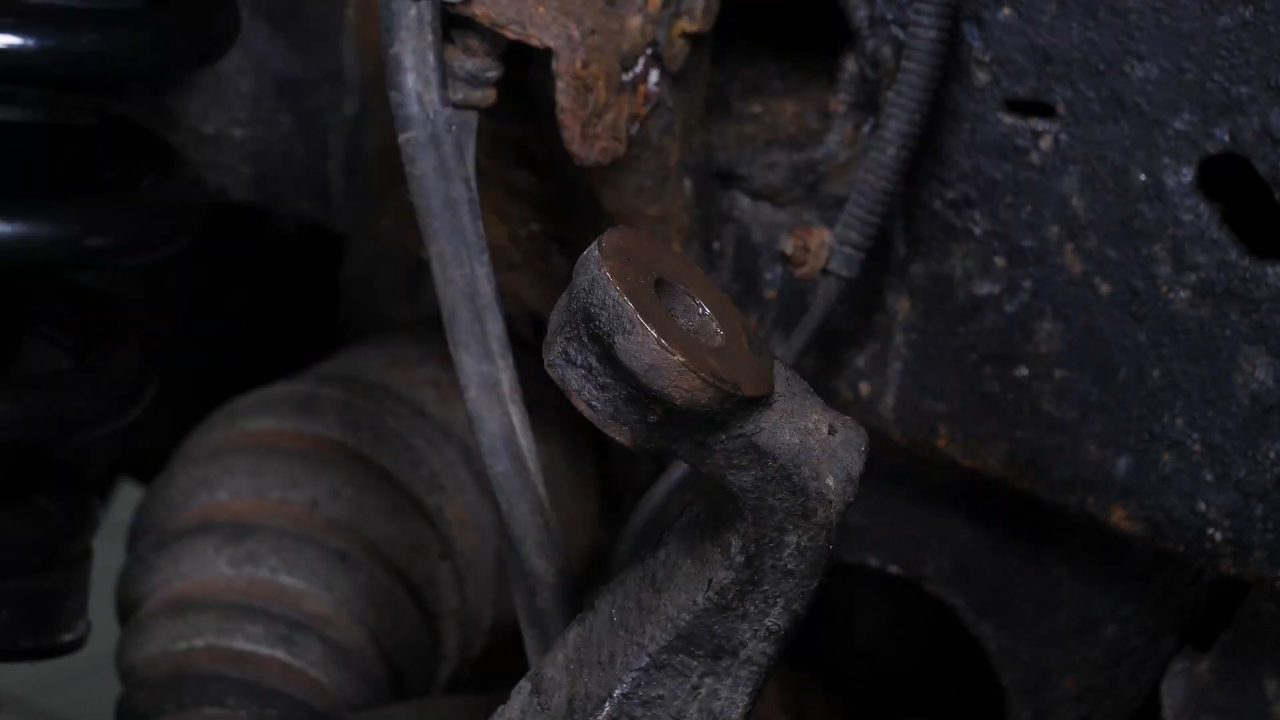
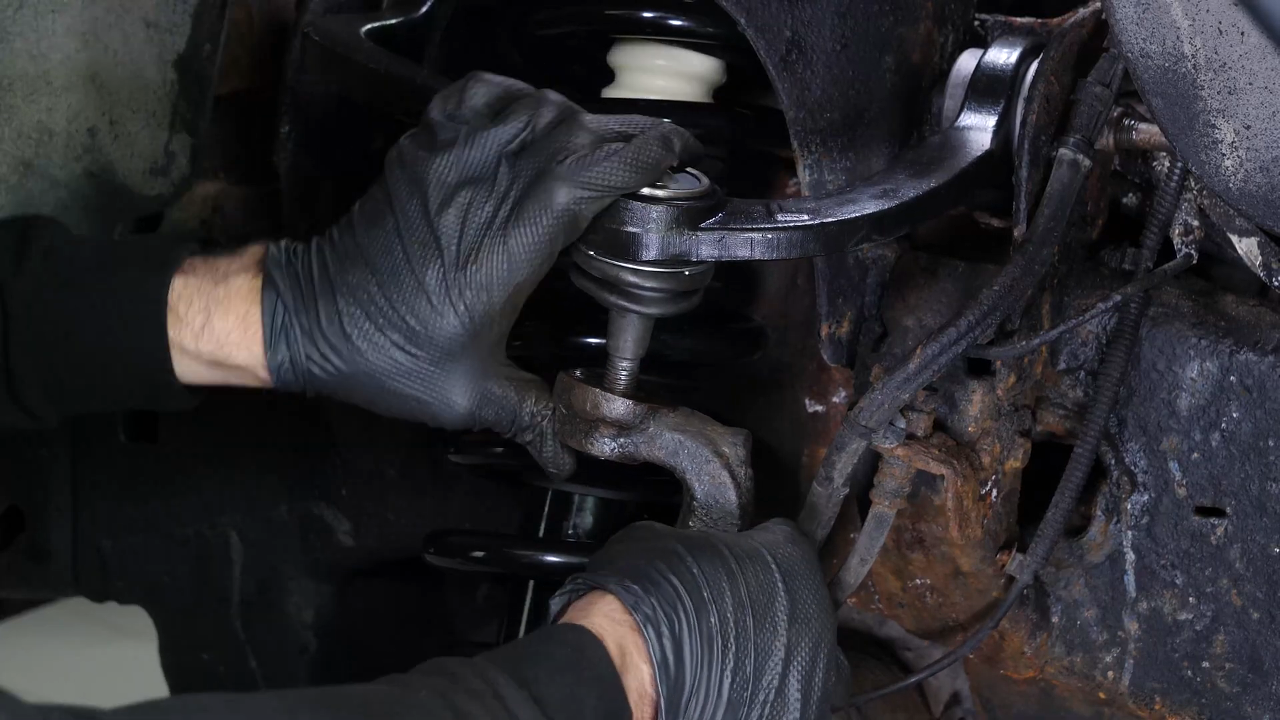
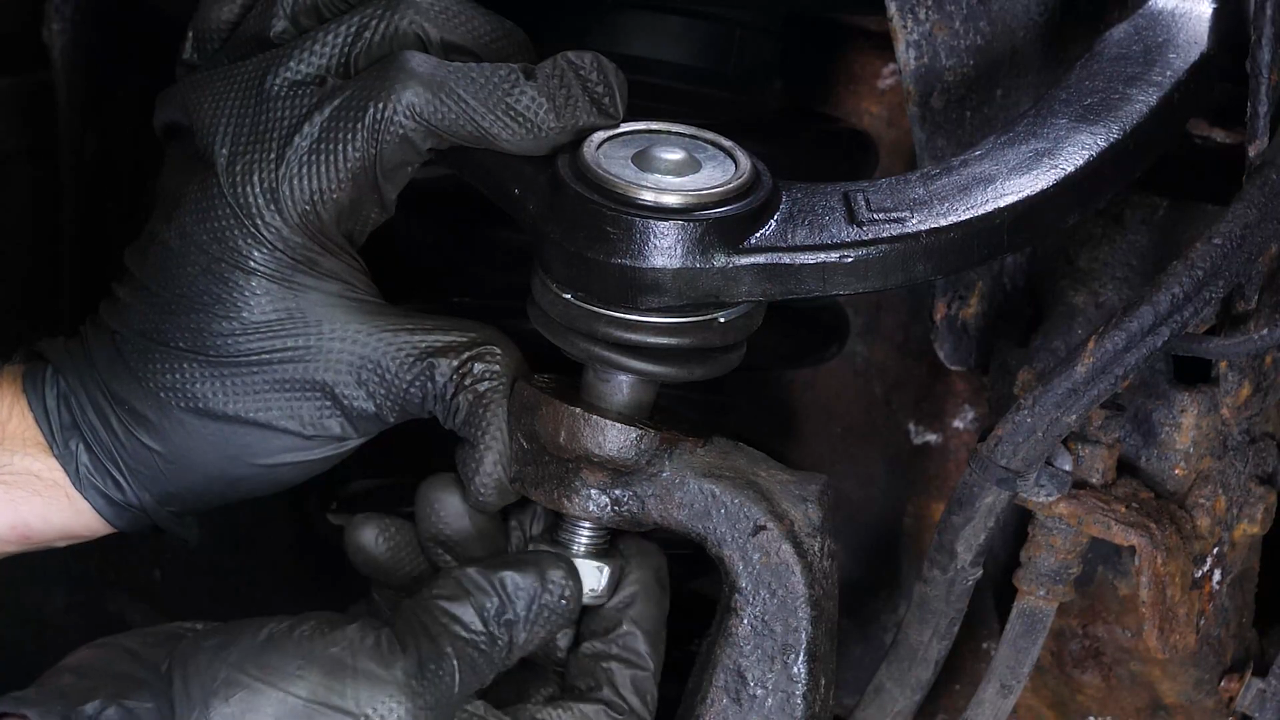
Using a wire brush, scrub the knuckle of the wheel knuckle, then apply silicone grease to the flat part that will be in contact with the upper control arm ball joint sleeve. Do not grease the inside of the cone. Reinsert the ball joint, then screw it back in.

Chapter 11:
Step 3/3
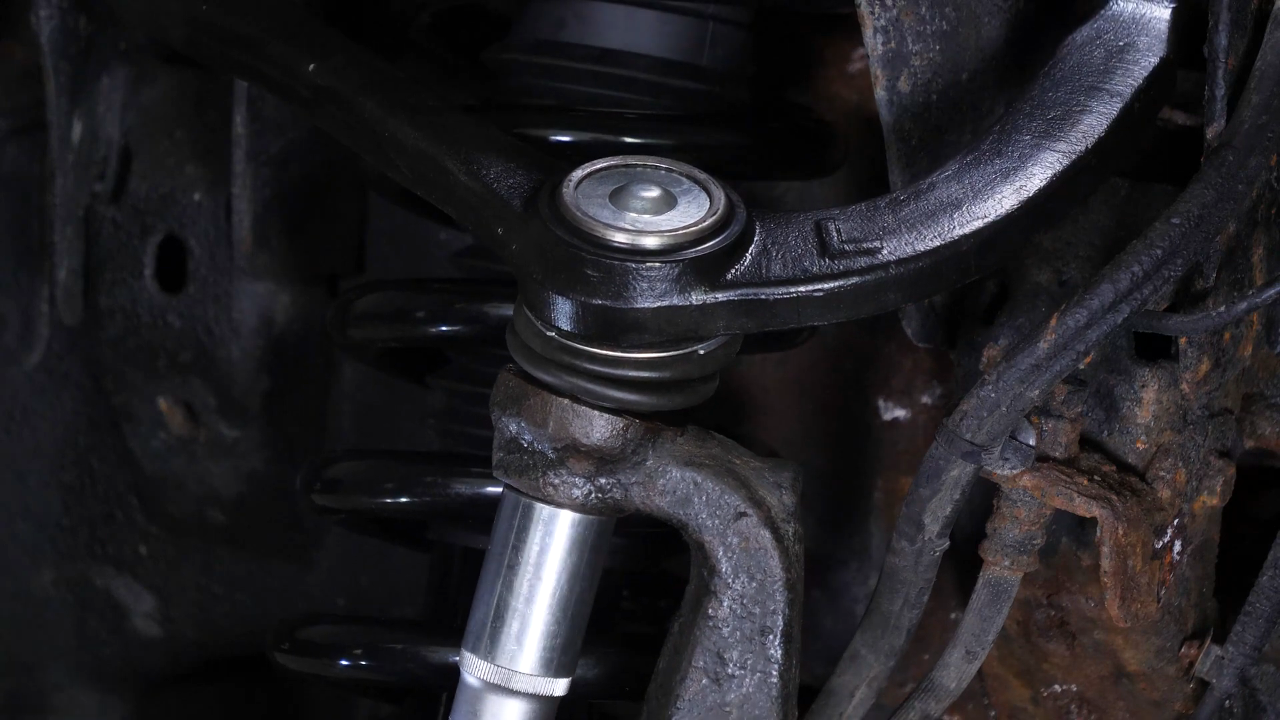
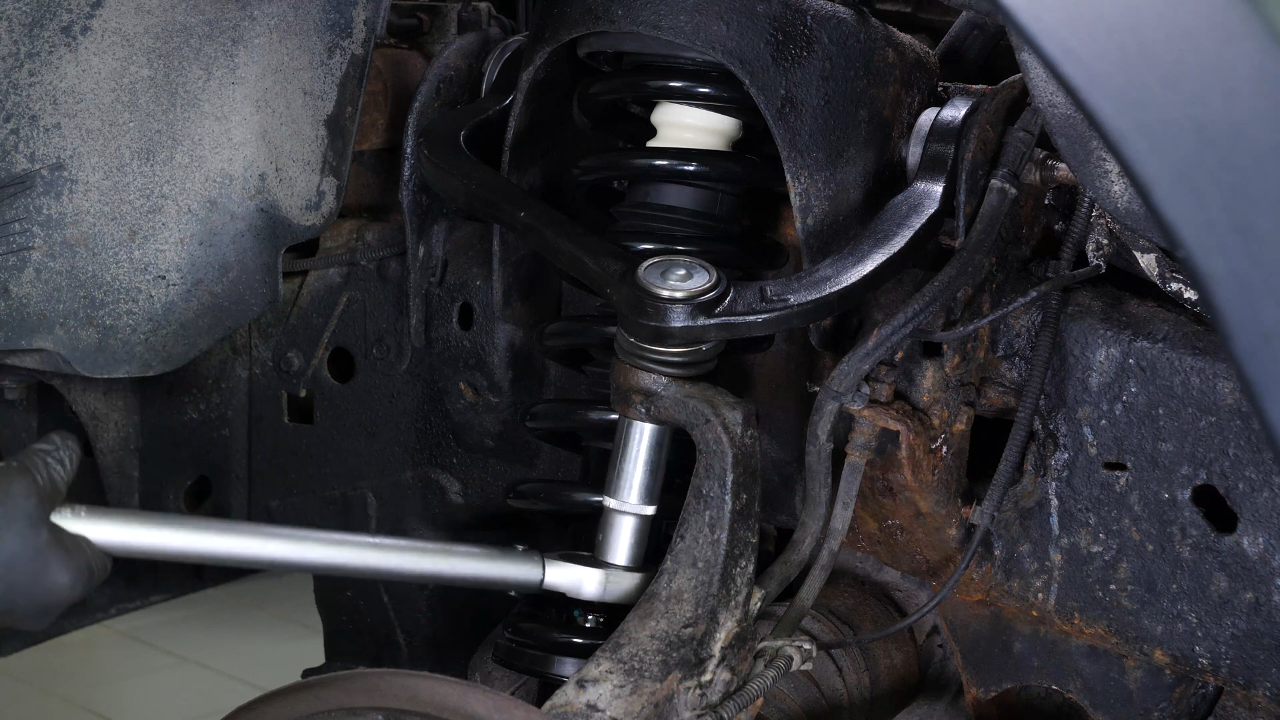
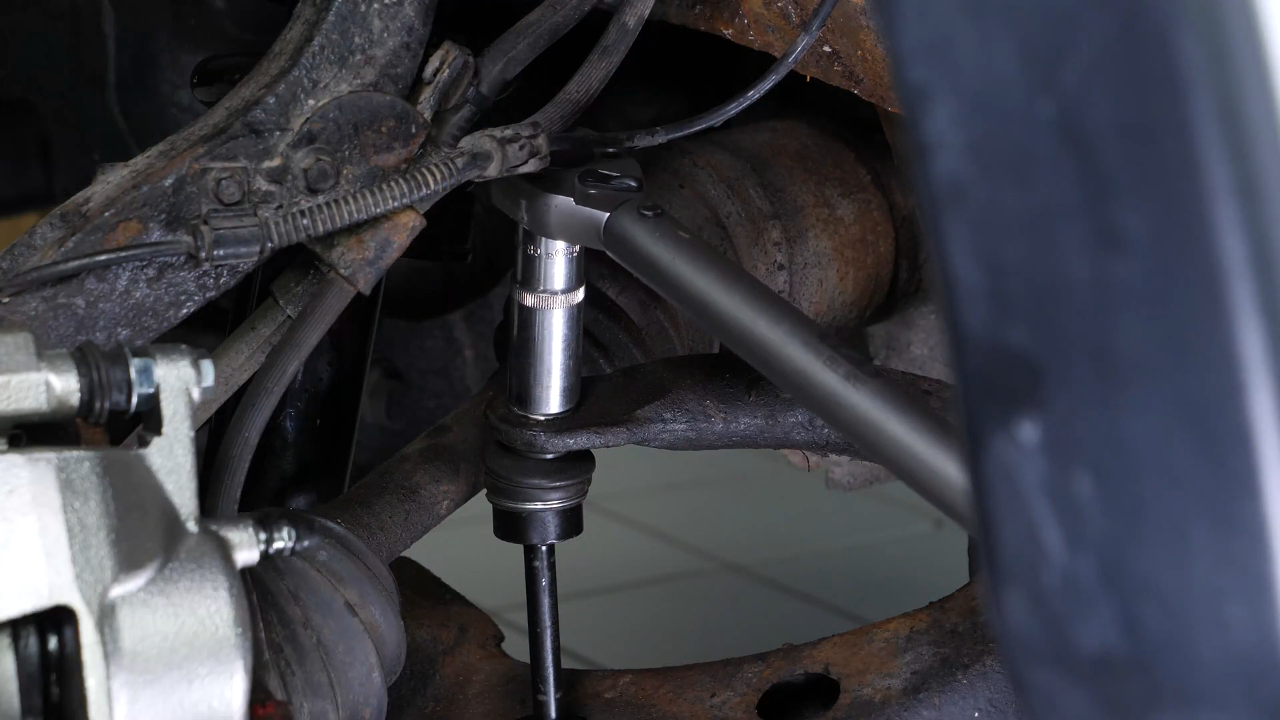
You can now complete the tightening of the upper control arm ball joint with a torque wrench. You can now put the sway bar end link back in place, and screw it back in. Finish tightening using a torque wrench.
Chapter 12:
Finalize the operation
Step 1/2
Insert the third nut to hold the strut mount bearing in place. Then screw the three nuts back on with a ratchet until they make contact.

Chapter 12:
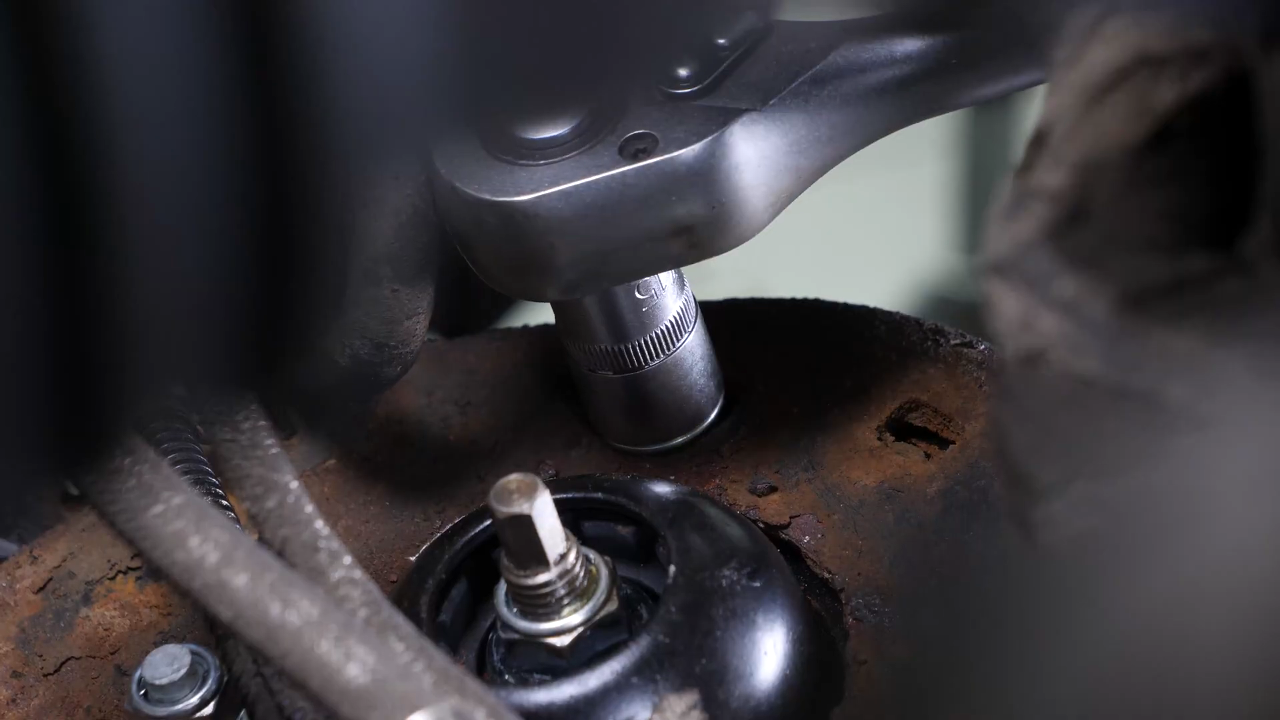
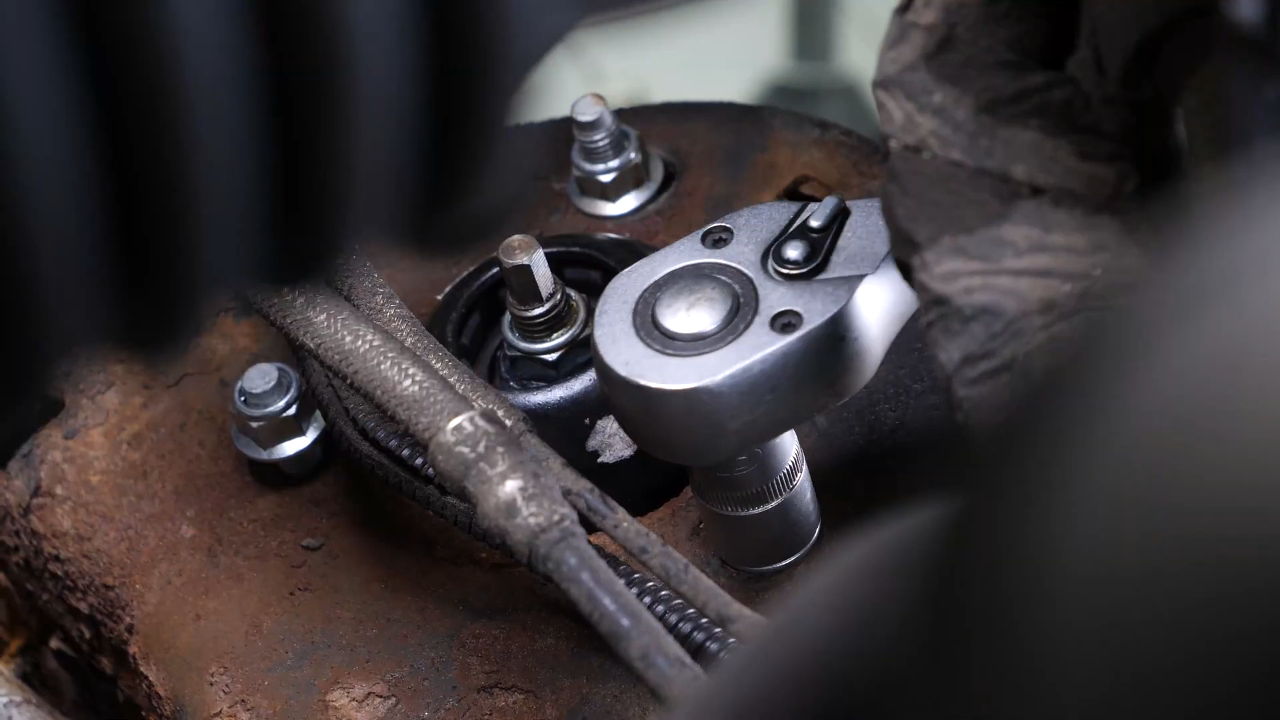
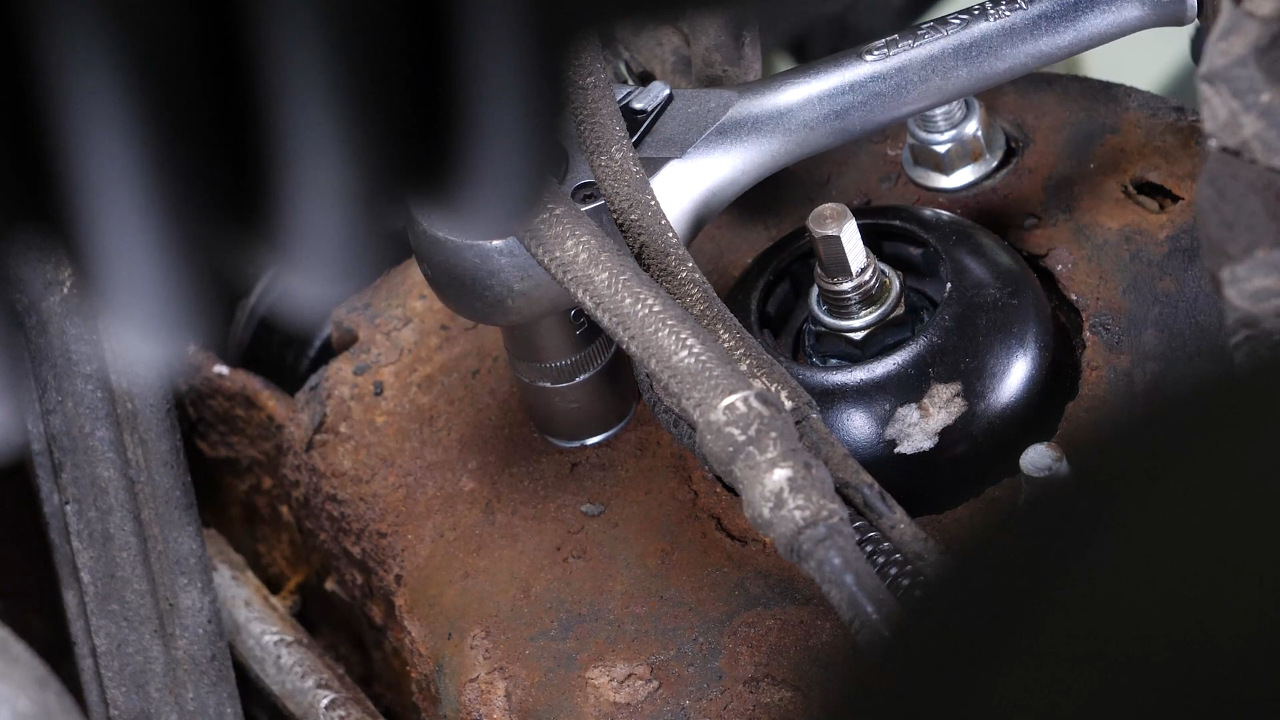
Step 2/2
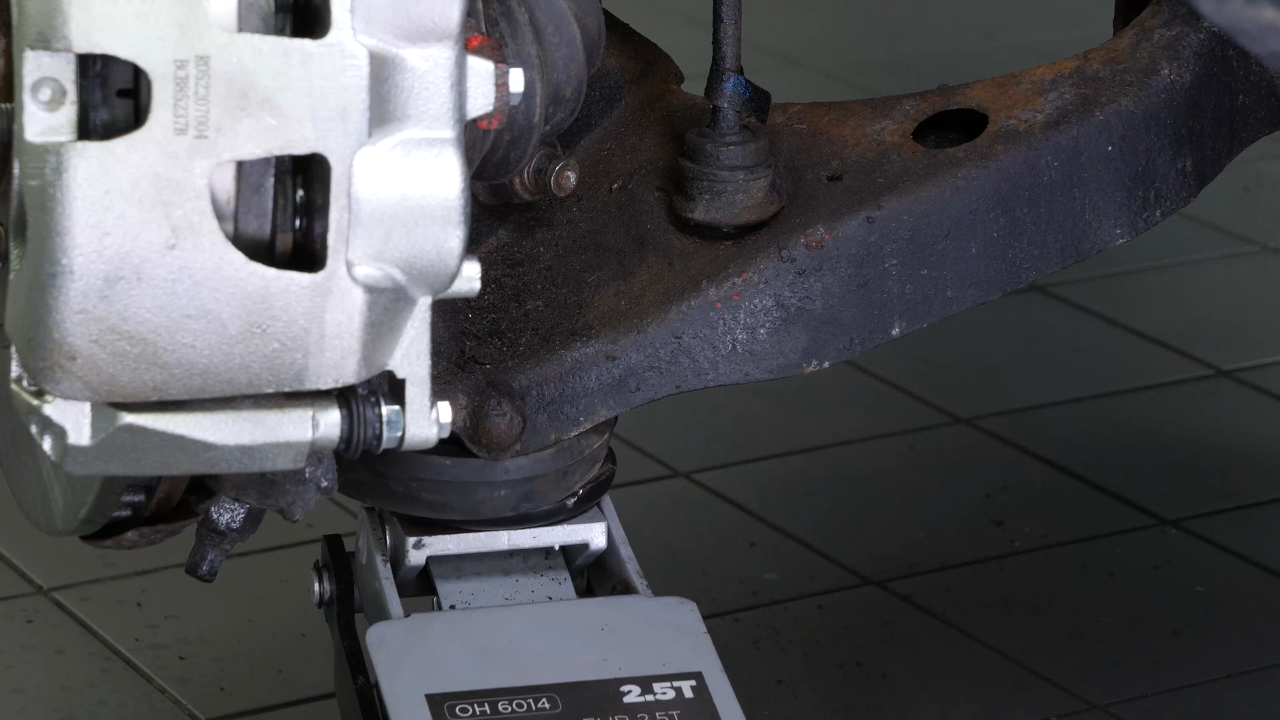
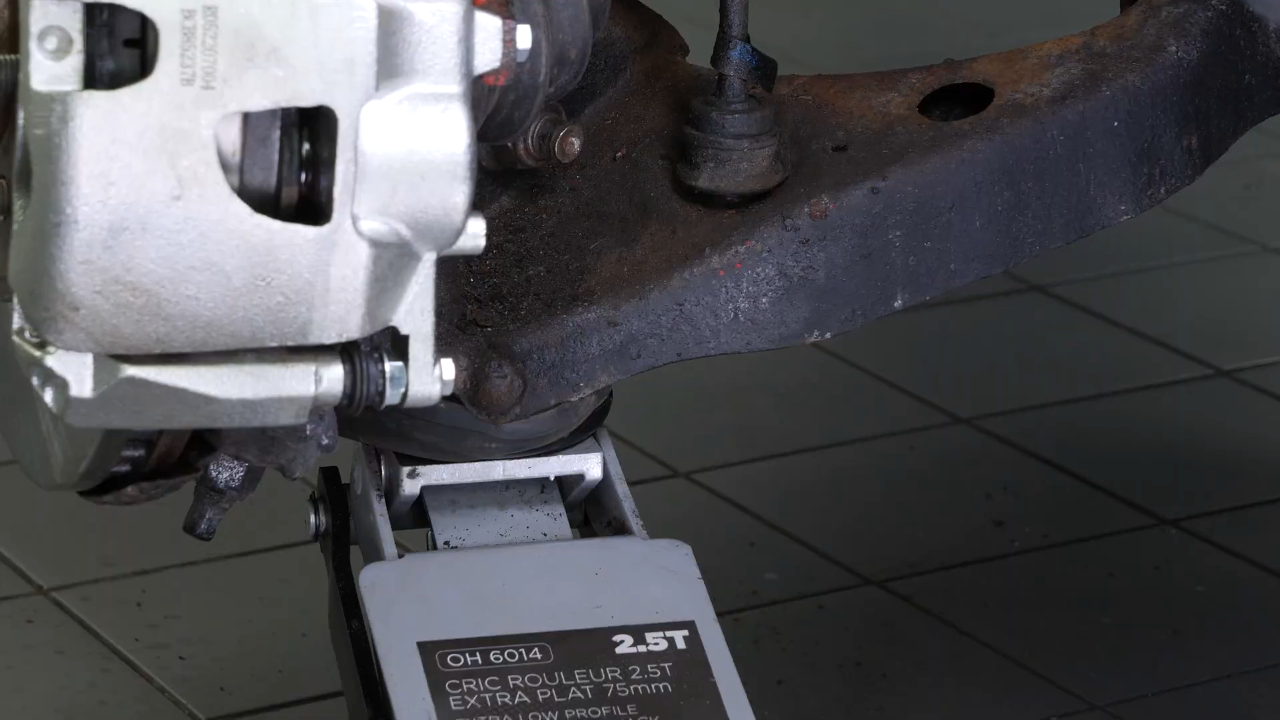
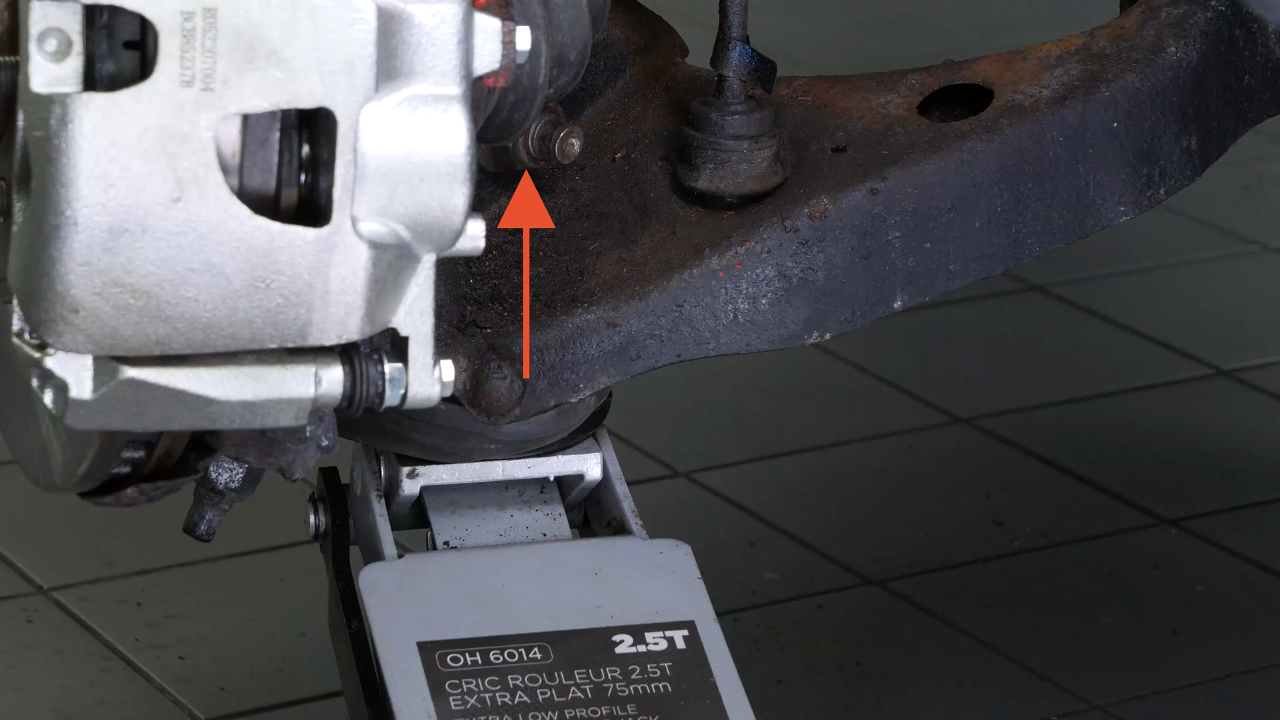
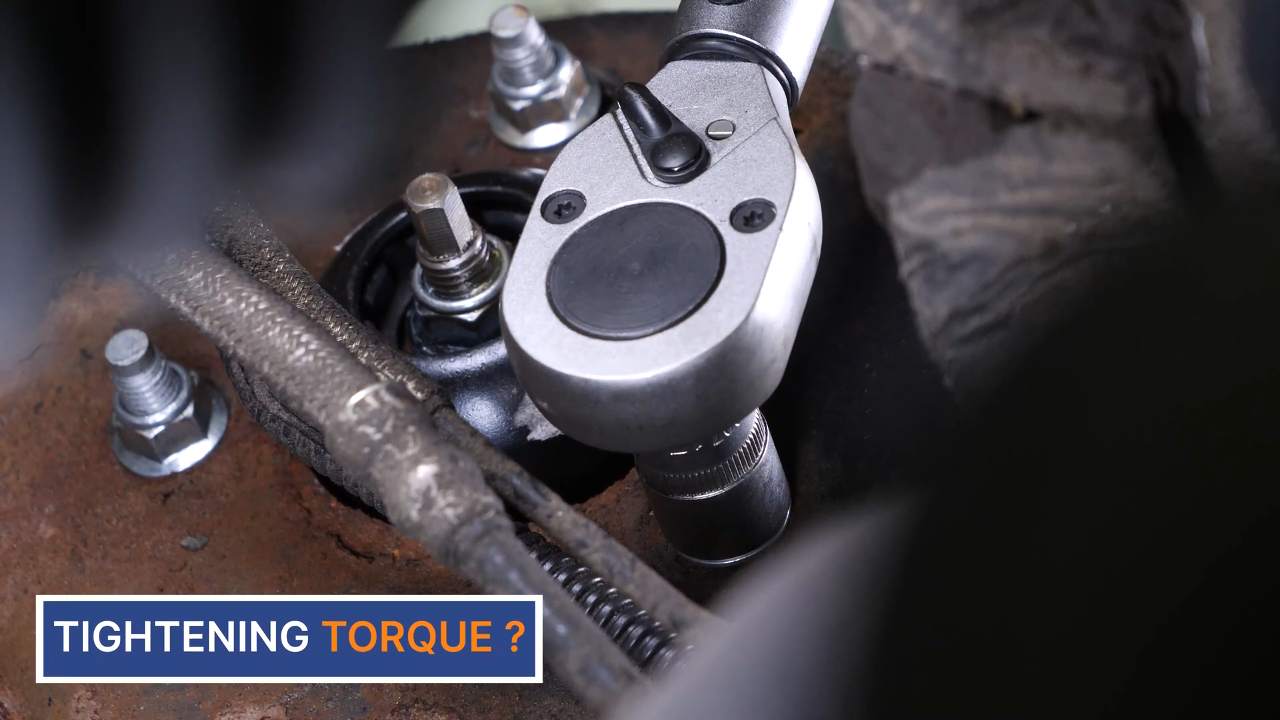
In order not to damage the silent blocks, it is necessary to tighten the front retaining bolts in the “vehicle on the ground” position. Lift the wheel knuckle with the jack until the original measurement between the center of the wheel and the wheel arch is reached. Complete then the tightening of the lower screw with a torque wrench. Tighten the 3 nuts with a torque wrench. Remove the jack.



Chapter 13:
Put the vehicle back on the ground
Step 1/2
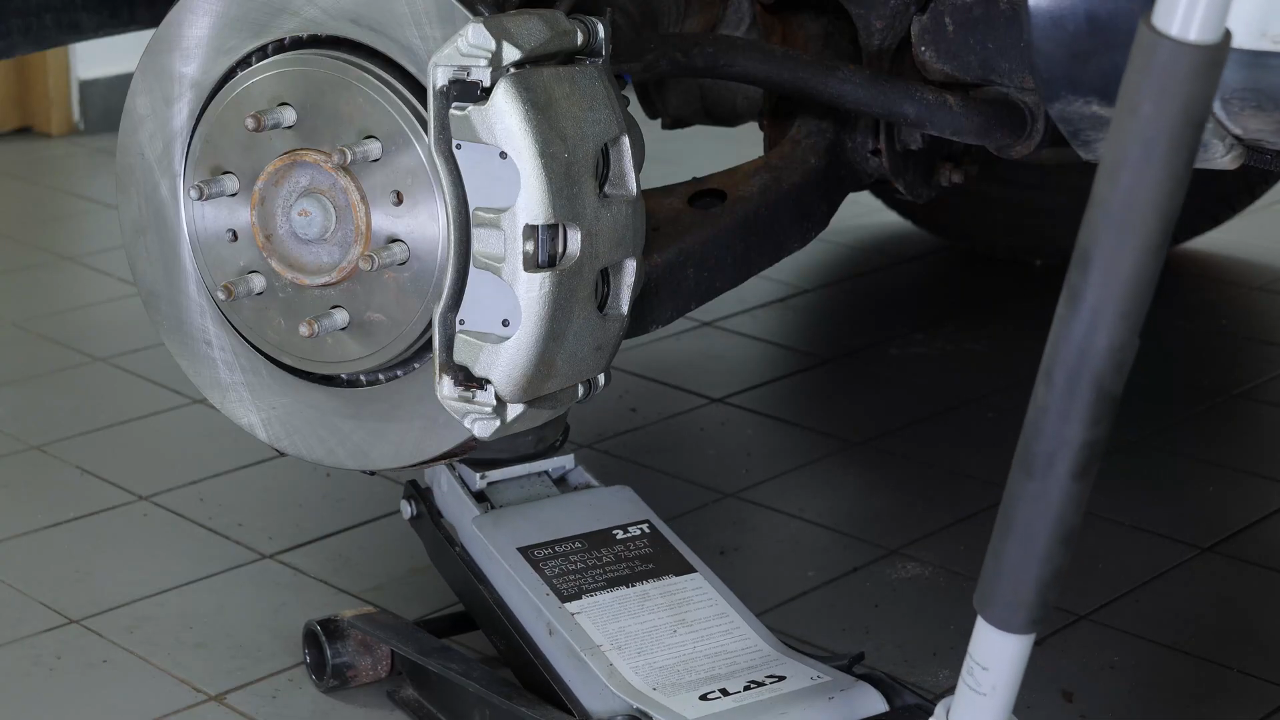
Then, you will be able to put the wheels back on your vehicle. During this operation, you will be intervening on the front axle of your car, so it is advisable to perform a wheel alignment afterwards. Put your vehicle back on the ground before properly fixing the wheels in place.


Chapter 13:
Step 2/2
Operation completed!
