How to replace the starter 2009-2014 Ford F-150
To replace the starter on your F-150 2009-2014 it couldnt’ be easier. You’ll need to disconnect the battery, remove the starter, install the new starter as well as carry out a few other steps. You can accomplish this tutorial of 10 chapters in 80 minutes. Take your 13 mm wrench and your 10 mm wrench and let’s get started!
Duration
80 minutes
Number of steps
10
Difficulty out of 5
3
Average savings
$120
Parts You Will Need
Tools You Will Need
Step-by-Step Installation
Chapter 1:
Turn off your vehicle’s ignition
Step 1/2
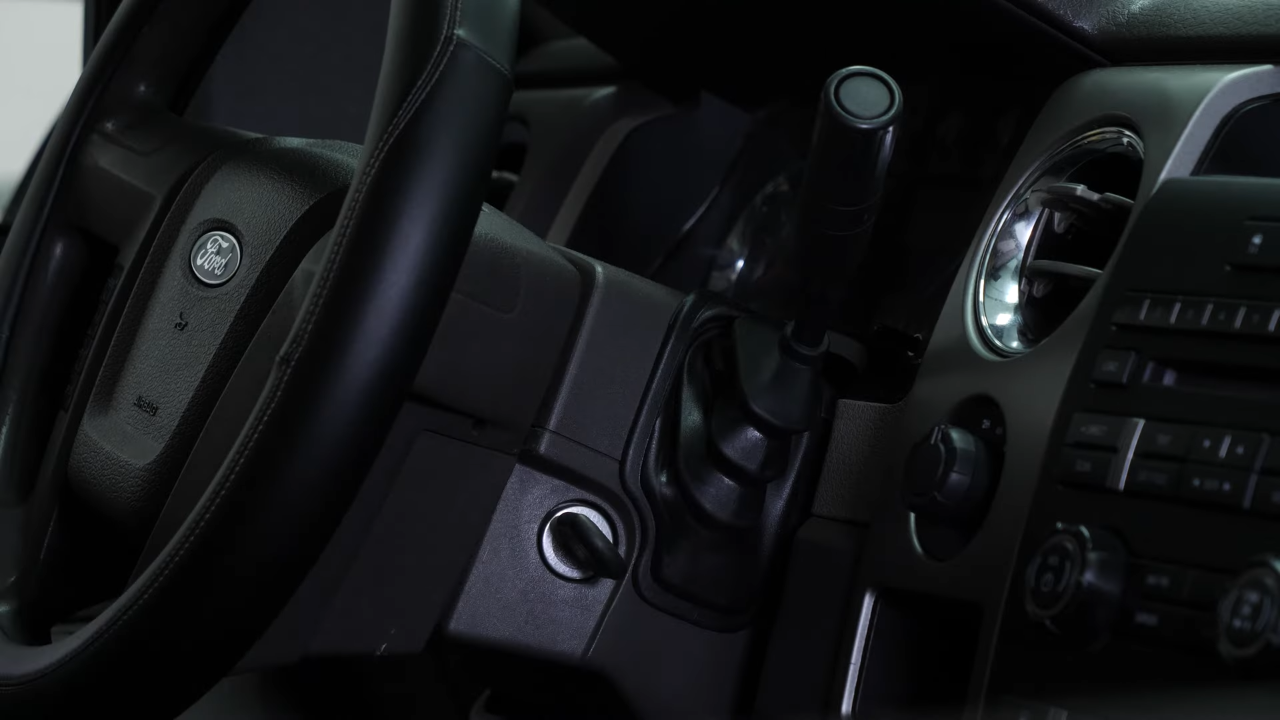
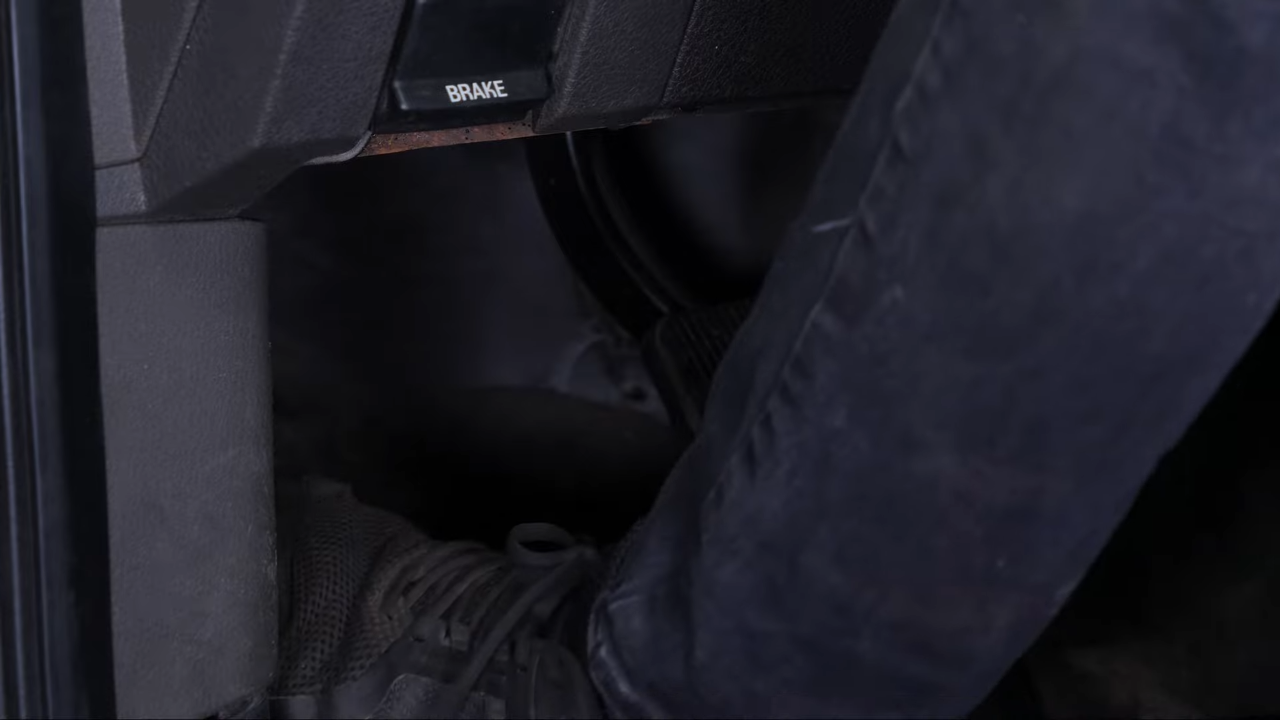
Turn your engine off and set the parking brake.
Chapter 1:
Step 2/2
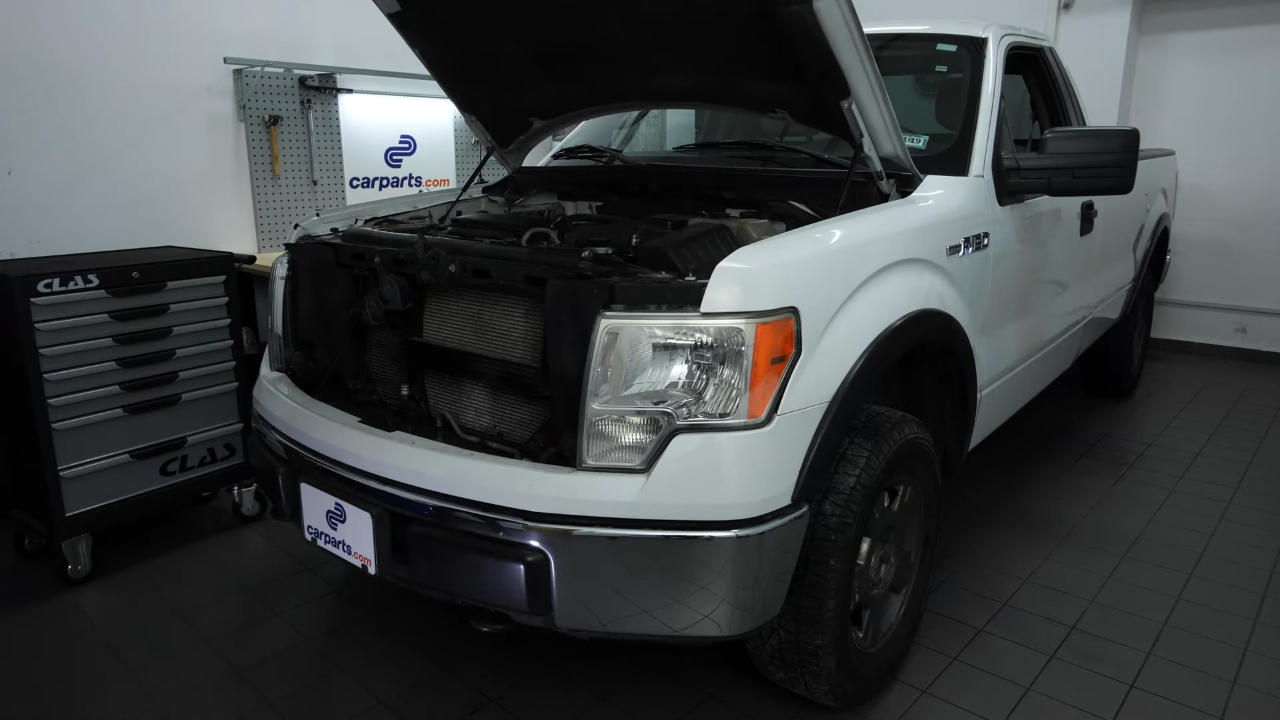
Pull on the hood release handle and open the hood.
Chapter 2:
Disconnect the battery
Step 1/2
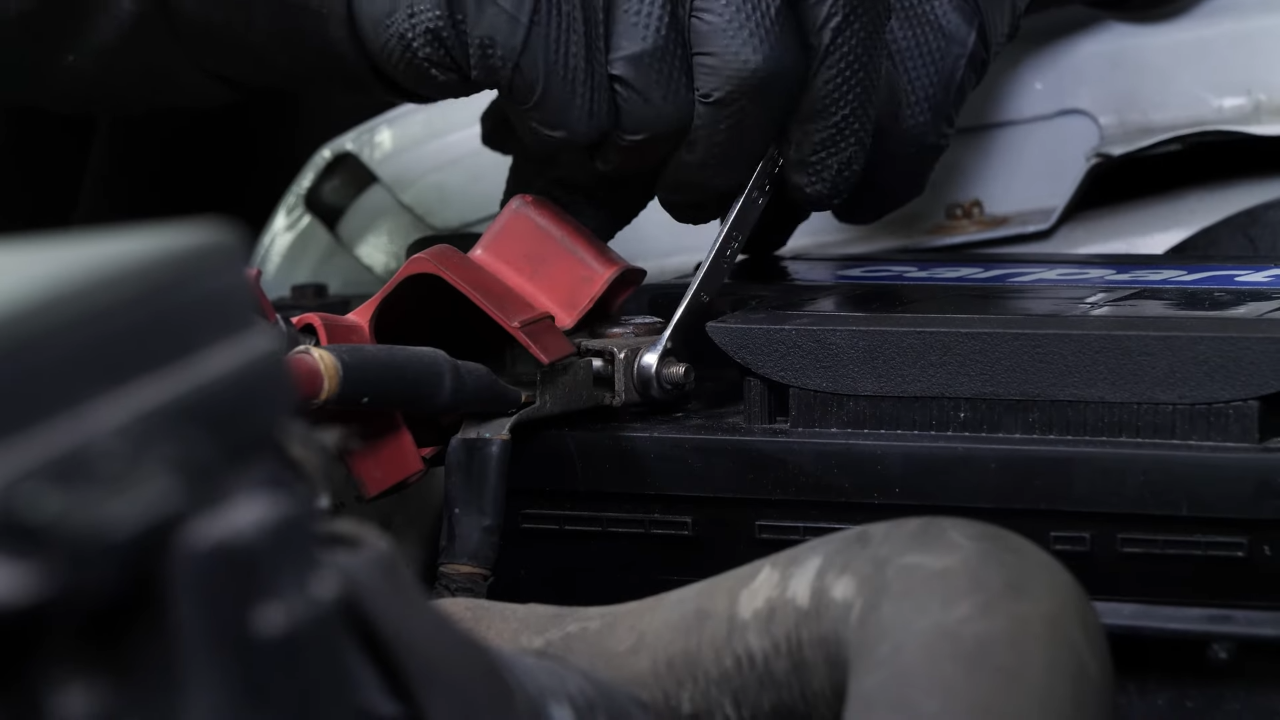
For safety reasons, we advise you to disconnect the battery.
Chapter 2:
Step 2/2
To do so, we recommend watching the video : ‘How to replace the Ford F-150 car battery’.
Chapter 3:
Disconnect the starter
Step 1/4
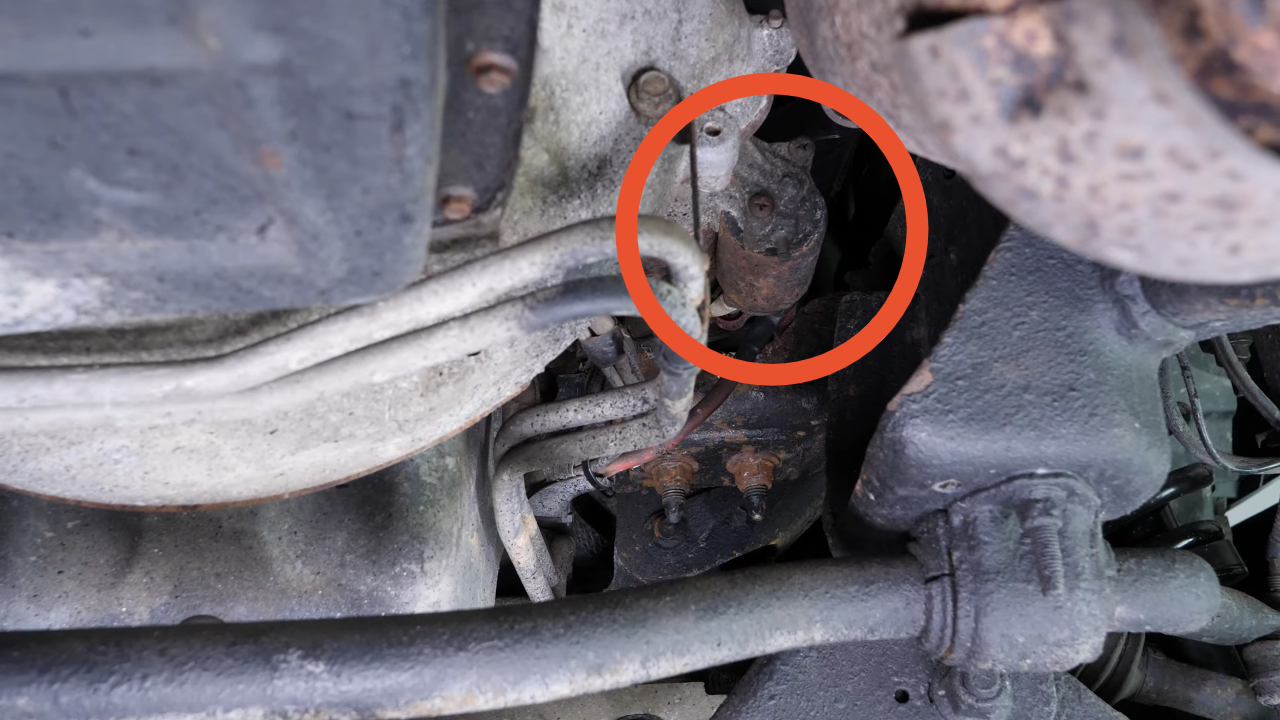
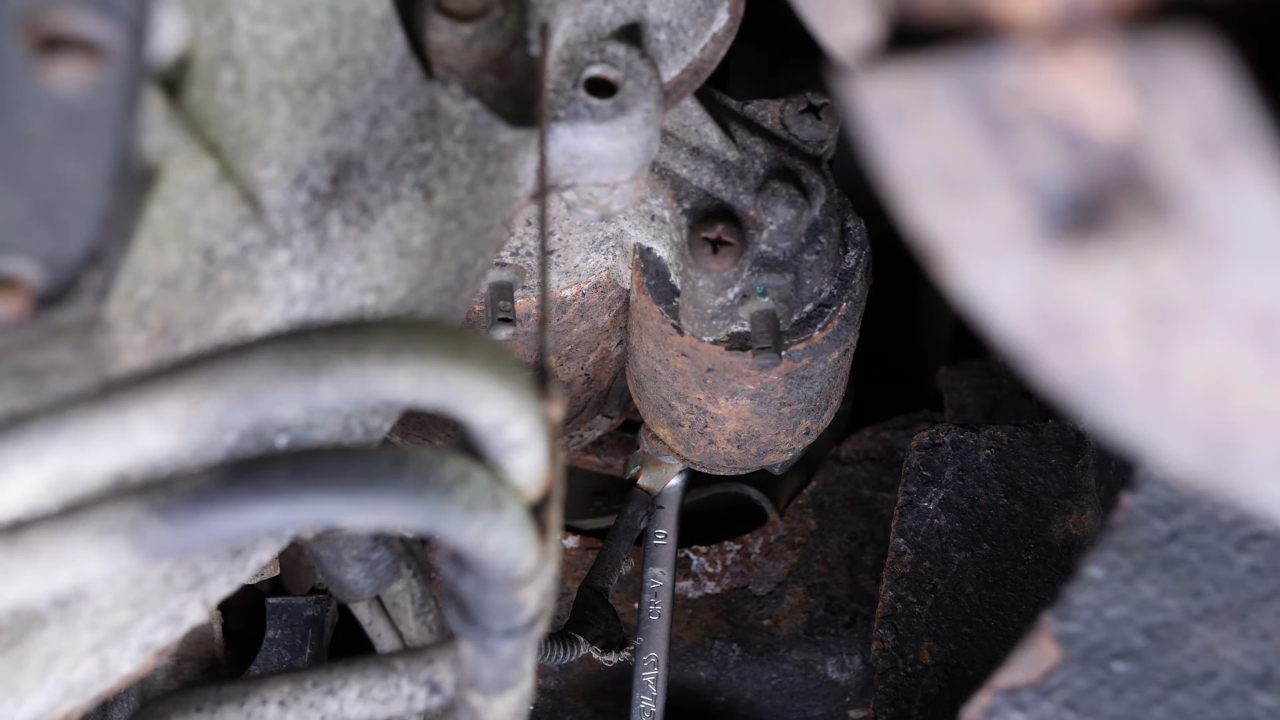
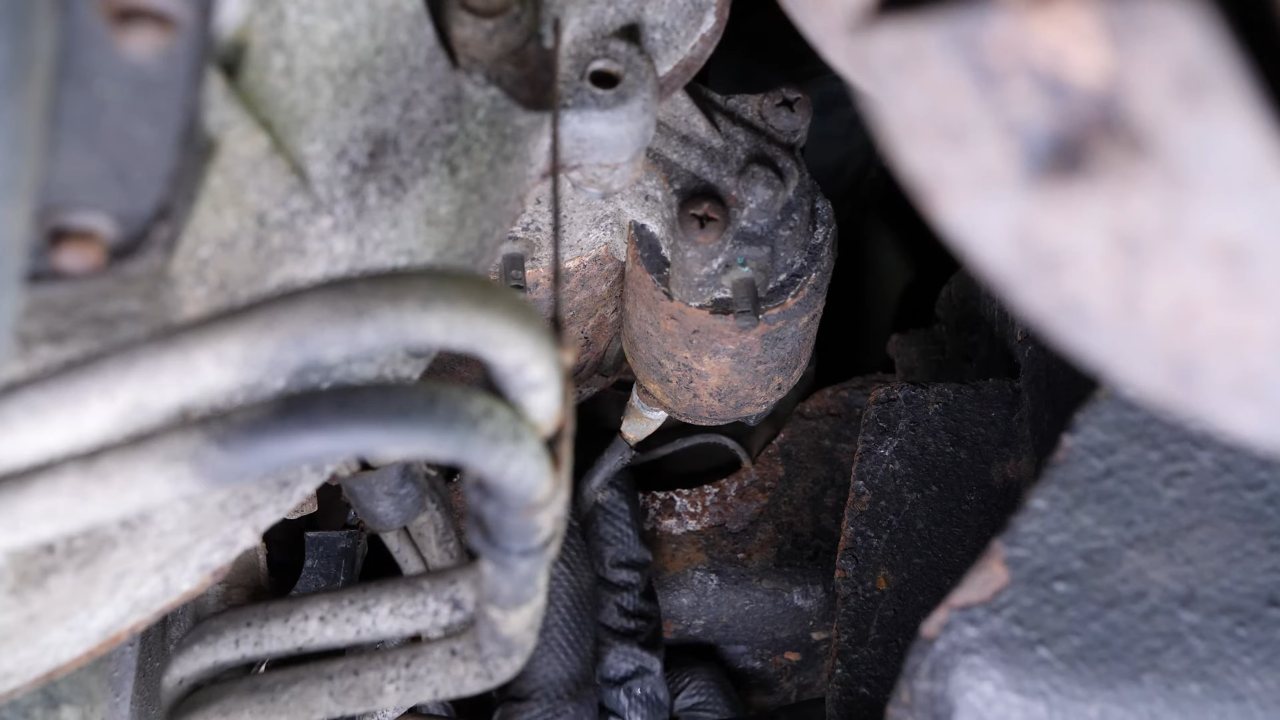
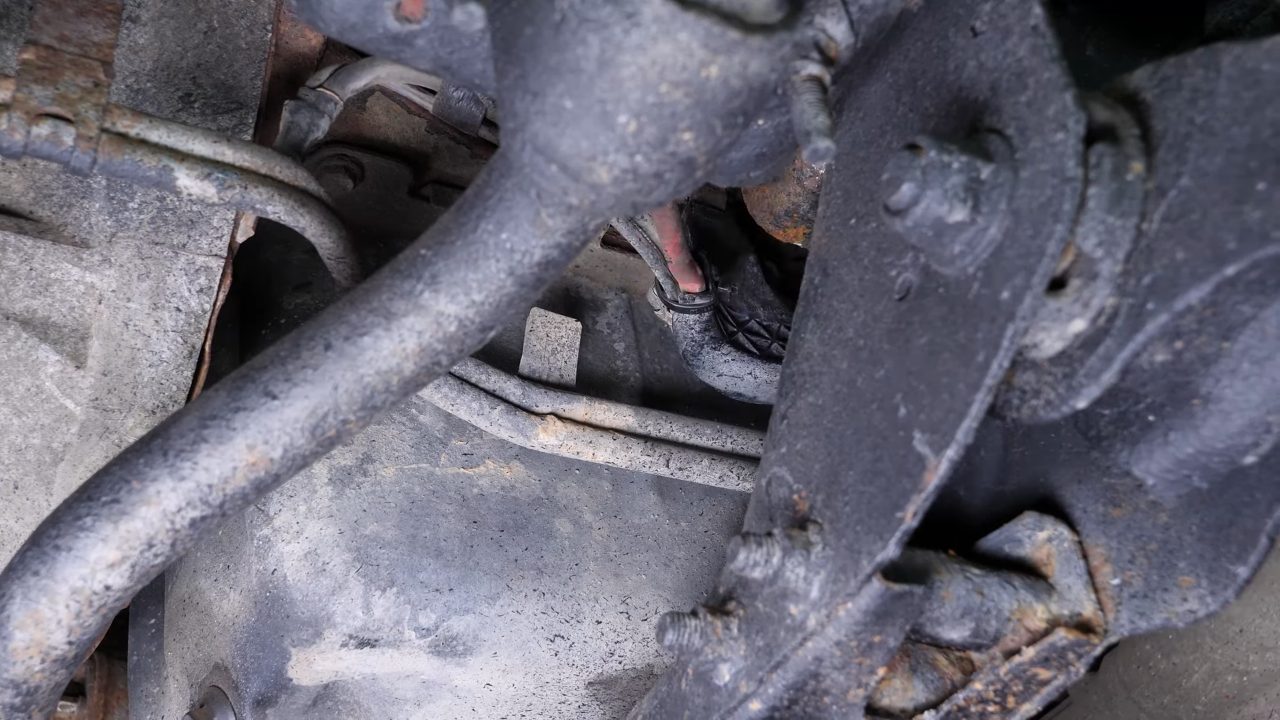
The starter is located under the vehicle, on the passenger side, at the junction point between the exhaust manifold and the exhaust line.
Chapter 3:
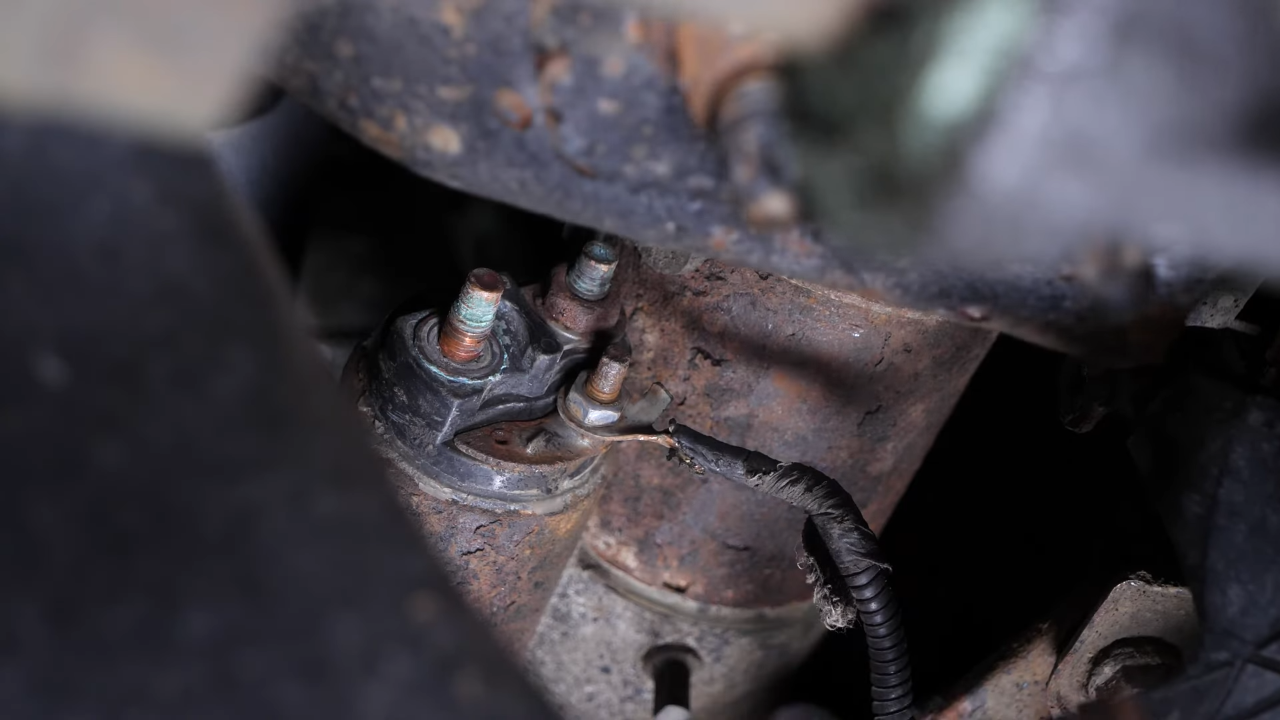
Step 2/4
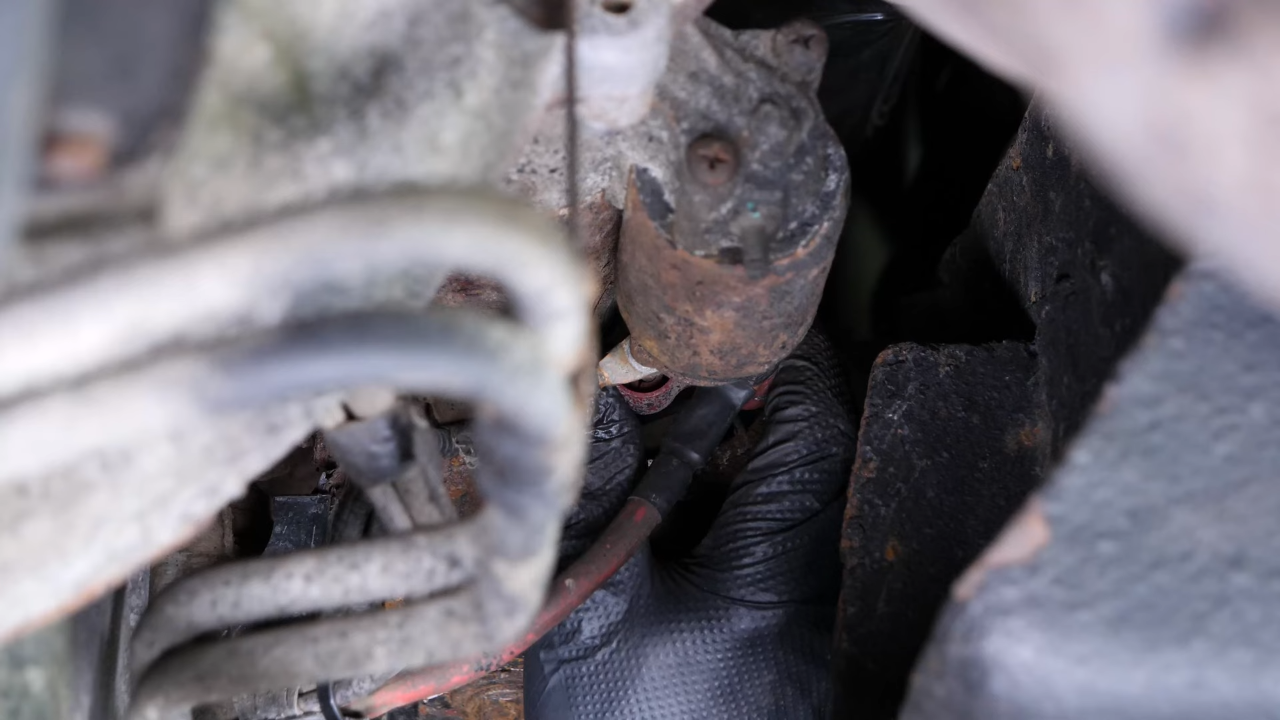
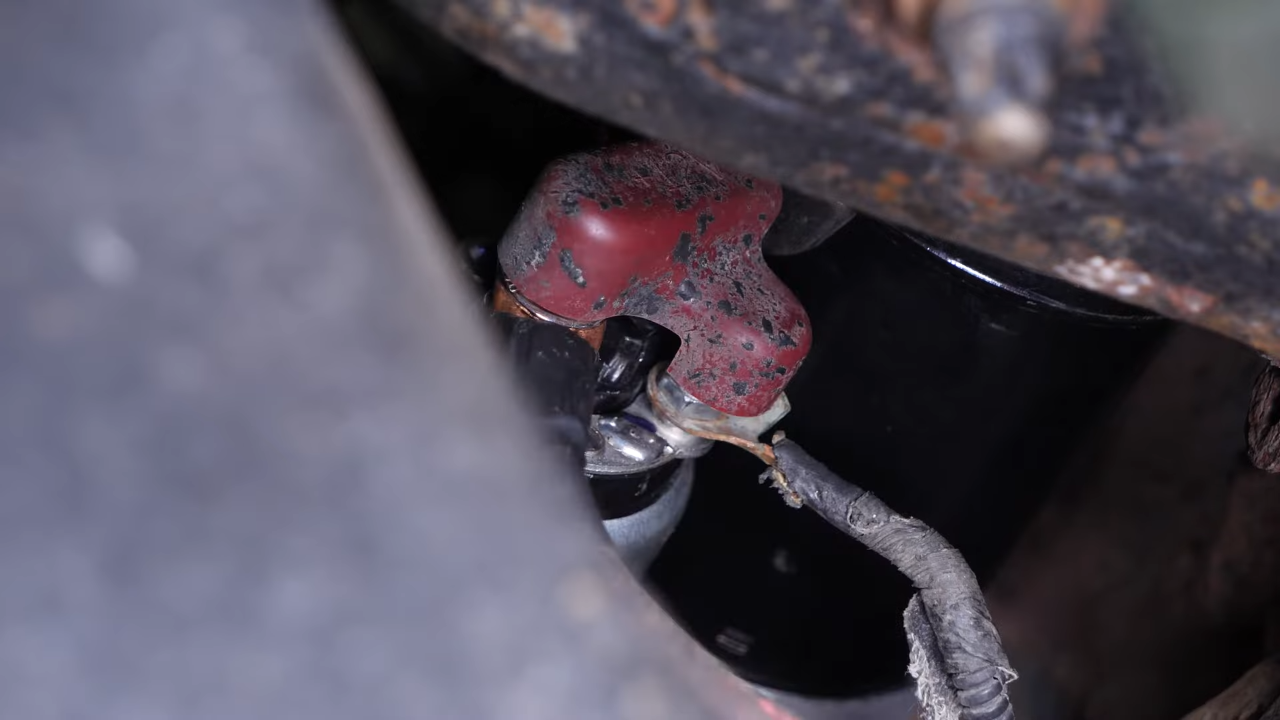
Start by removing the plastic protection from the 3 starter power connectors.
Chapter 3:
Step 3/4
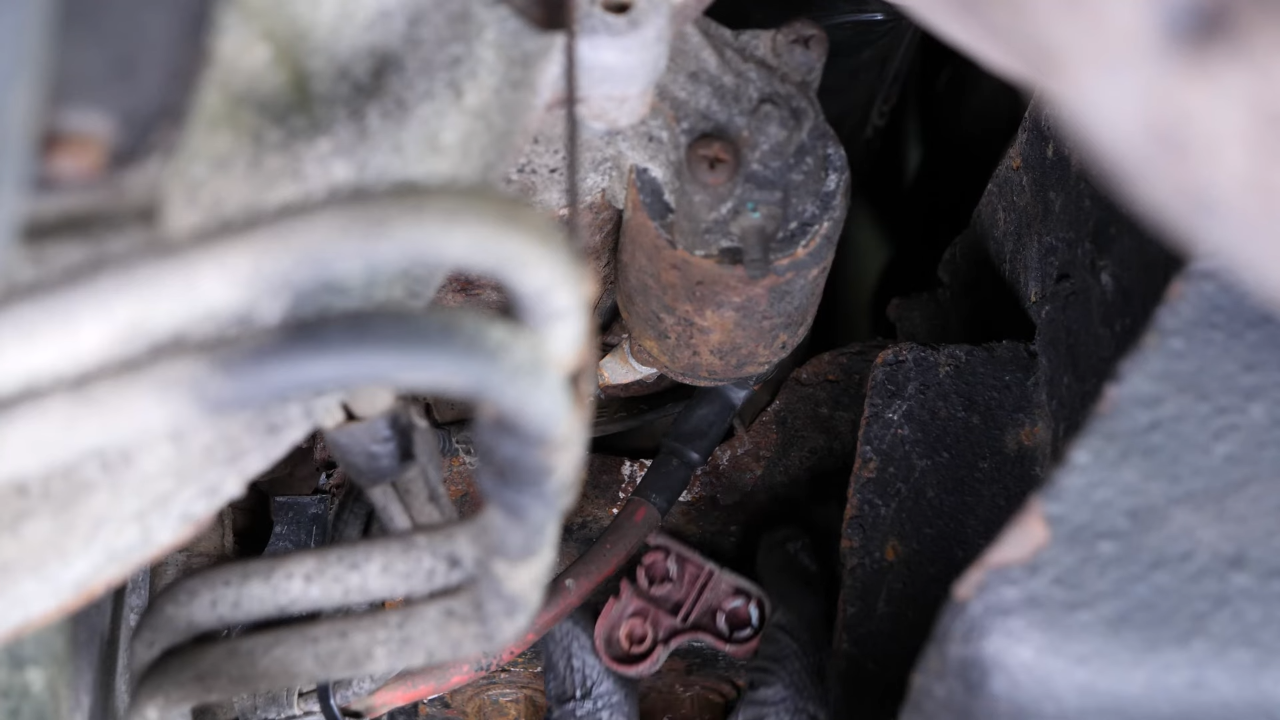
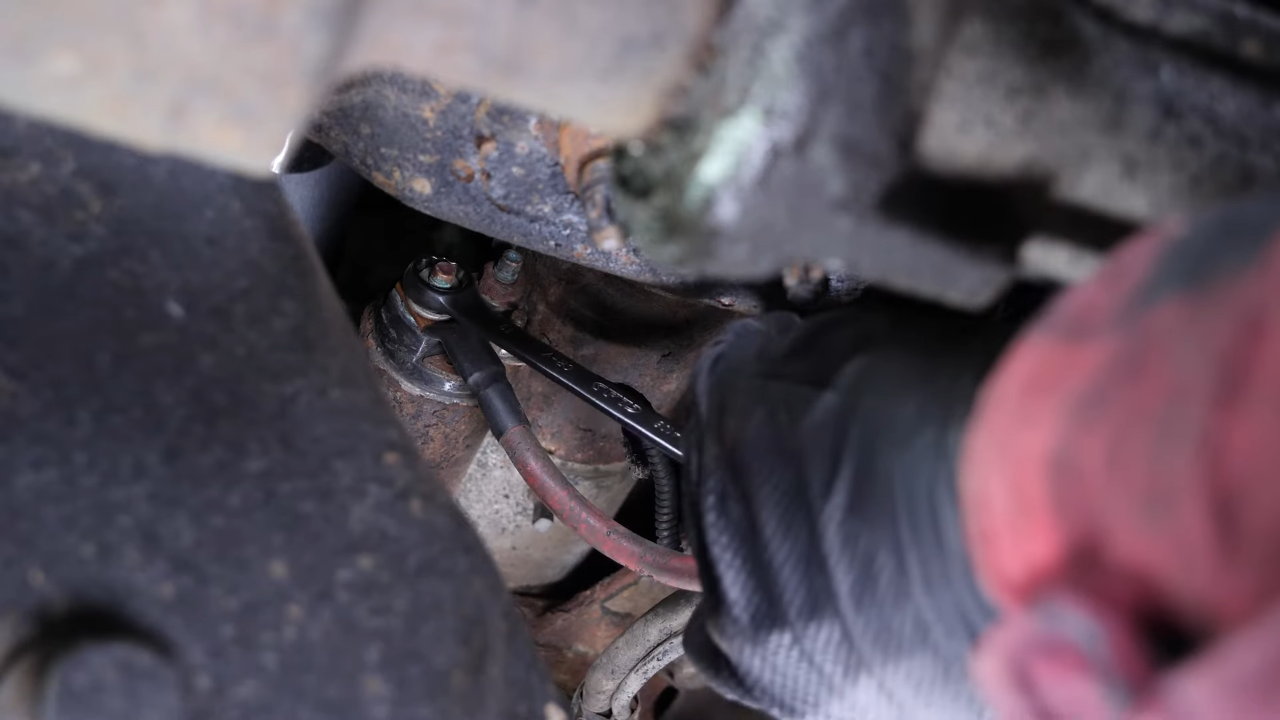
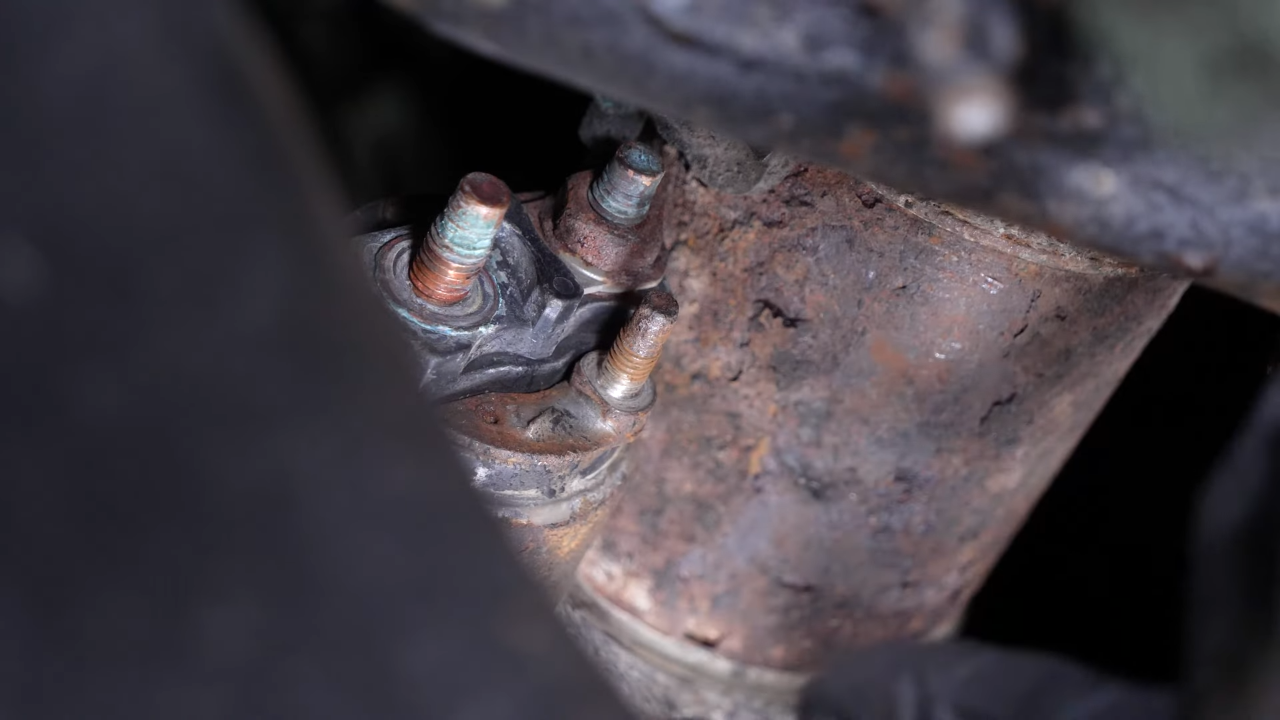
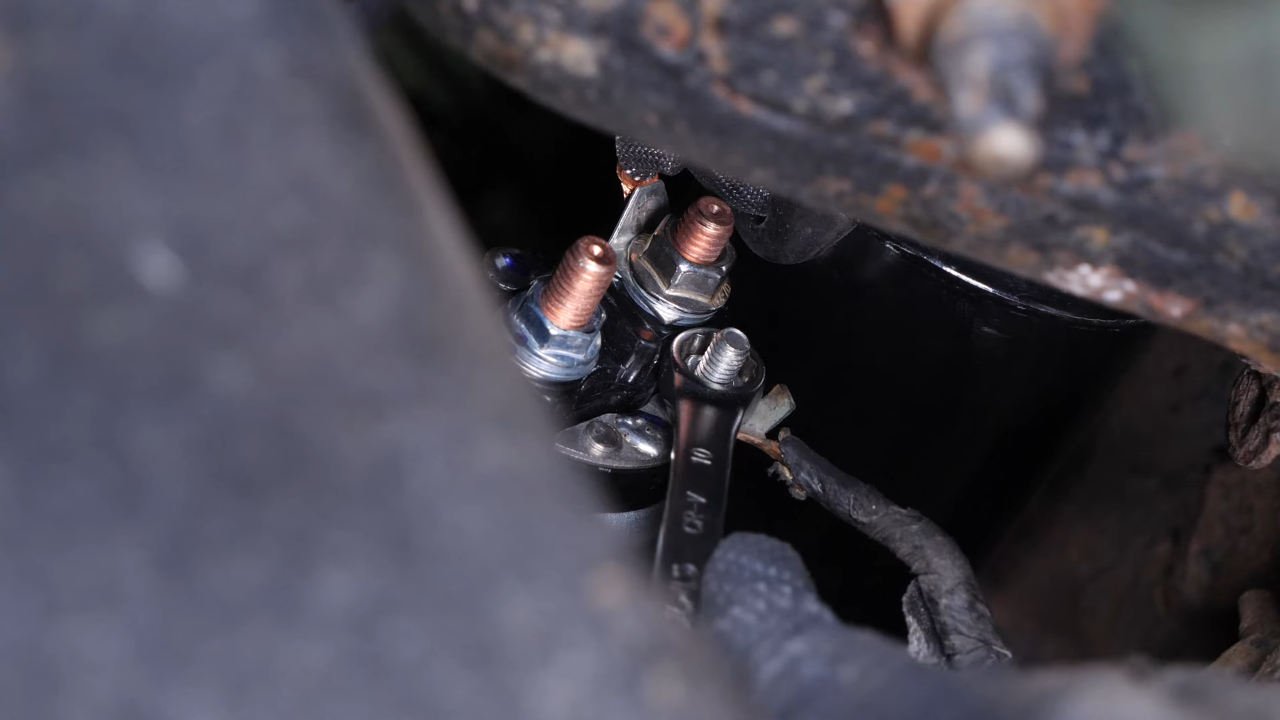
Then, using a 13mm wrench, unscrew the red starter power terminal. Then, remove it.
Chapter 3:
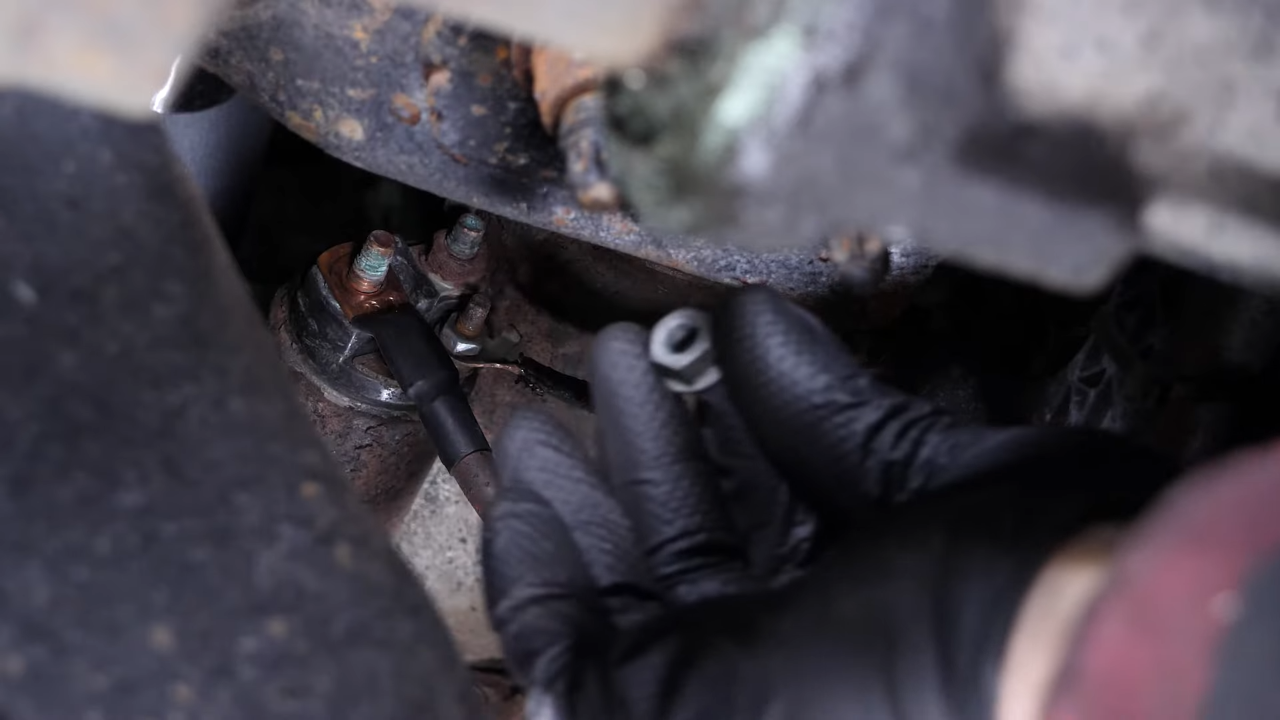
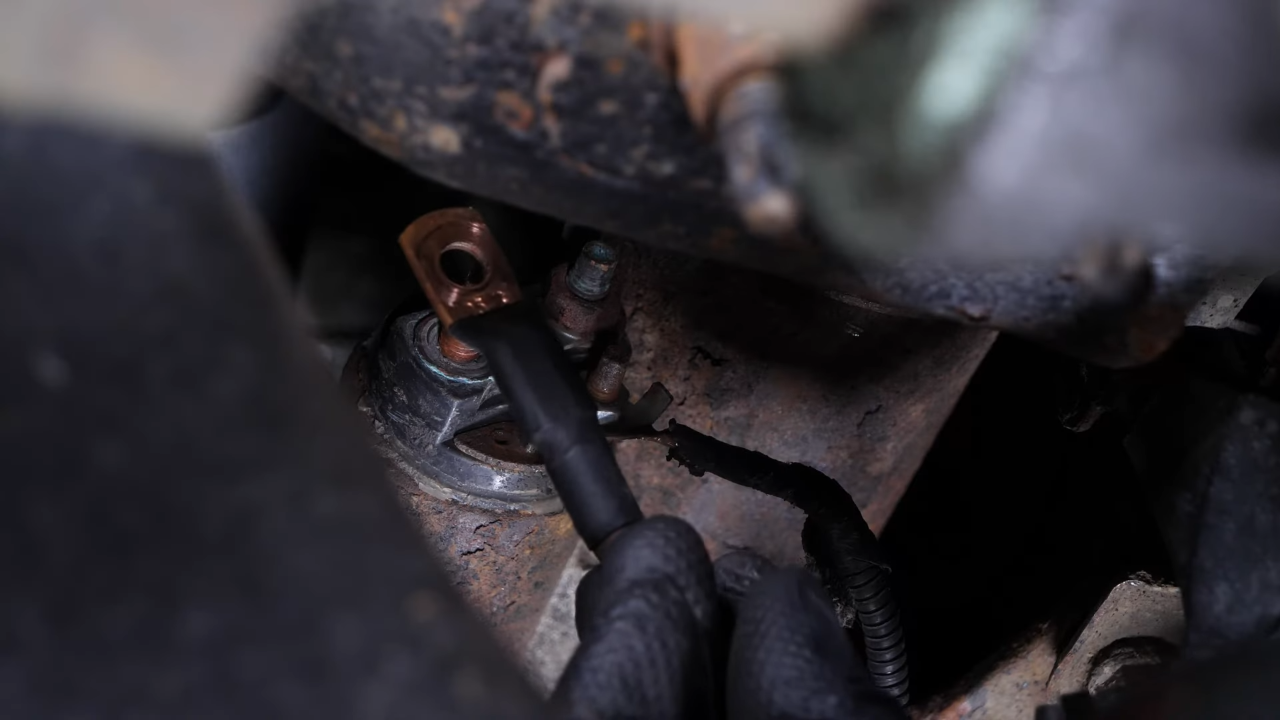
Step 4/4
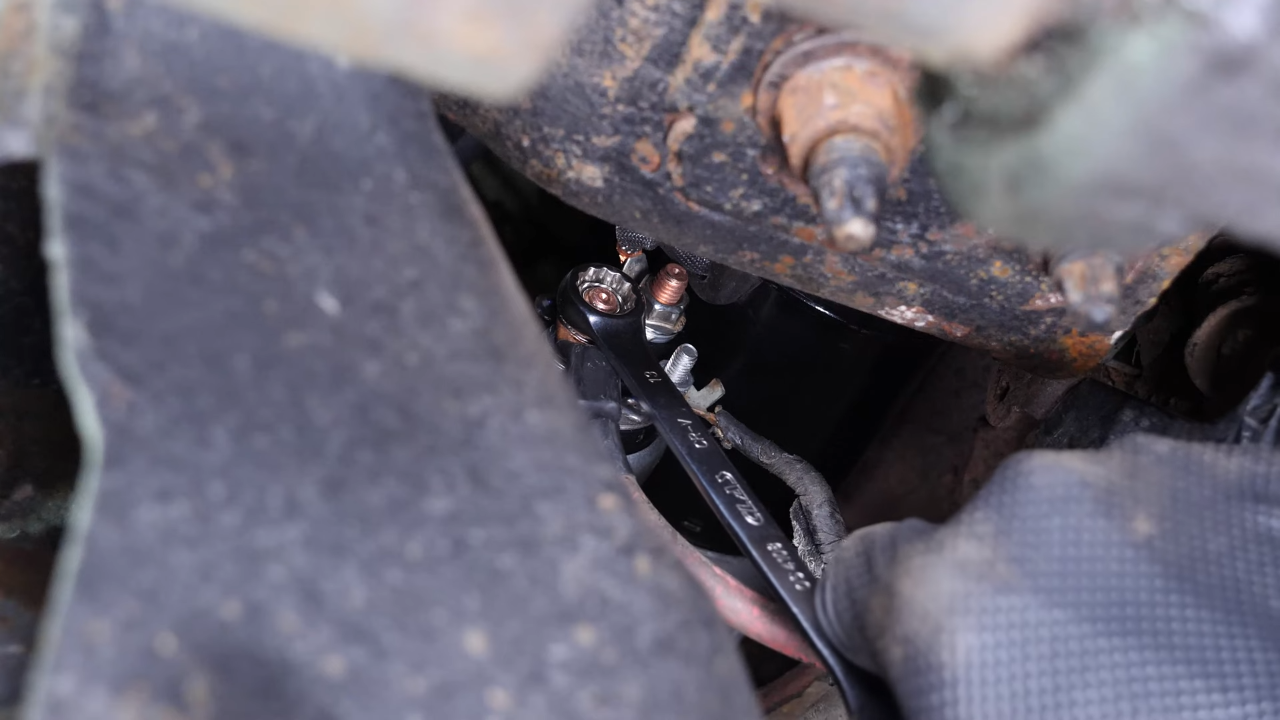
Then, using a 10mm wrench, unscrew the black negative starter terminal. Then, remove it.
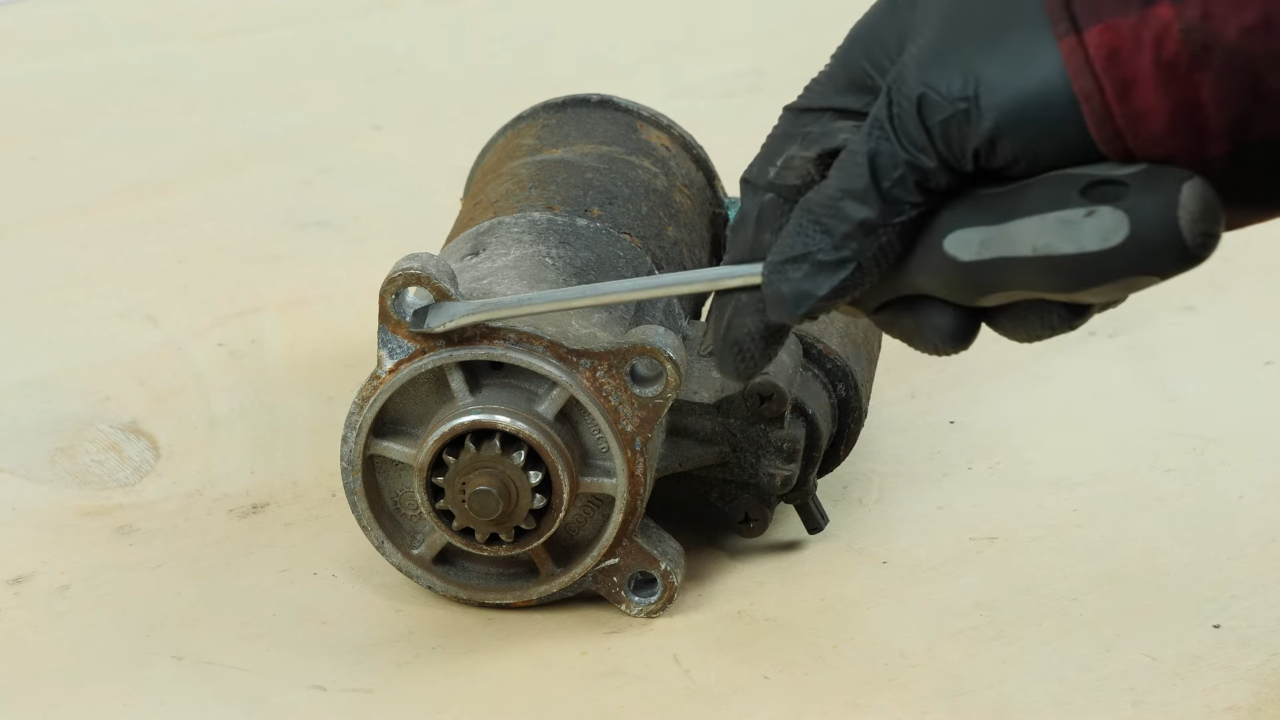
Chapter 4:
Remove the bolts holding the starter
Step 1/4
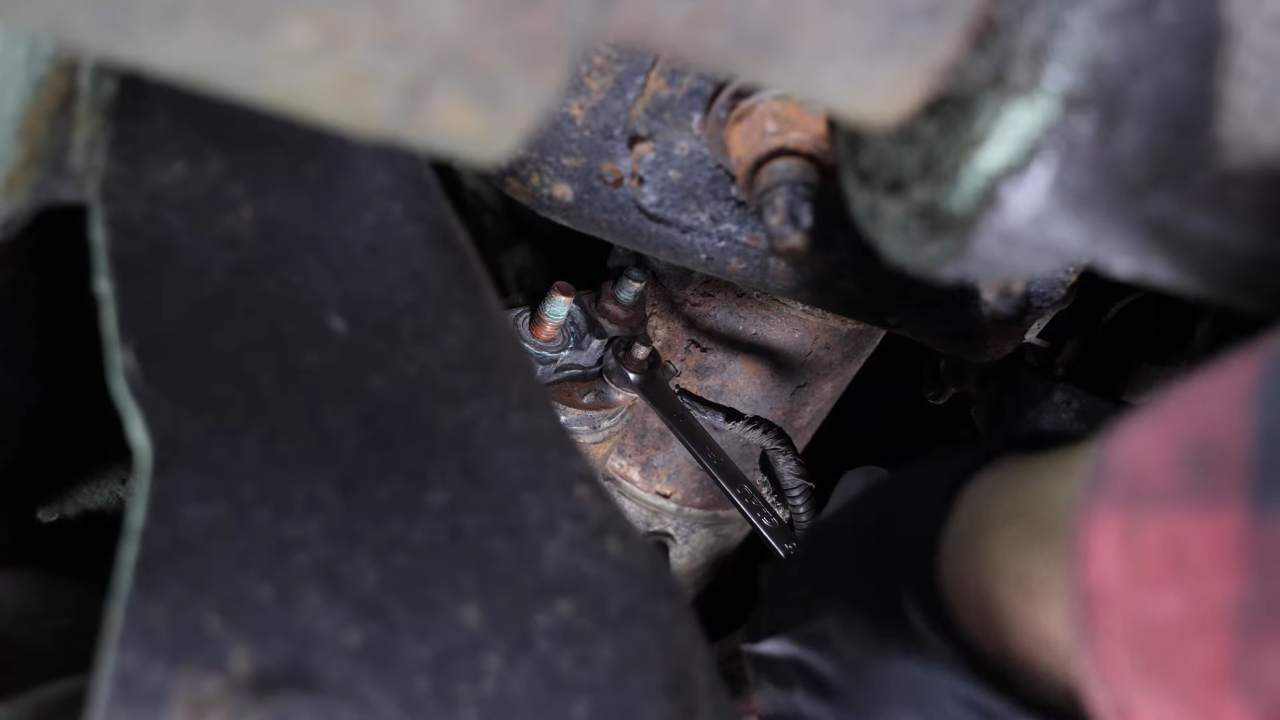
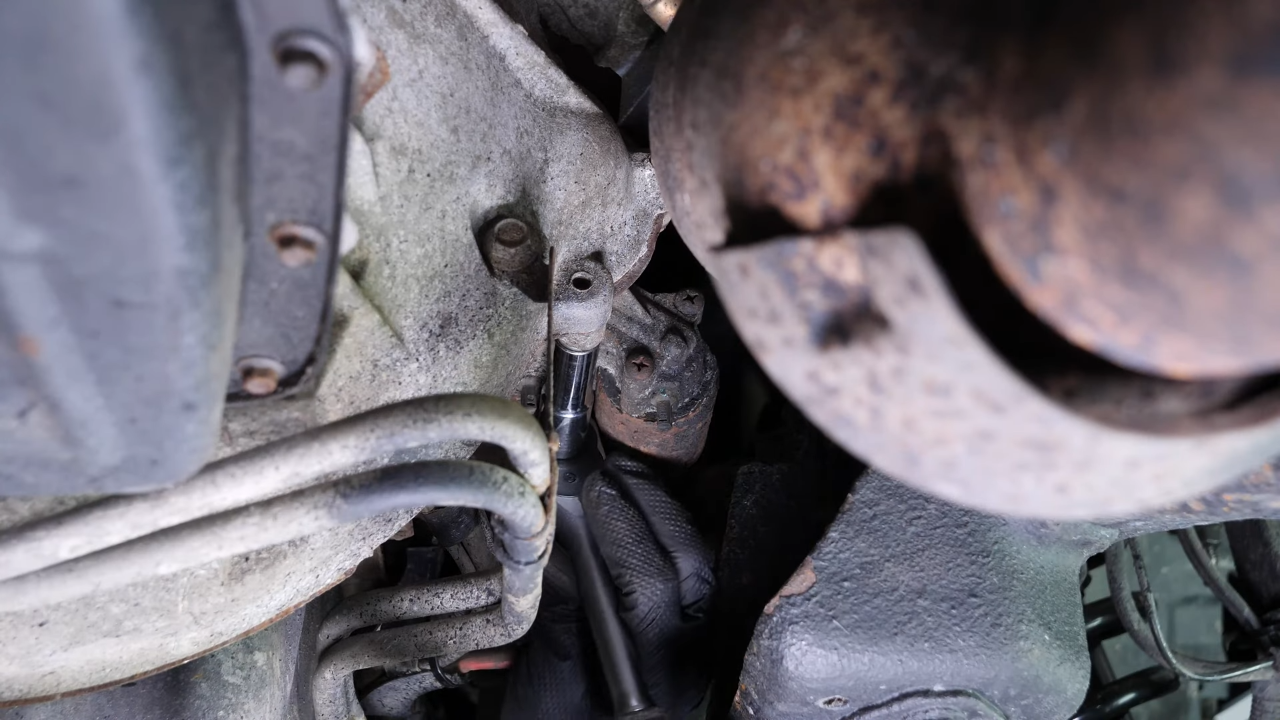
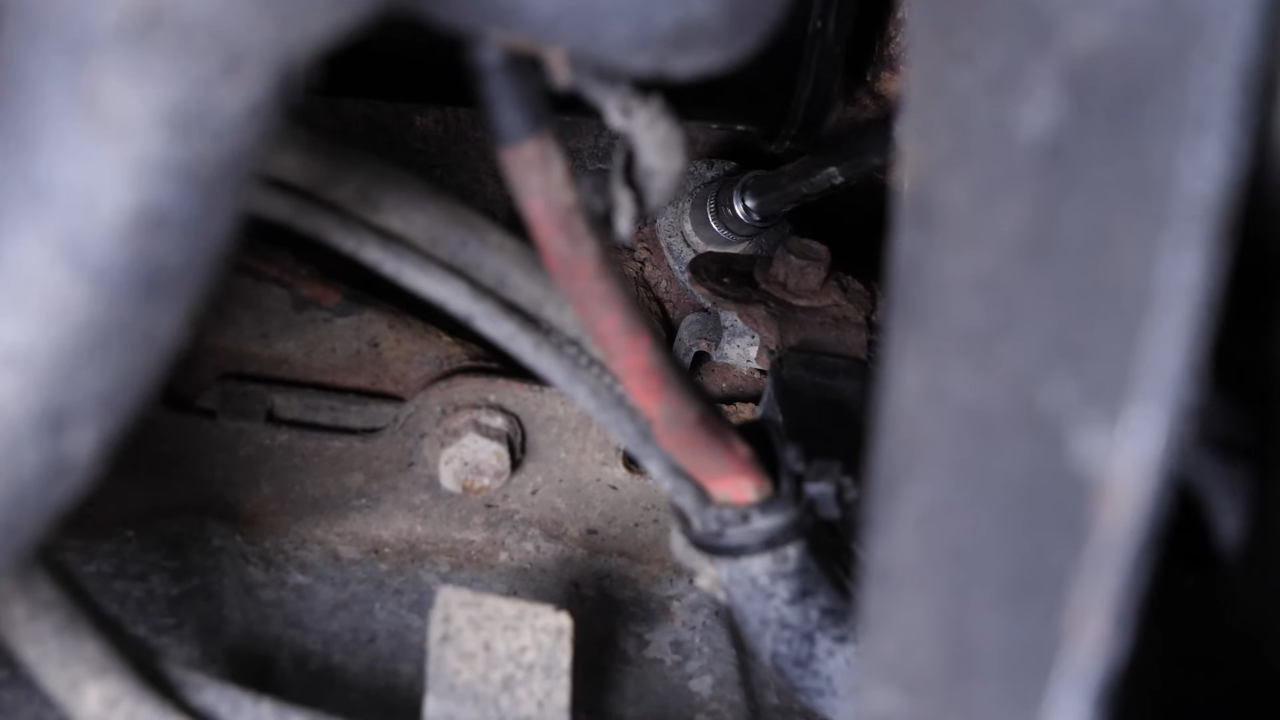
The starter retaining screws are difficult to access. It will therefore be necessary to remove them without seeing them.
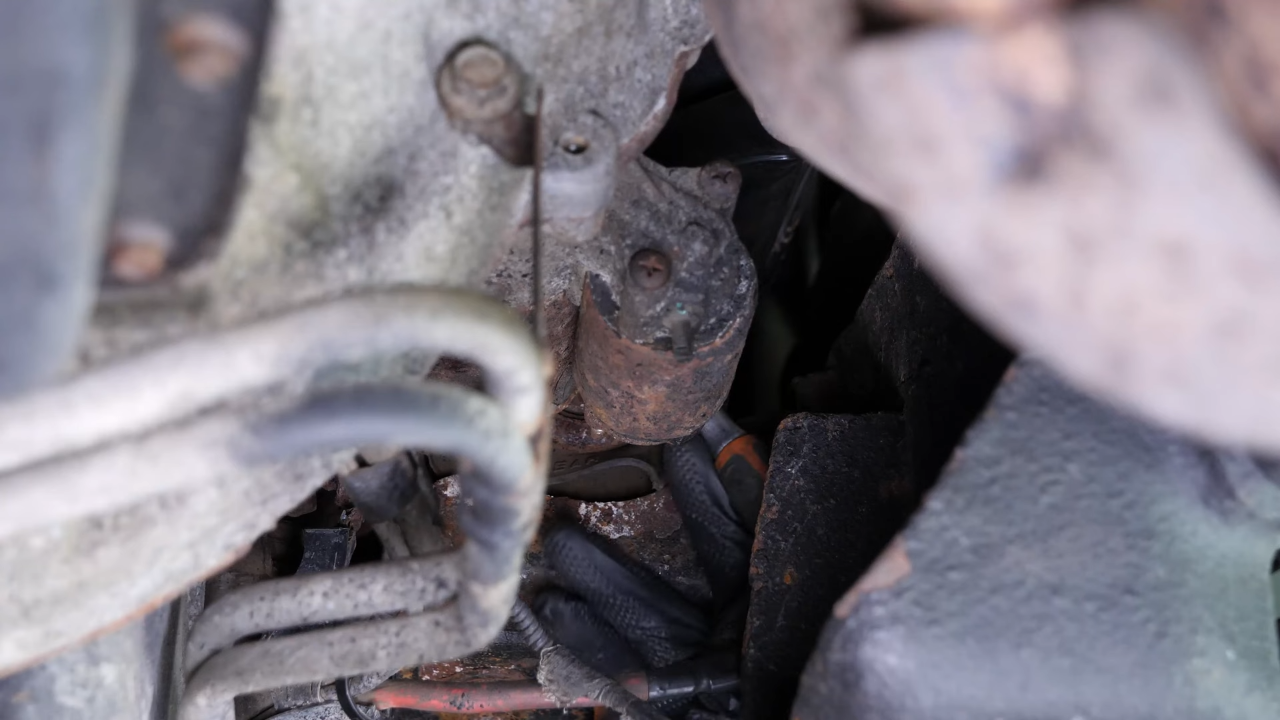
Chapter 4:
Step 2/4
Using a ratchet, an extender and a 13mm socket, unscrew the first starter retaining screw.
Chapter 4:
Step 3/4
Do the same with the second retaining screw.
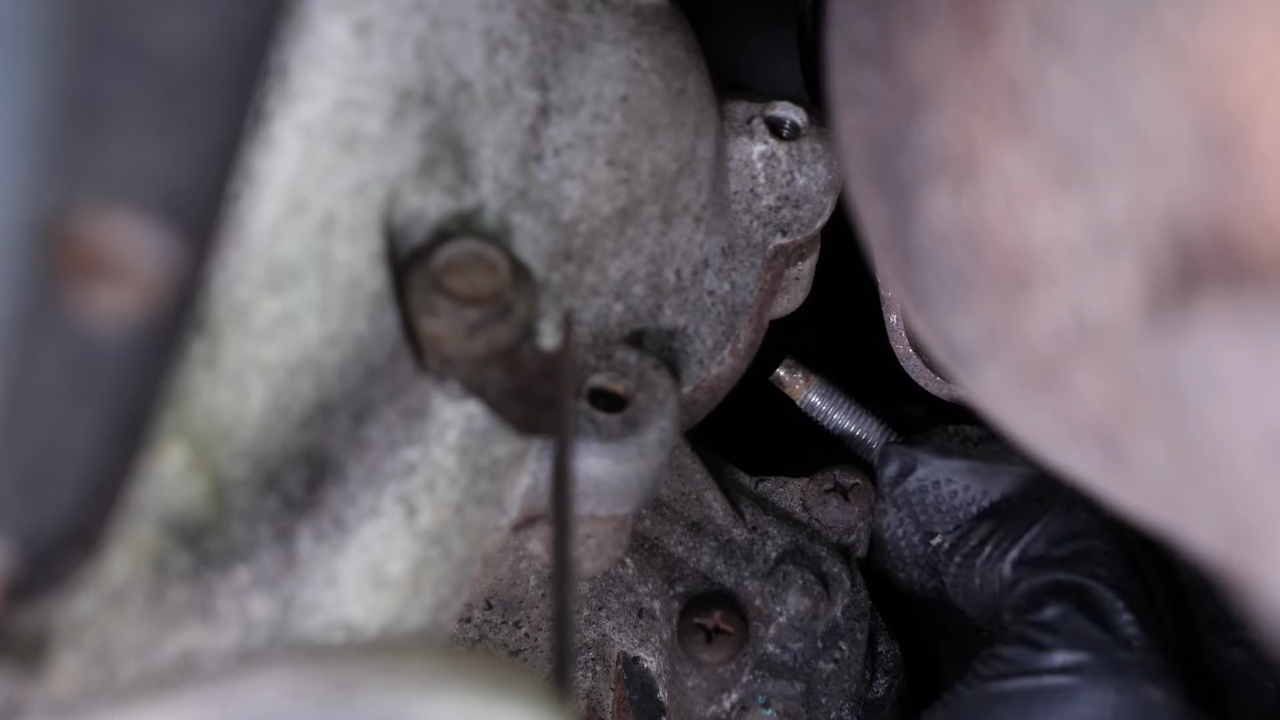
Chapter 4:
Step 4/4
Finally, remove the third starter retaining screw.
Chapter 5:
Remove the starter
Step 1/5
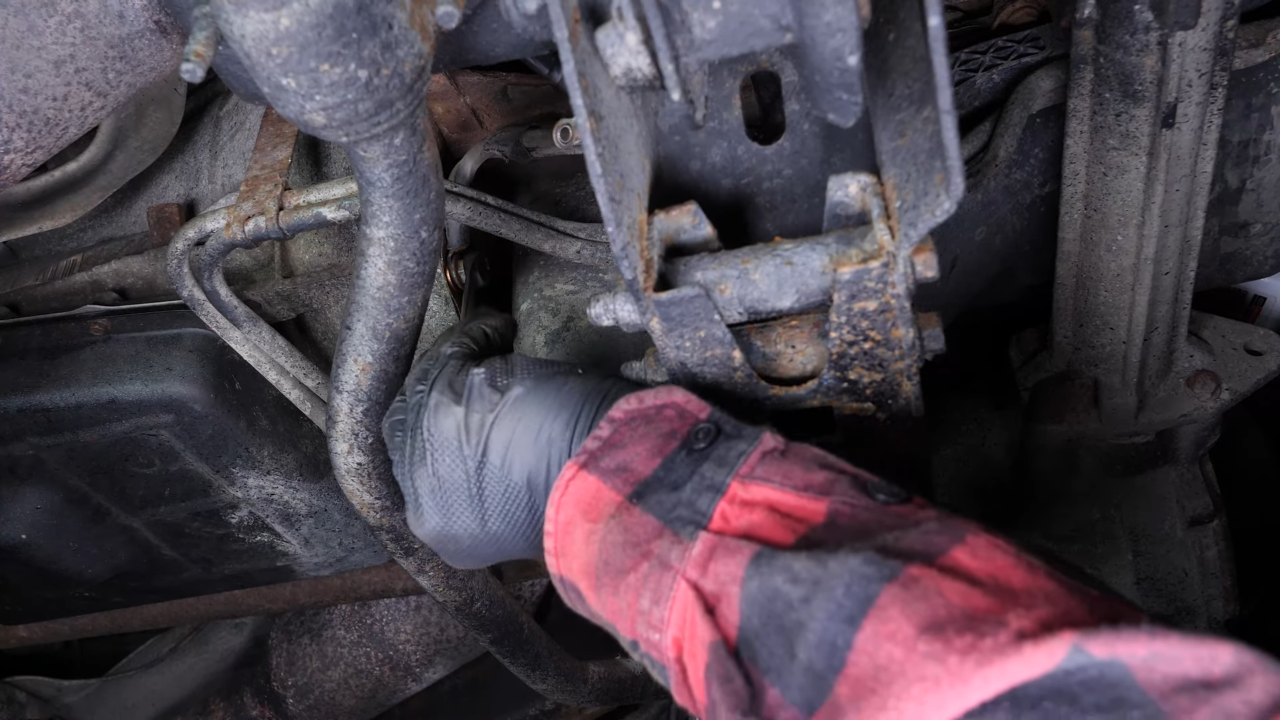
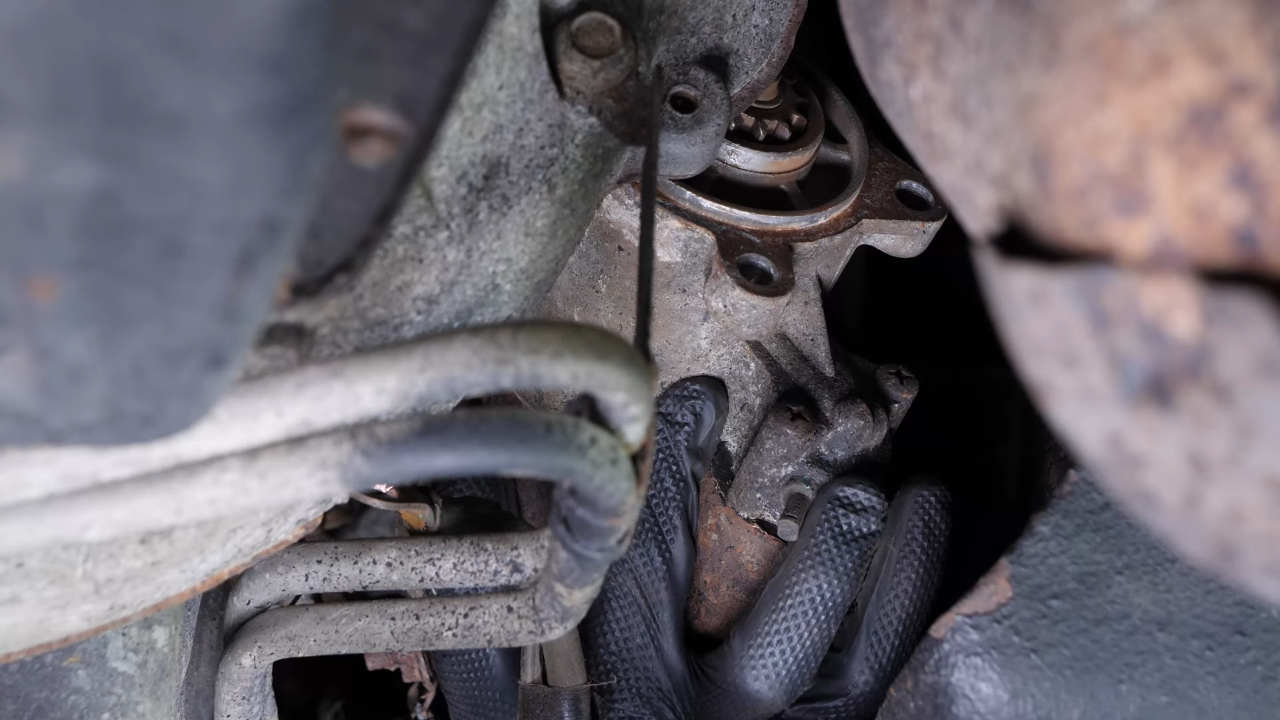
Before being able to remove the starter, you will need to create the space necessary to remove it.
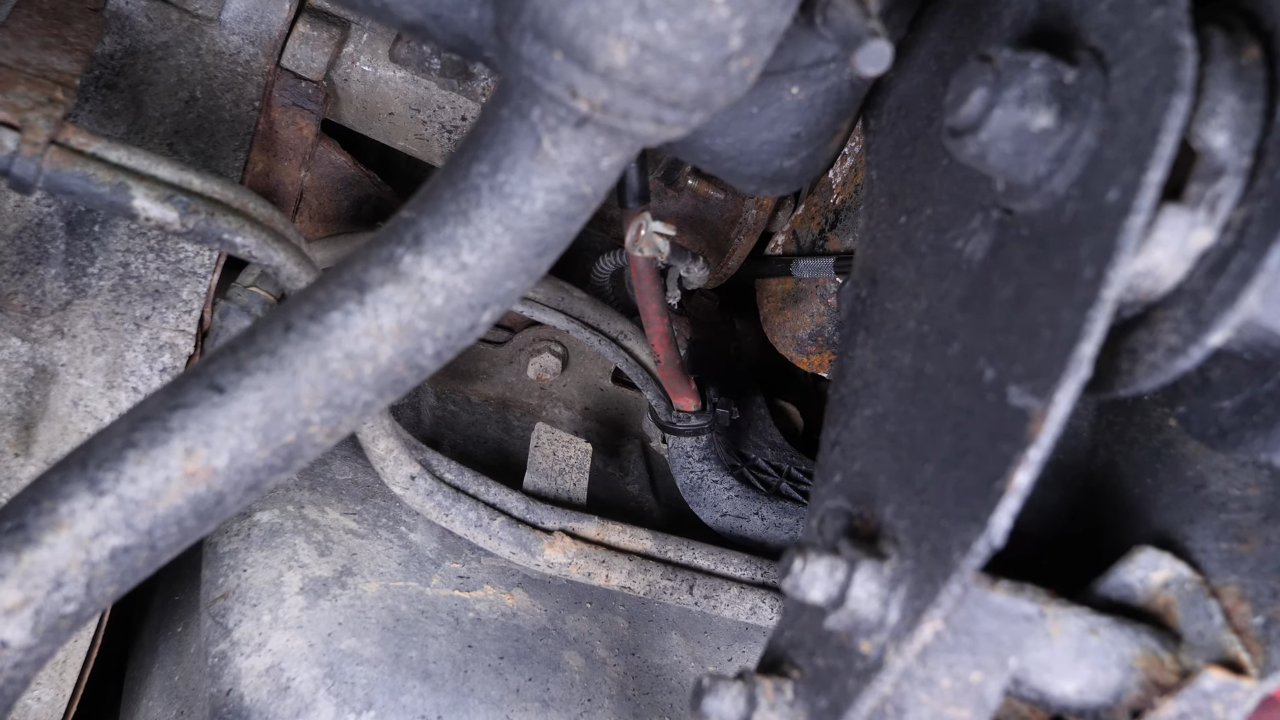
Chapter 5:
Step 2/5
Using a ratchet, an extender and a 10mm socket, unscrew the retaining screw of the electrical harness’ plastic guide.
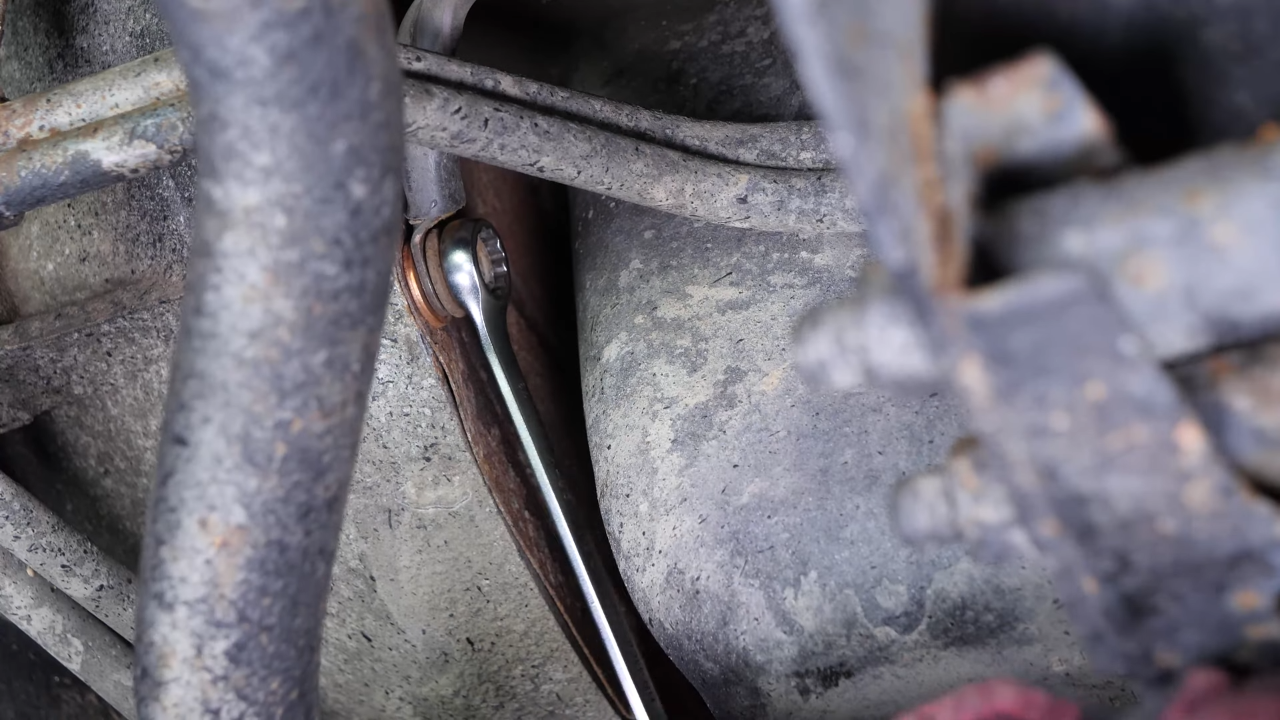
Chapter 5:
Step 3/5
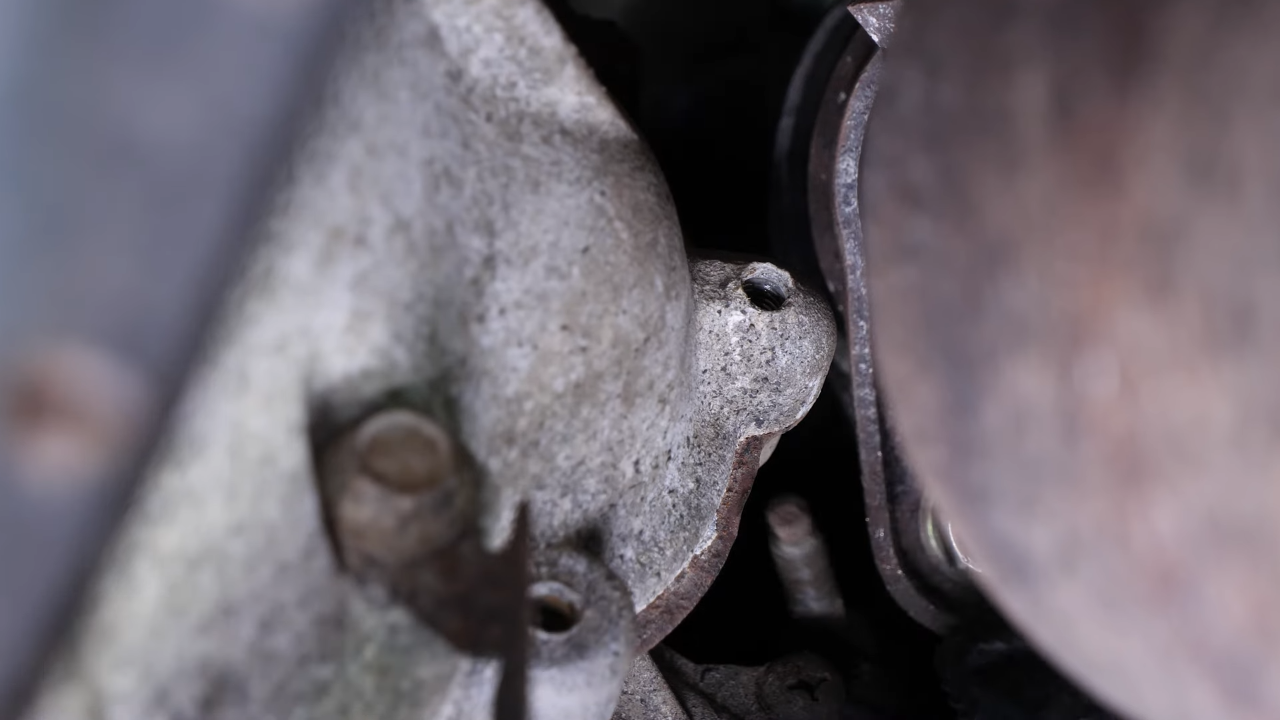
Then, using a 13mm wrench, unscrew the ground retaining screw on the engine. Finish unscrewing by hand.
Chapter 5:
Step 4/5
You can now shift all the harnesses.
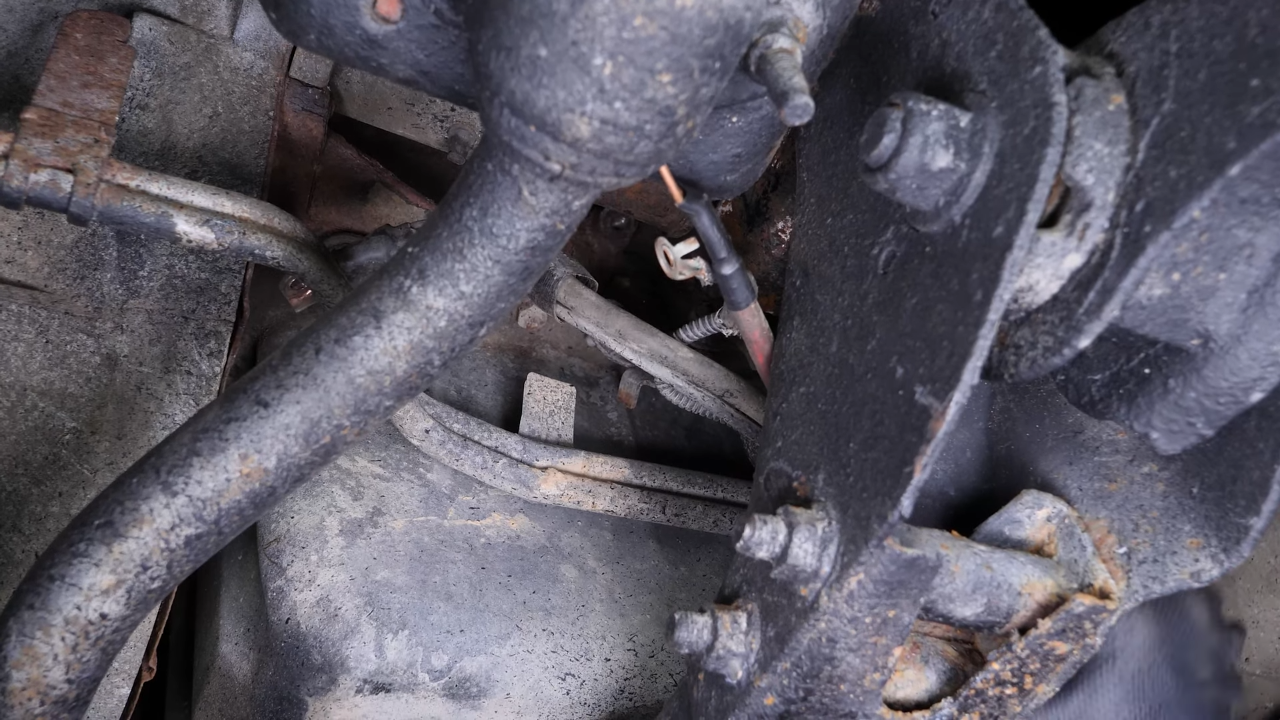
Chapter 5:
Step 5/5
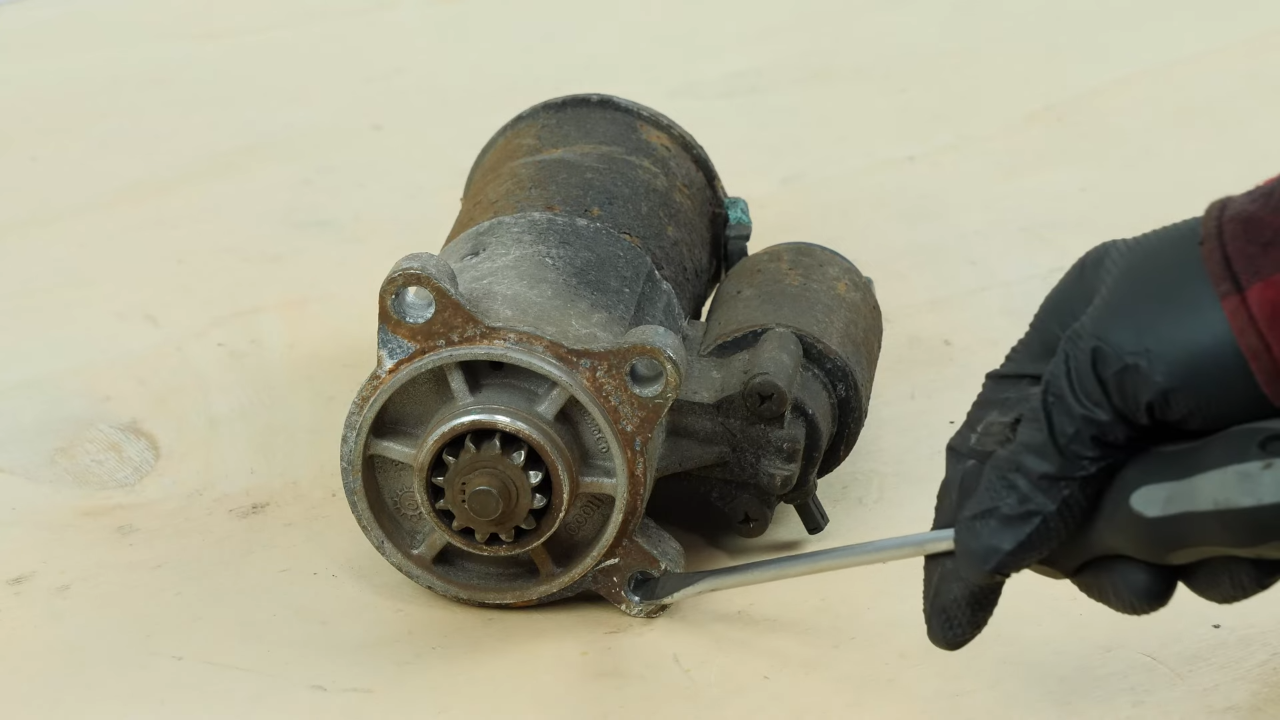
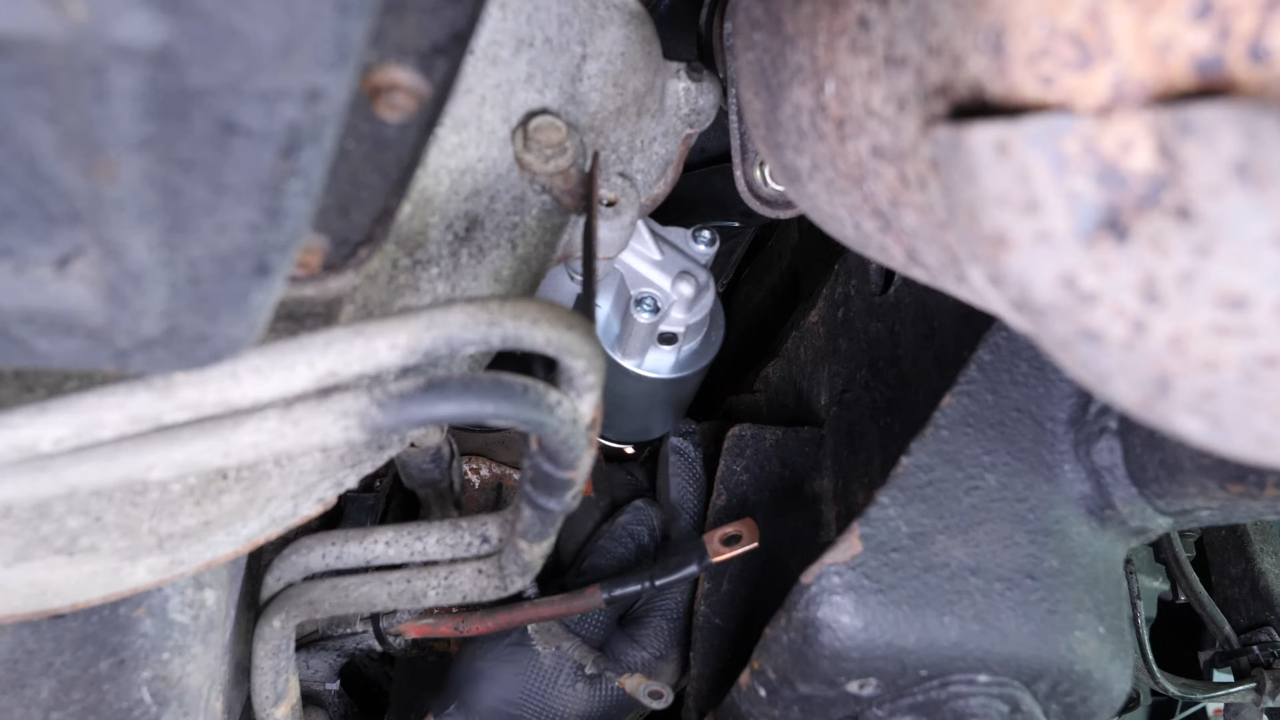
You can now remove the starter.

Chapter 6:
Install the new starter
Step 1/4
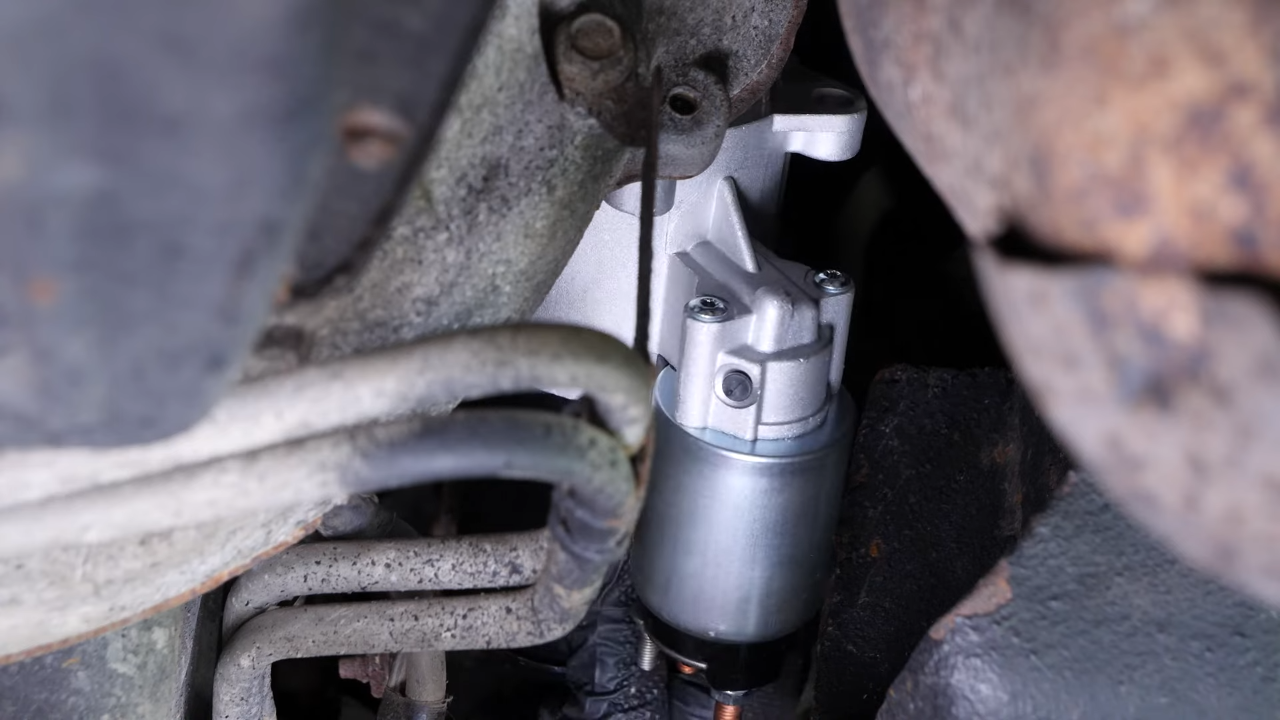
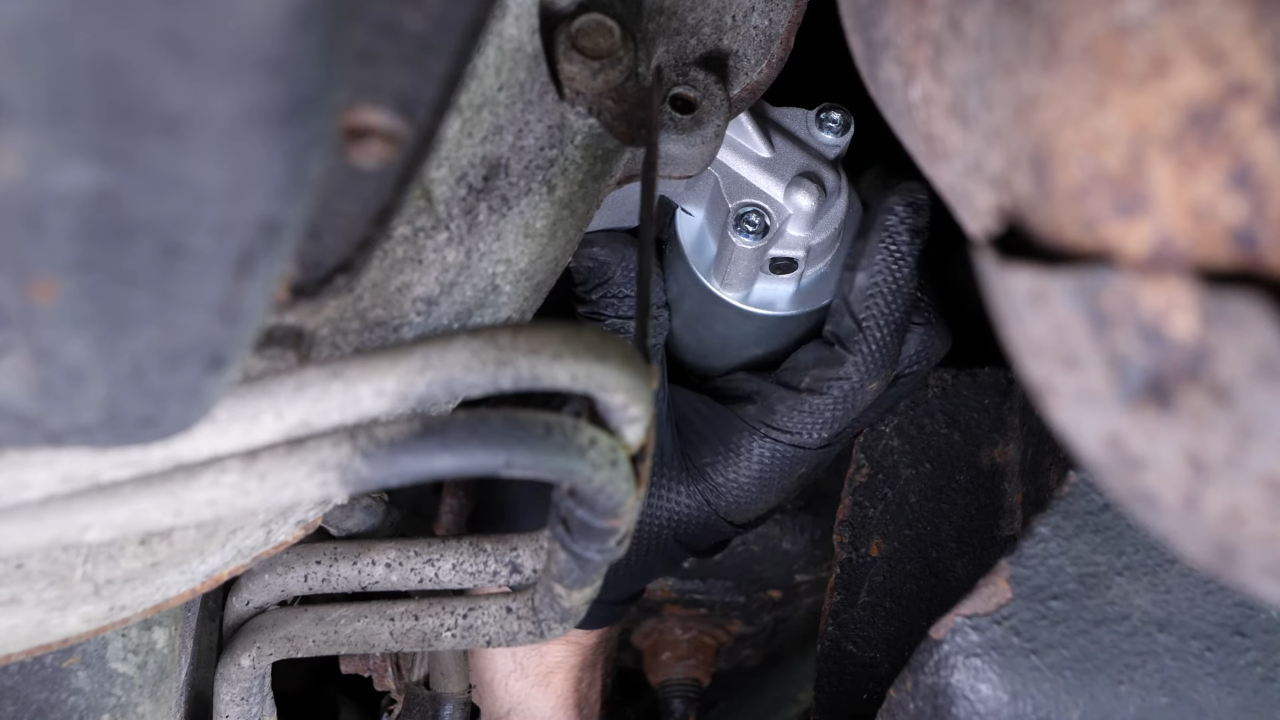
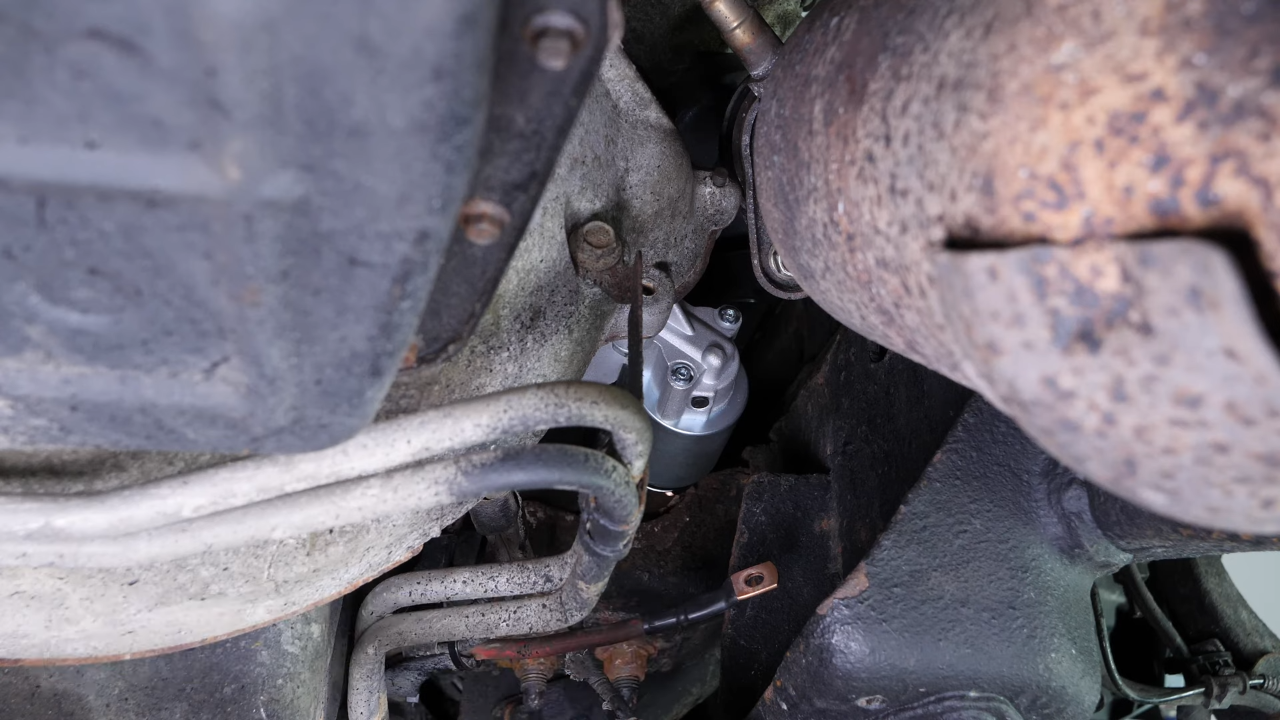
Take the new starter, and put it in its place.

Chapter 6:
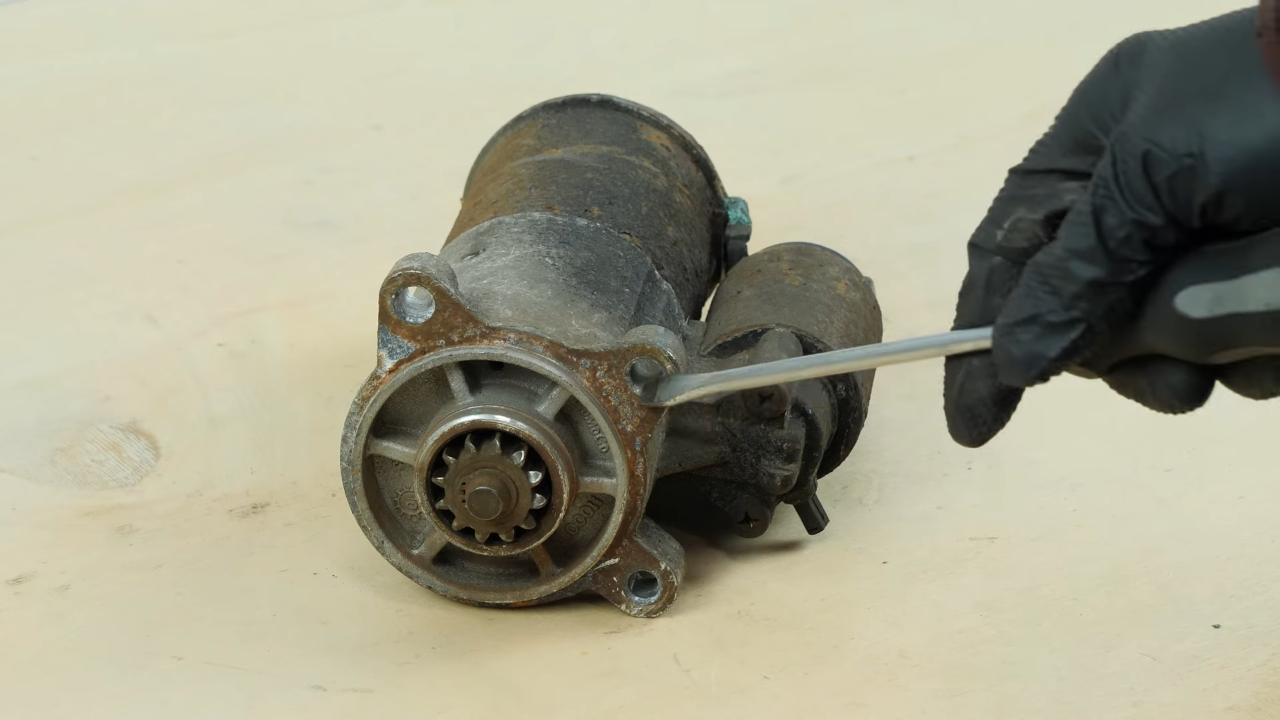
Step 2/4
Briefly replace the first screw to hold the starter in position.
Chapter 6:
Step 3/4
Reposition the different harnesses.
Chapter 6:
Step 4/4
Then screw the plastic retaining guide back on.
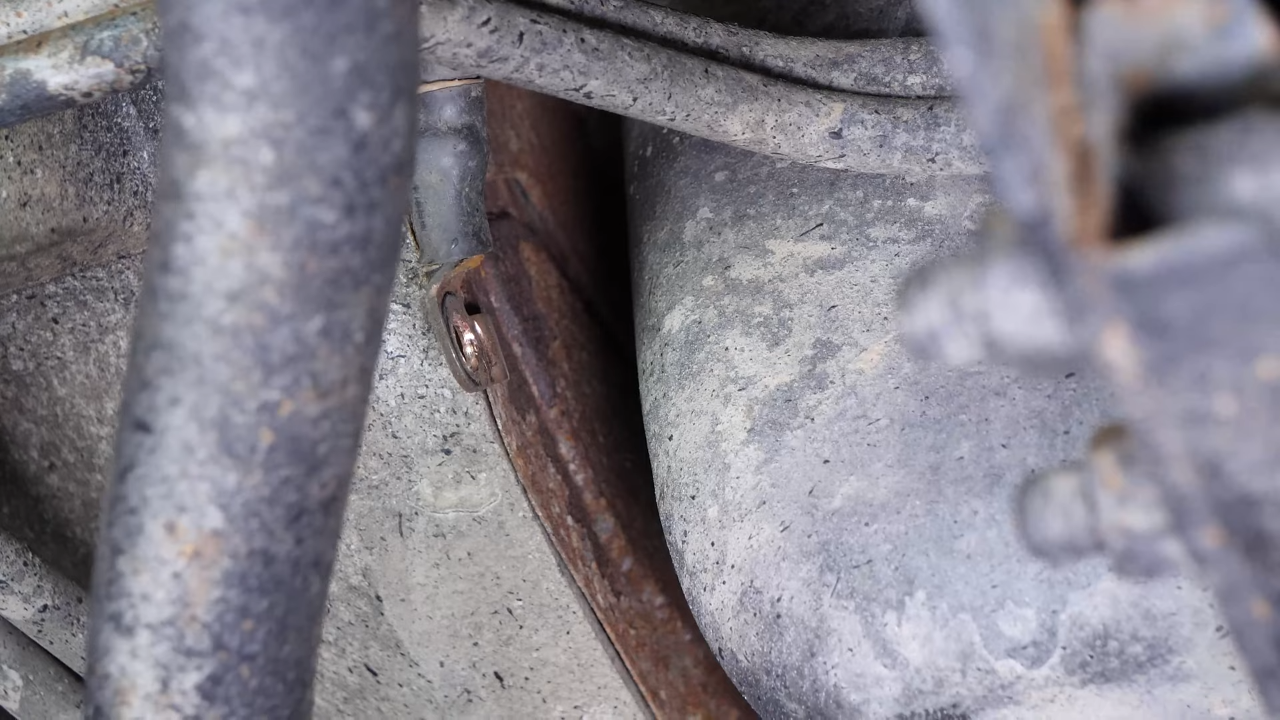
Chapter 7:
Reconnect the starter
Step 1/1
Replace the ground on the engine, taking care to remember the copper seal. Then retighten the screw.

Chapter 8:
Tighten the bolts holding the starter
Step 1/3
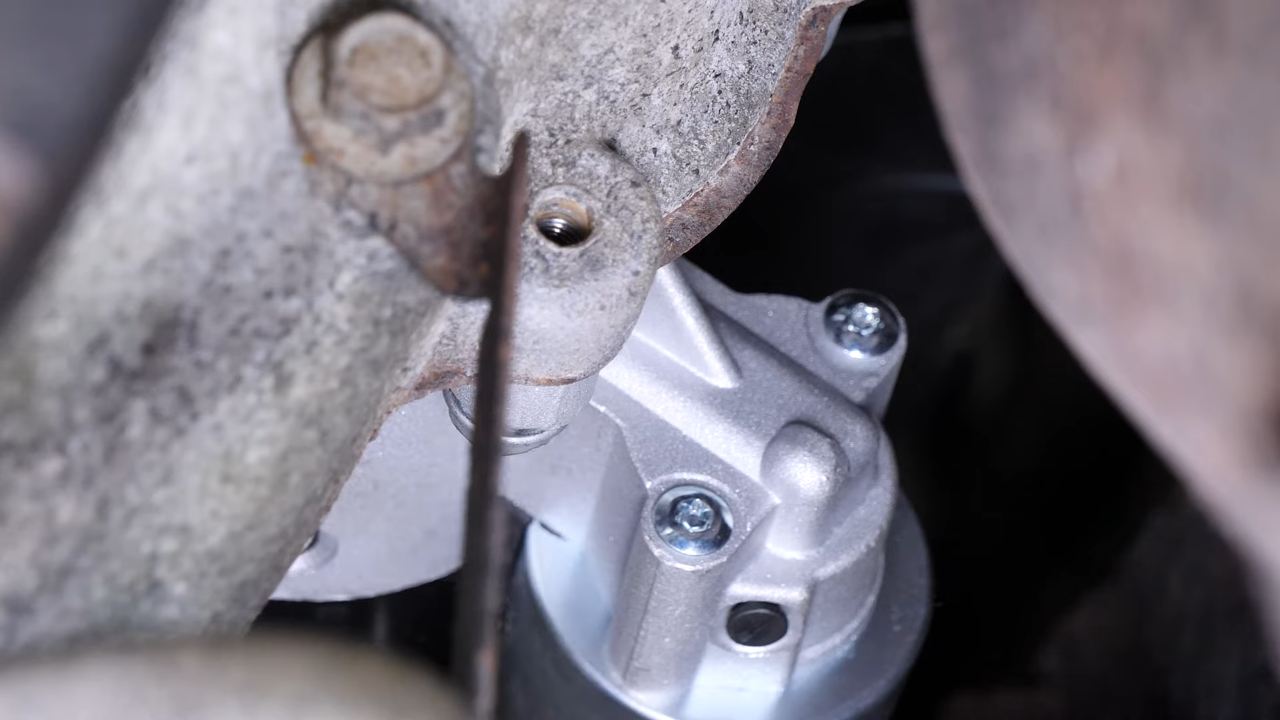
Replace the second starter retaining screw by hand.
Chapter 8:
Step 2/3
Then using the ratchet and extender, put in place the third retaining screw.

Chapter 8:
Step 3/3
Once all the screws are in place, finish tightening using the ratchet.
Chapter 9:
Reconnect the starter
Step 1/3
Replace the negative terminal. Then screw it back on.
Chapter 9:
Step 2/3
Replace the positive terminal. Then screw it back on.
Chapter 9:
Step 3/3
Replace the plastic cover.
Chapter 10:
Reconnect the battery
Step 1/2
Reconnect the battery.
Chapter 10:
Step 2/2
Operation complete.