How to replace the radiator 2009-2014 Ford F-150
To replace the radiator on your F-150 we’re here to help. You’ll need to open the hood, bleed the coolant, put the radiator back as well as carry out a few other steps. You can follow this tutorial of 12 chapters in 120 minutes. Take your 8 mm wrench and your ratchet and let’s get started!
Duration
120 minutes
Number of steps
12
Difficulty out of 5
3
Average savings
$200
Parts You Will Need
Tools You Will Need
Step-by-Step Installation
Chapter 1:
Open the hood
Step 1/1
Turn your engine off and set the parking brake. Pull on the hood release handle and open the hood.


Chapter 2:
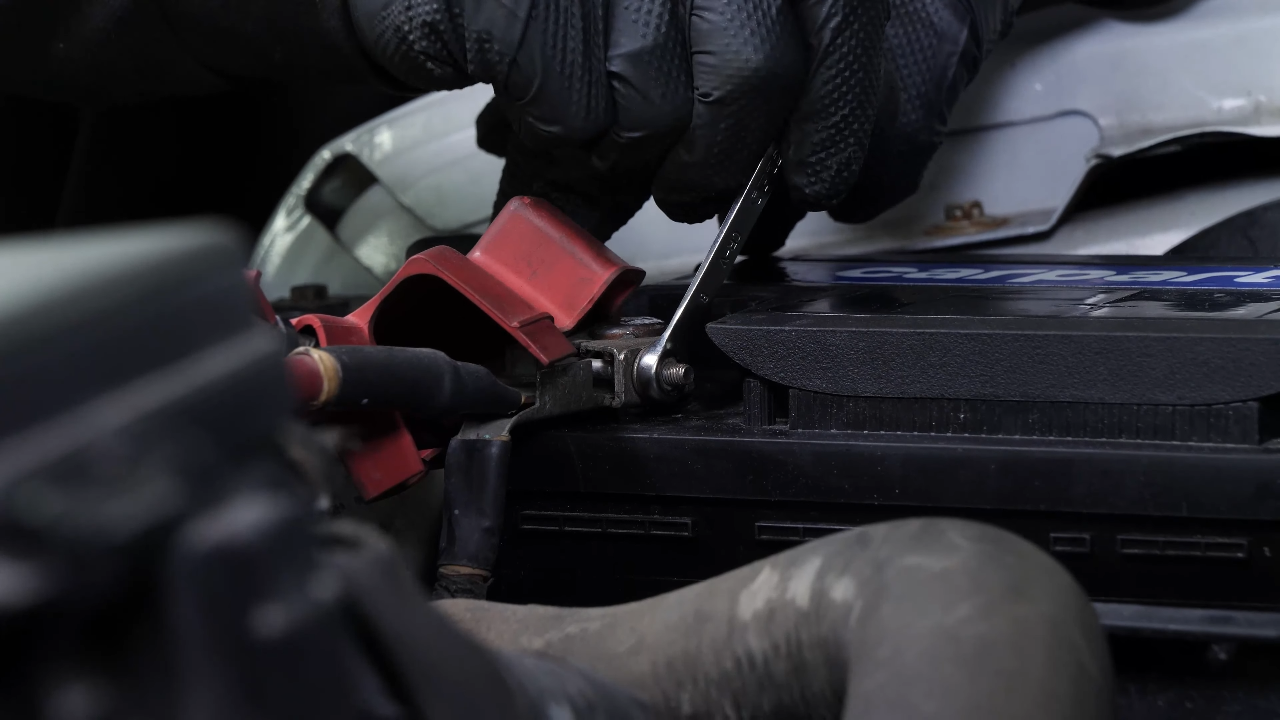
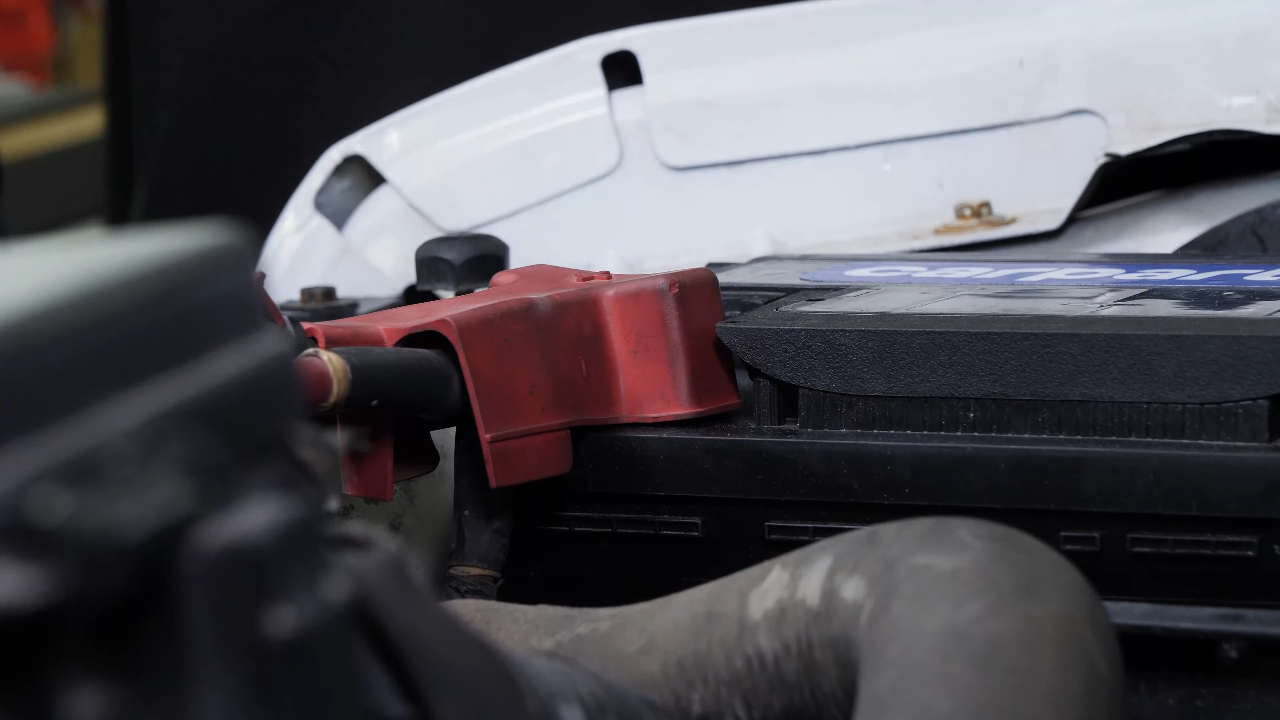
Disconnect the battery
Step 1/1
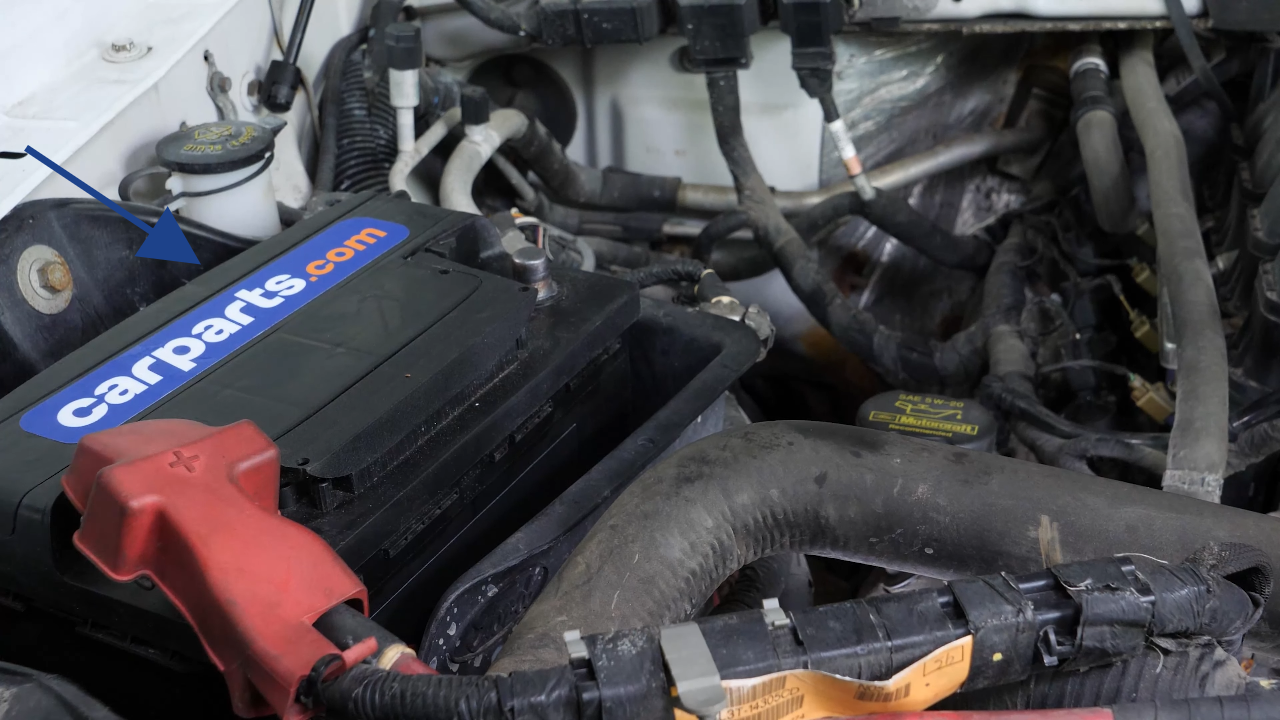
For safety reasons, we advise you to disconnect the battery. To do so, we recommend watching the video : ‘How to replace the Ford F-150 car battery’.
Chapter 3:
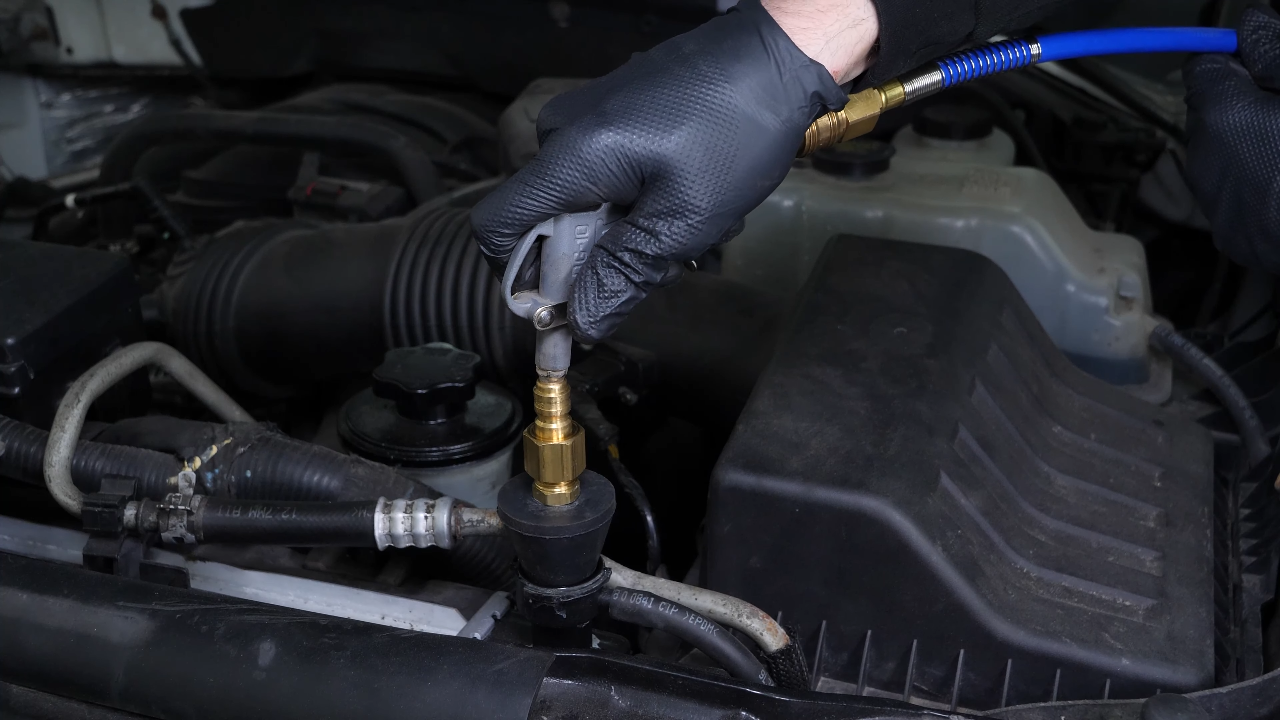
Bleed the coolant
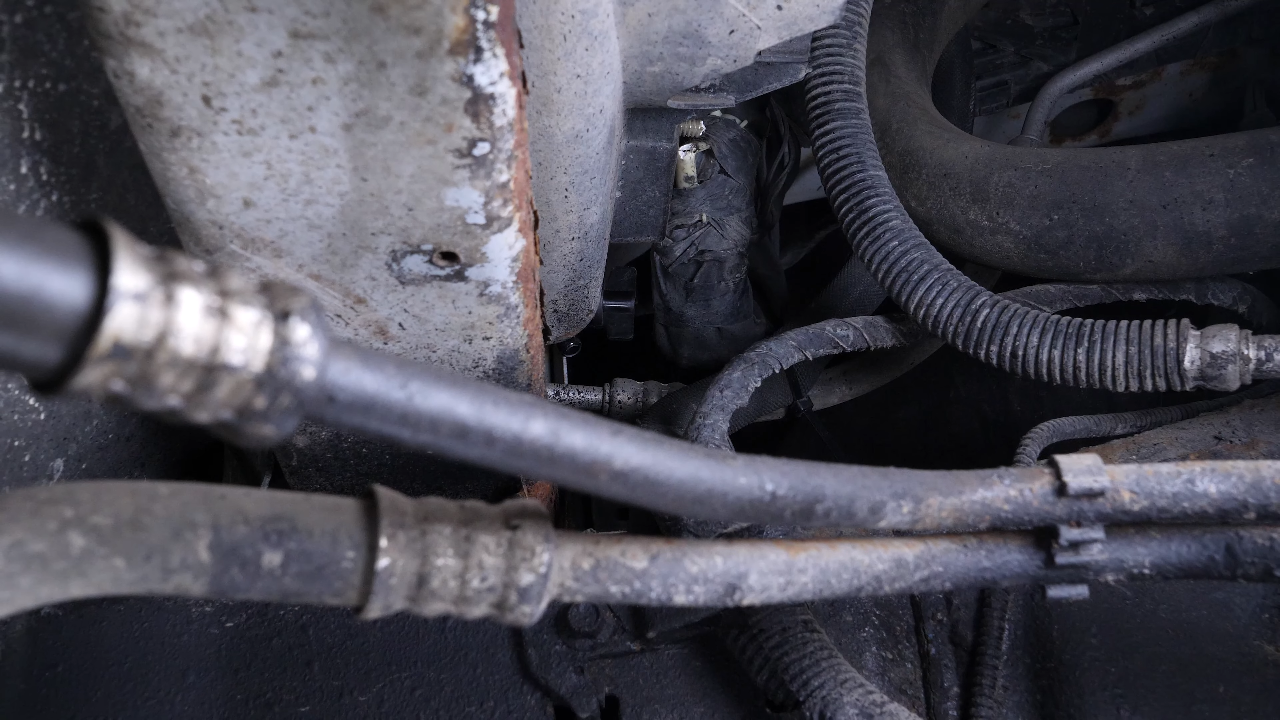
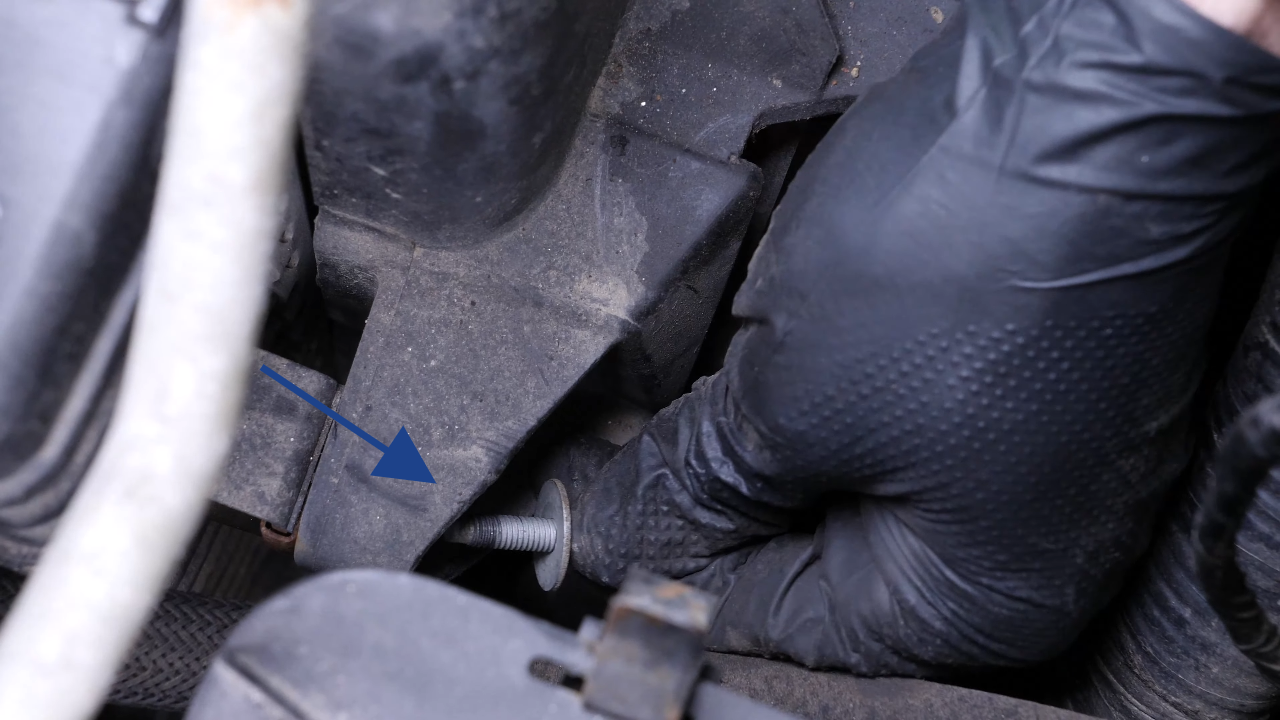
Step 1/3
Get a fluid collection container to collect the coolant that will flow out. On this vehicle, the radiator is equipped with a bleed screw, which you access from the underside of the vehicle, on the passenger side.
Chapter 3:
Step 2/3
Connect a plastic tube to the bleed port to collect the coolant directly in the collection container. You can then unscrew the bleed screw to let the coolant flow.


Chapter 3:
Step 3/3
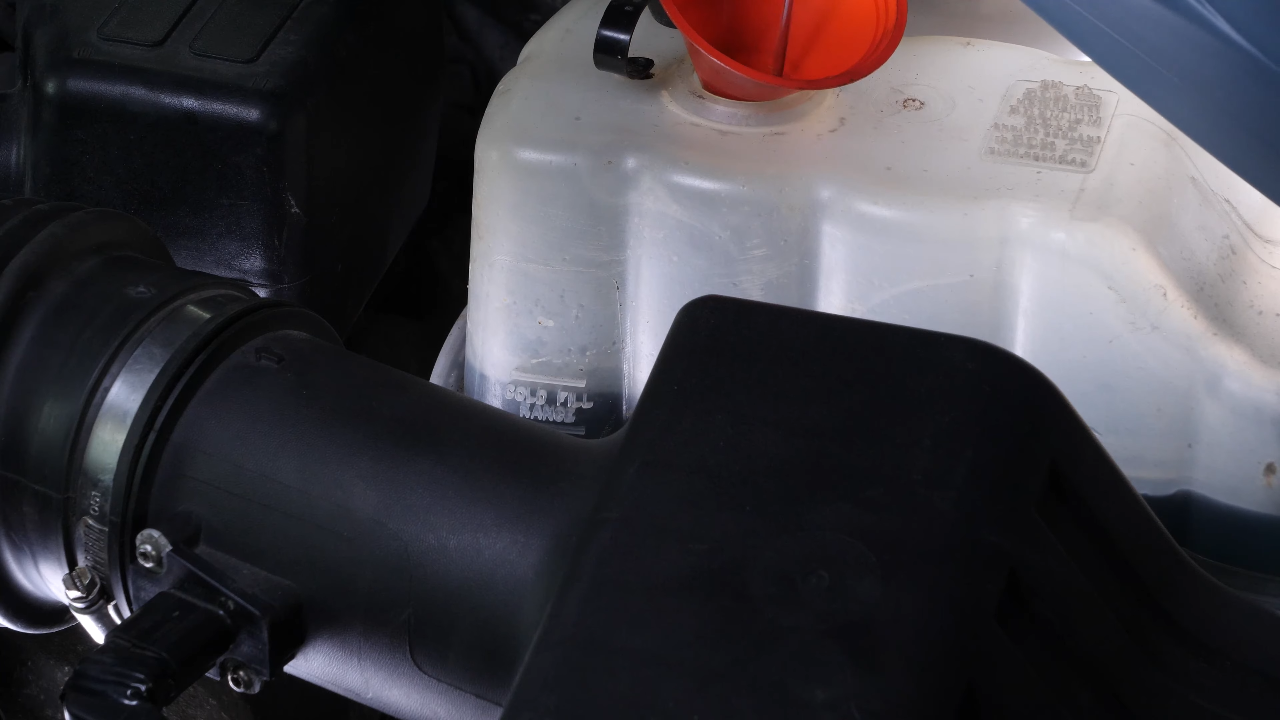
To facilitate the flow of coolant, open the cap of the coolant expansion tank.


Chapter 4:
Remove several components
Step 1/7
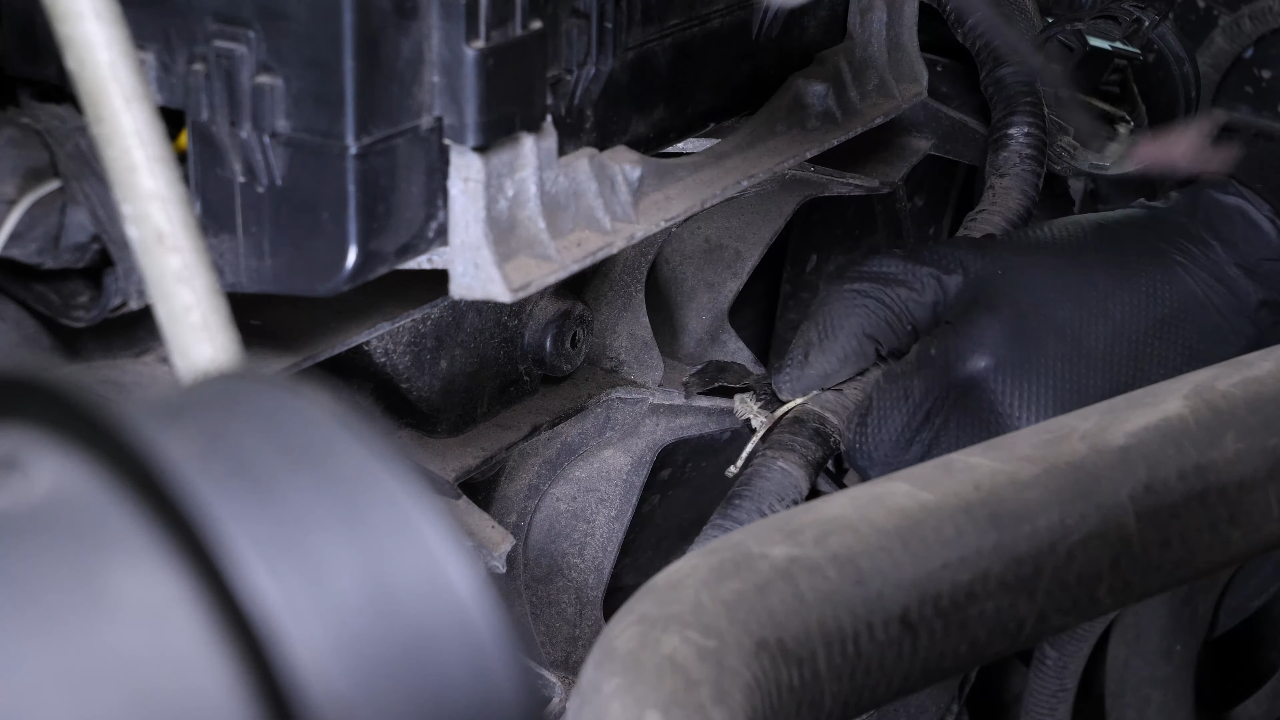
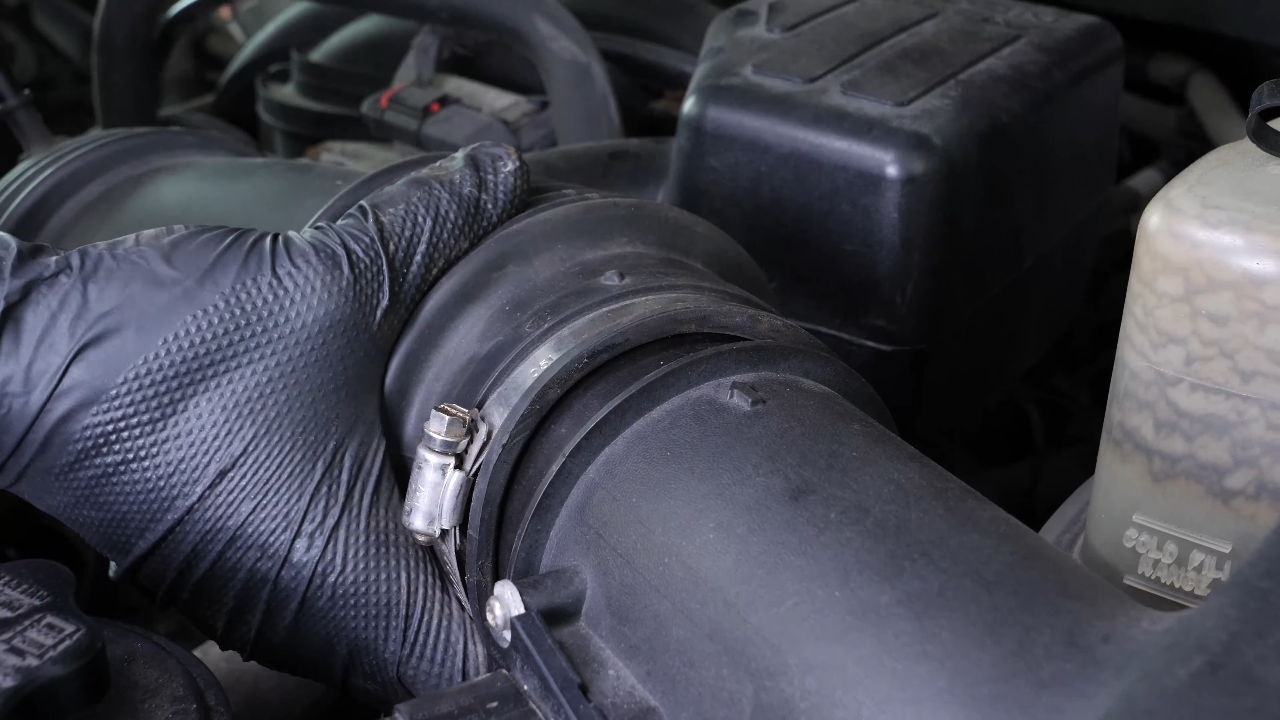
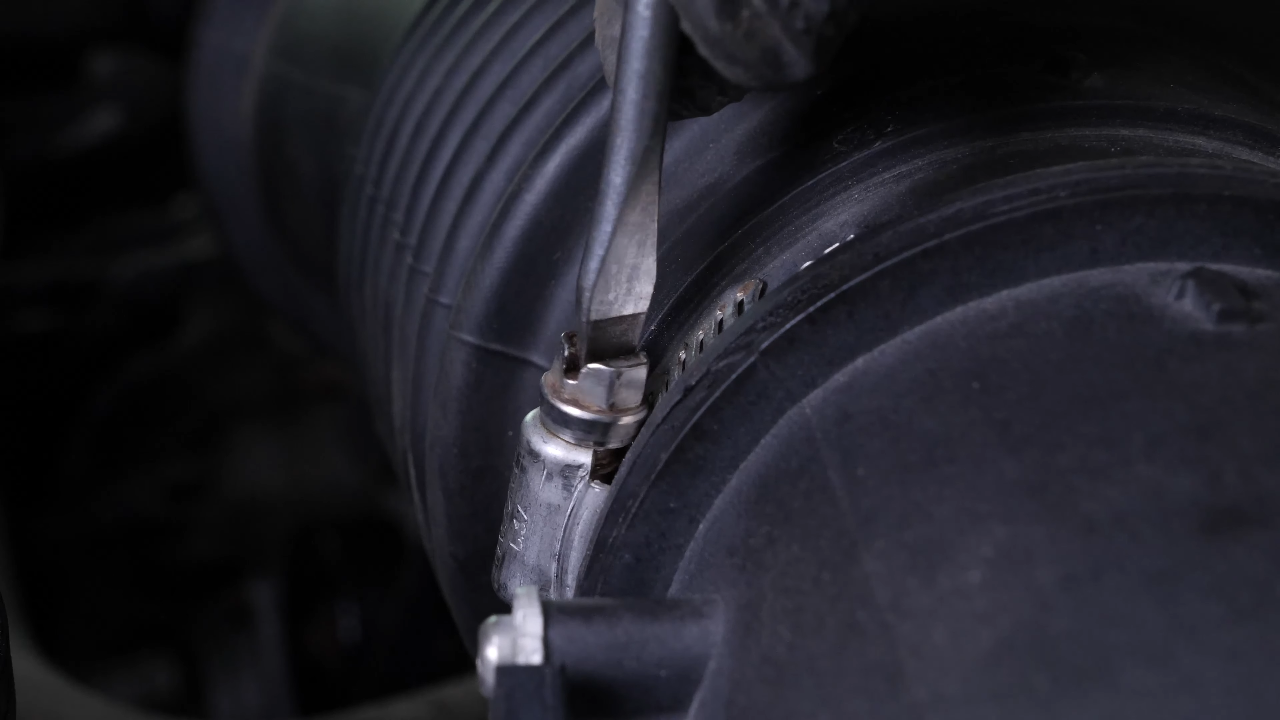
Remove the breather from the air intake duct by pushing the green tab and pulling on the breather.


Chapter 4:
Step 2/7
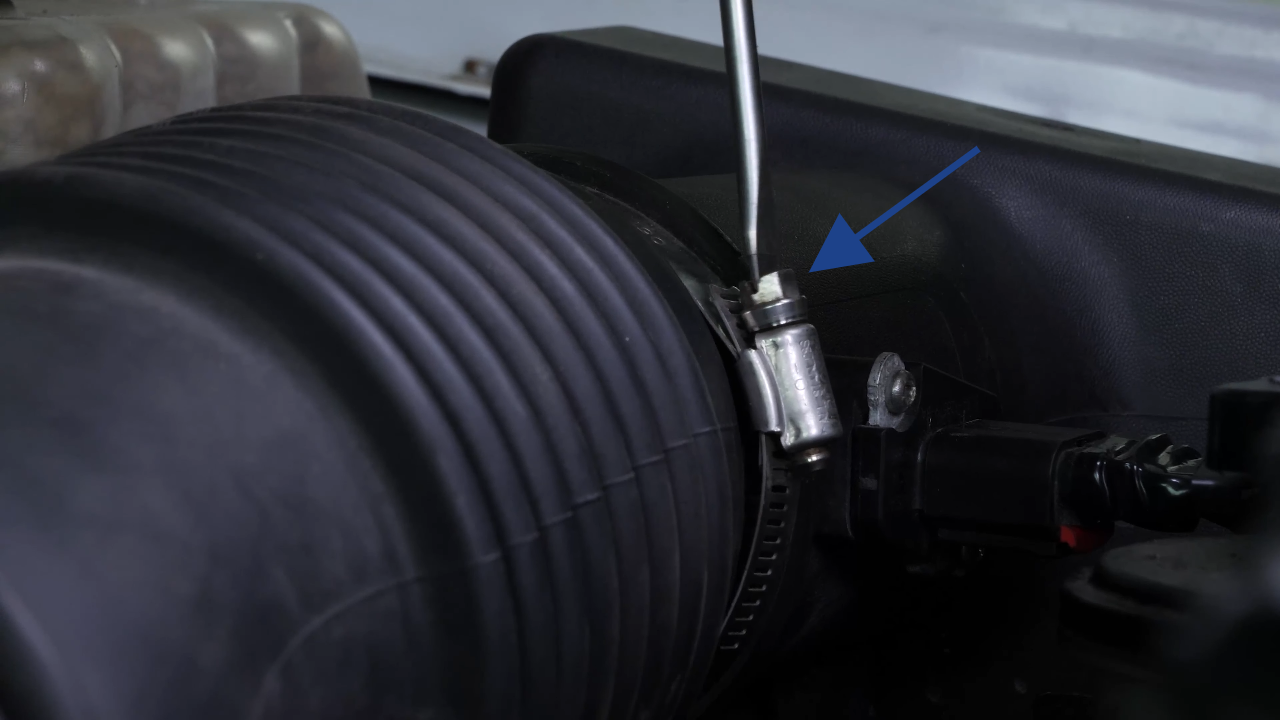
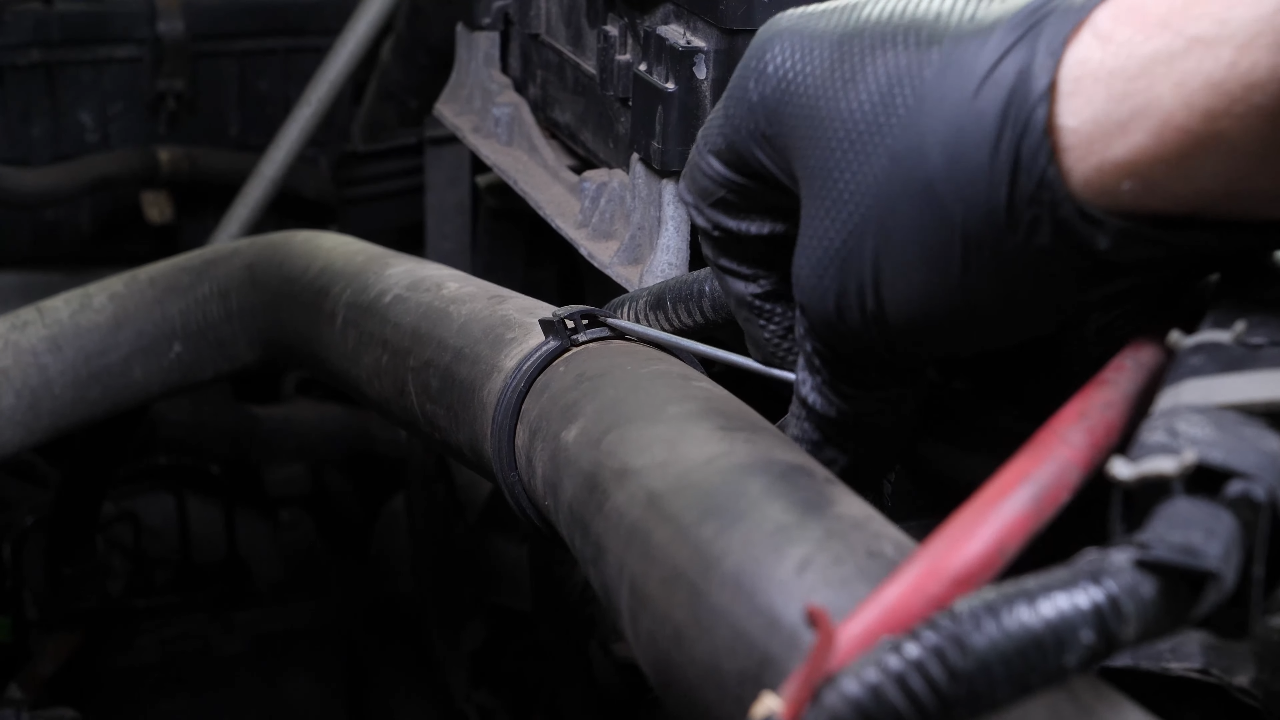
Using a flat head screwdriver, unscrew the two clamps located on either side of the duct. Then, remove the duct.


Chapter 4:
Step 3/7
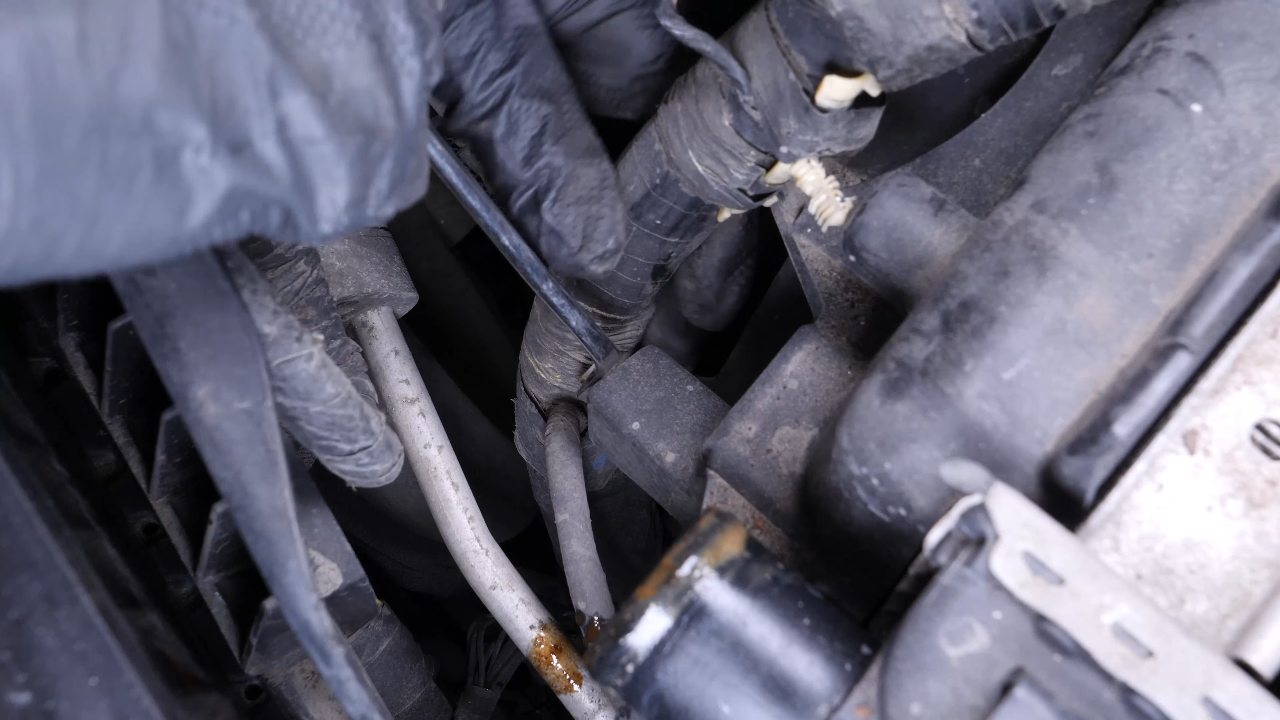
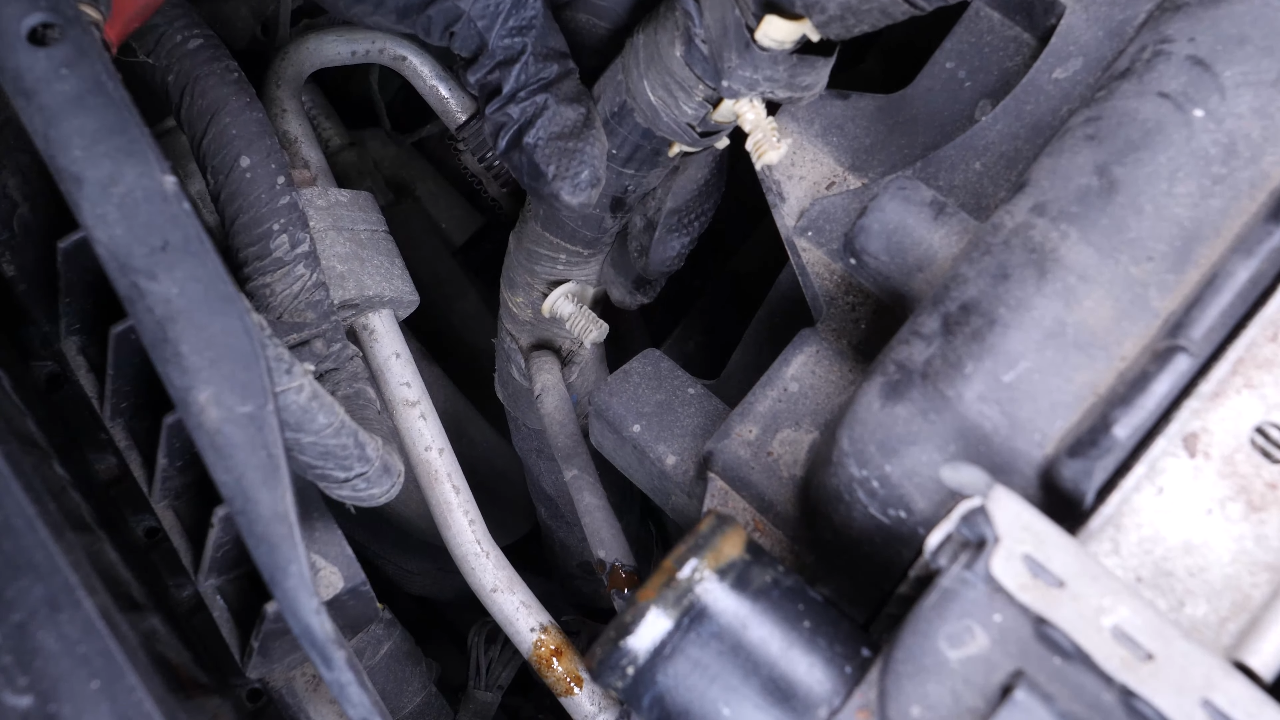
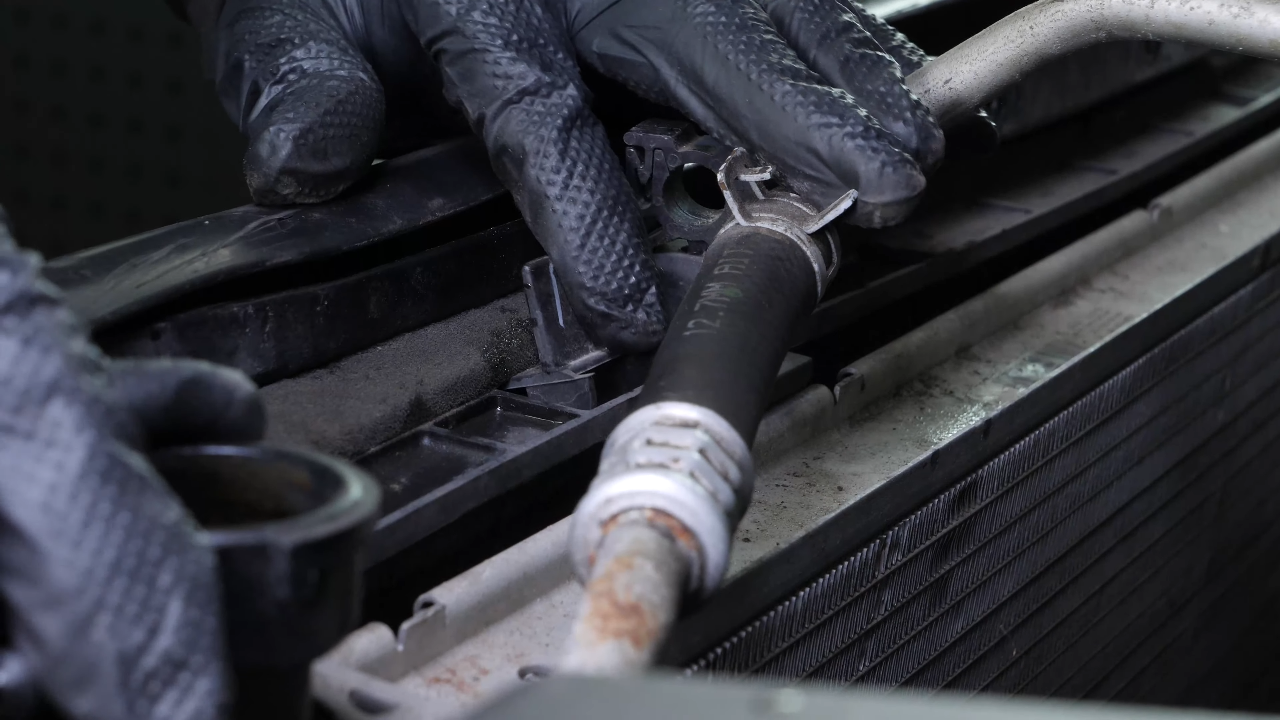
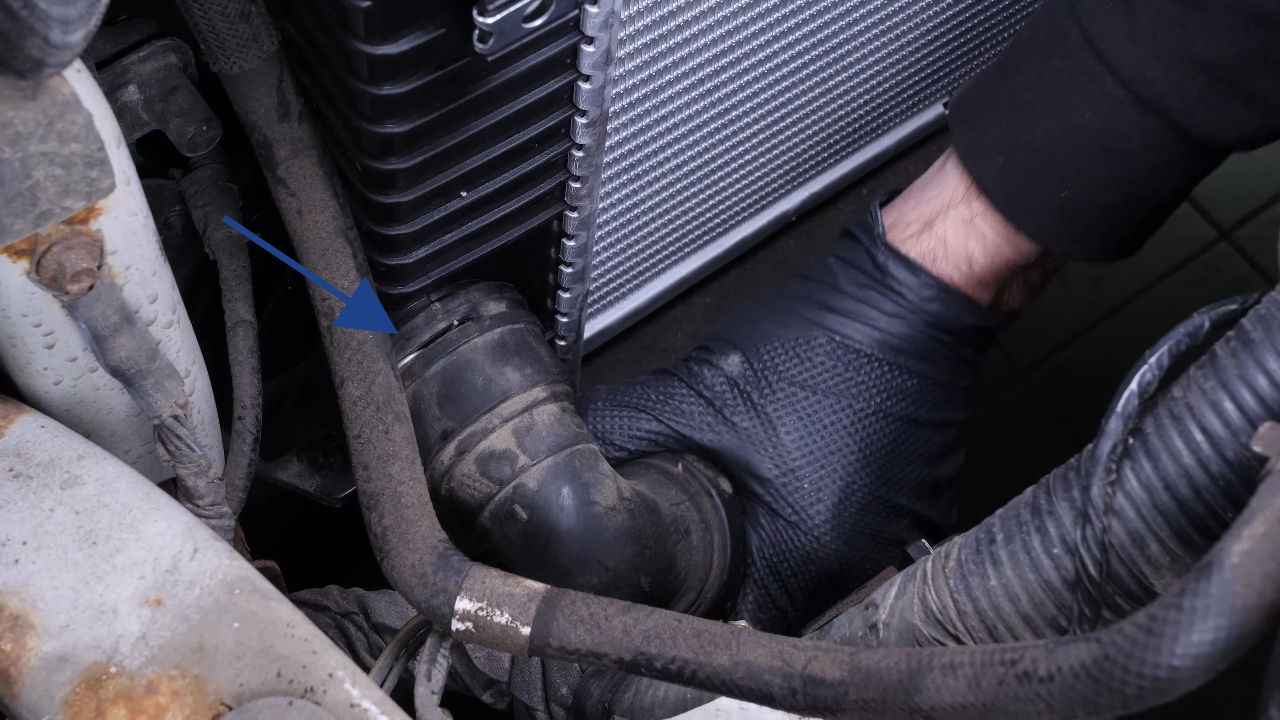
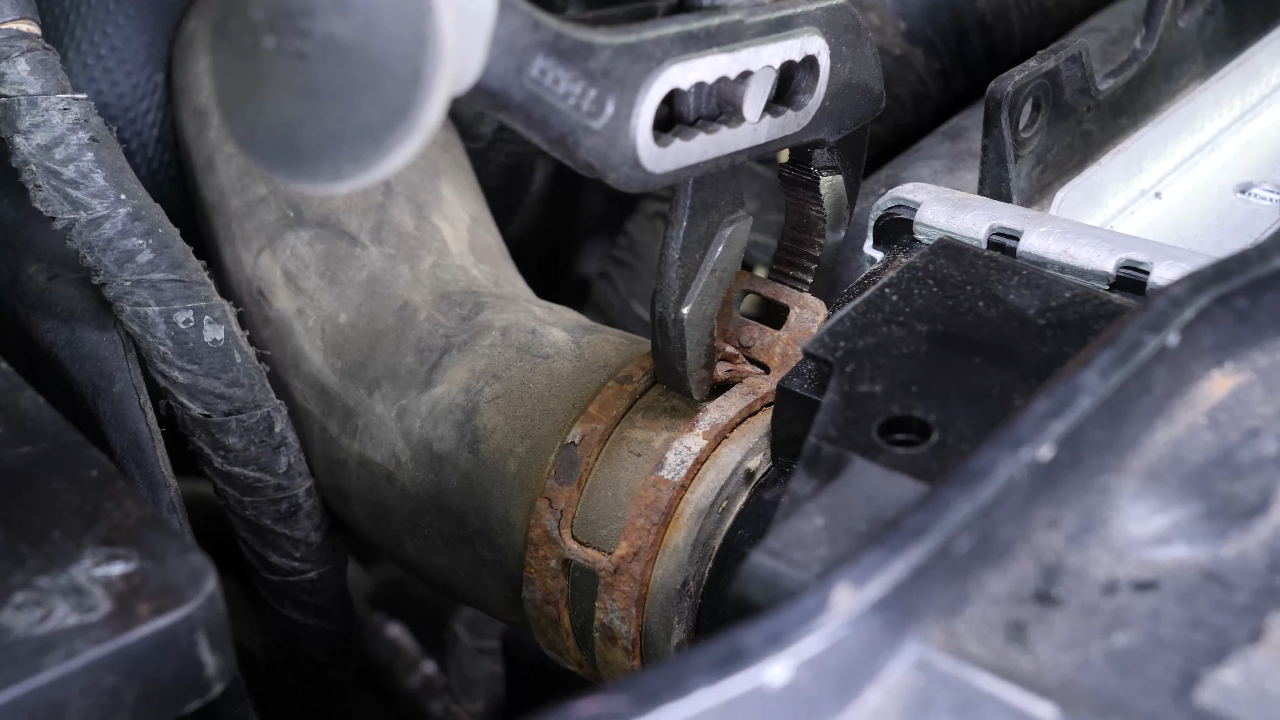
Next, using a pair of adjustable pliers, compress the retaining ring of the coolant hose, which is connected to the radiator. Then, remove the hose.

Chapter 4:
Step 4/7
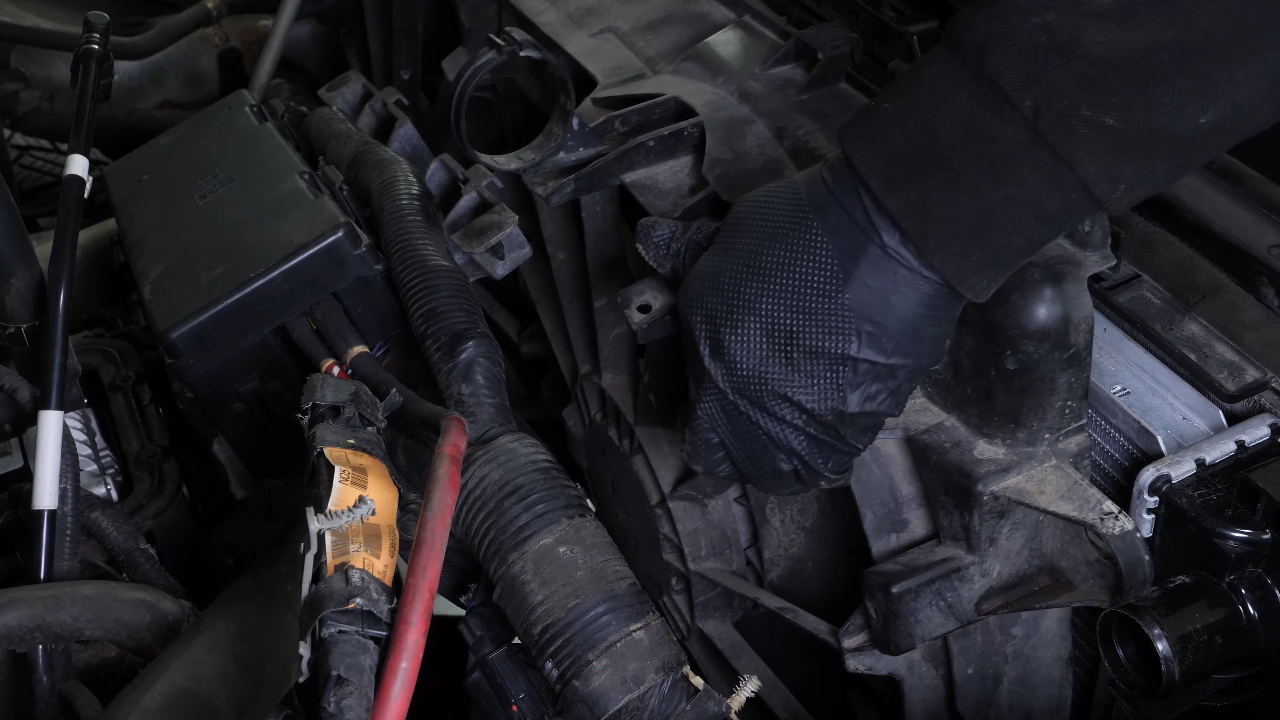
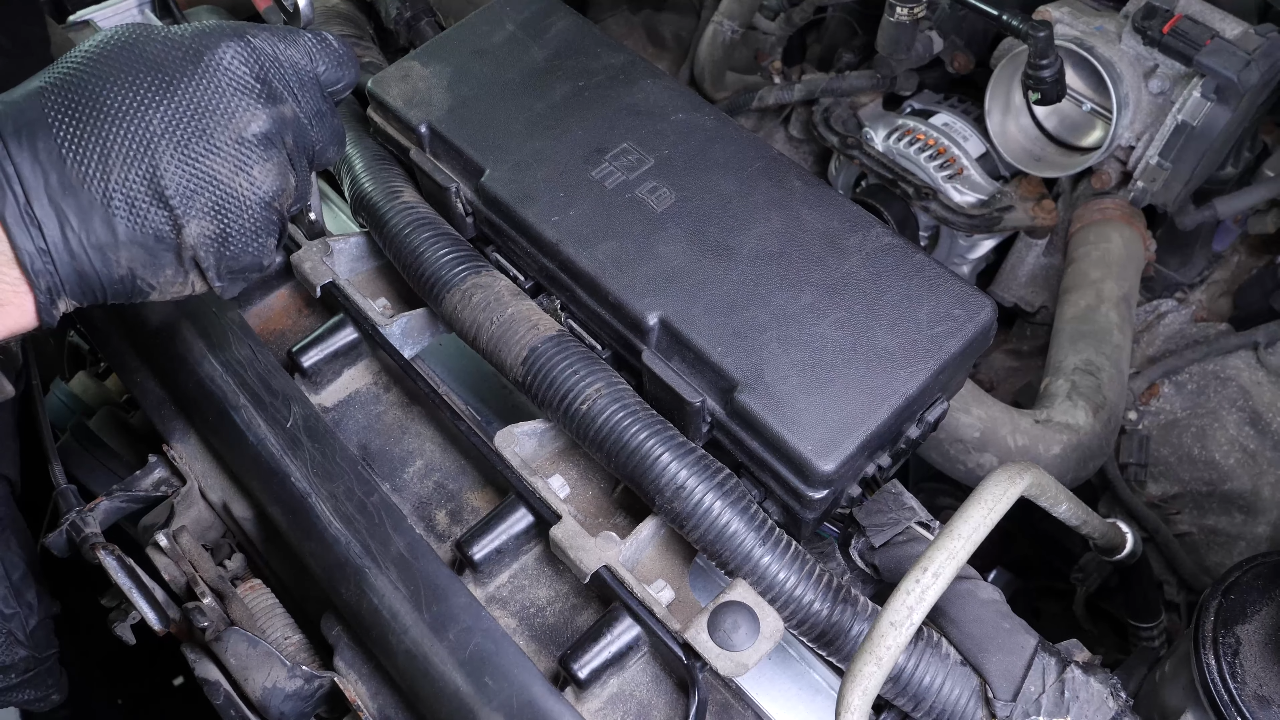
Using a 10mm wrench, unscrew the four screws holding the fuse box. Then, remove them. Using a fork, remove the retaining clip from the electrical harness on the fan.


Chapter 4:
Step 5/7
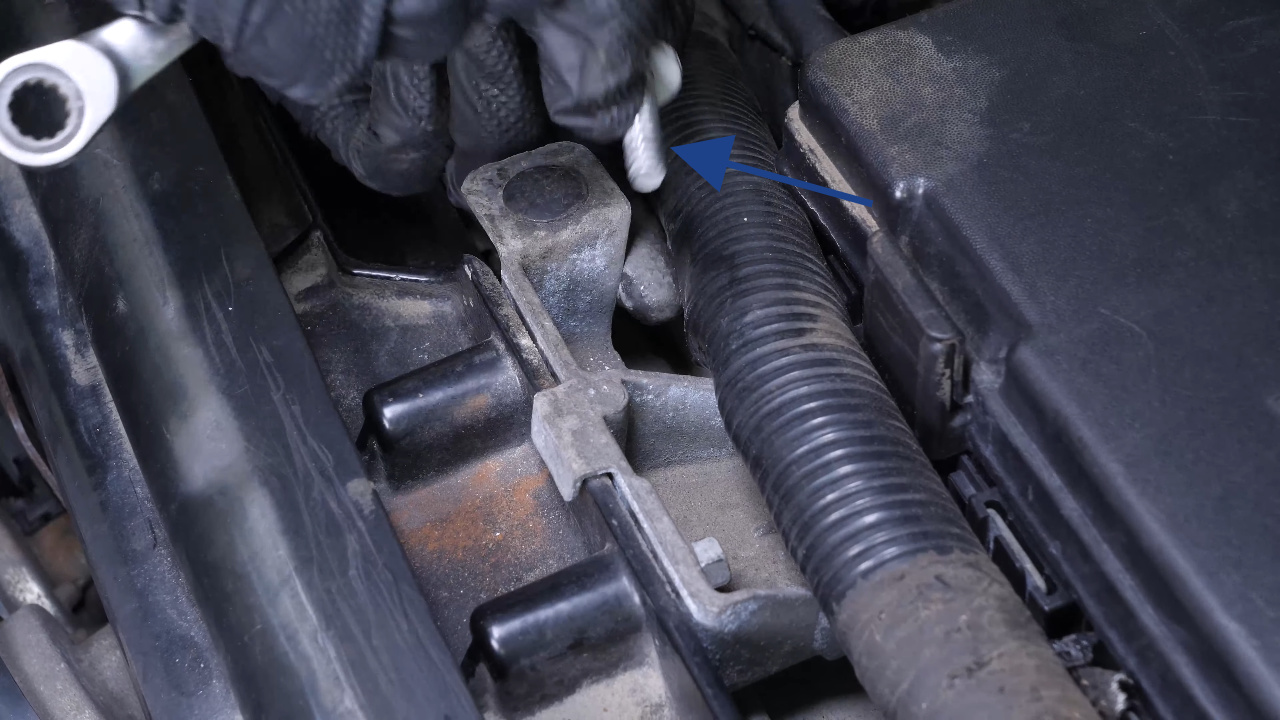
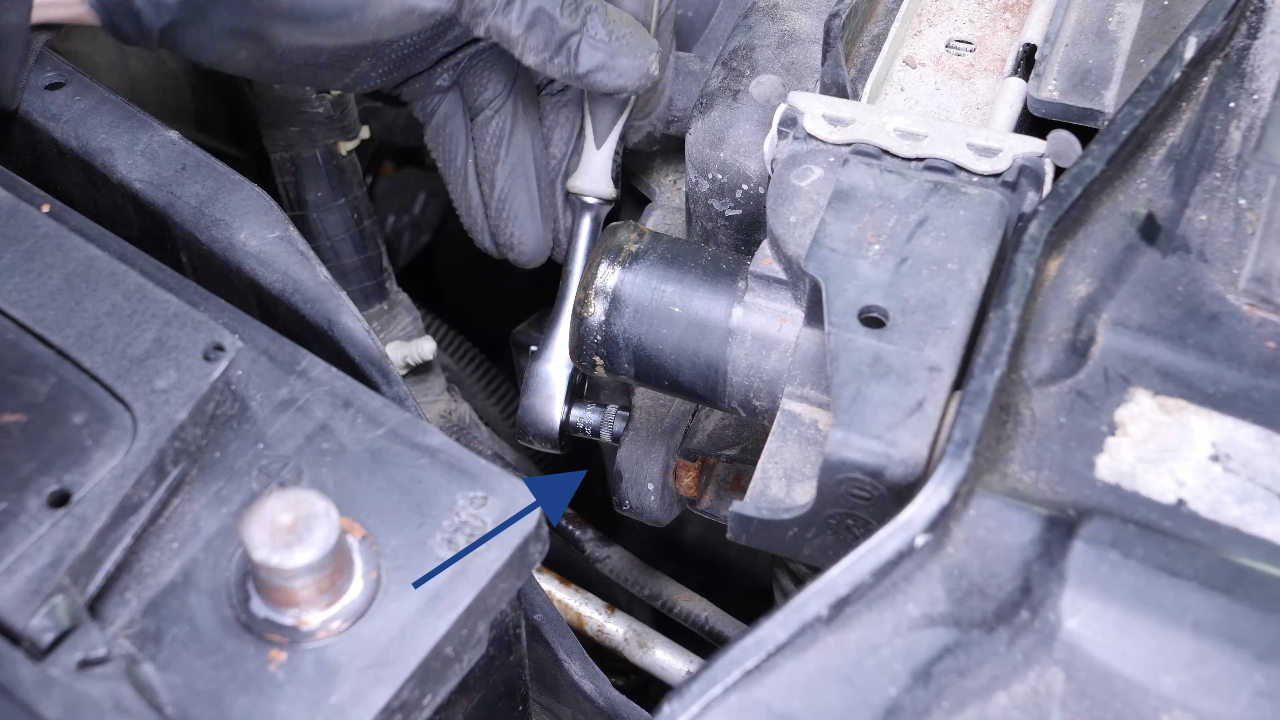
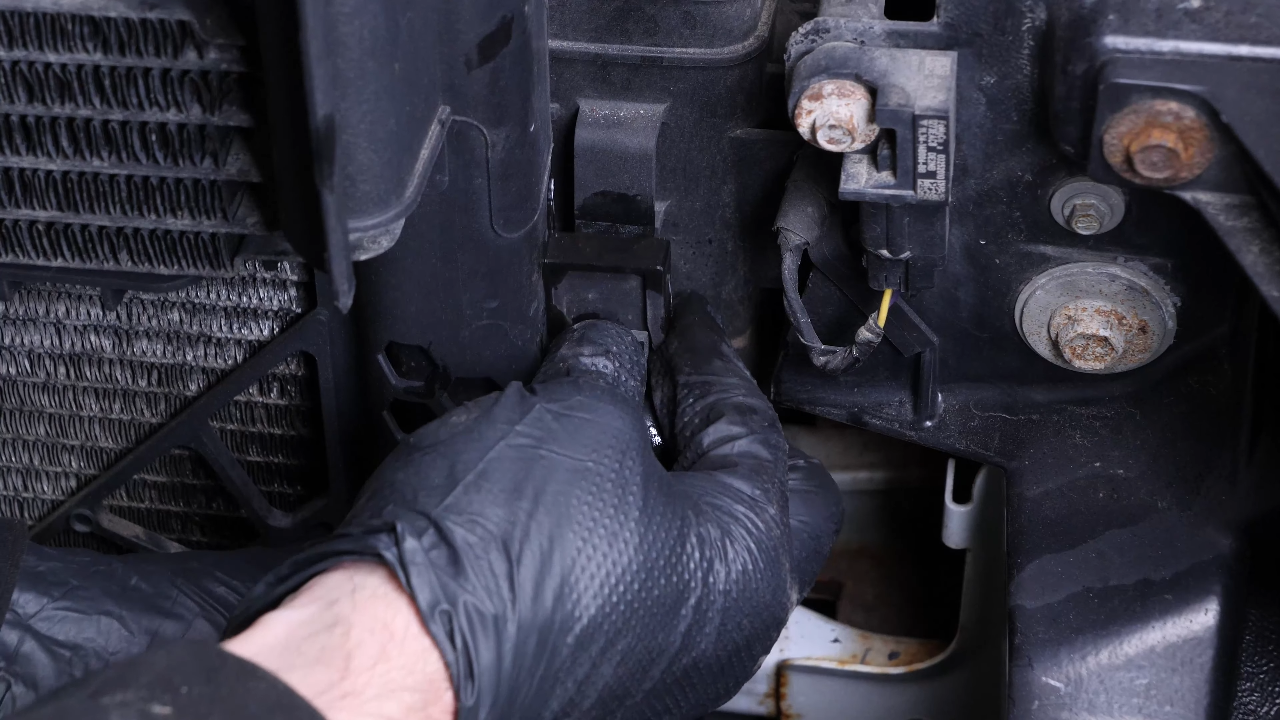
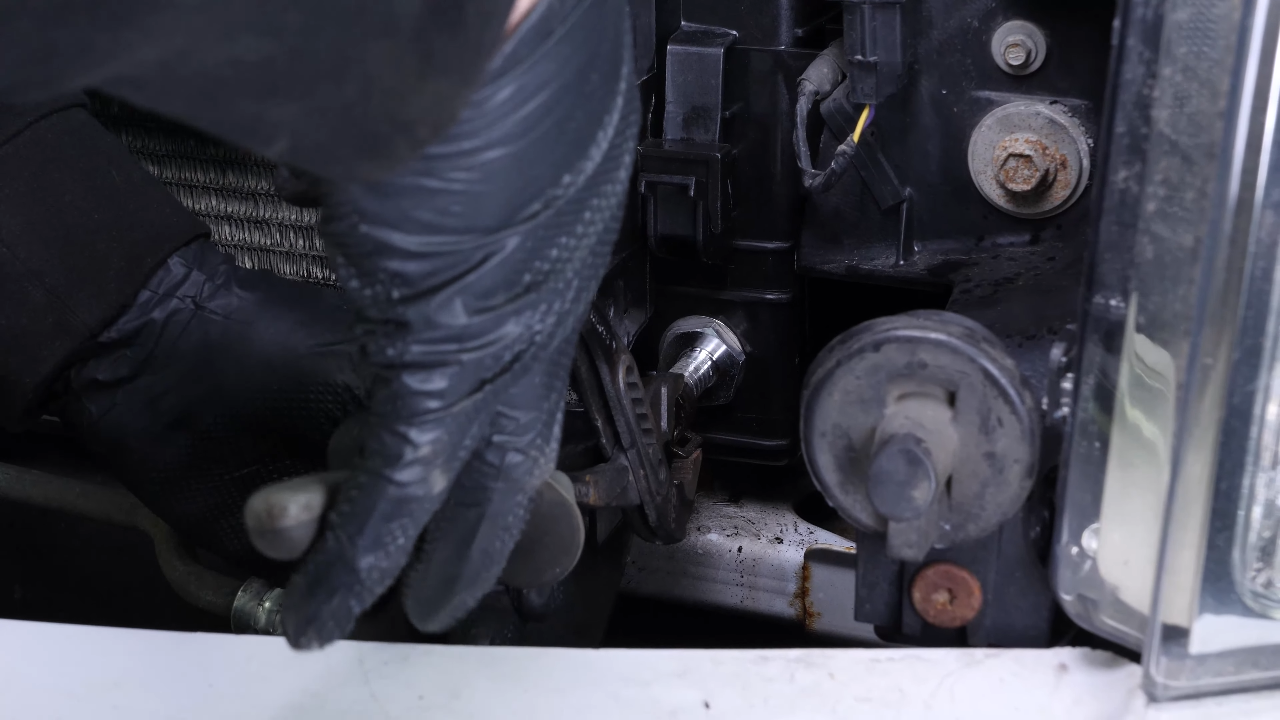
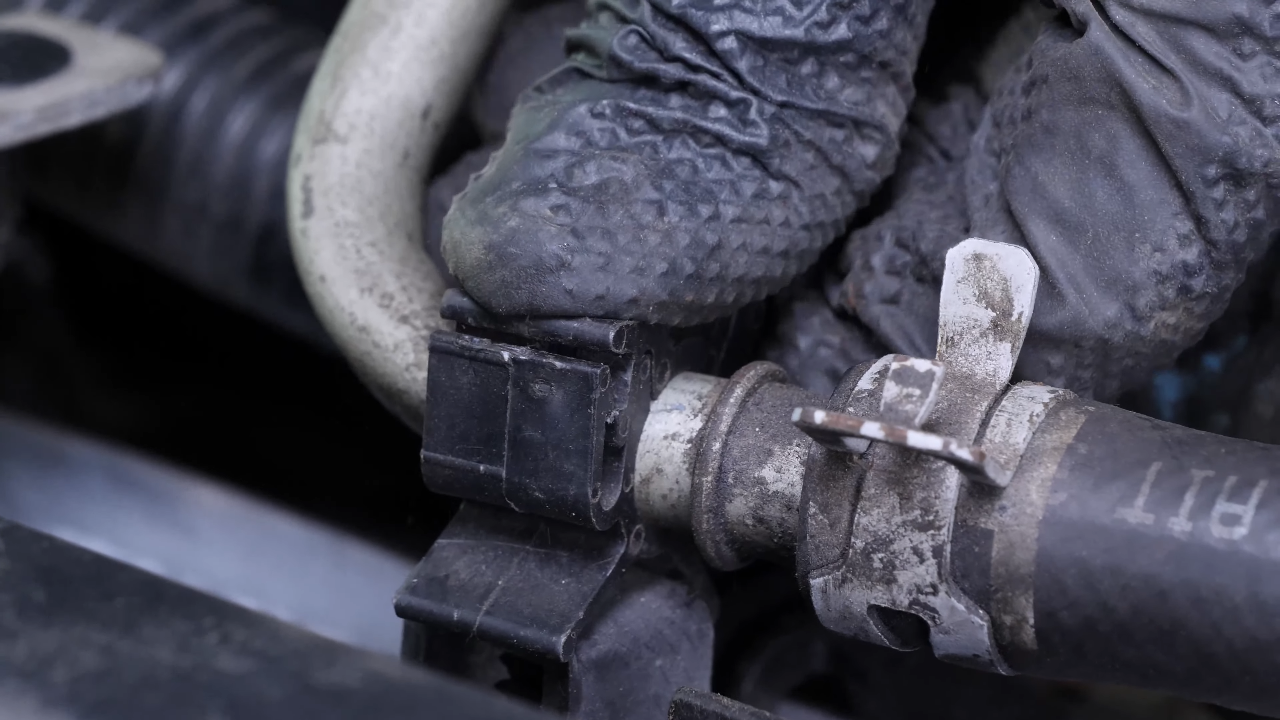
Using a flat head screwdriver, unclip the air conditioning fluid hose from the radiator. Using the fork, unclip the electrical harness from the power steering fluid reservoir retaining screw.


Chapter 4:
Step 6/7
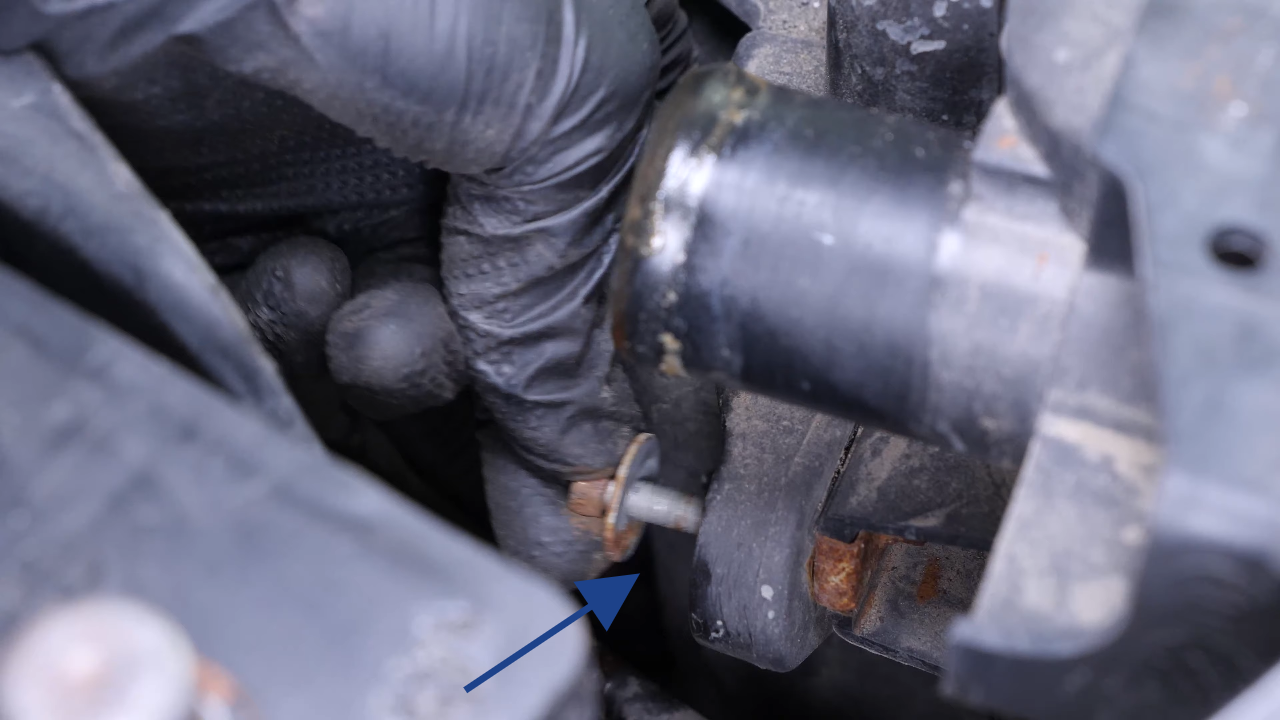
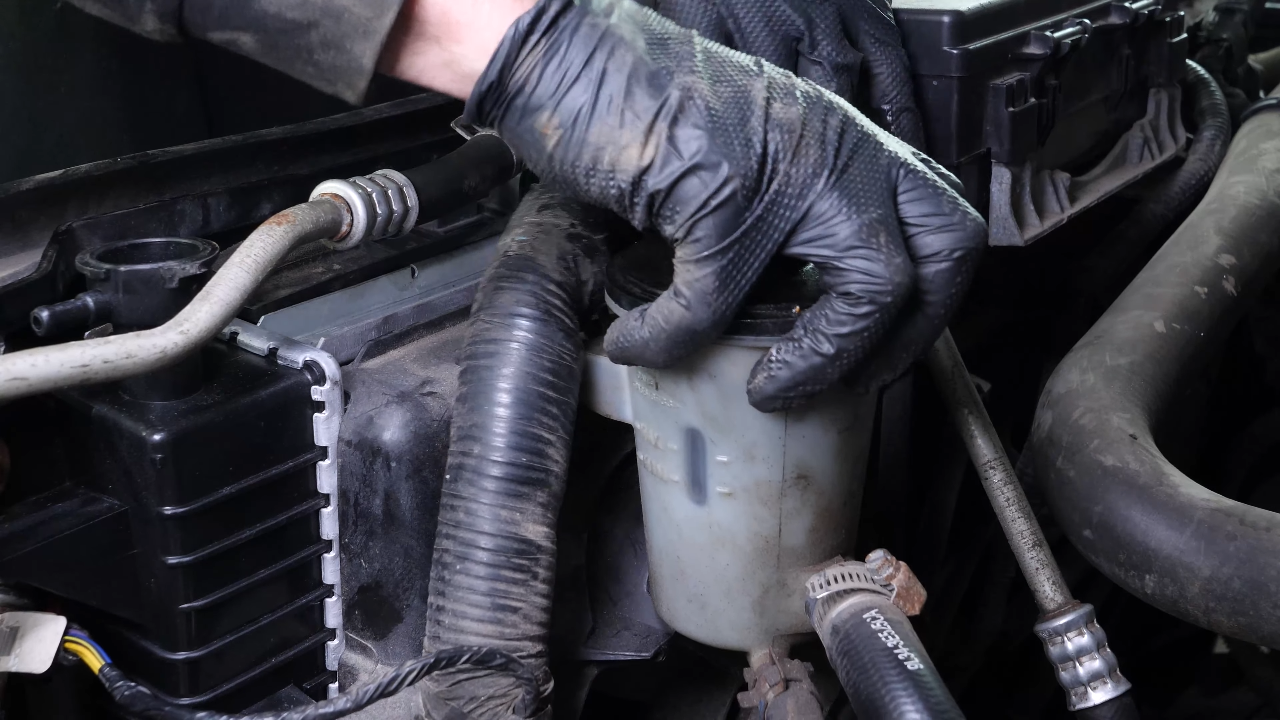
Using a ratchet, an extender, and an 11mm socket, unscrew the retaining screw of the power steering fluid reservoir. Then, remove the reservoir and set it aside so that it doesn’t get in your way during the next steps.


Chapter 4:
Step 7/7
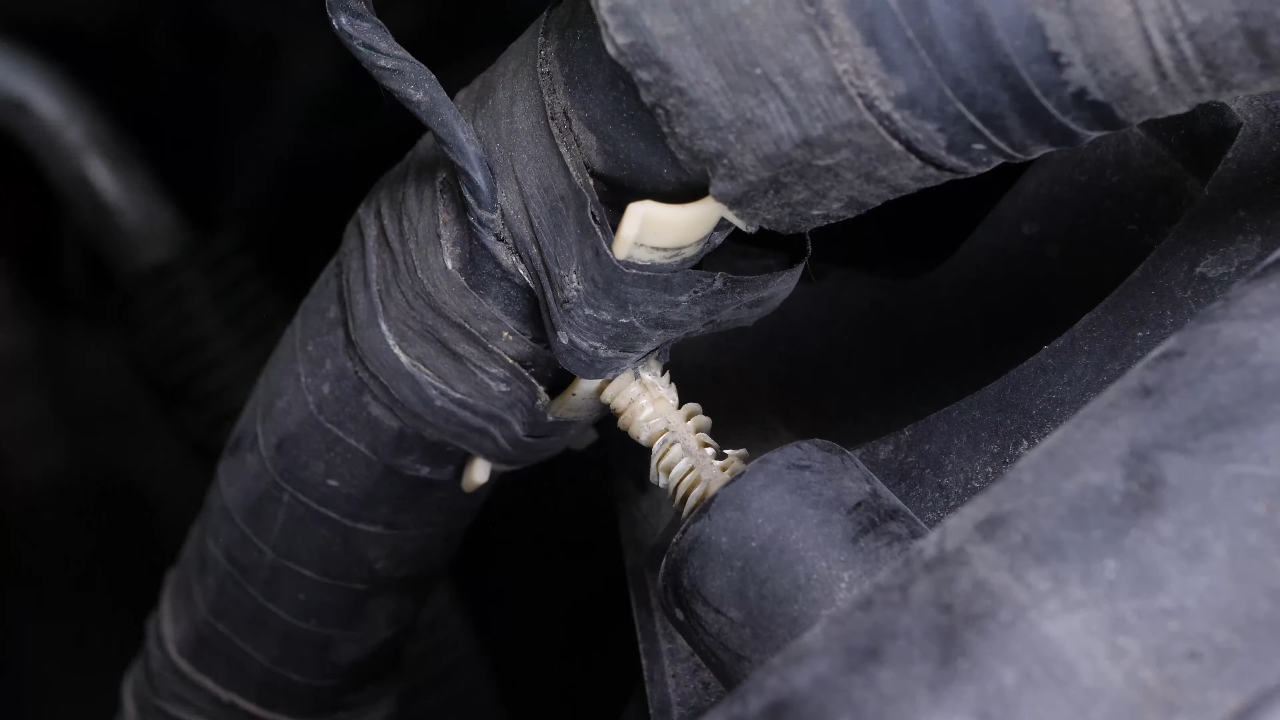
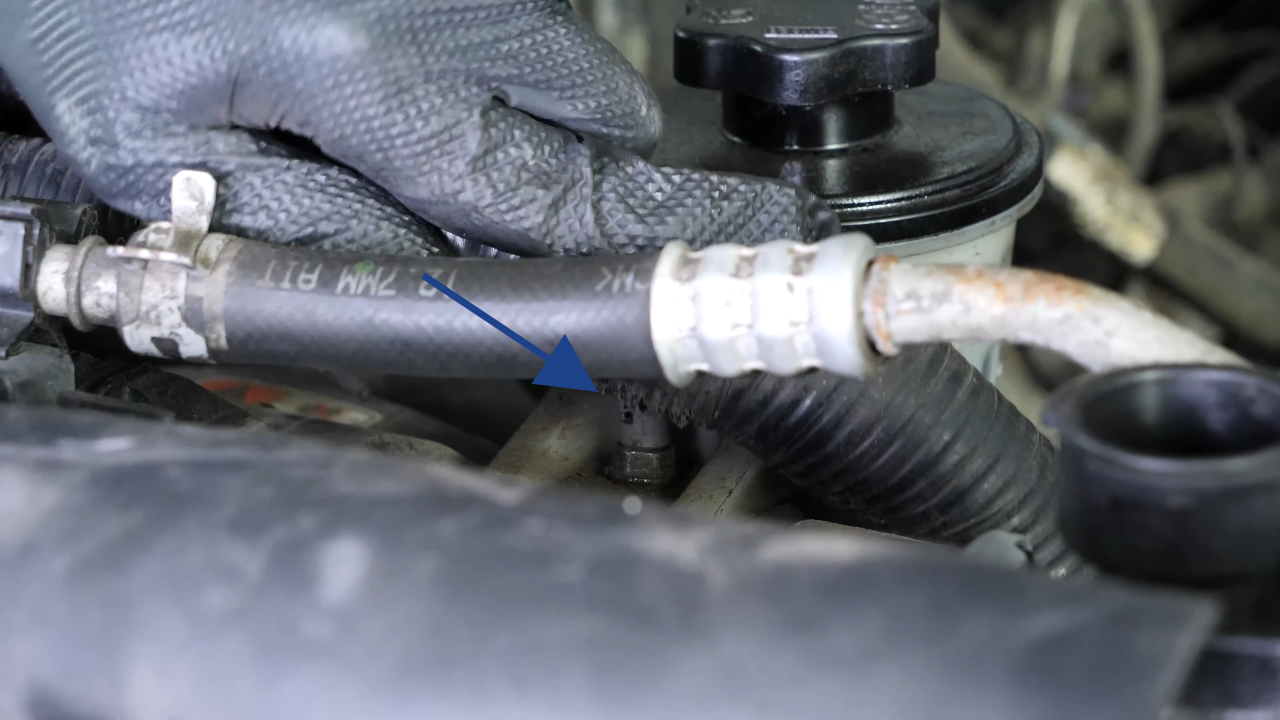
Using a flat head screwdriver, unclip the cooling hose retaining ring. Then, remove the hose.


Chapter 5:
Remove the fan assembly
Step 1/4
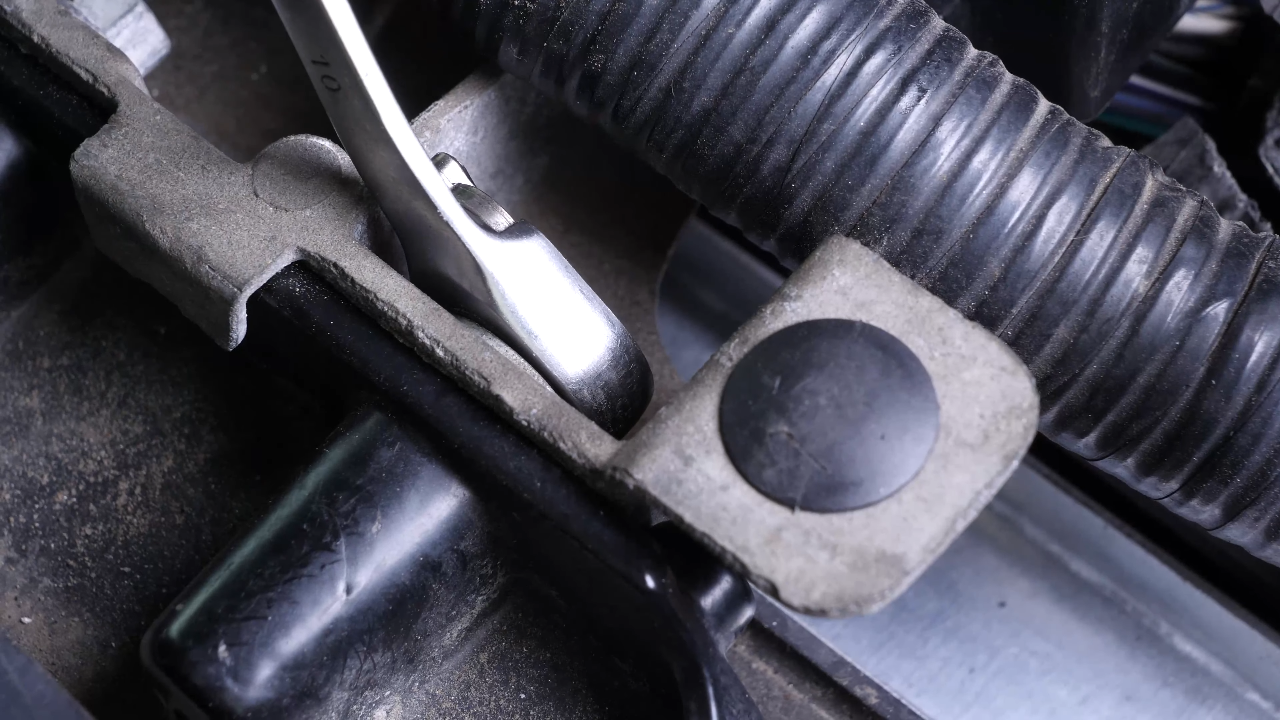
Using the fork, remove the harness retaining clip under the fuse box support. Repeat the same operation with the harness on the fan, next to the battery.

Chapter 5:
Step 2/4
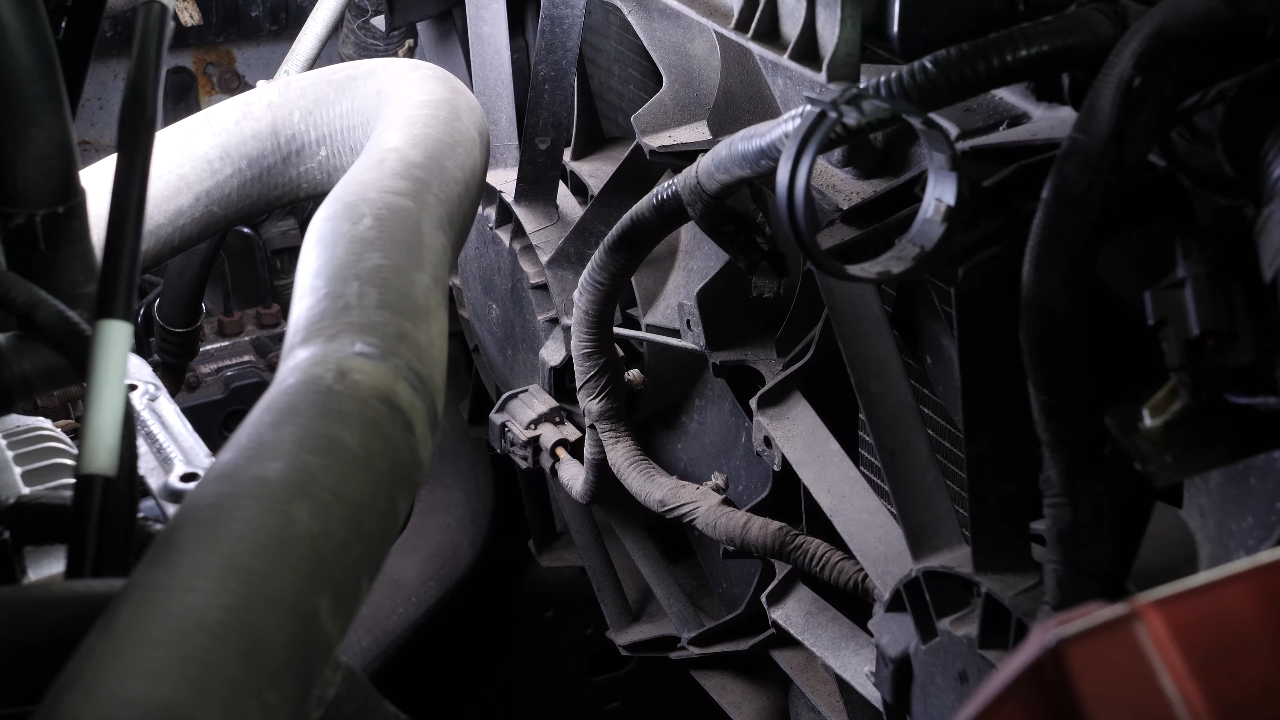
Using the flat head screwdriver, lift the tab that secures the passenger-side radiator fan connector. Do the same on the driver’s side.


Chapter 5:
Step 3/4
Then, unclip the harness located next to the fan on the driver’s side. You can now shift over the fuse box assembly on the engine in order to have the space needed to remove the fan assembly.


Chapter 5:
Step 4/4
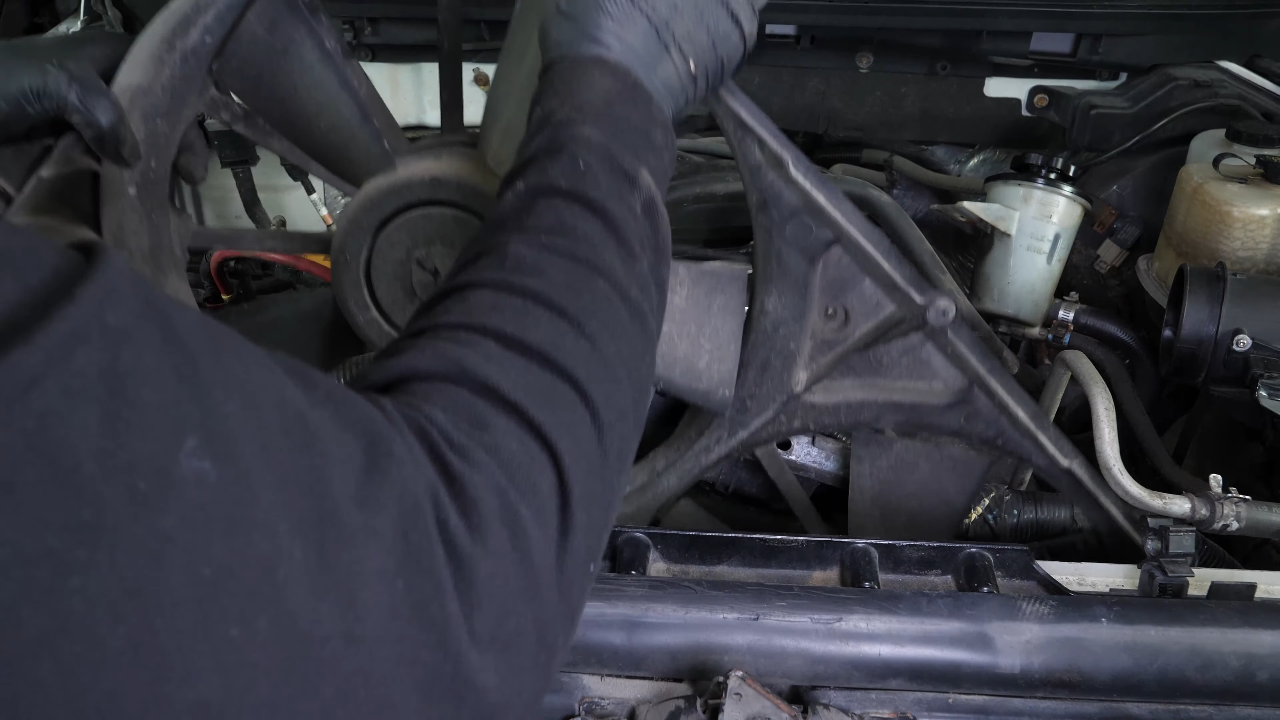
Using a ratchet and an 8mm socket, unscrew the two screws holding the fan assembly to the radiator. You can now remove the fan assembly.


Chapter 6:
Unclip the air conditioning condenser from the radiator
Step 1/5
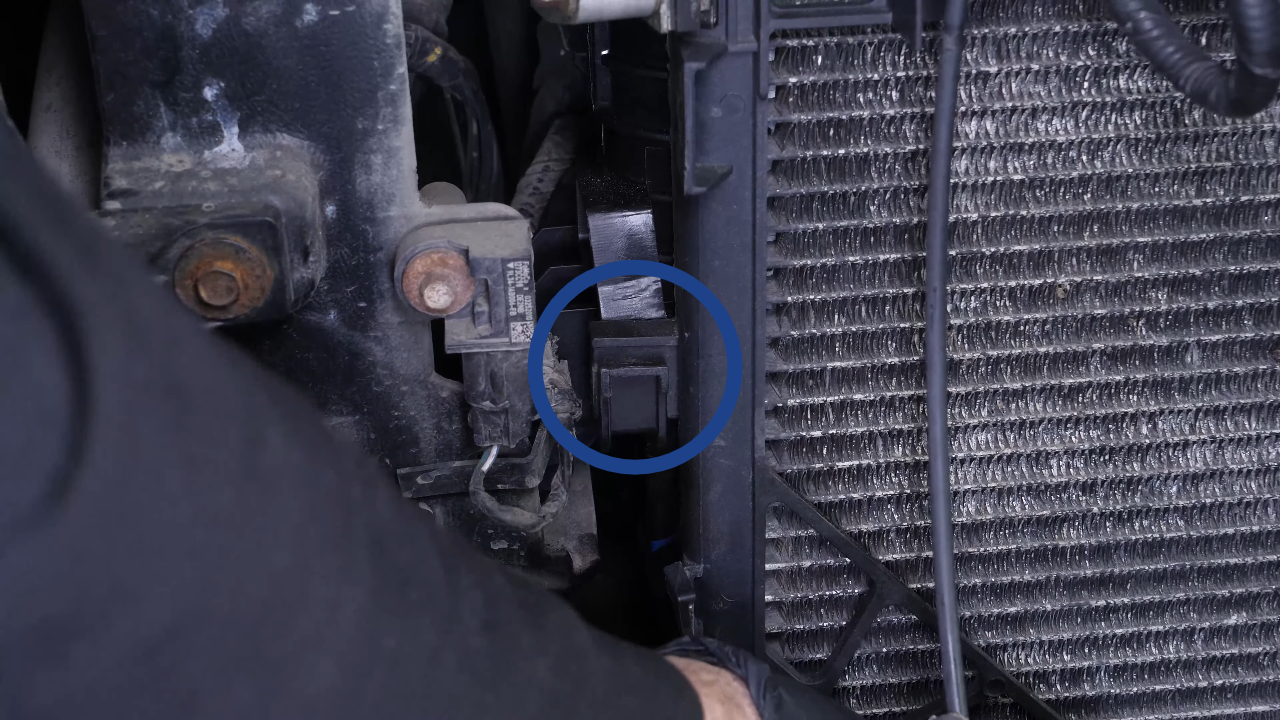
Using the flat head screwdriver, remove the locking clip securing the air duct to the radiator. Then, remove the duct by jiggling it back and forth.


Chapter 6:
Step 2/5
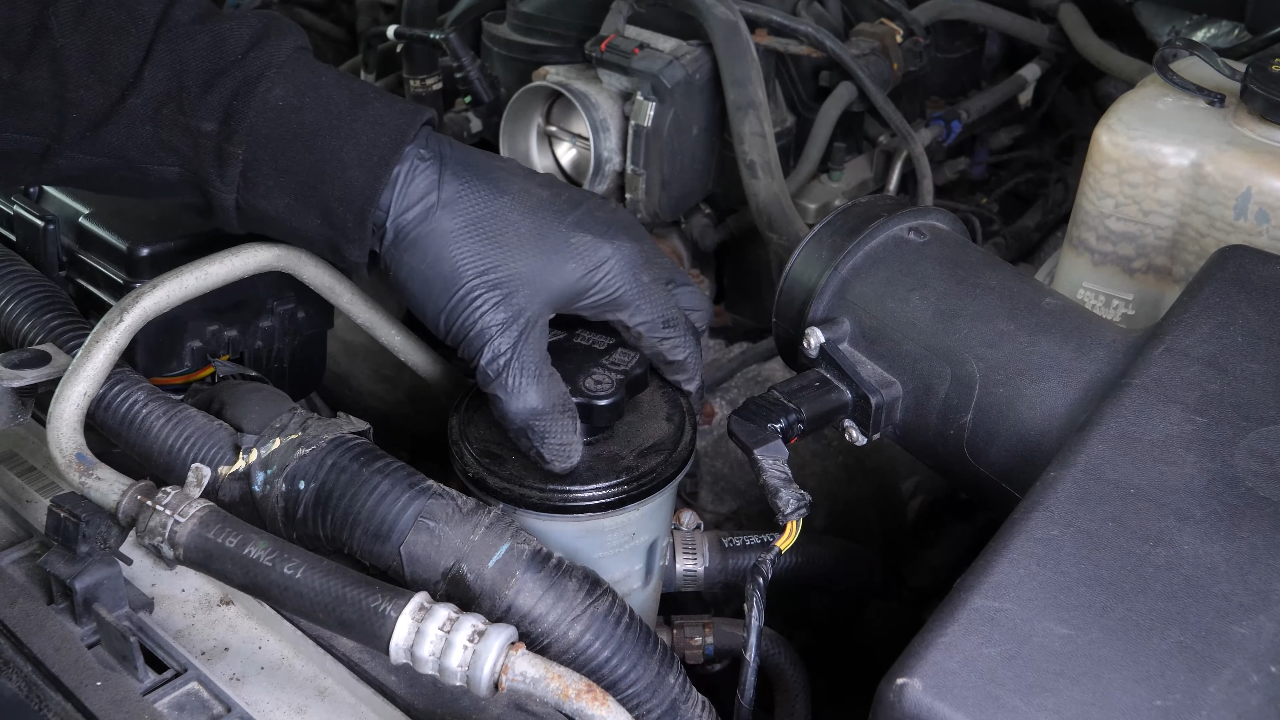
Remove the radiator cap. Then, remove the overflow hose. Next, using a Phillips screwdriver, unscrew the plastic rivet from the rubber cover next to the headlights. Then, take off the cover.


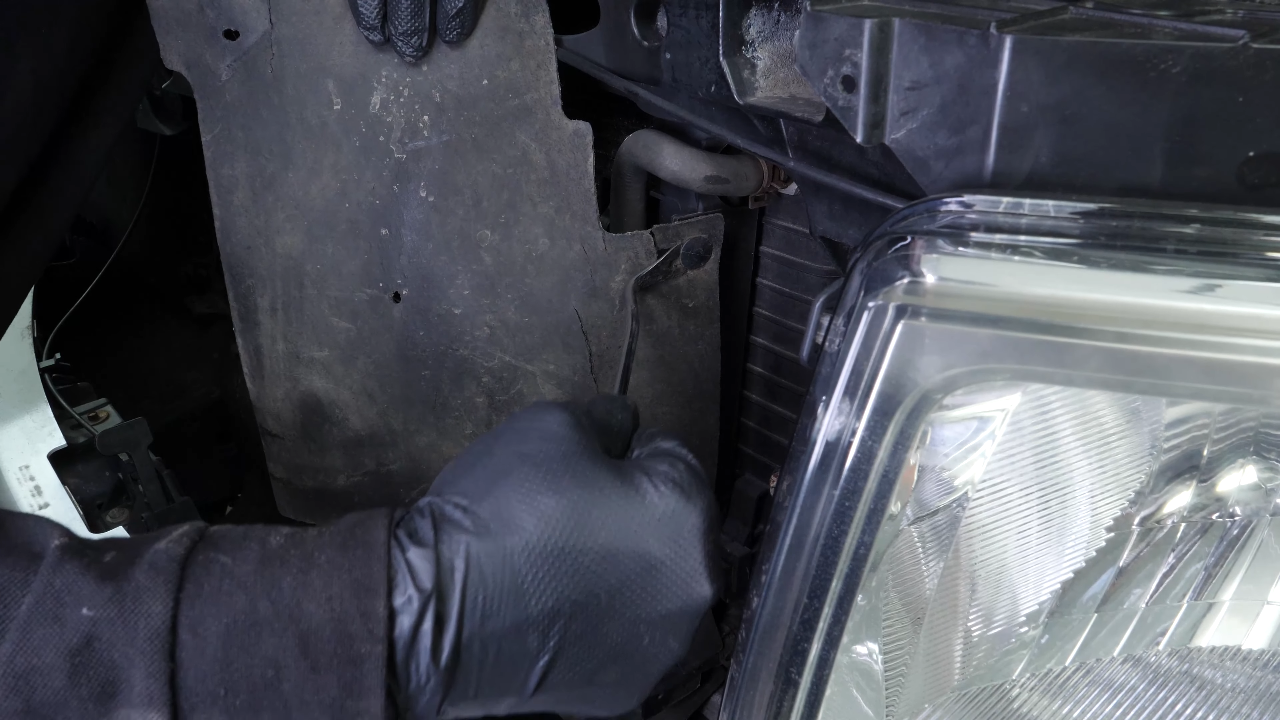

Chapter 6:
Step 3/5
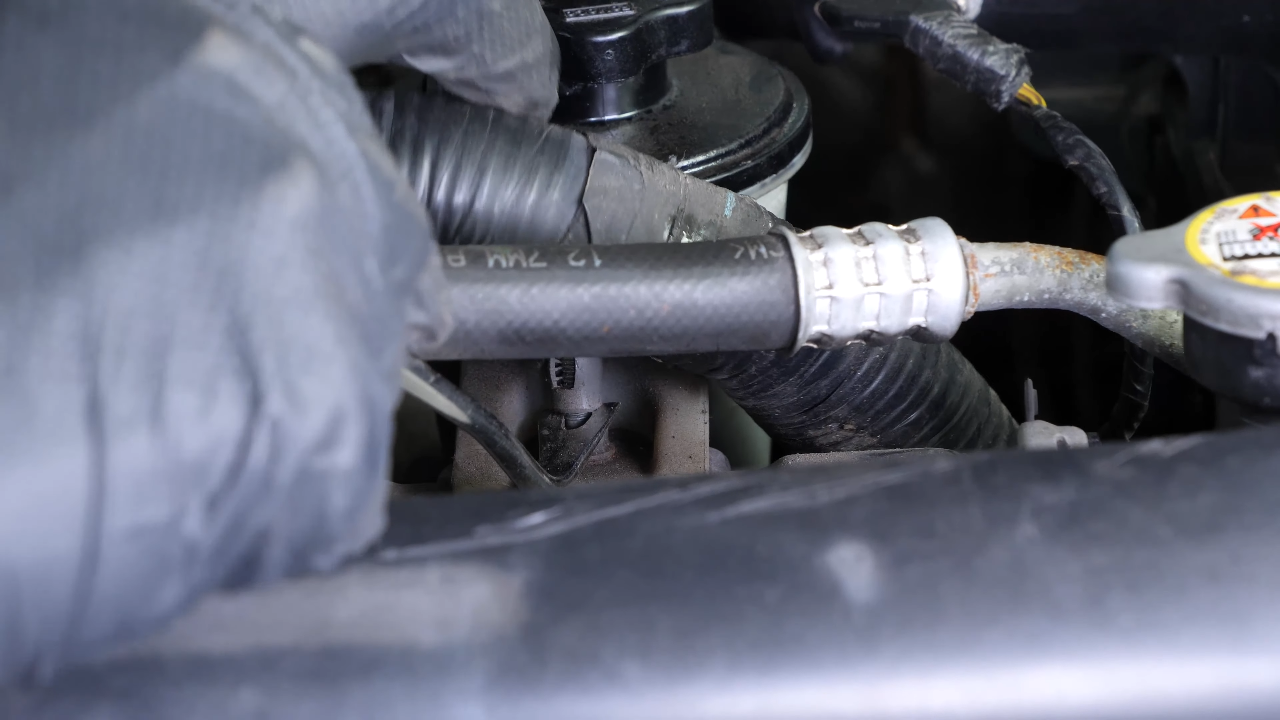
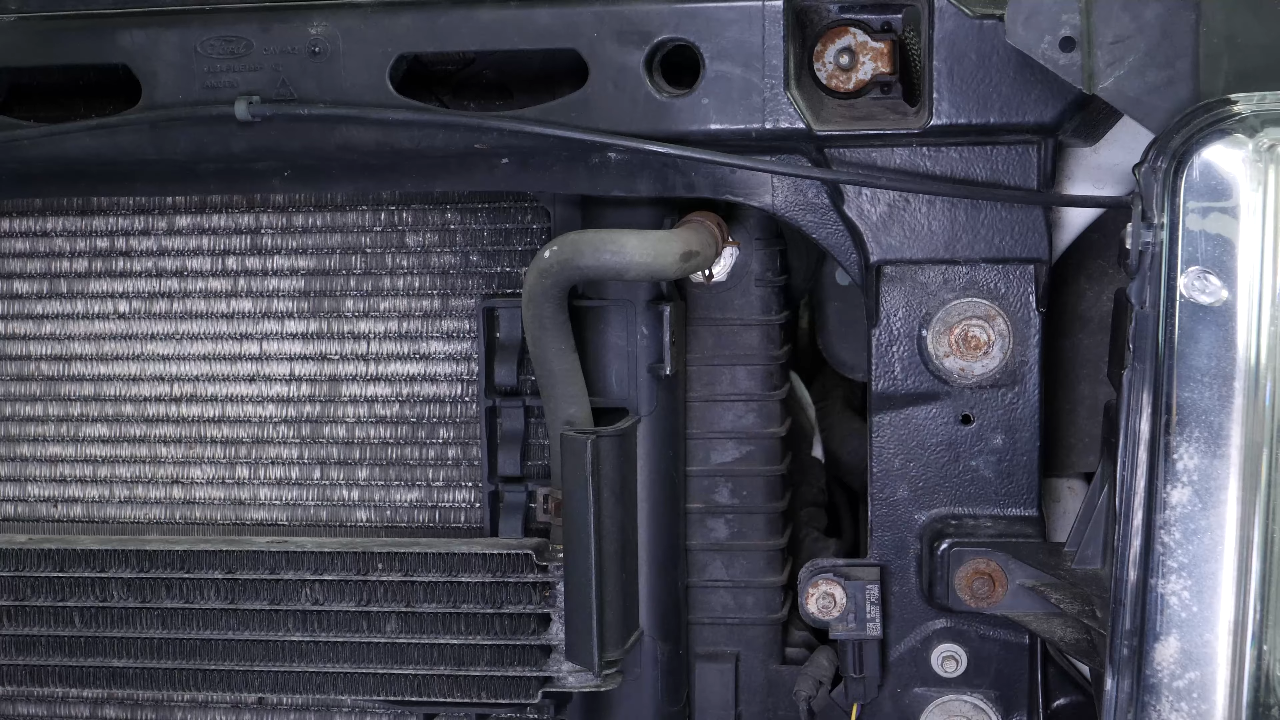
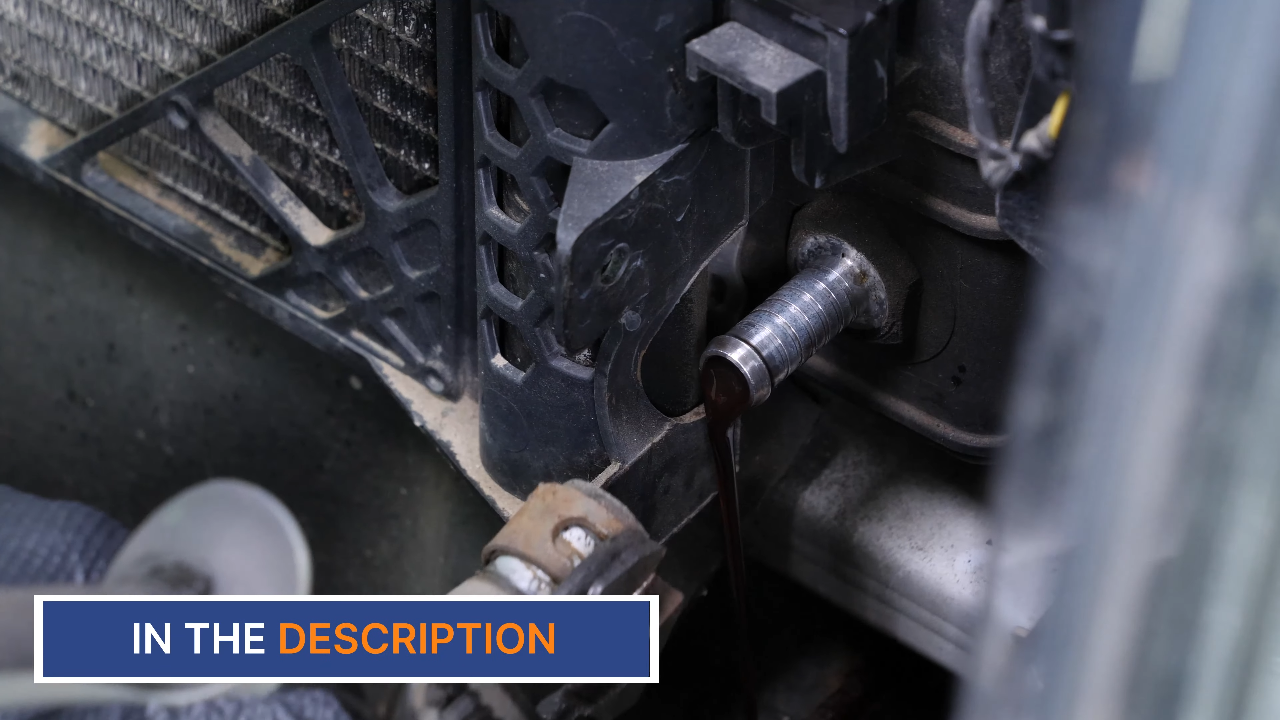
Remove the two clips from the rubber cover using the fork. Do the same on the other side. On the driver’s side, you now have access to the upper hose, which you can remove using a pair of adjustable pliers. Before carrying out the same operation with the lower hose, place a collection container under it, as coolant will flow out.


Chapter 6:
Step 4/5
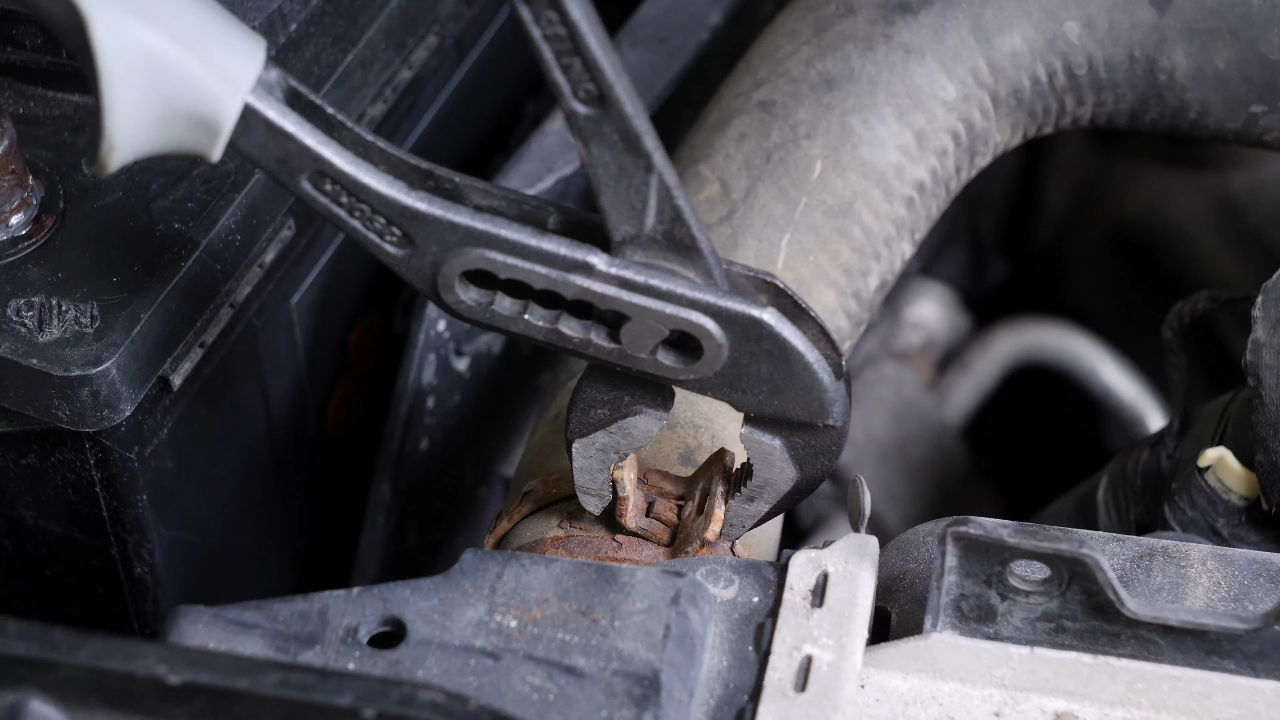
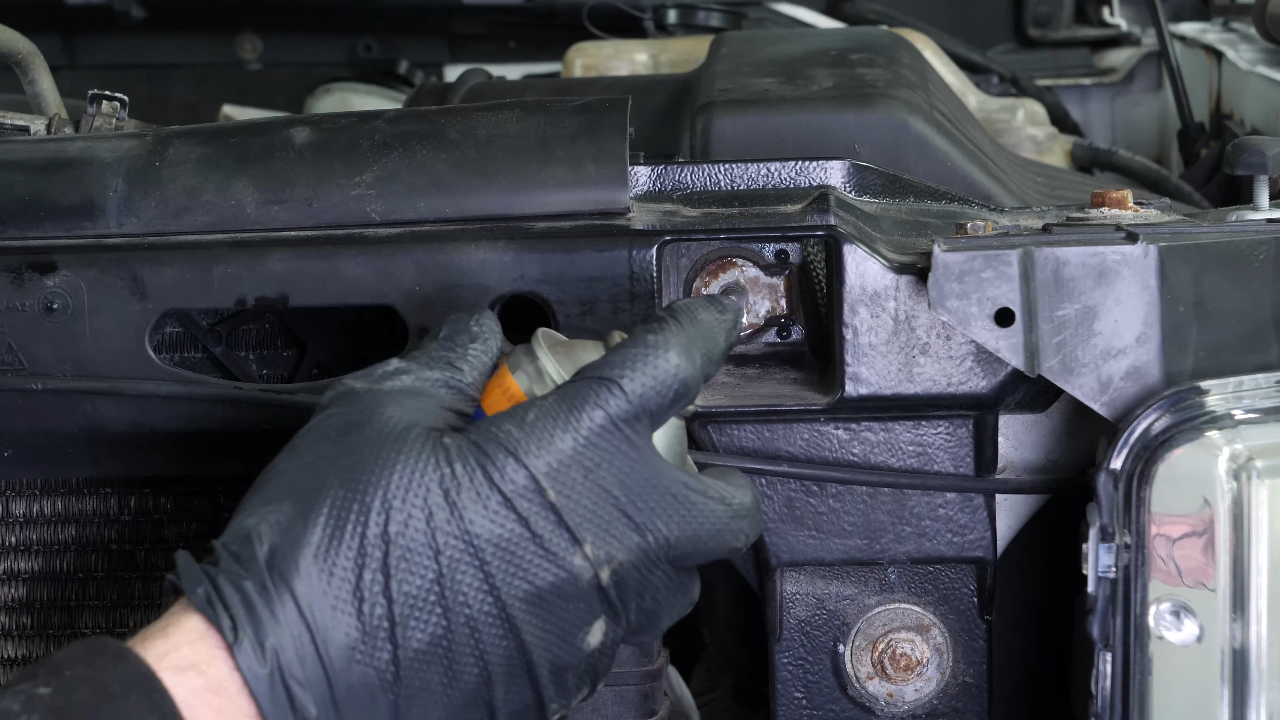
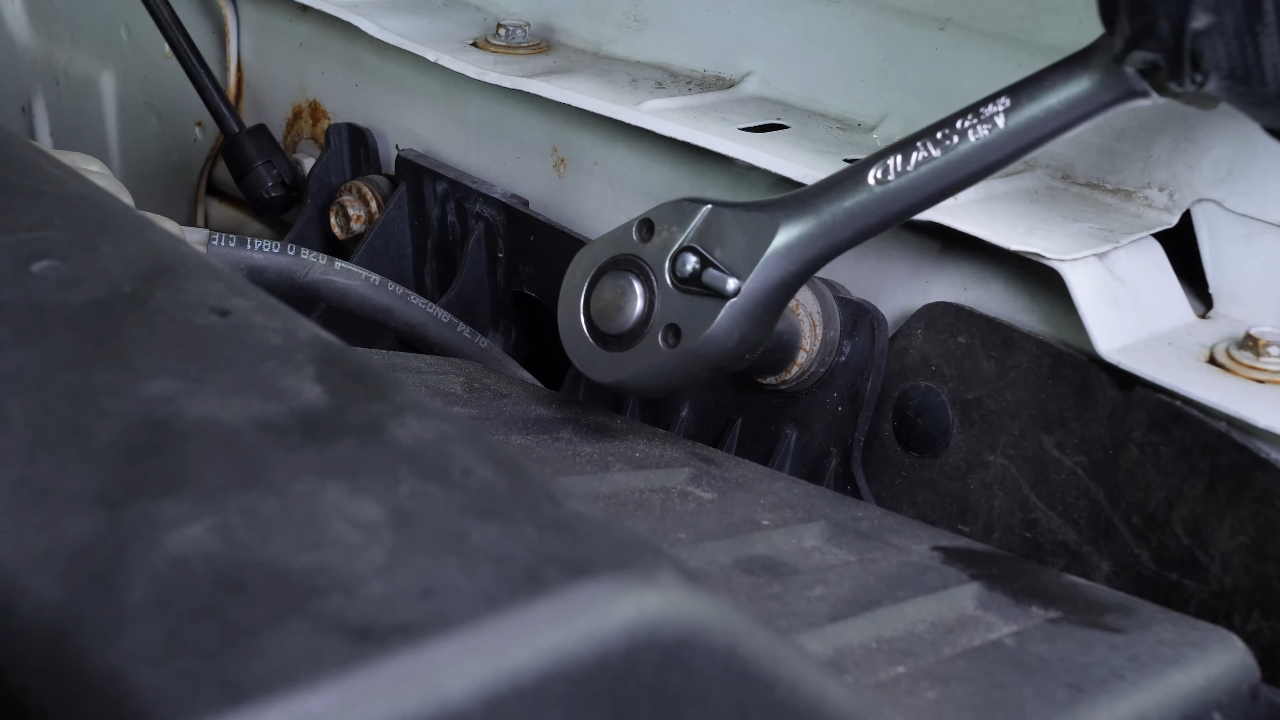
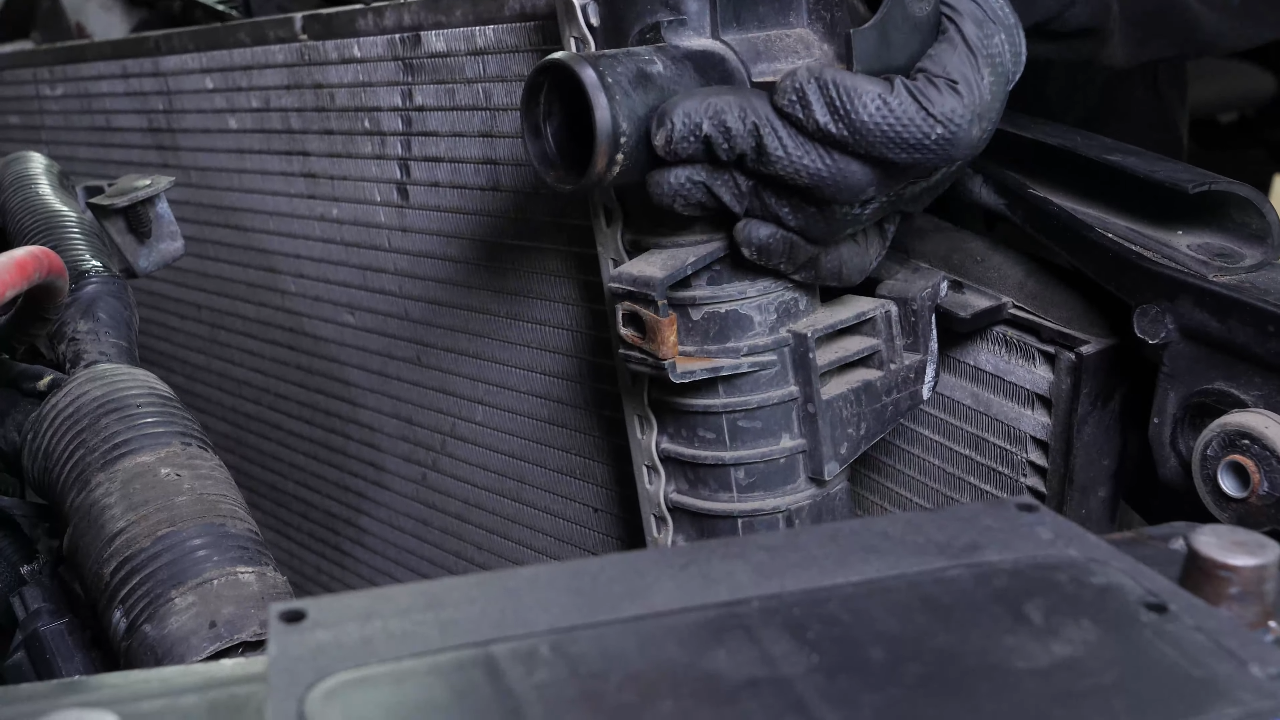
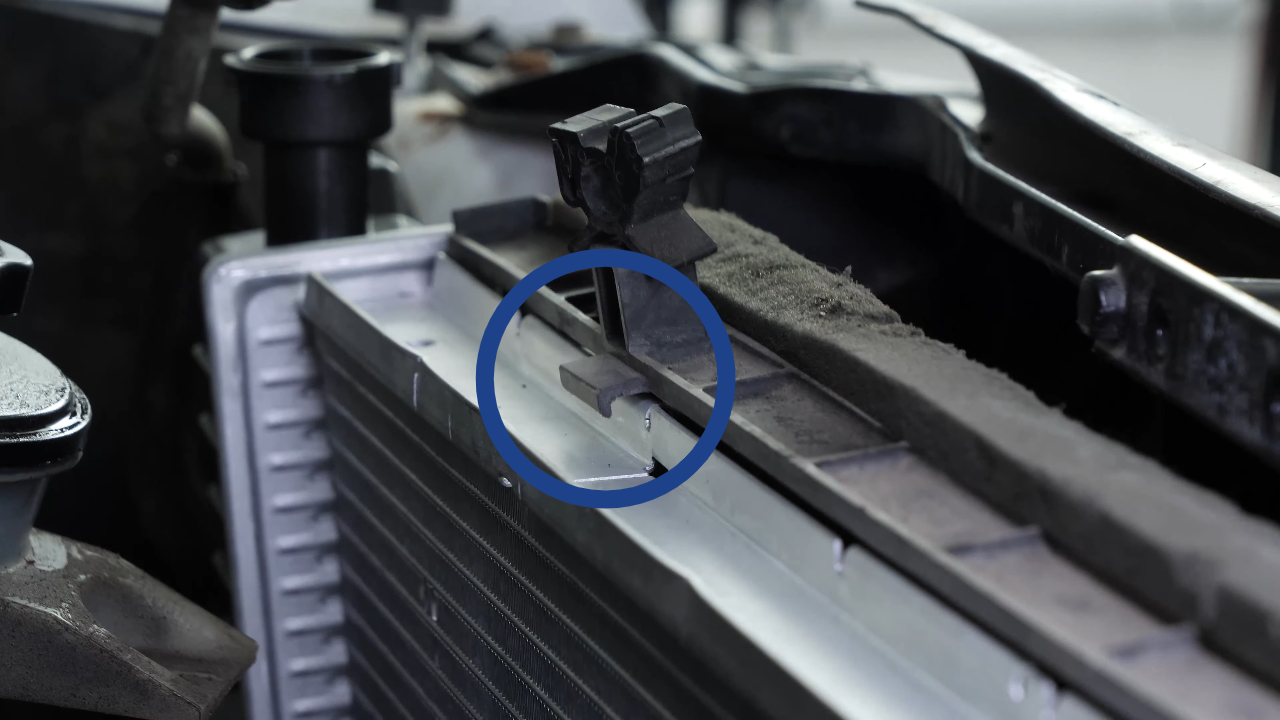
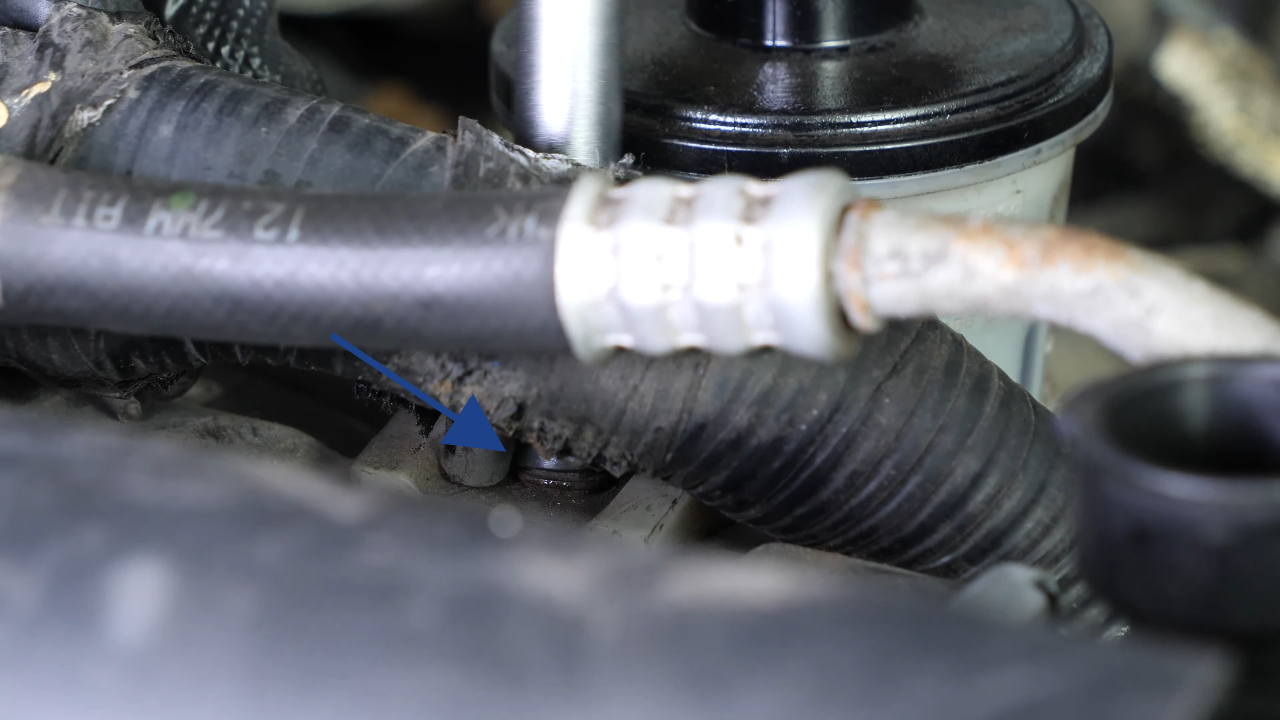
Spray the two radiator retaining screws with penetrating oil. Then, unscrew them on the engine side using a ratchet and a 13mm socket. Unclip the air conditioning radiator from the radiator by pulling on the two plastic tabs located on either side of the radiator, then pulling them out.


Chapter 6:
Step 5/5
Then, lift the air conditioning radiator to remove the three lugs from the retaining brackets. There is one lug on the driver’s side and two lugs on the passenger side.

Chapter 7:
Remove the airbox-expansion tank assembly
Step 1/2
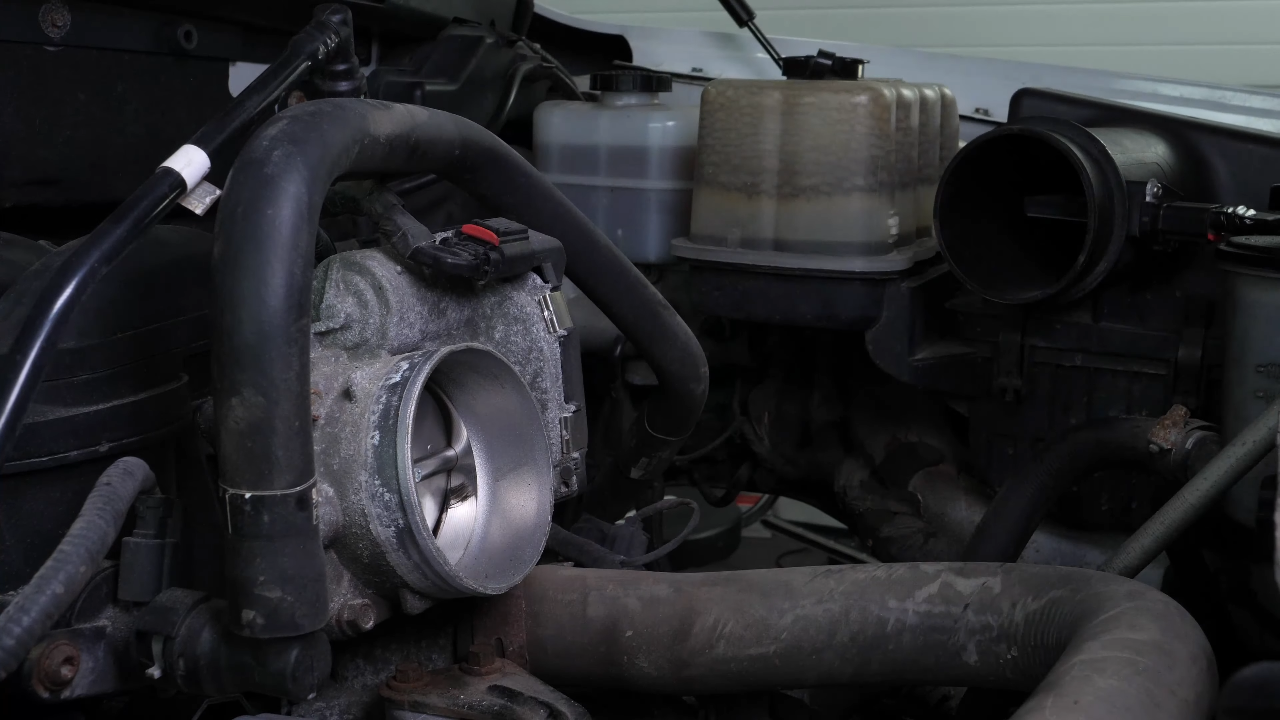
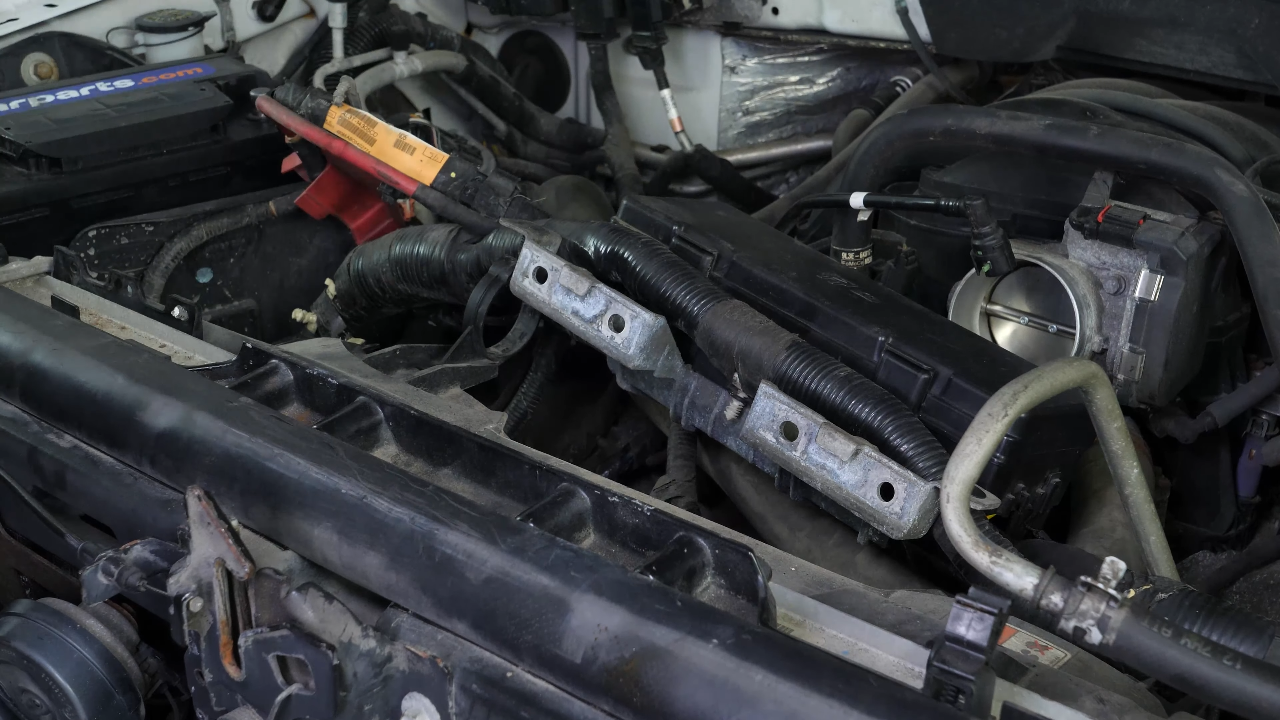
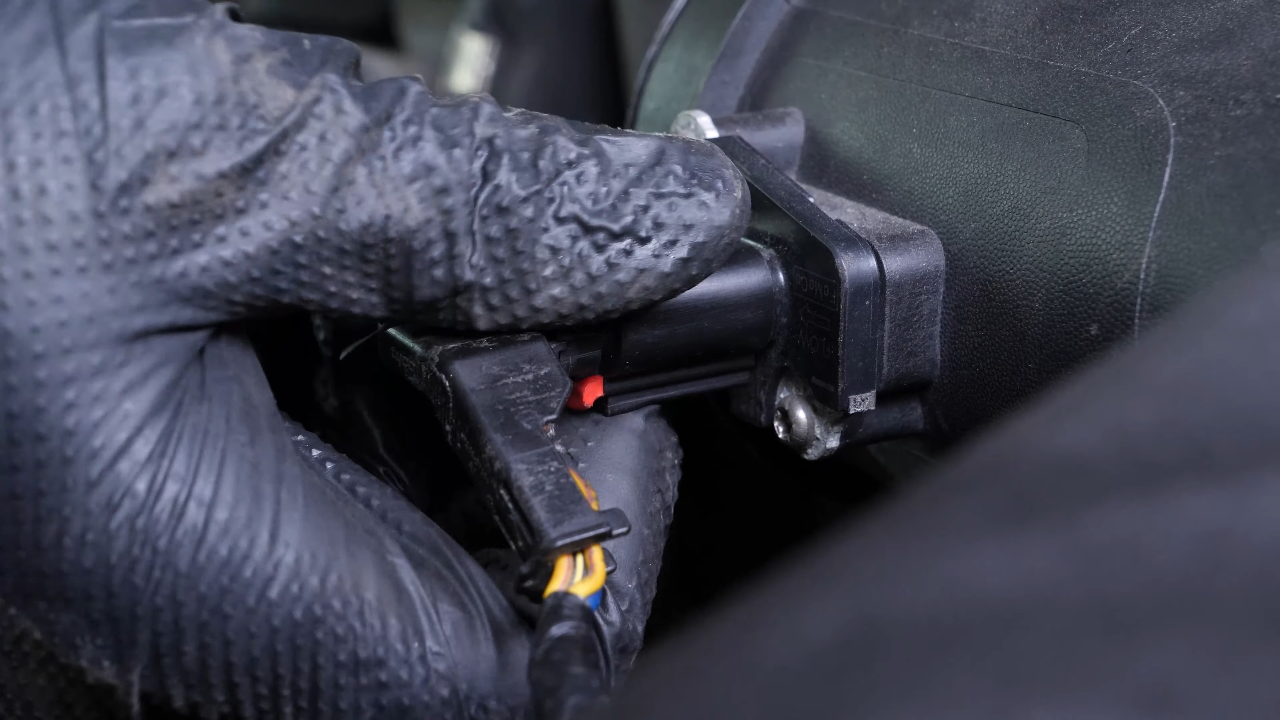
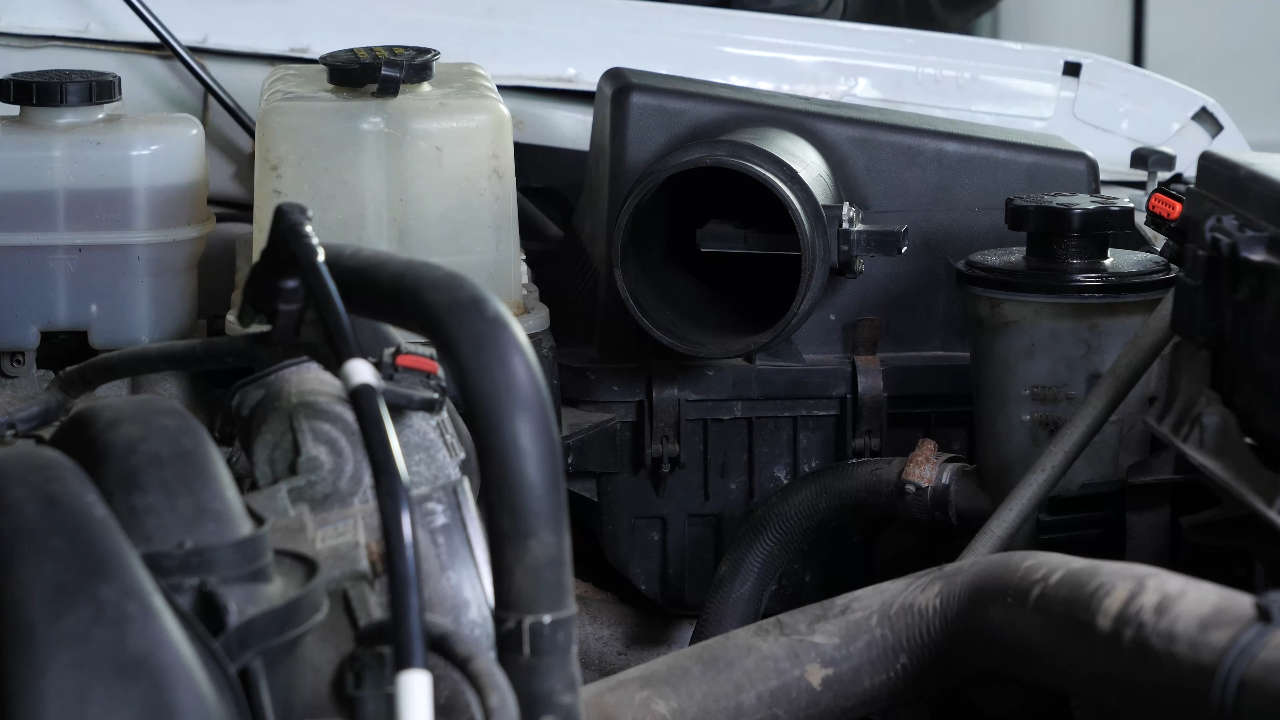
Before the radiator can be removed, the airbox-coolant expansion tank assembly must be removed. Disconnect the airflow meter connector. Then, using a ratchet and a 13mm socket, unscrew the two screws holding the airbox.

Chapter 7:
Step 2/2
You can now lift the airbox-expansion tank assembly to disengage, being careful to remove the air intake duct from the fender’s inner lining.


Chapter 8:
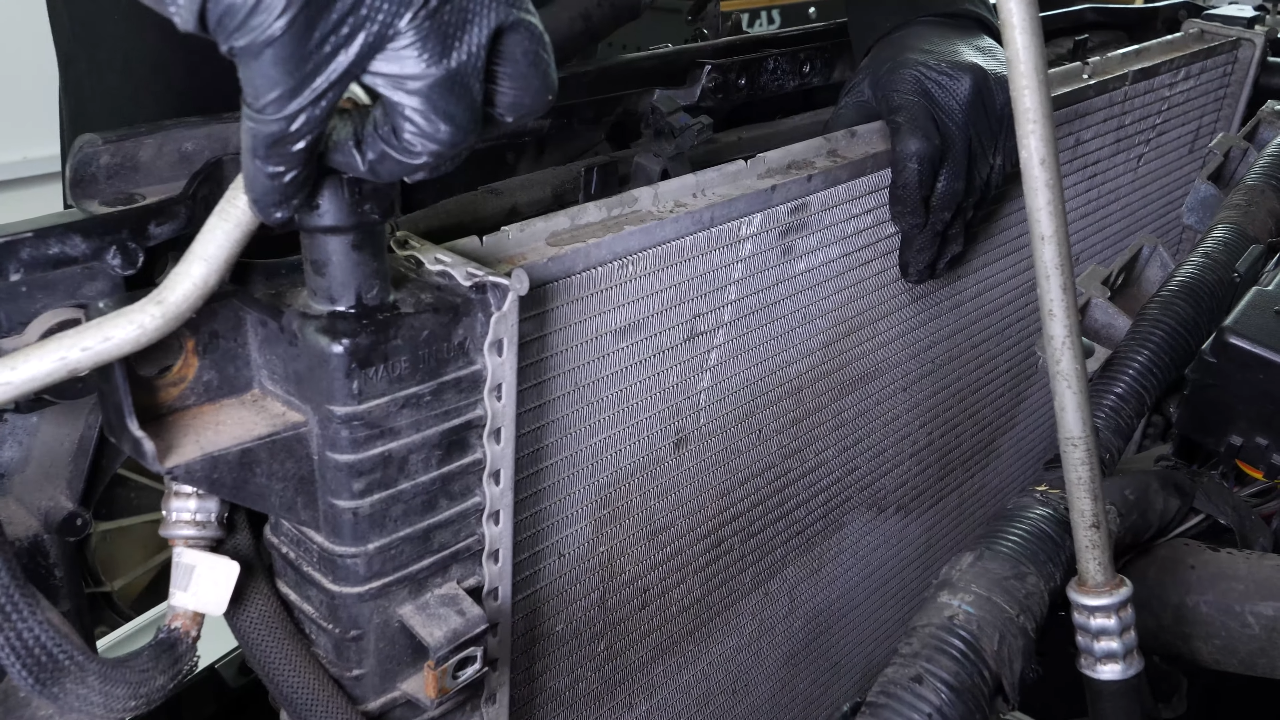
Remove the radiator
Step 1/1
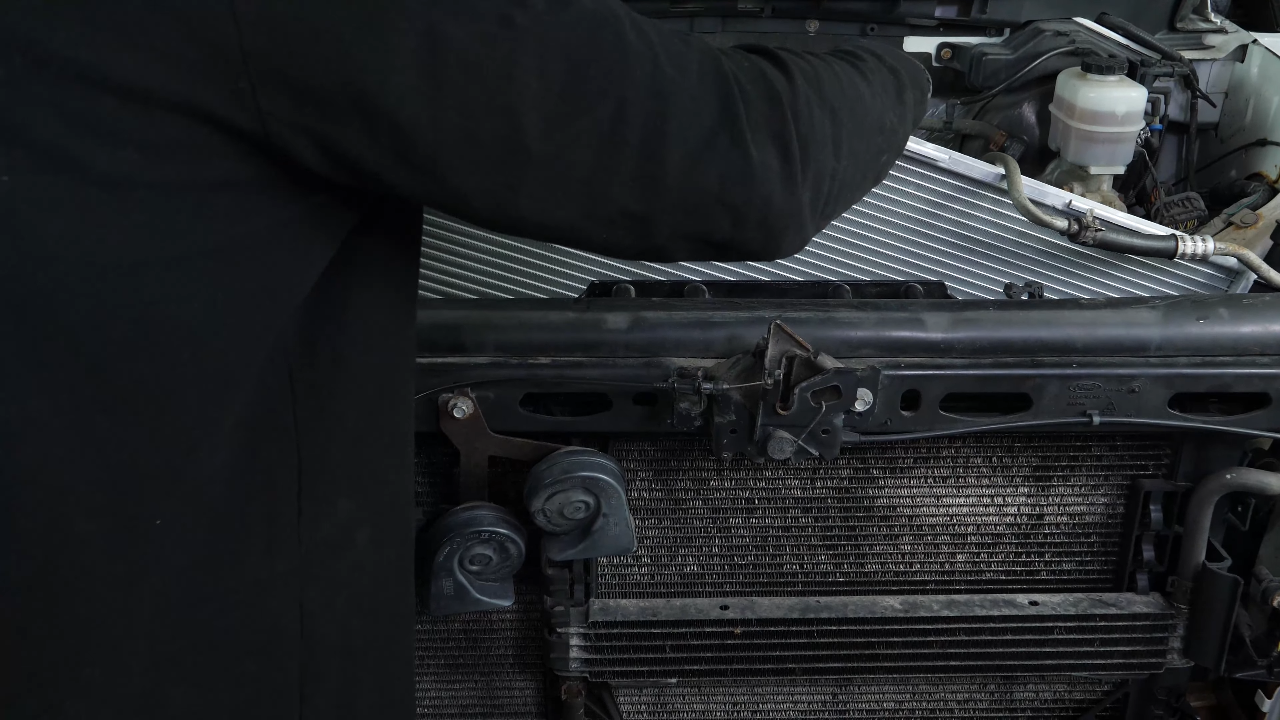
You can now lift the radiator to free the two rubber insulators at the bottom of the radiator and extract it via the passenger side.
Chapter 9:
Put the radiator back
Step 1/4
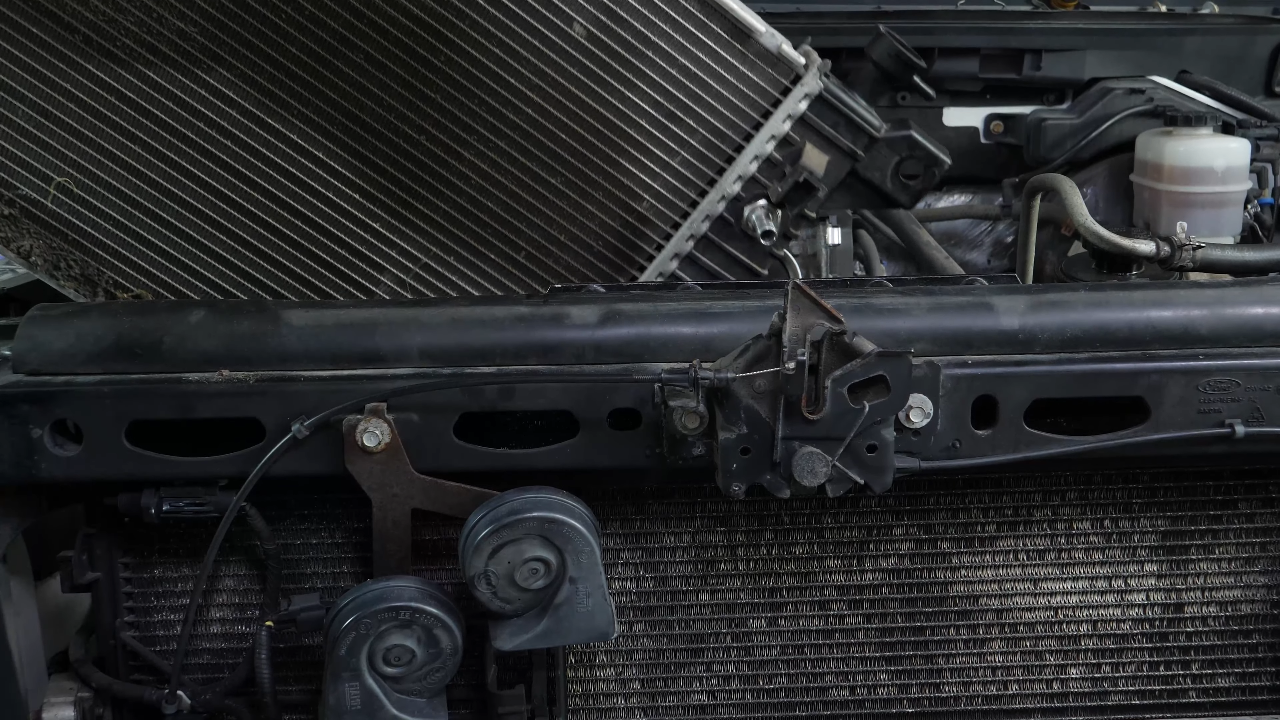
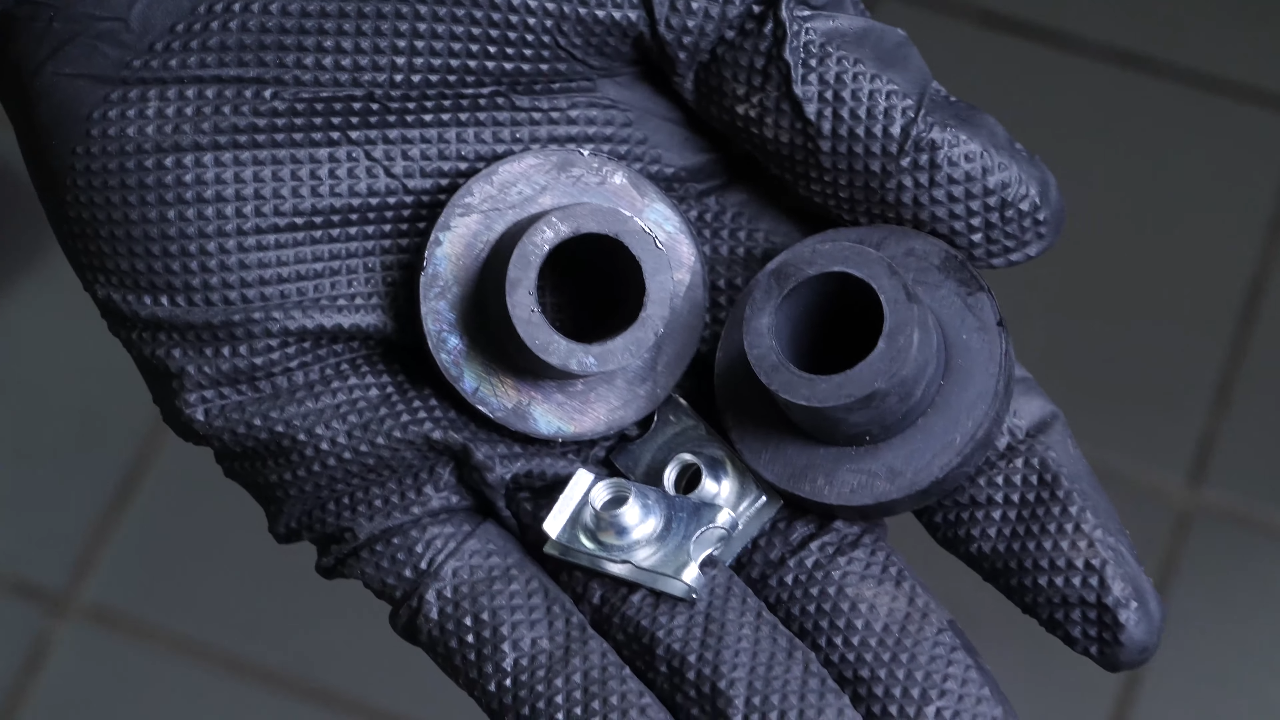
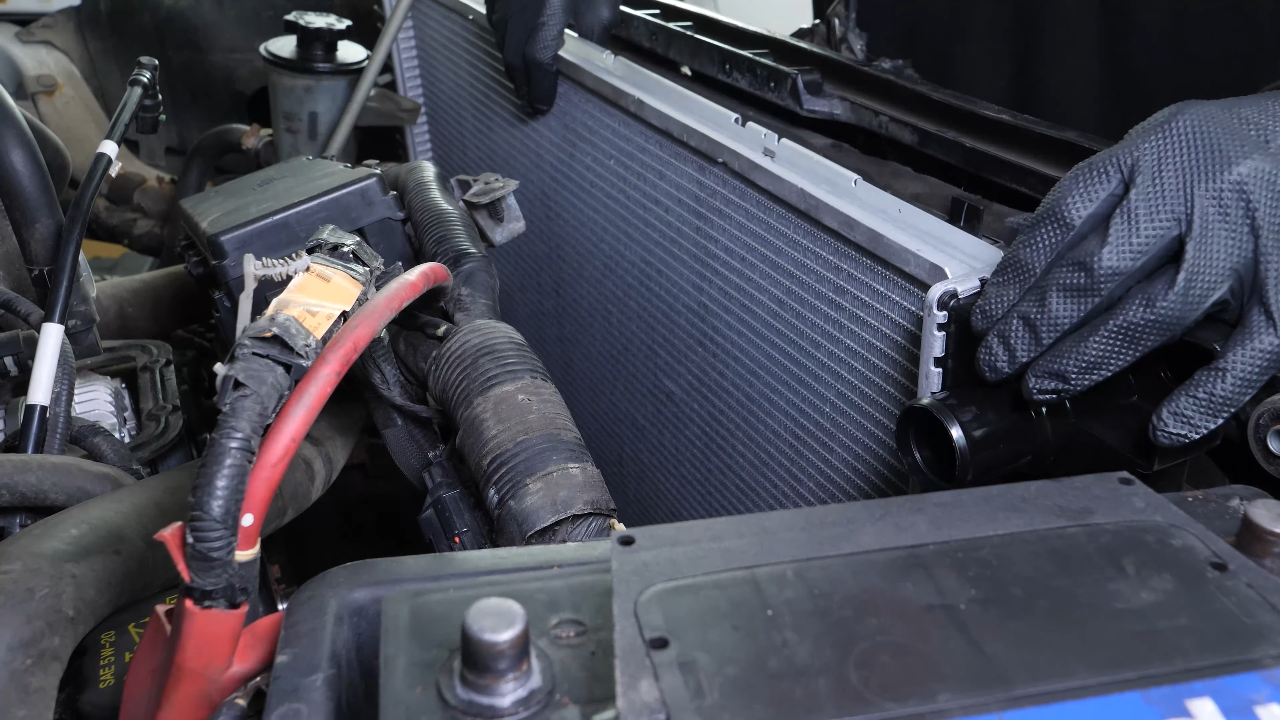
It comes with two rubber insulators and two speed nuts. Install them on the new radiator. You can now install the new radiator by sliding it in through the passenger side and passing it under the air conditioning hose.

Chapter 9:
Step 2/4
Then, shift the air conditioning hose to the other side of the radiator. From the front of the vehicle, lift the air conditioning radiator in order to clip the three lugs onto the retaining brackets of the new radiator. Then, reclip the two upper tabs on the new radiator.


Chapter 9:
Step 3/4
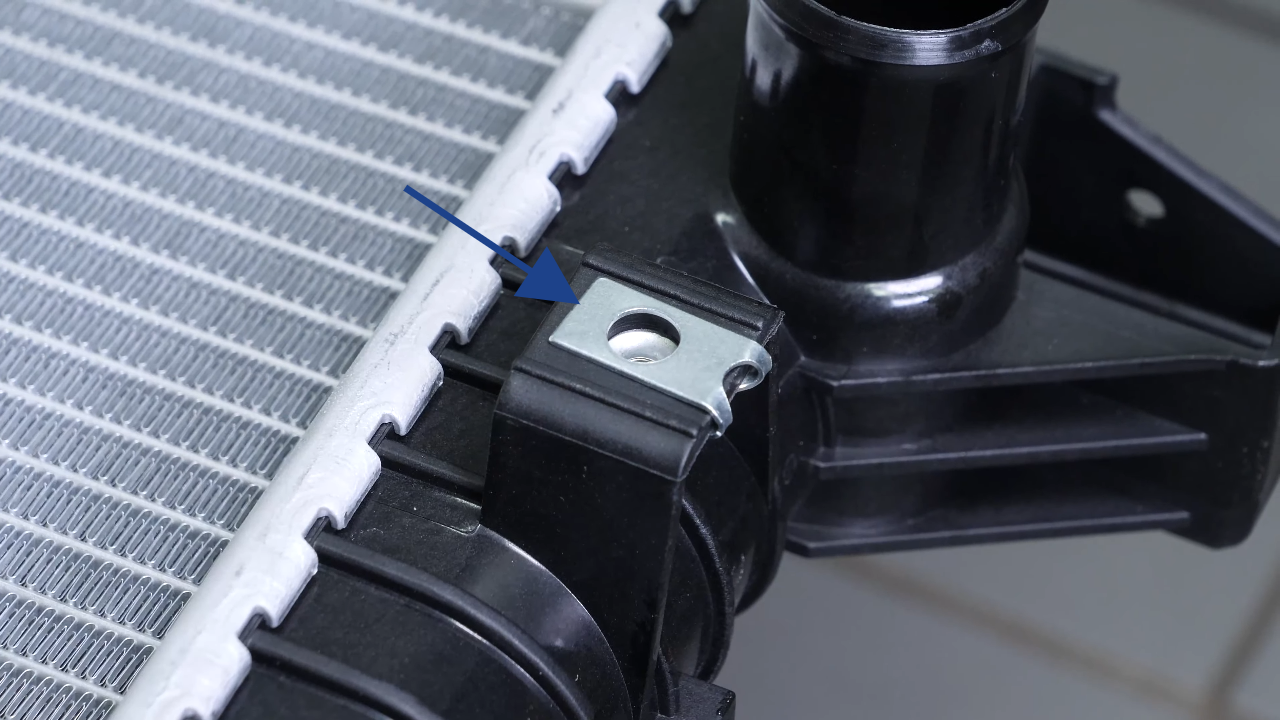
You can now put the radiator assembly in its final position by inserting the two rubber insulators into their slots. You can now tighten the two screws holding the radiator.


Chapter 9:
Step 4/4
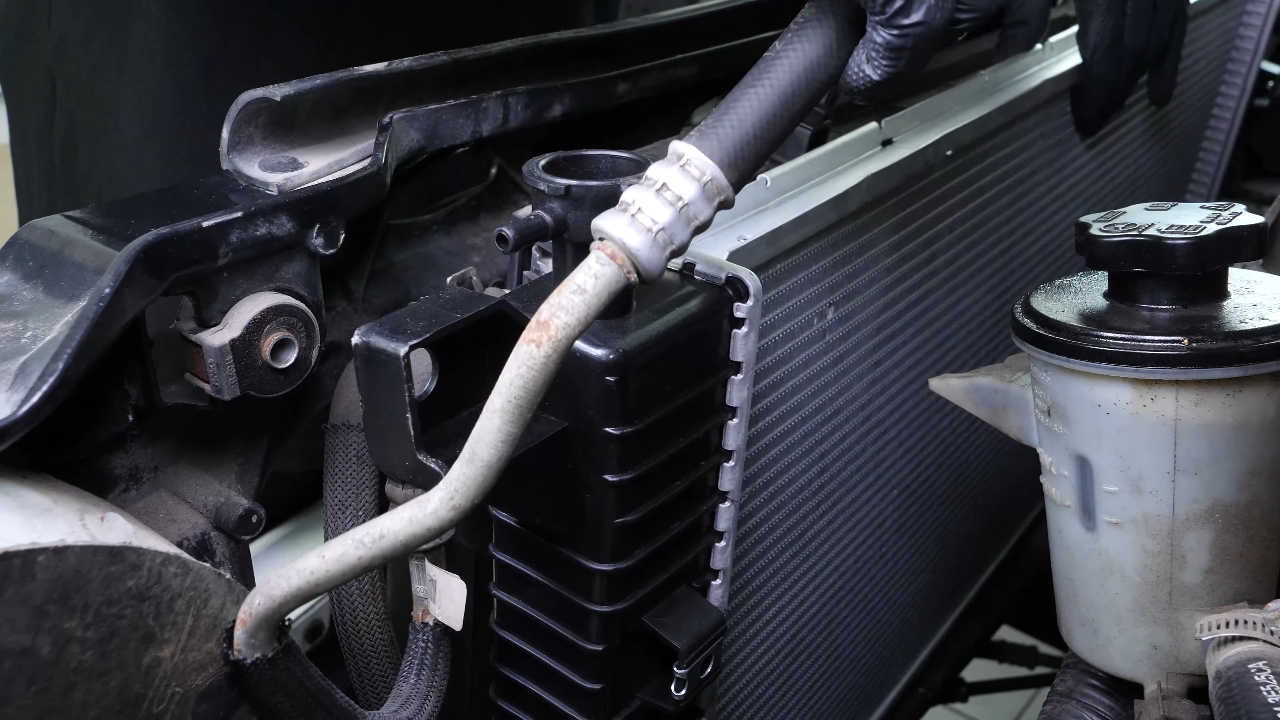
Using a pair of adjustable pliers, put the two hoses on the driver’s side back in place on the radiator. Replace the rubber covers next to the headlights and reclip them. Replace the clip on the air duct, then reclip the air duct to the radiator.


Chapter 10:
Put the fan assembly back
Step 1/3
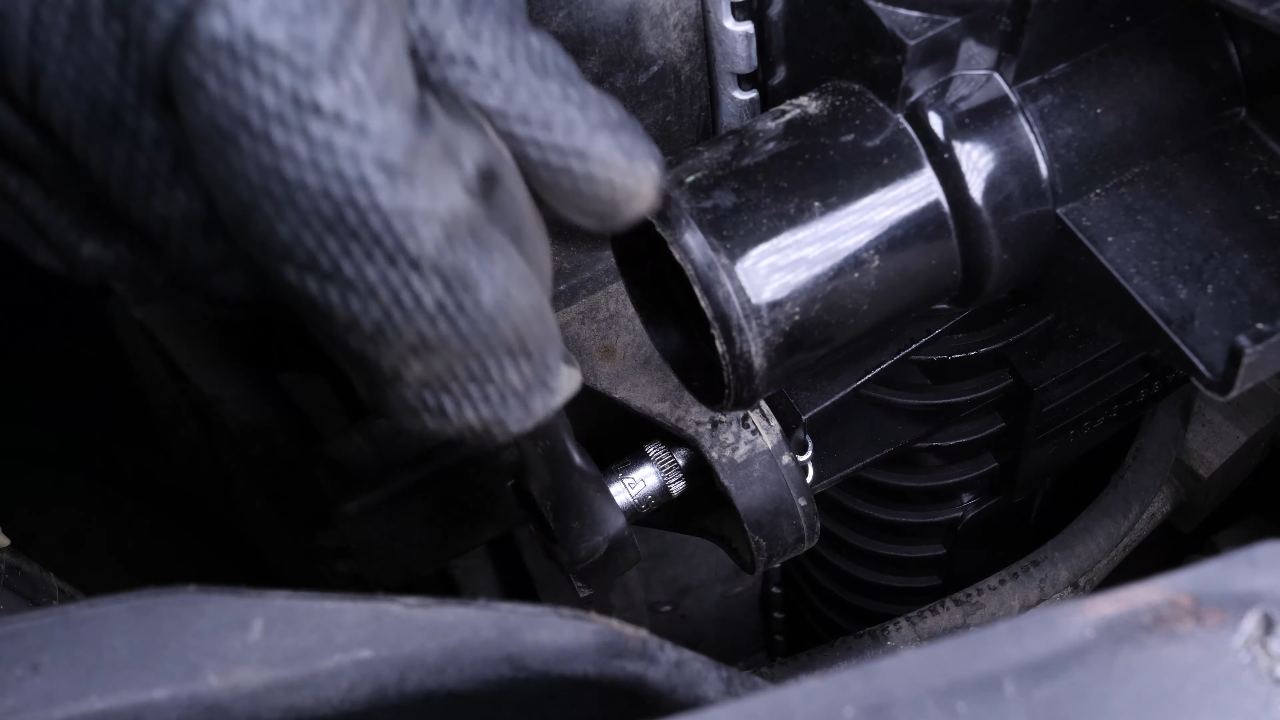
You can now slide the fan assembly onto the radiator. Then, screw the two retaining screws back in.


Chapter 10:
Step 2/3
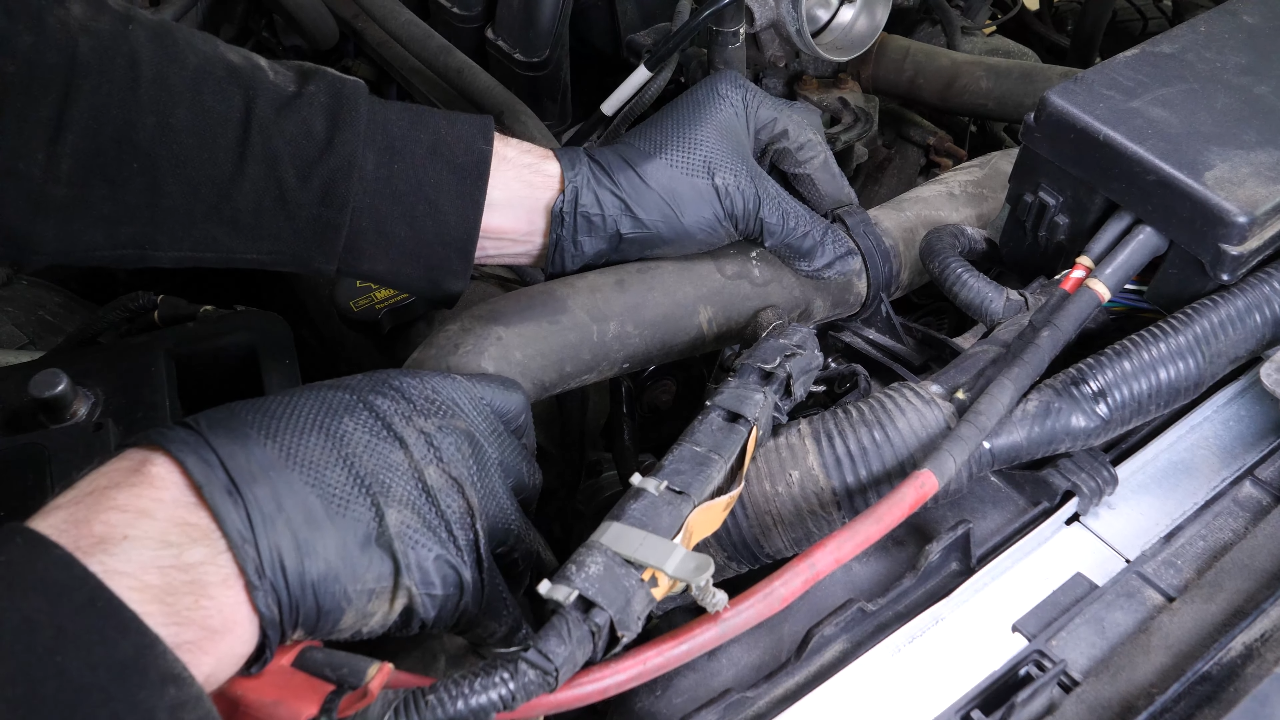
Replace the fuse box assembly on its support. Reclip the various harnesses and reconnect the two fan power connectors.


Chapter 10:
Step 3/3
Fasten the cooling hose back in its housing, then reconnect it to the radiator using the adjustable pliers. Reclip the air conditioning fluid hose.
Chapter 11:
Put the elements back
Step 1/4
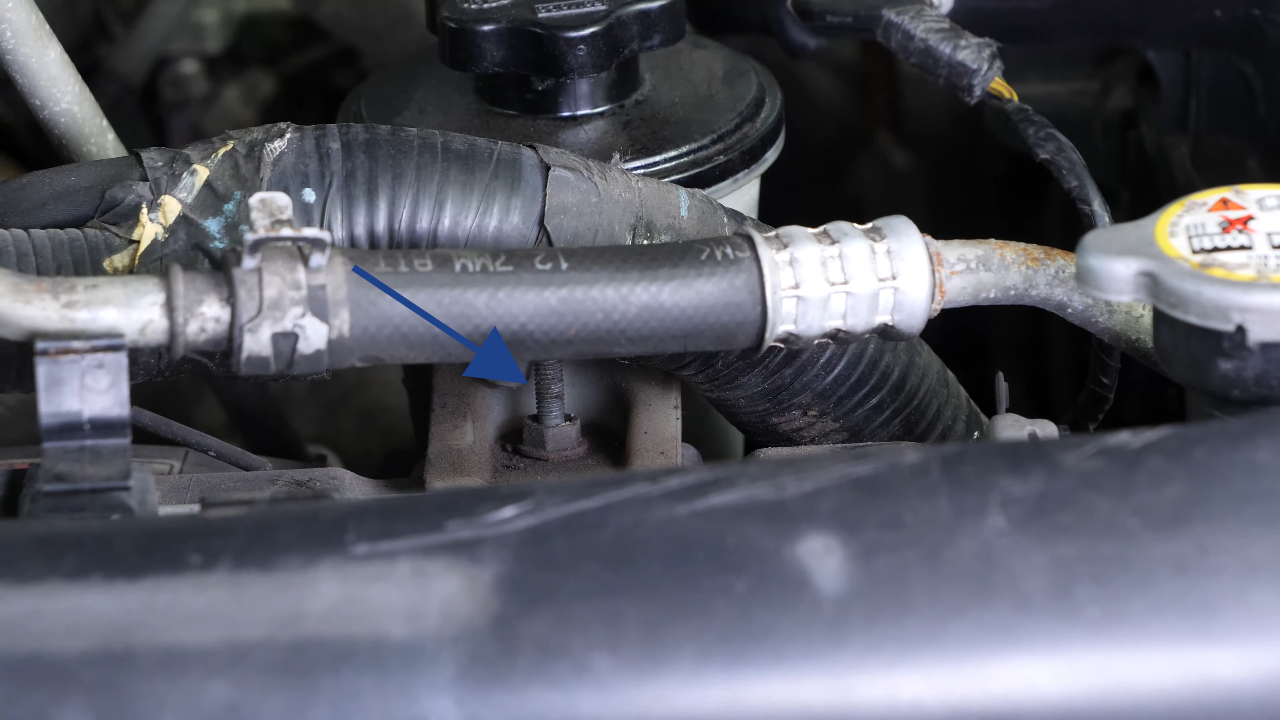
Replace the power steering fluid reservoir. Then, retighten the reservoir’s retaining screw. Reclip the harness on the reservoir’s retaining screw.
Chapter 11:
Step 2/4
You can now tighten the four screws of the fuse box assembly. Reinstall the airbox-expansion tank assembly. Then, screw the two retaining screws back in. Reconnect the overflow hose.


Chapter 11:
Step 3/4
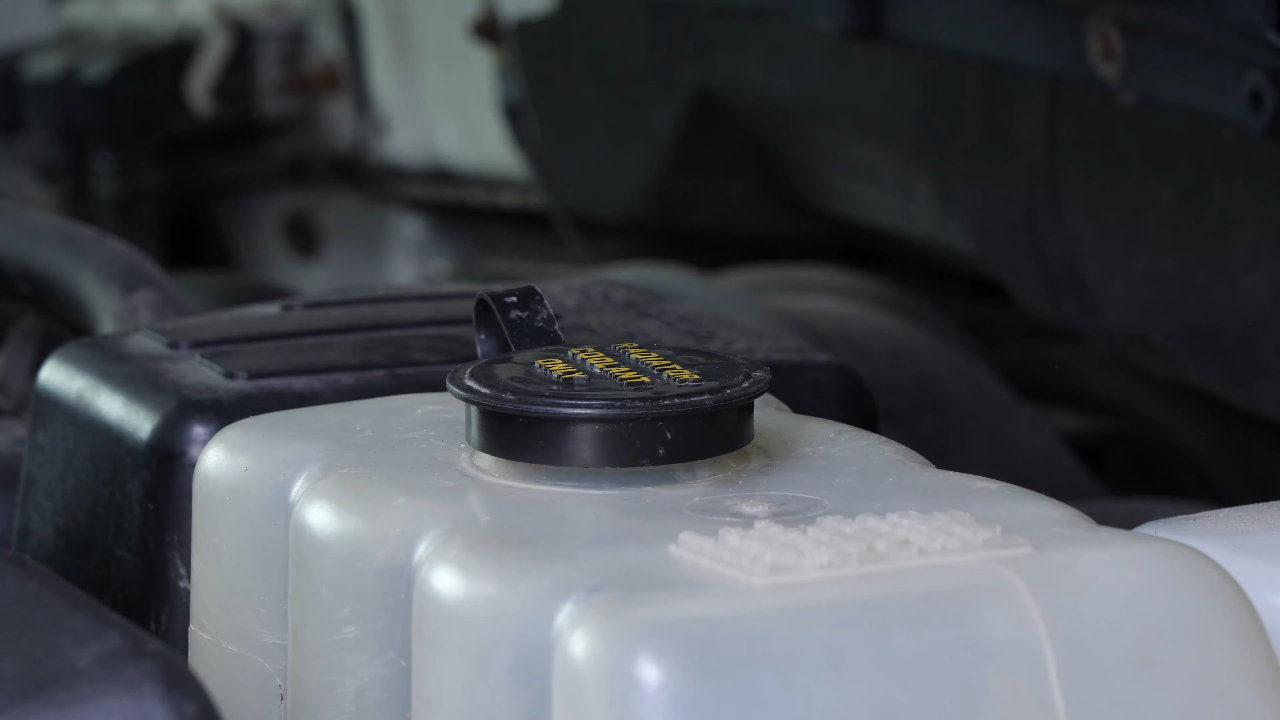
Then, put the old radiator cap back on the new radiator.

Chapter 11:
Step 4/4
Reconnect the battery. Replace the air intake duct. Screw the two clamps back on. Replace the breather.

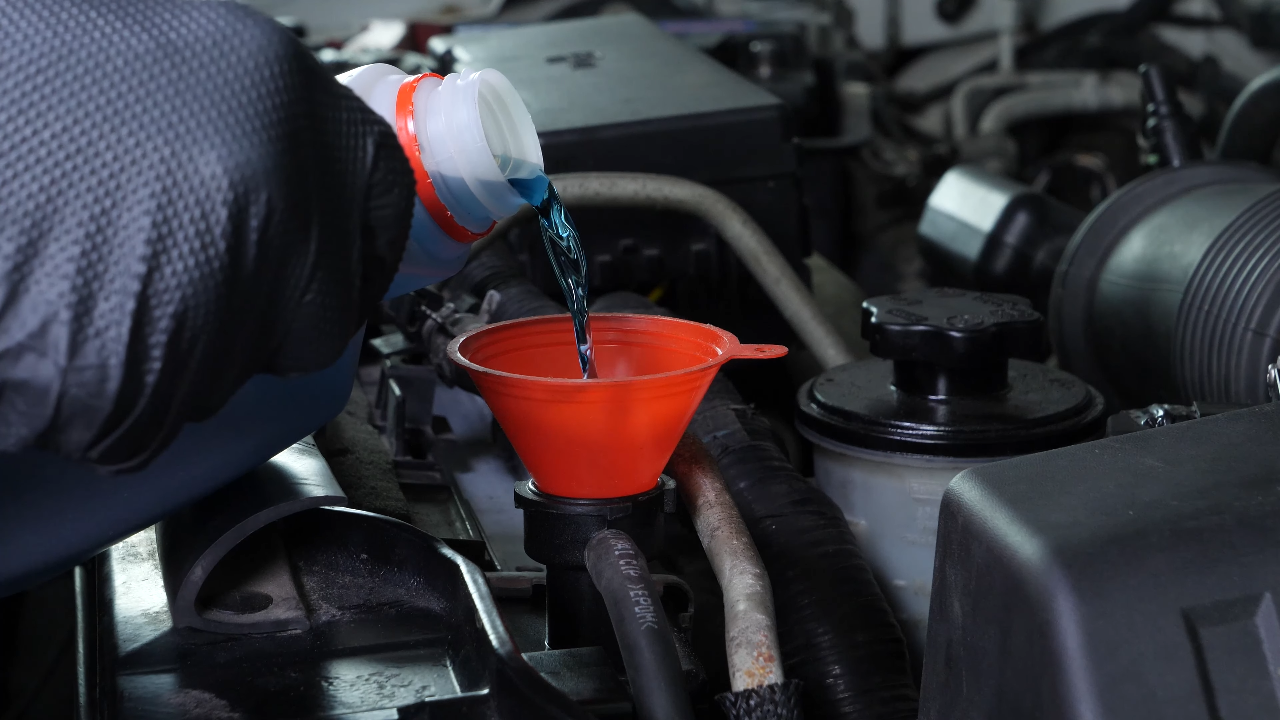
Chapter 12:
Add coolant
Step 1/2
Now you need to refill the radiator with coolant and purge any air from the circuit. To do this, we recommend that you watch our video: “How to perform a coolant flush on a Ford F150.”
Chapter 12:
Step 2/2
The video also shows how to expel air from the circuit when refilling it. Operation complete.