How to replace the oxygen sensors 2009-2014 Ford F-150
To replace the oxygen sensors on your F-150 we’re here to help. You’ll need to set up, remove the oxygen sensor, reconnect the sensor and other steps you’ll need to follow in the correct order. You can follow this tutorial of 7 chapters in 45 minutes. Take your 22 mm wrench and your torque wrench and let’s get started!
Duration
45 minutes
Number of steps
7
Difficulty out of 5
2
Average savings
$70
Parts You Will Need
Tools You Will Need
Step-by-Step Installation
Chapter 1:
Set up
Step 1/2
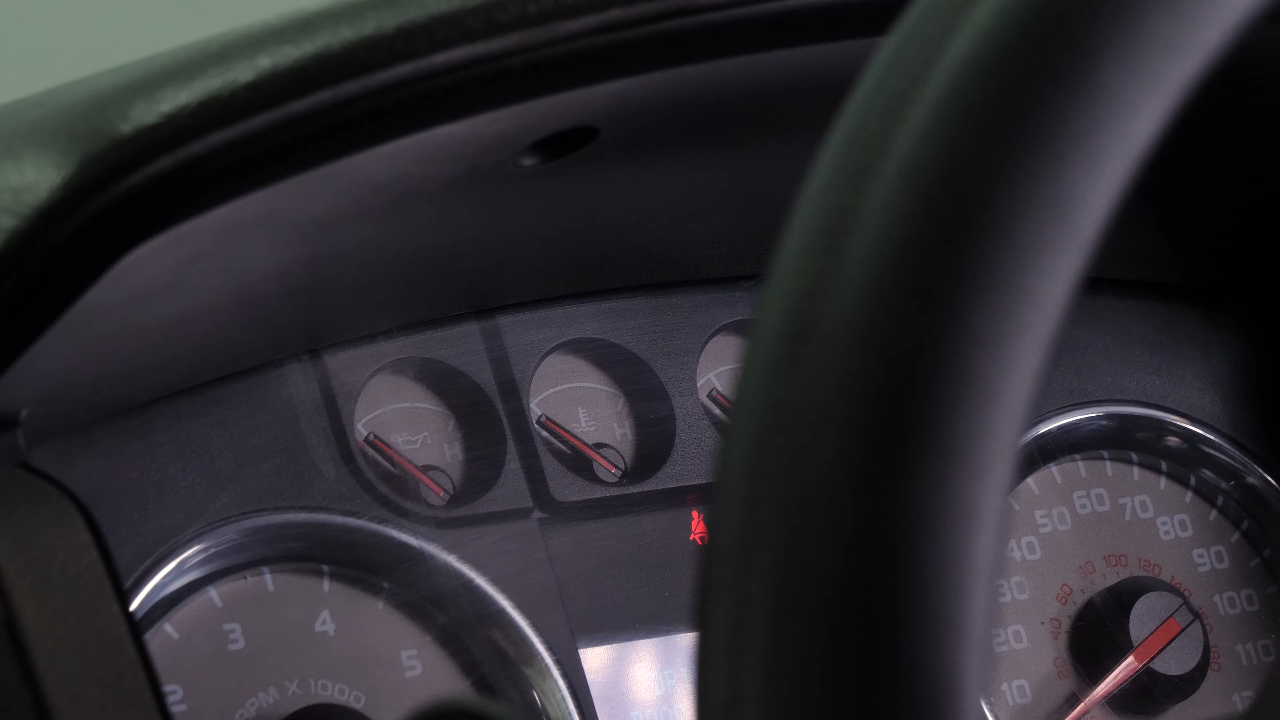
We advise you to start your vehicle and let it warm up. This will facilitate the removal of the oxygen sensors and prevent you from damaging them during removal. Be careful not to burn yourself during the operation.


Chapter 1:
Step 2/2
Turn off your vehicle’s ignition, set the parking brake, pull the hood release handle and open the hood.


Chapter 2:
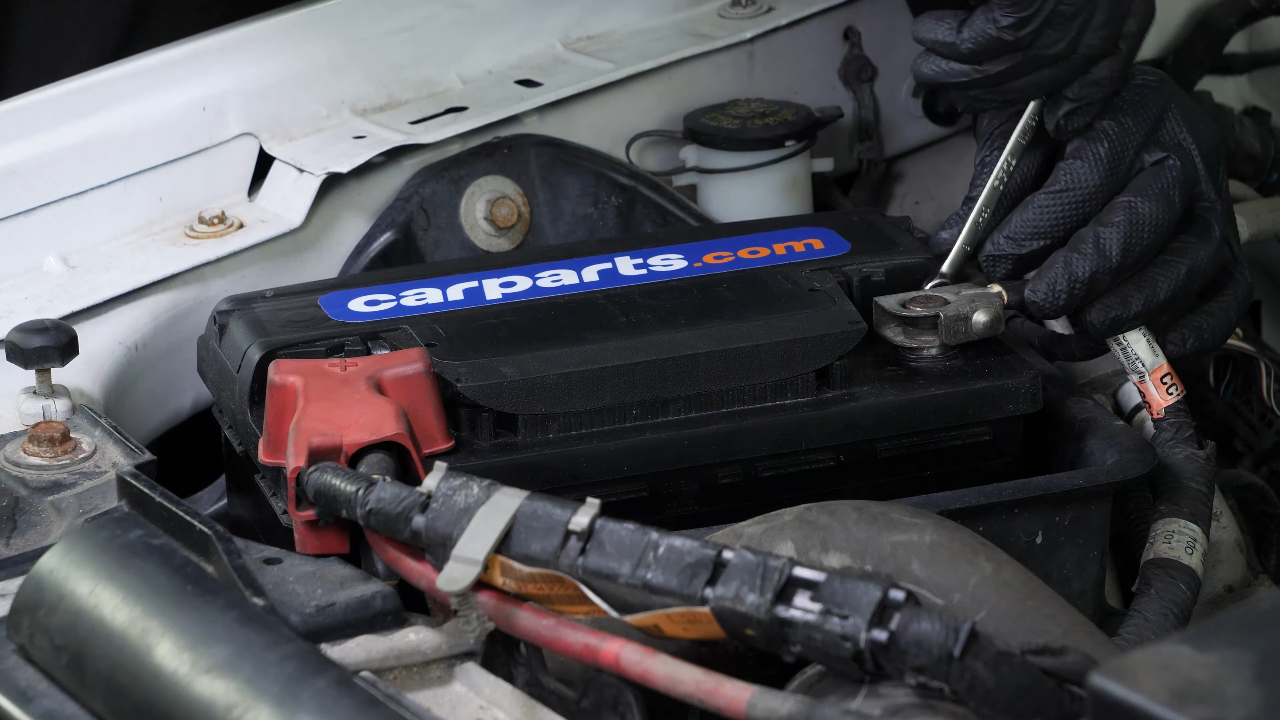
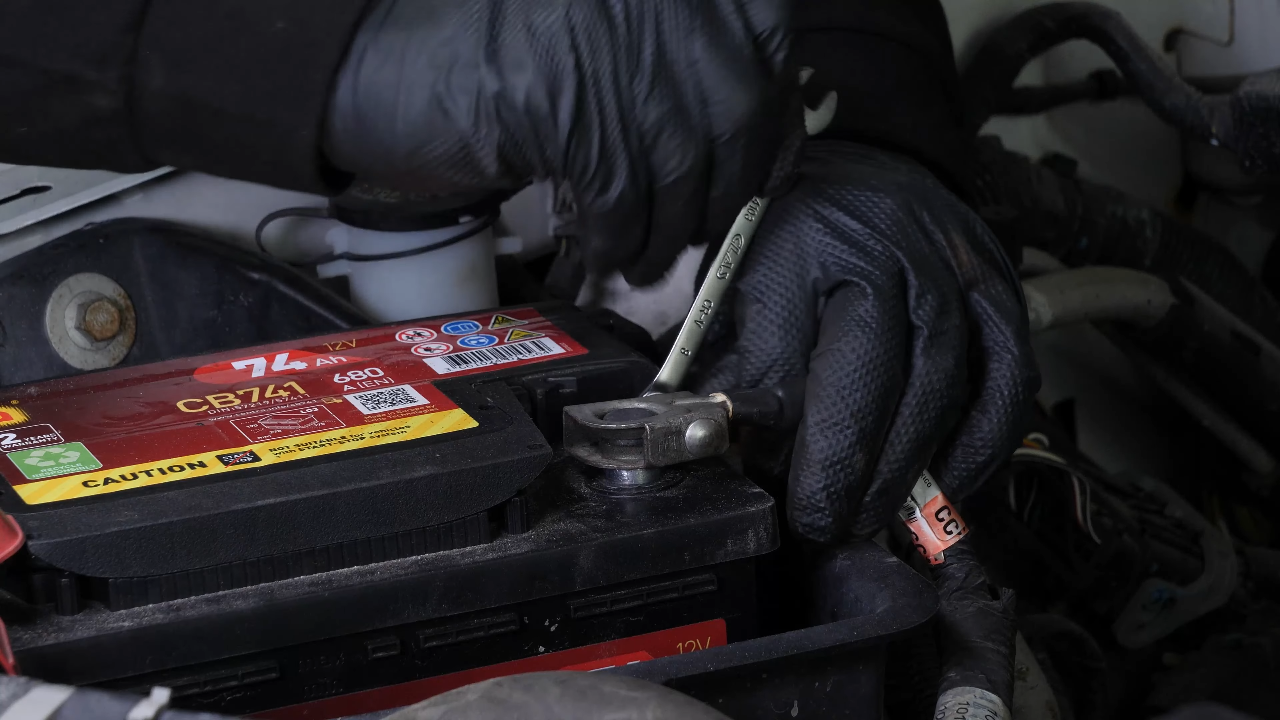
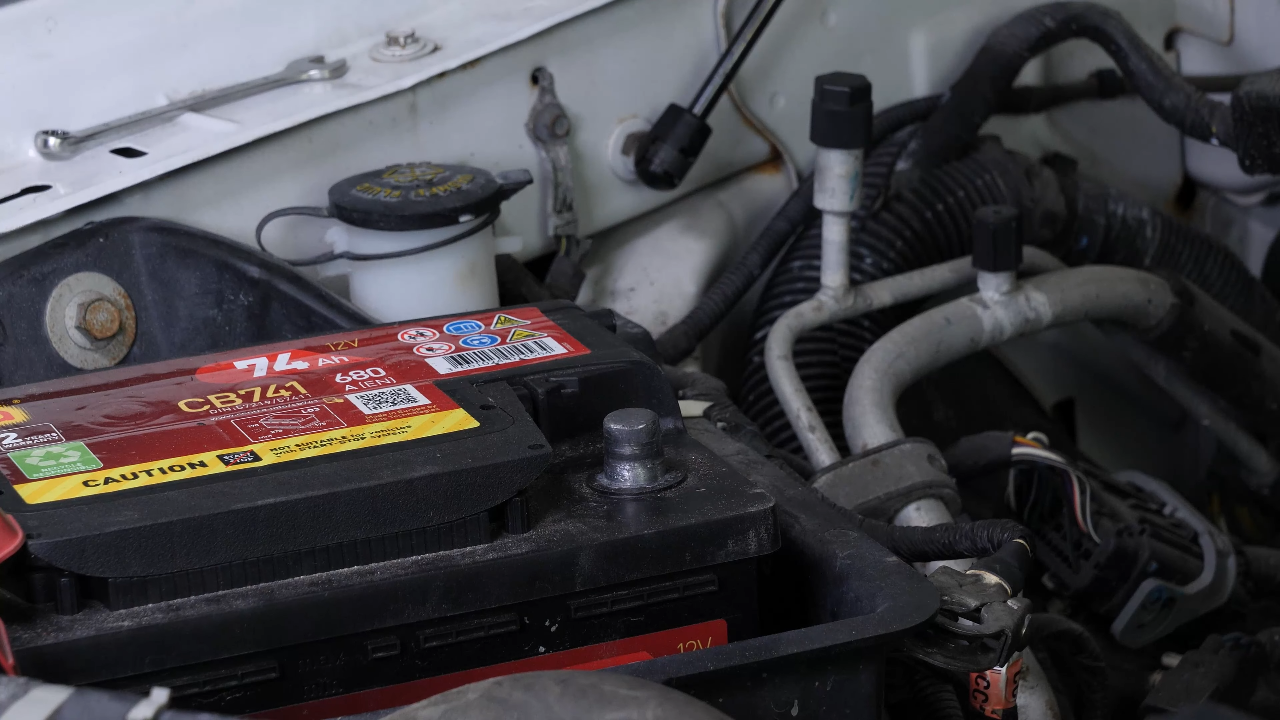
Disconnect the battery
Step 1/2
For safety reasons, we advise you to disconnect the battery. To do so, we recommend watching the video : ‘How to replace the Ford F-150 car battery’.
Chapter 2:
Step 2/2
Raise the front of your vehicle quite high, which will give you easier access to the oxygen sensors.
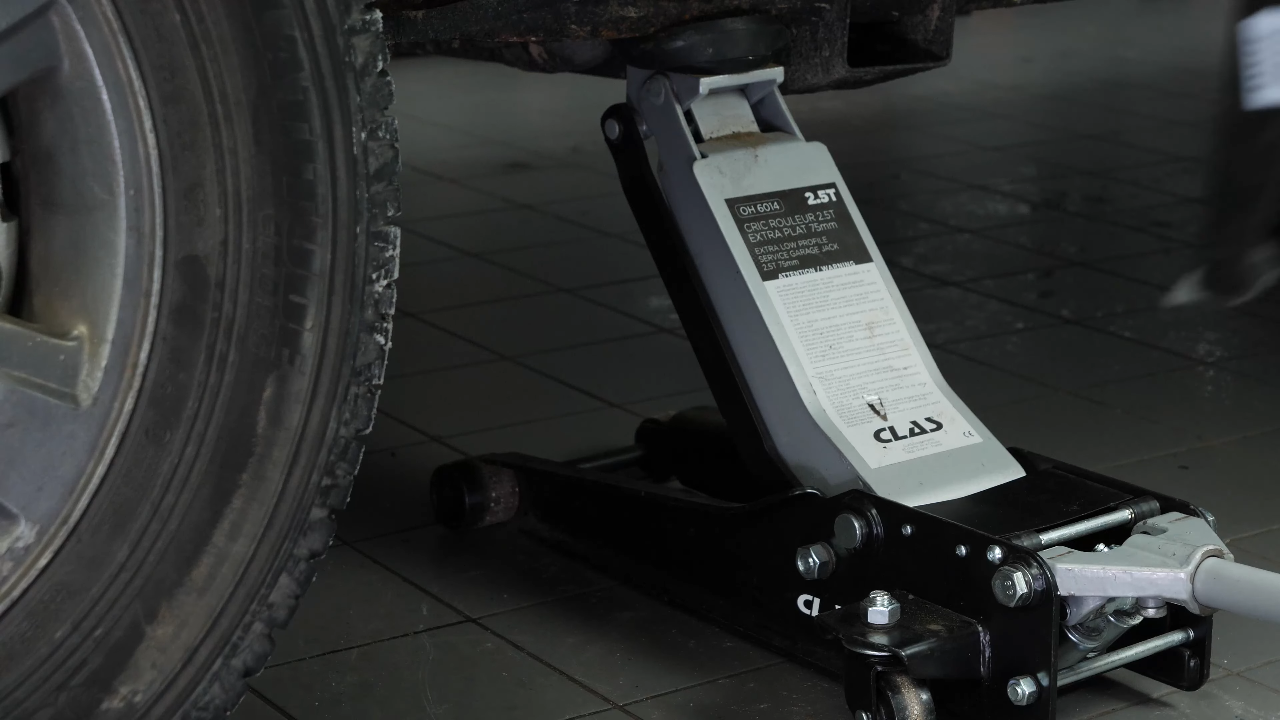
Chapter 3:
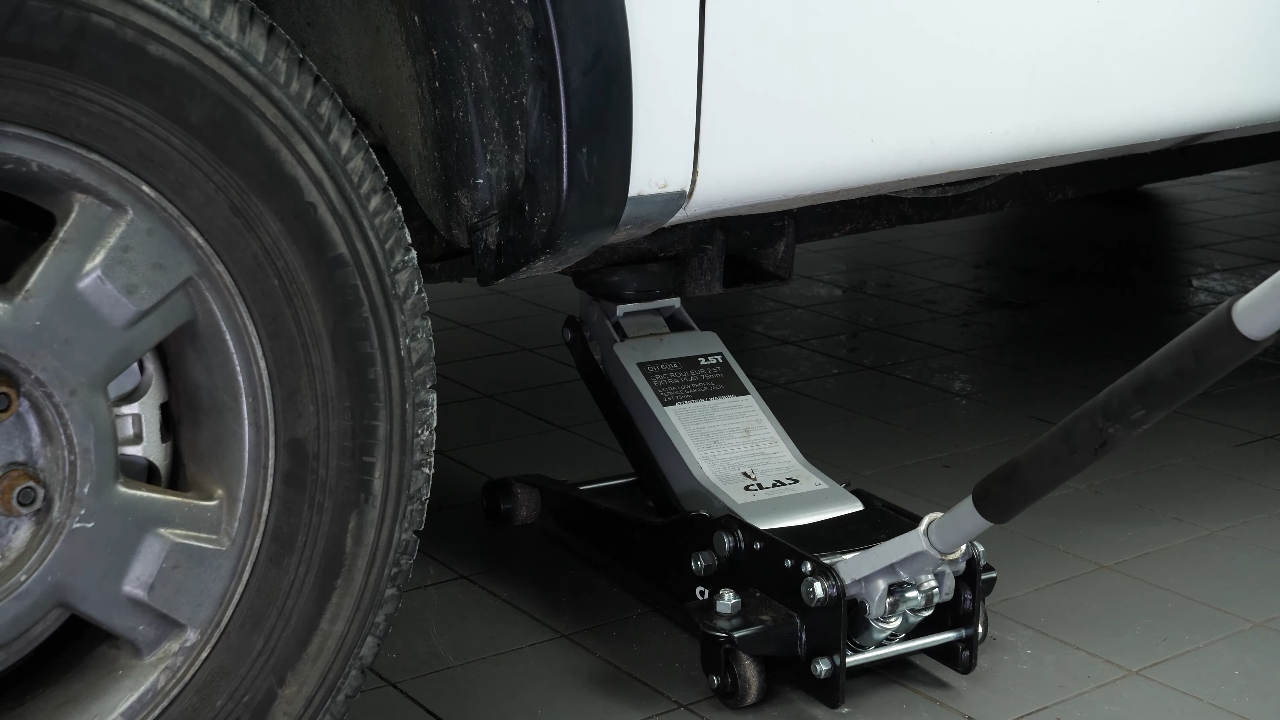
How to jack your F150
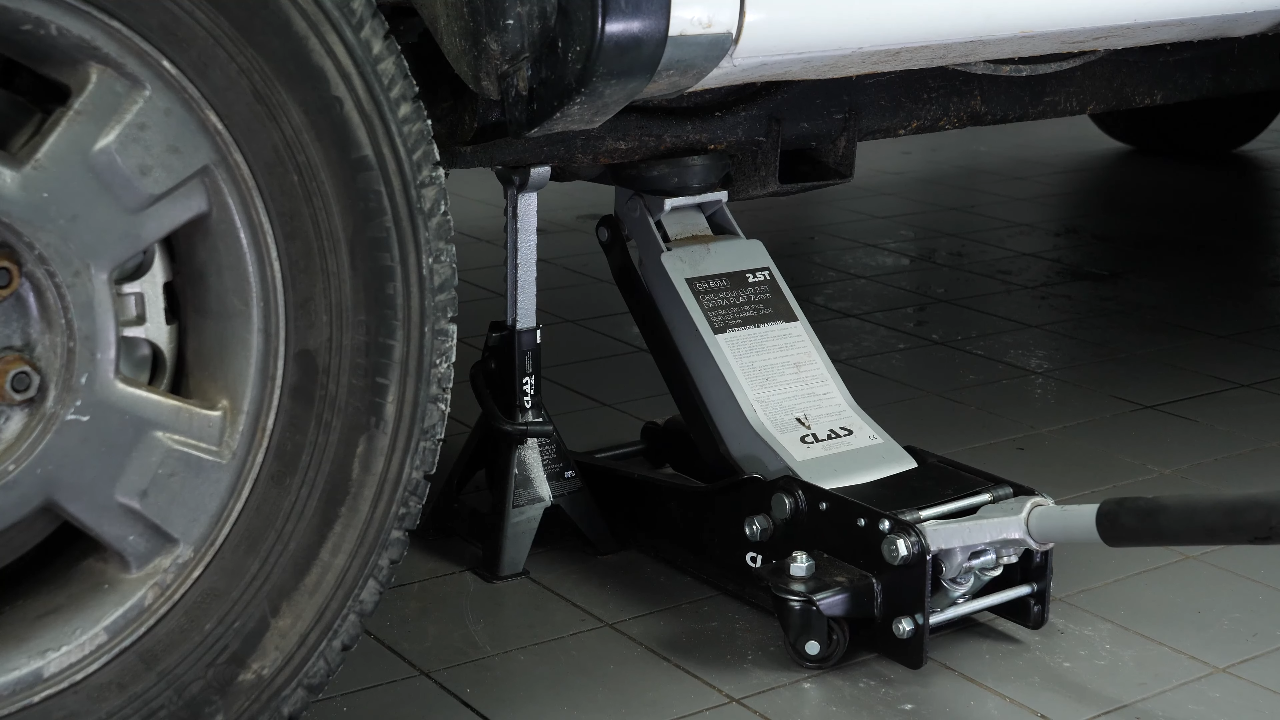
Step 1/1
Place the vehicle on the jack stands. We strongly suggest watching our video on ‘How to jack your Ford F-150 safely” before carrying out this step.
Chapter 4:
Localize the sensors + explanations
Step 1/2
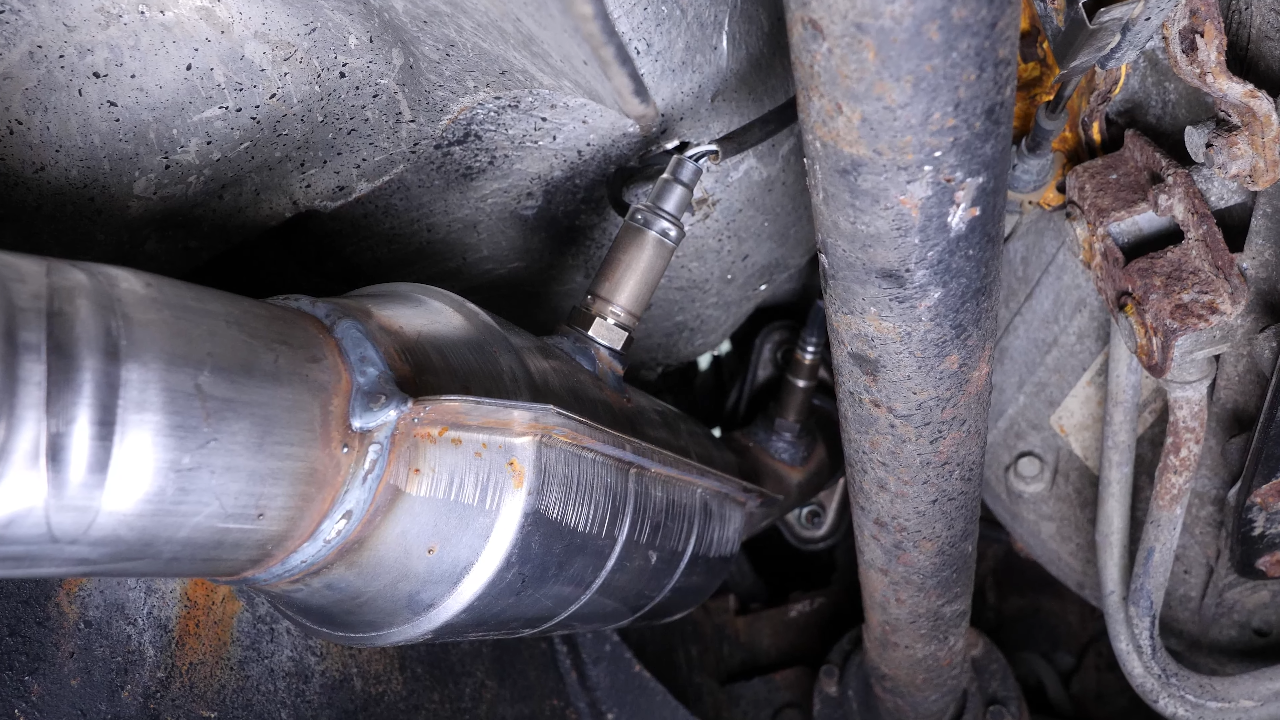
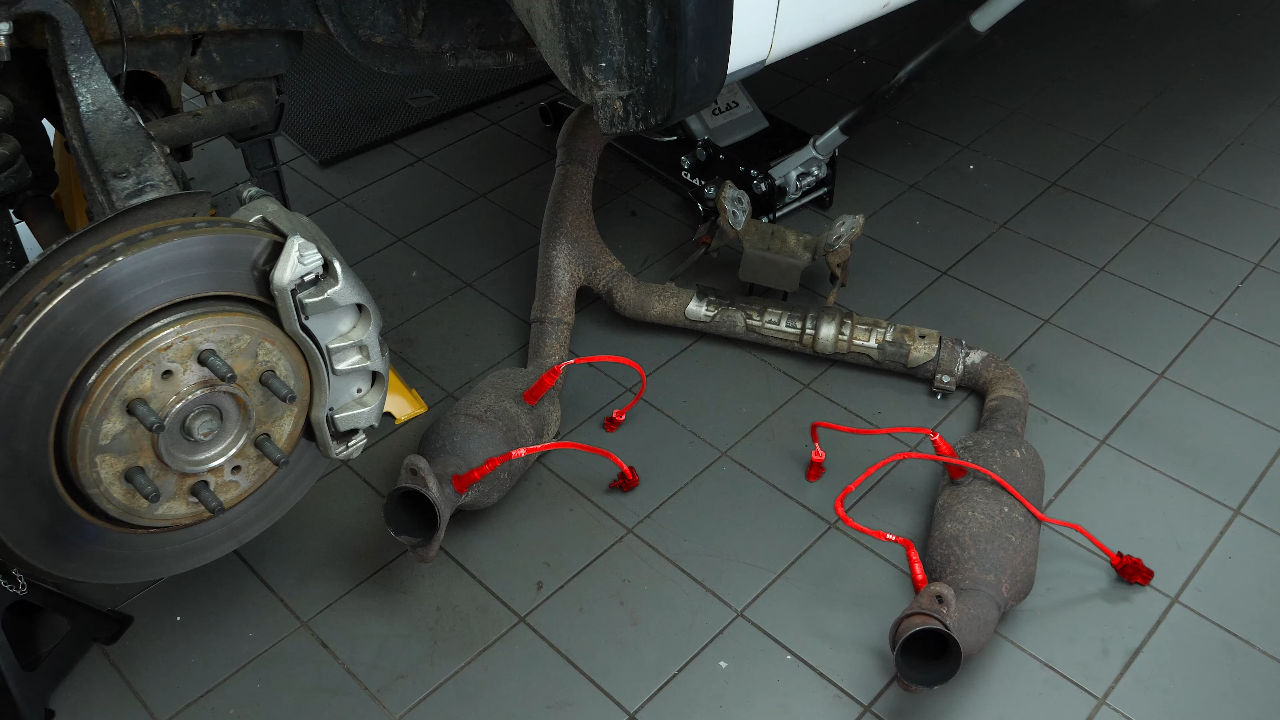
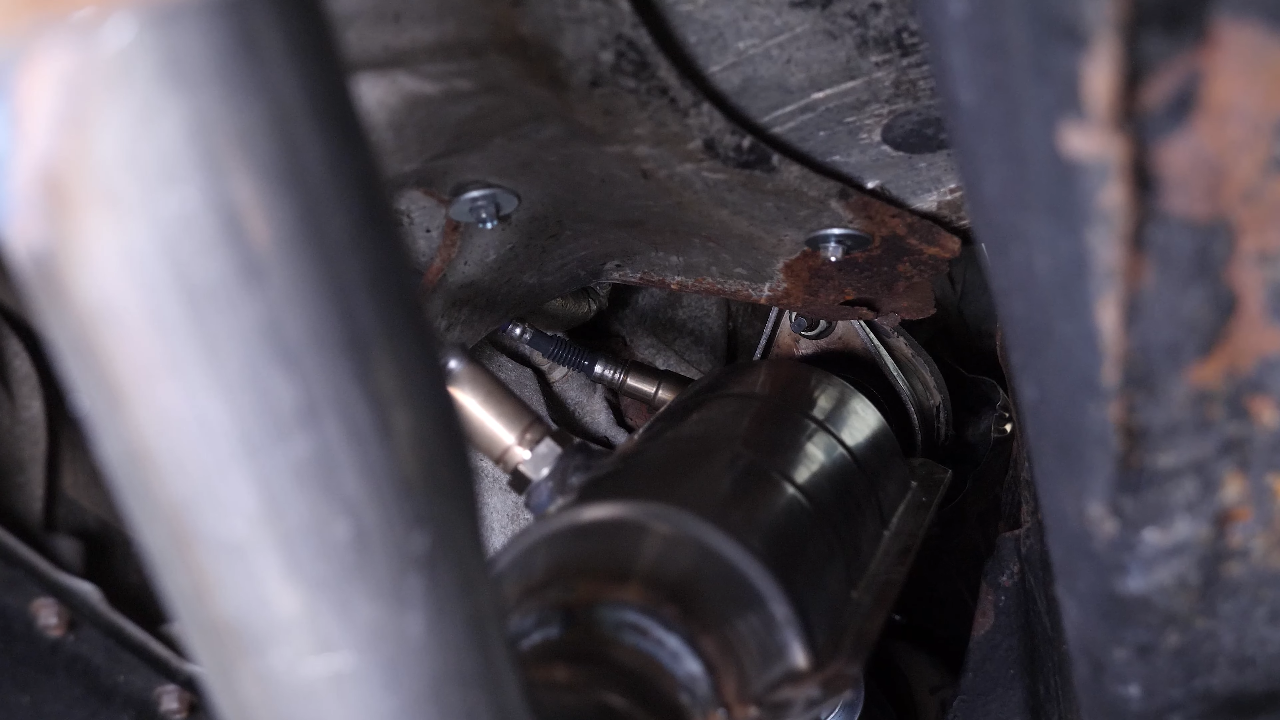
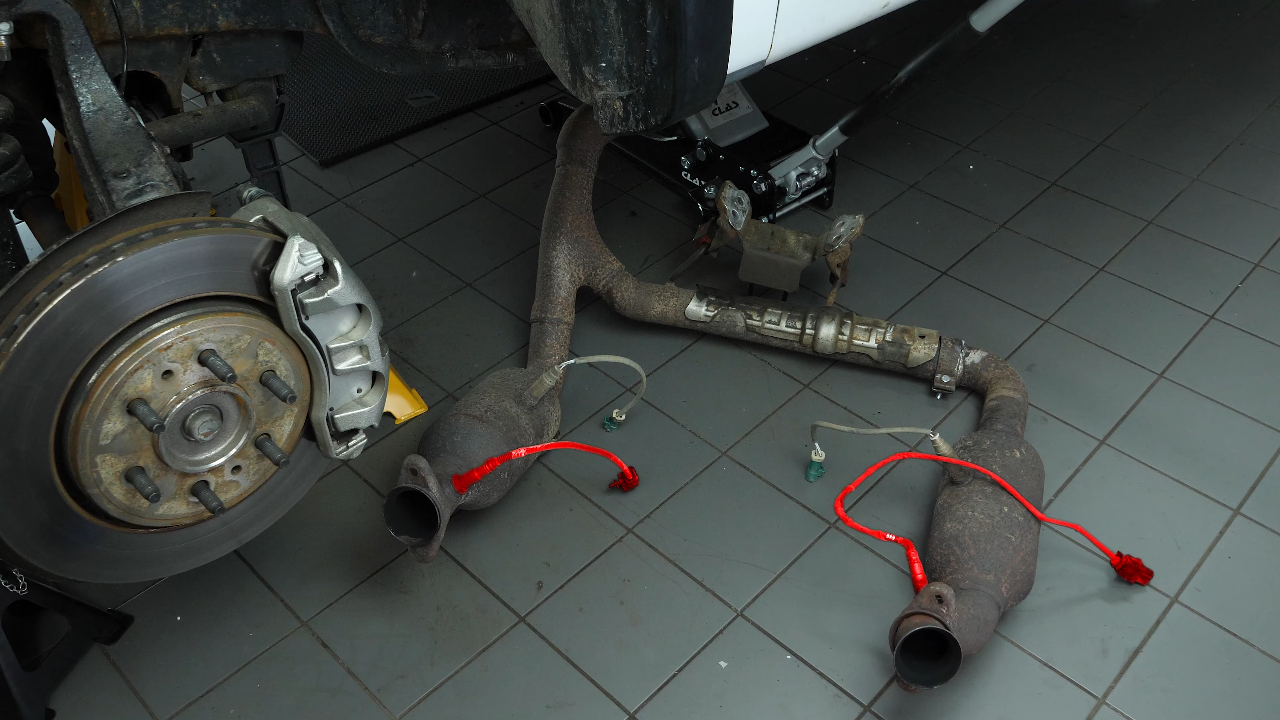
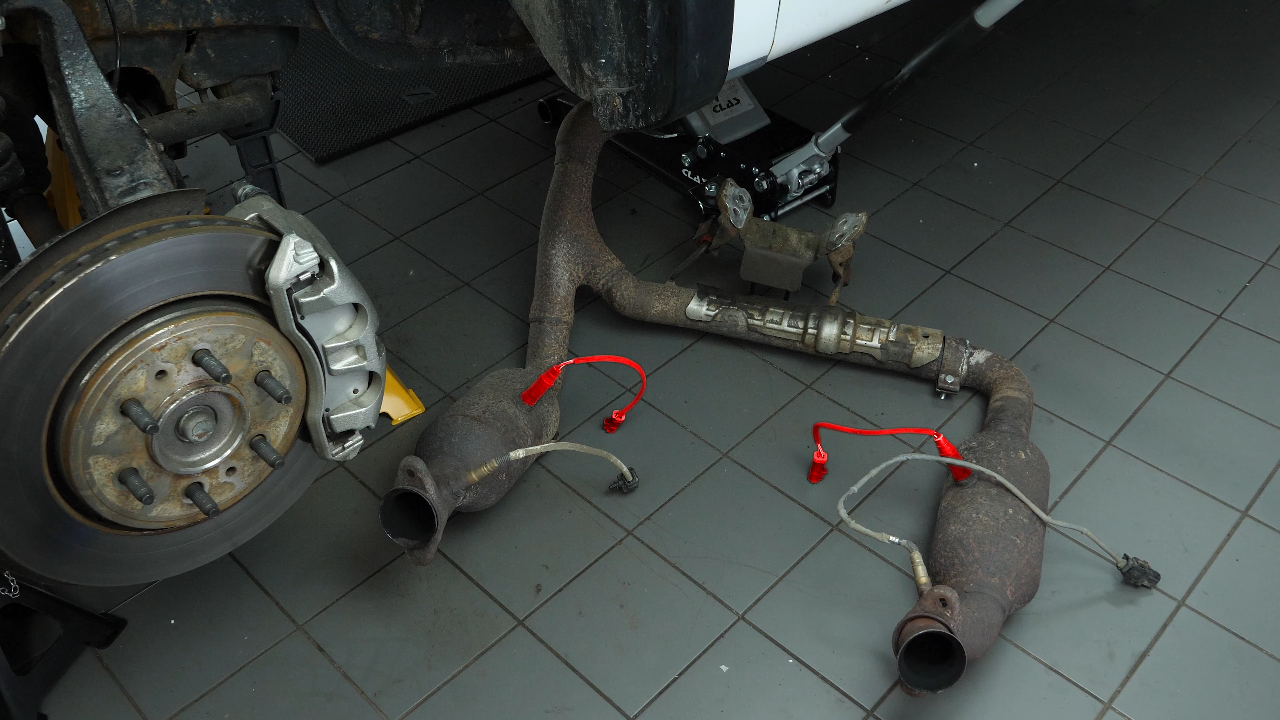
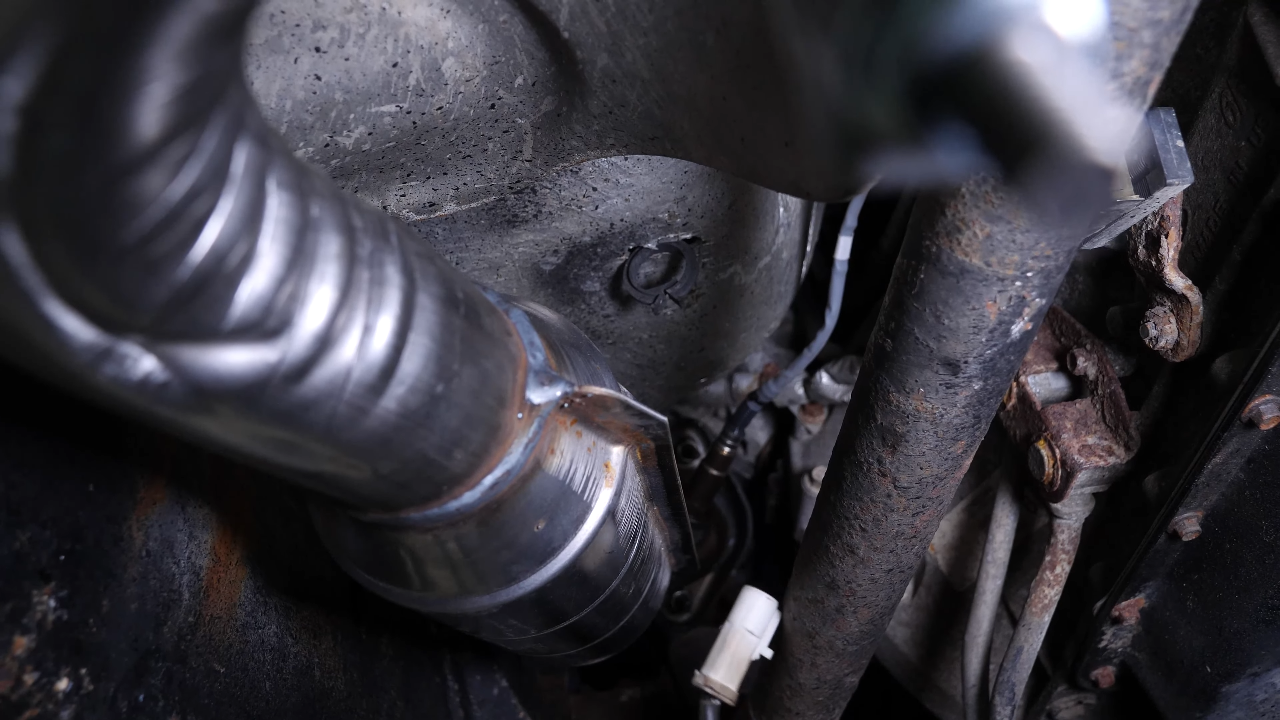
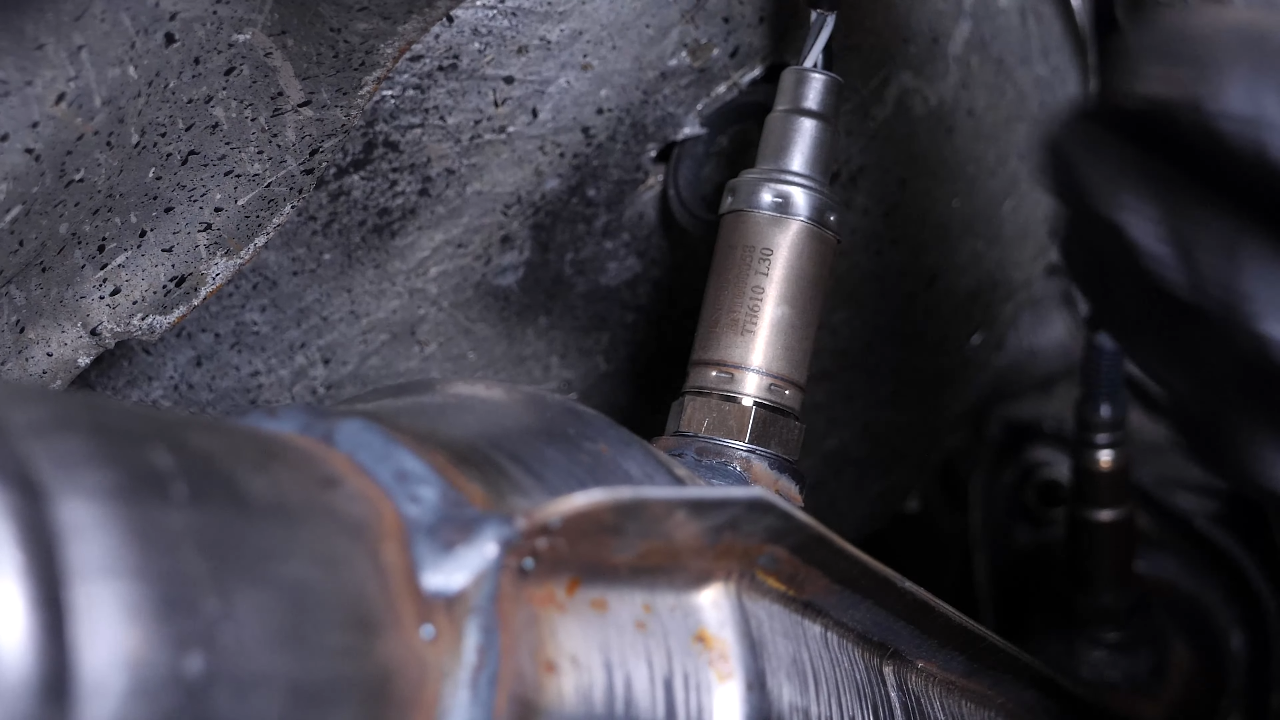
You can now view the oxygen sensors. On this vehicle, there are four oxygen sensors, distributed over the two catalytic converters located on the passenger side and on the driver’s side.
Chapter 4:
Step 2/2
On each side there is an upstream oxygen sensor, located at the upper end of the catalytic converter and a downstream oxygen sensor, located on the catalytic converter.
Chapter 5:
Disconnect the oxygen sensor
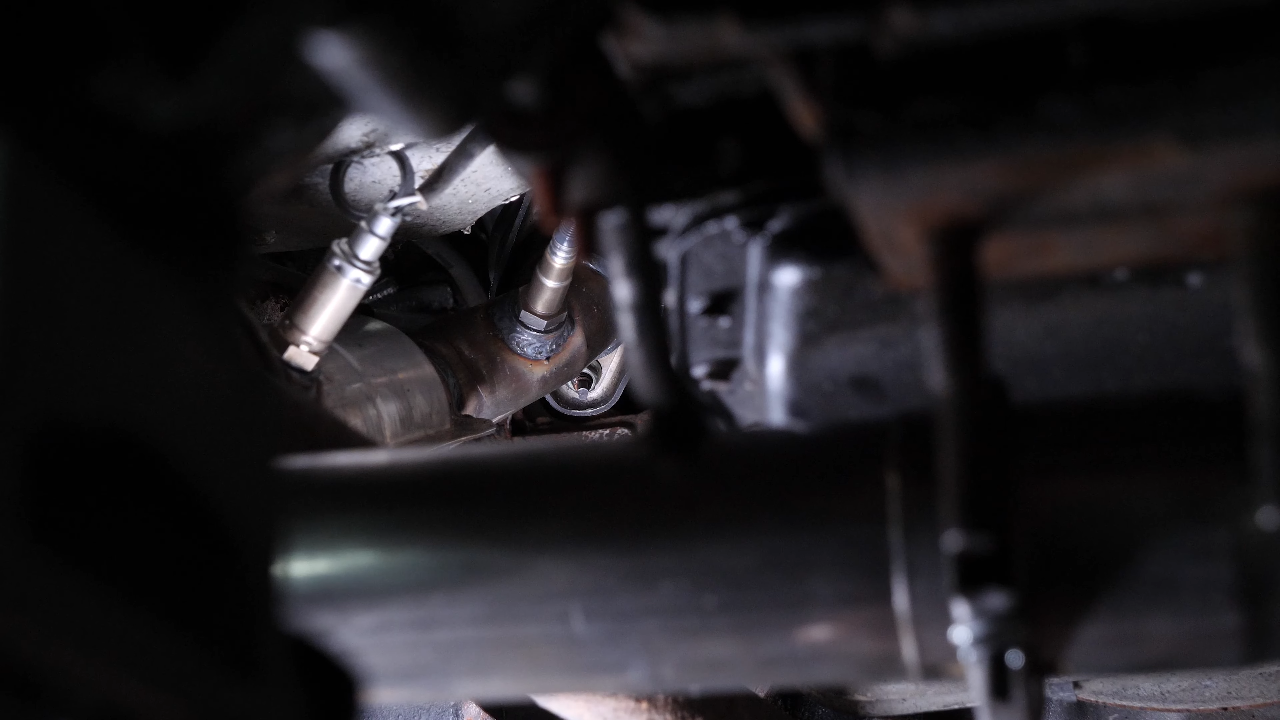
Step 1/2
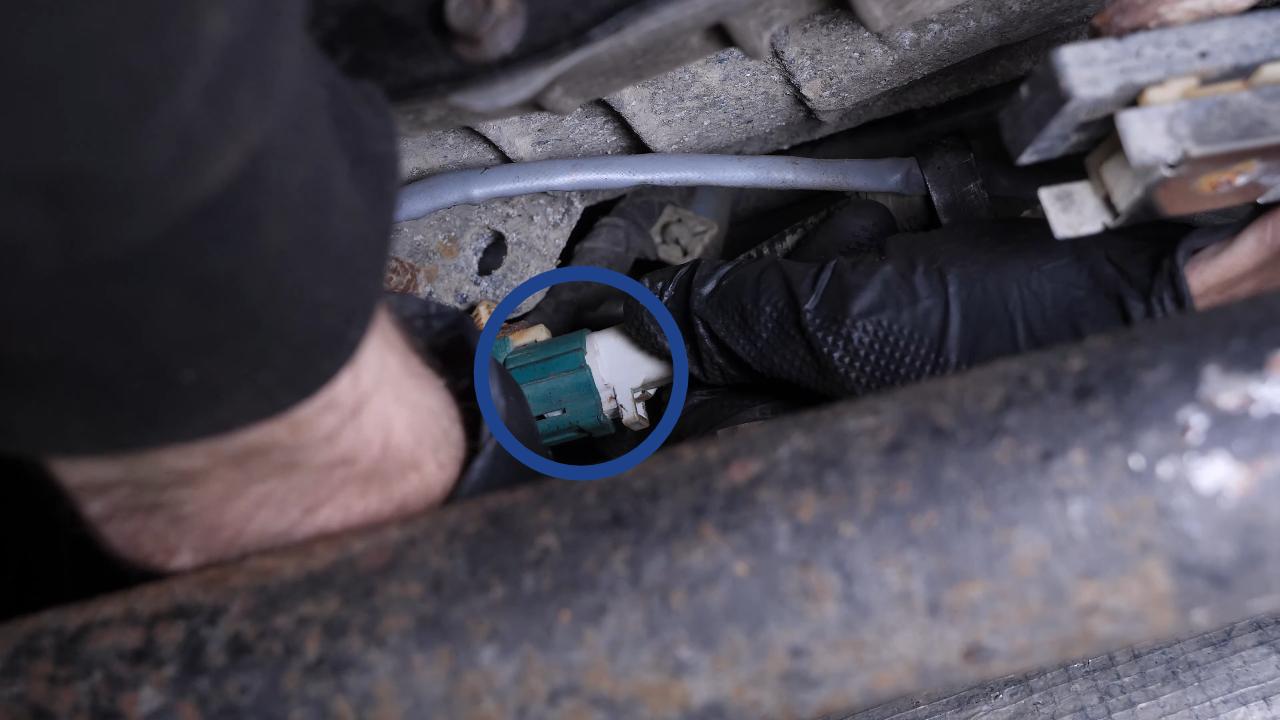
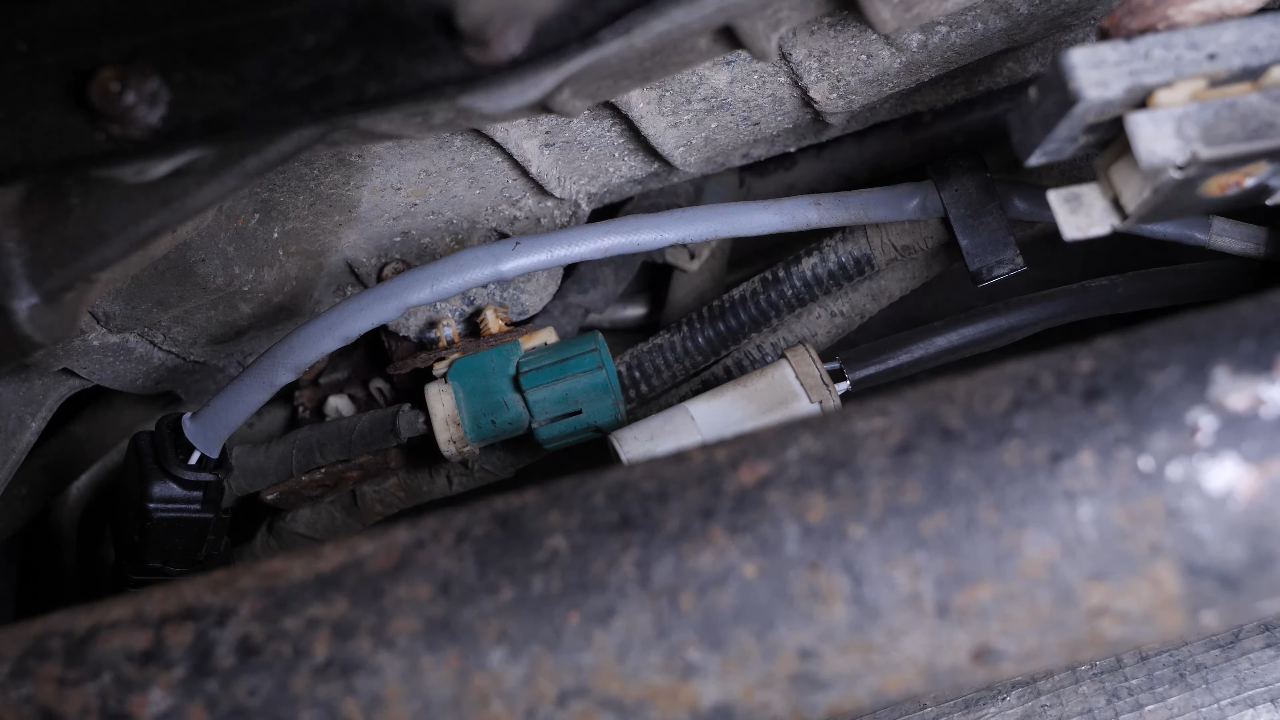
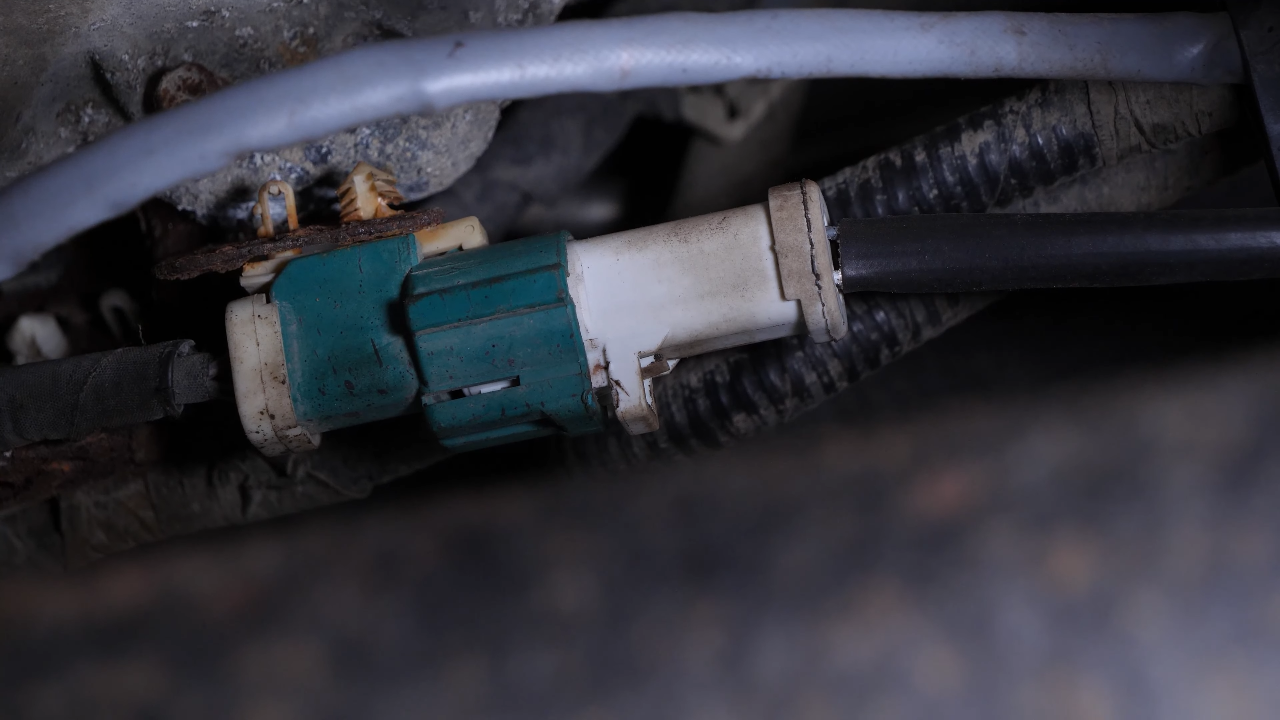
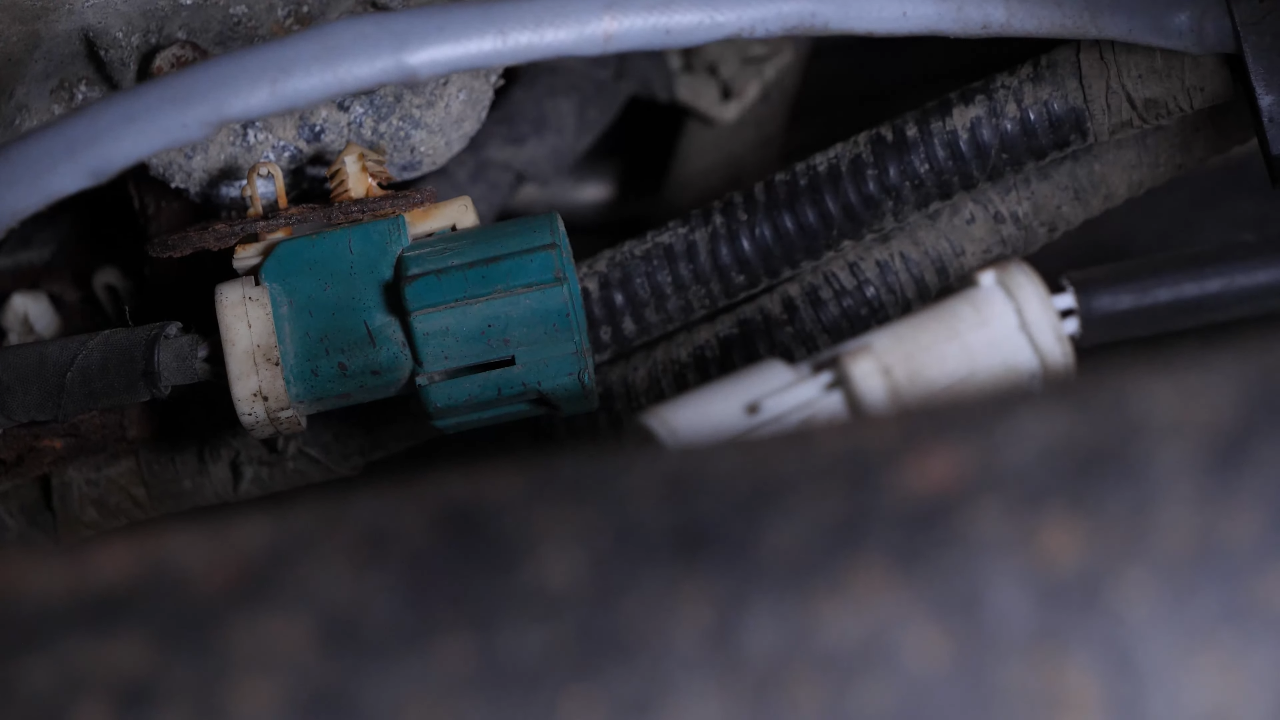
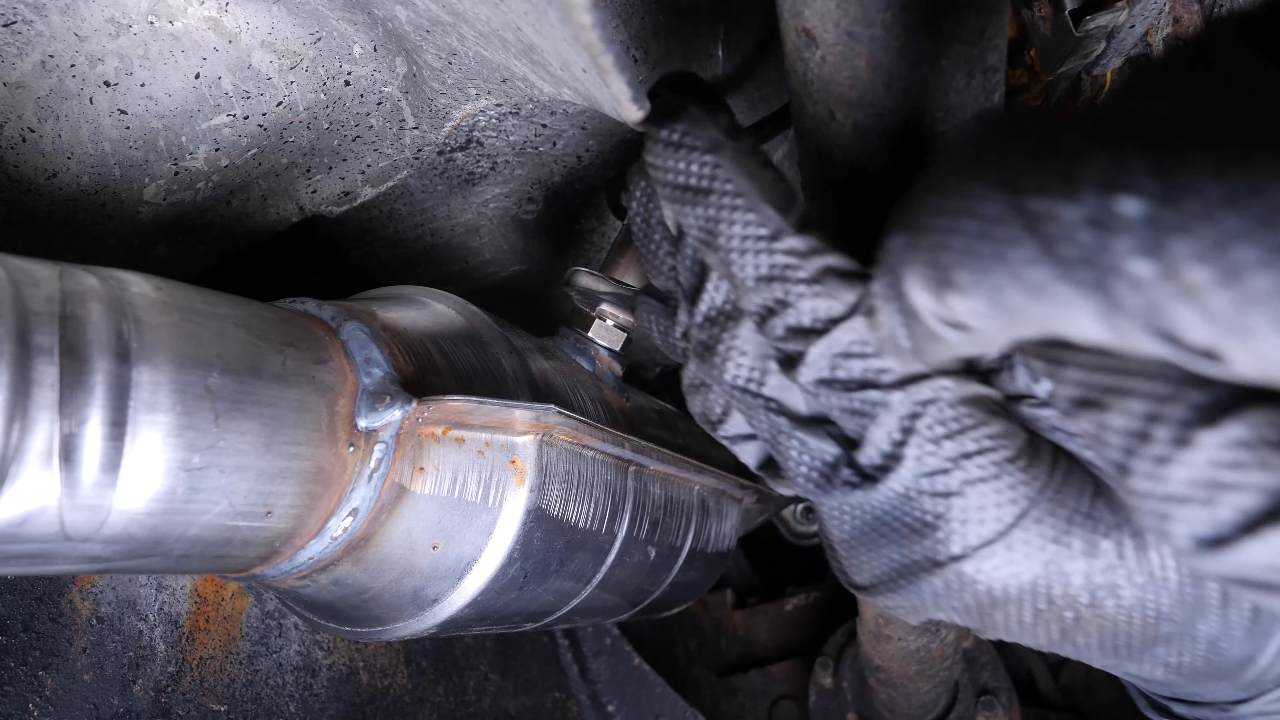
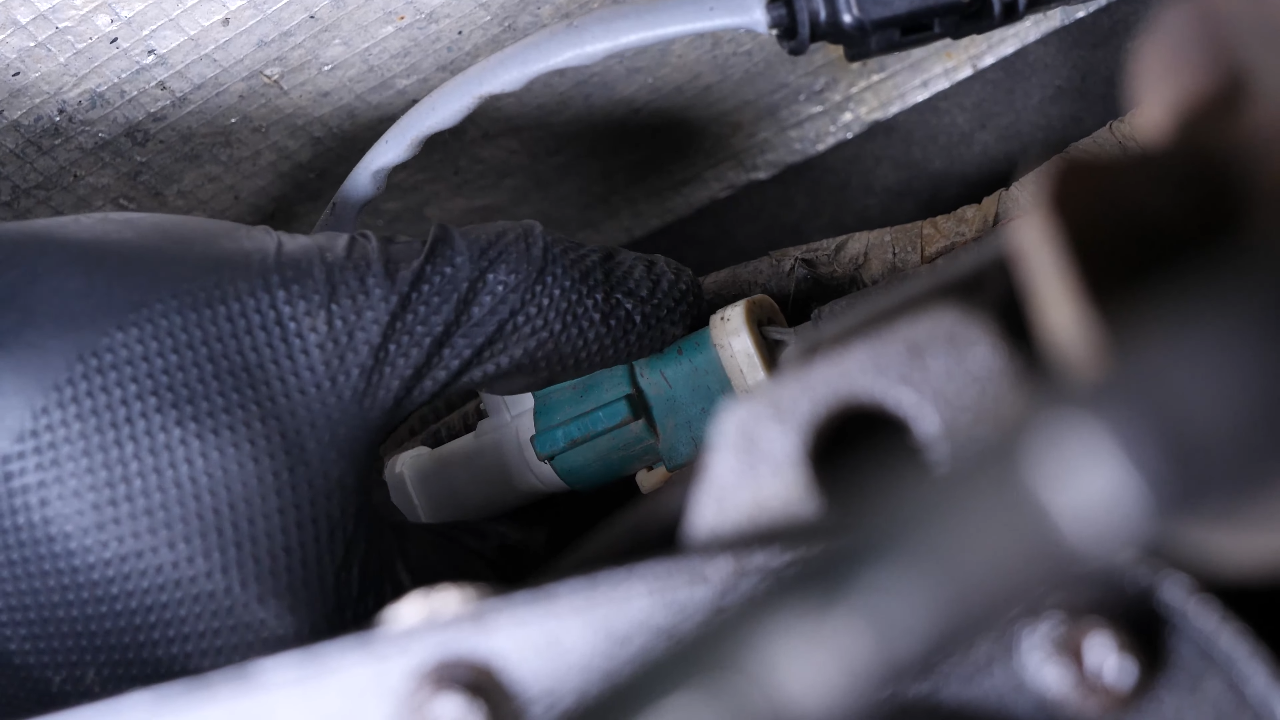
Each oxygen sensor can be removed the same way. Trace the electrical lead from the damaged oxygen sensor to the electrical connector and disconnect it, by pressing the retaining tab and pulling the terminal.
Chapter 5:
Step 2/2
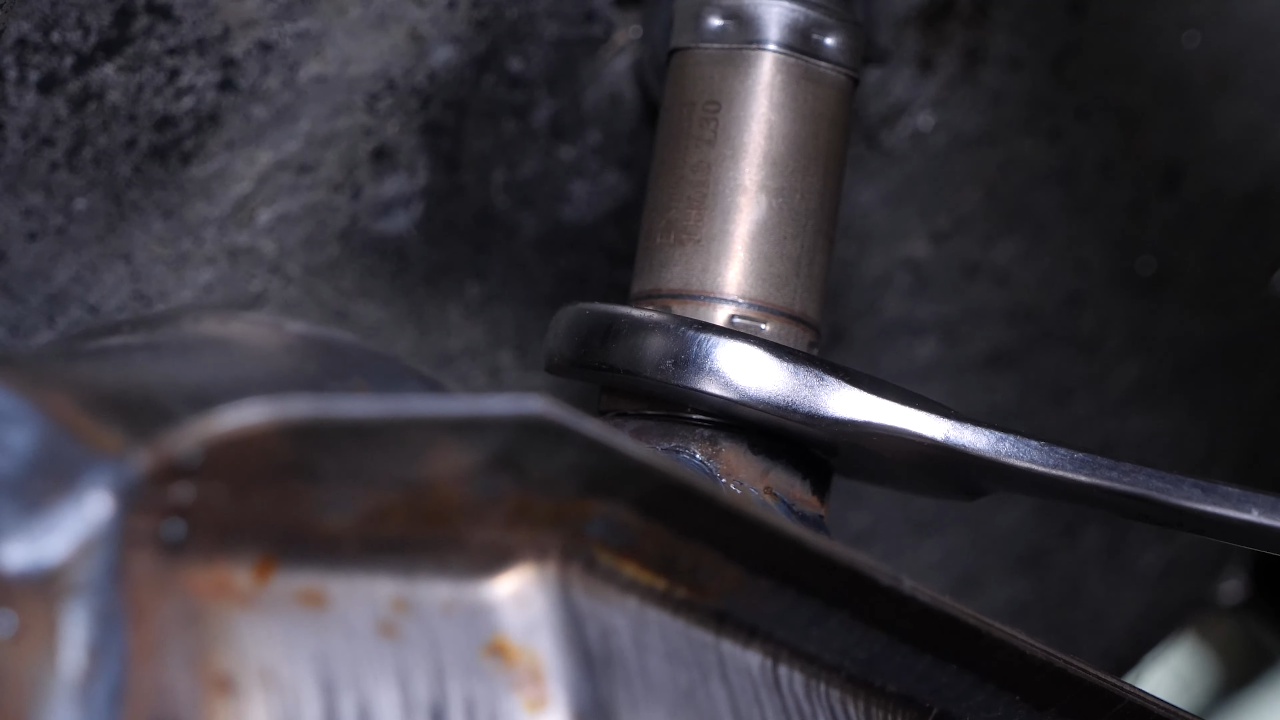
Then, using a 22 mm wrench, unscrew the oxygen sensor located on the catalytic converter. Finish unscrewing by hand, then remove.
Chapter 6:
Screw the oxygen sensor back + tightening torques
Step 1/3
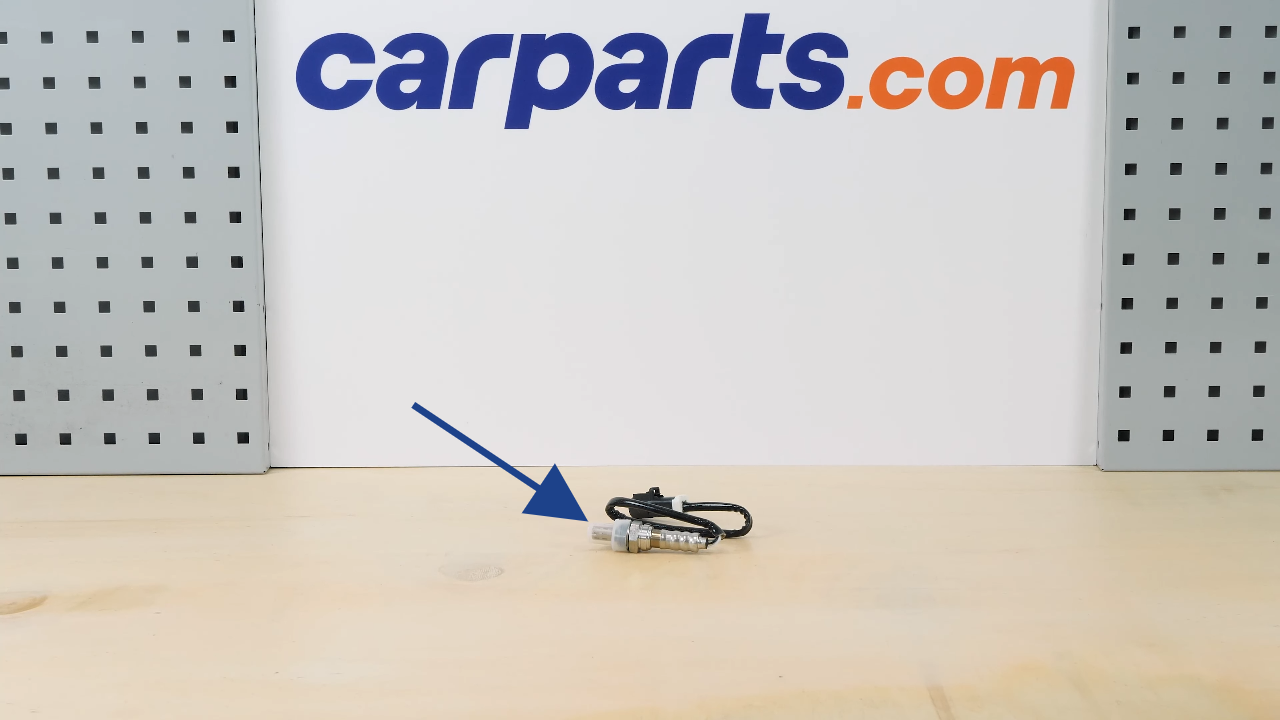
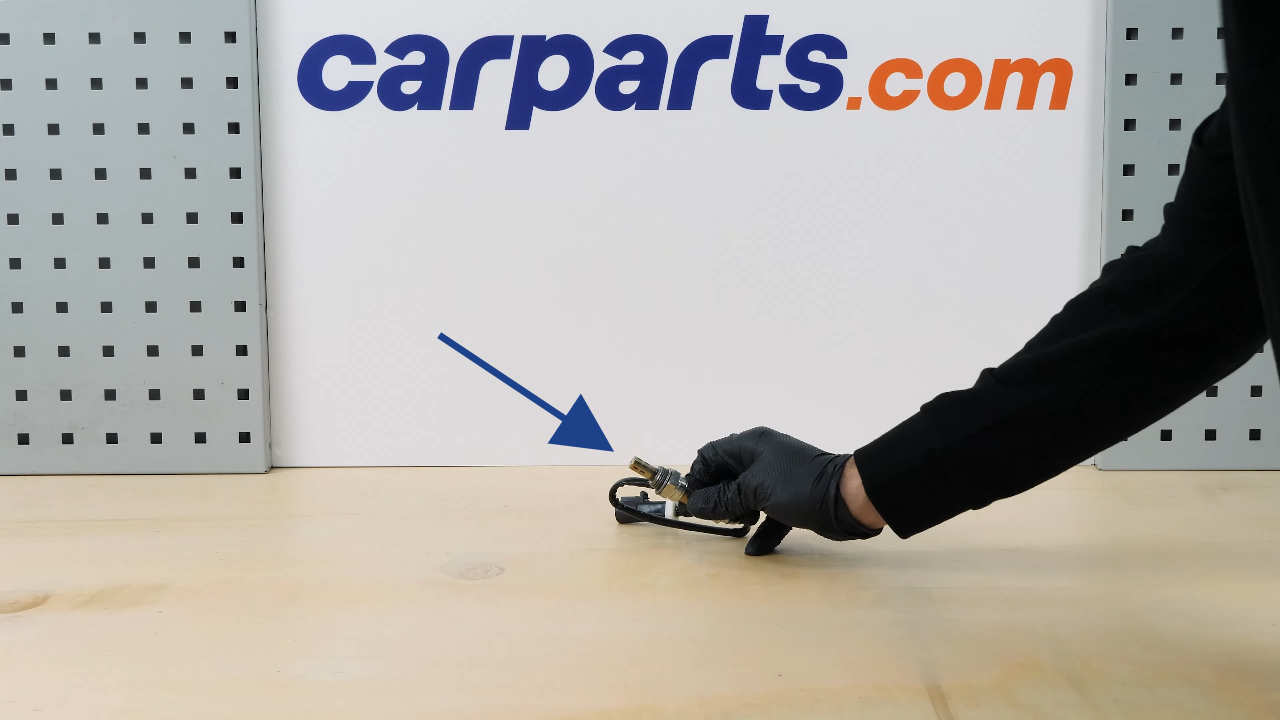
Get the new oxygen sensor, and remove the sensor protection.
Chapter 6:
Step 2/3
Put it back in place on the catalytic converter, then screw it back on. Finish tightening using a torque wrench.
Chapter 6:
Step 3/3
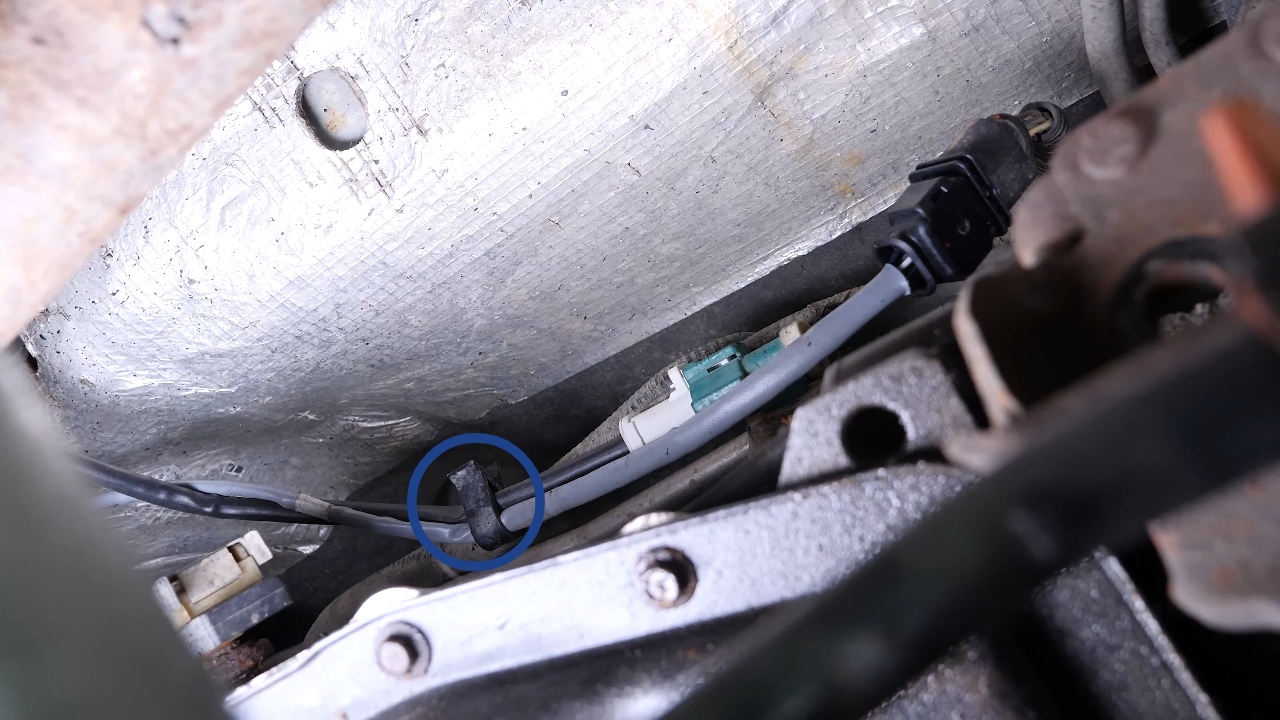
Reconnect the oxygen sensor. Then place the cable on its support to prevent the boot from melting and to allow the sensor to operate properly.
Chapter 7:
Lower the truck
Step 1/2
Then you can rest your vehicle on the ground.
Chapter 7:
Step 2/2
Reconnect the battery. Operation complete.