How to replace the front CV Axle 2009-2014 Ford F-150
To replace the front CV Axle on your F-150 we’re here to help. You’ll need to unscrew the wheel hub nut, remove the cv axle, install the new cv axle as well as carry out a few other steps. You can follow this tutorial of 16 chapters in 90 minutes. Take your crowbar and your 8 mm socket and let’s get started!
Duration
90 minutes
Number of steps
16
Difficulty out of 5
3
Average savings
$150
Parts You Will Need
Tools You Will Need
Step-by-Step Installation
Chapter 1:
Lift the vehicle
Step 1/1
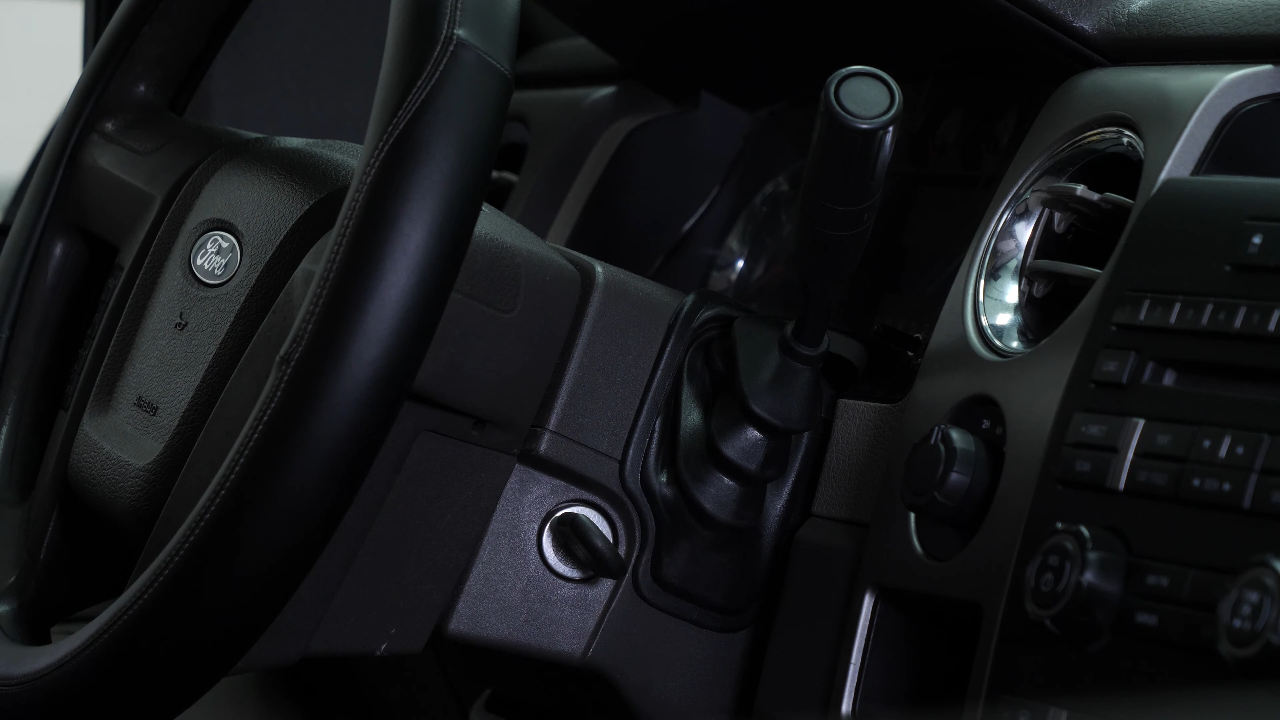
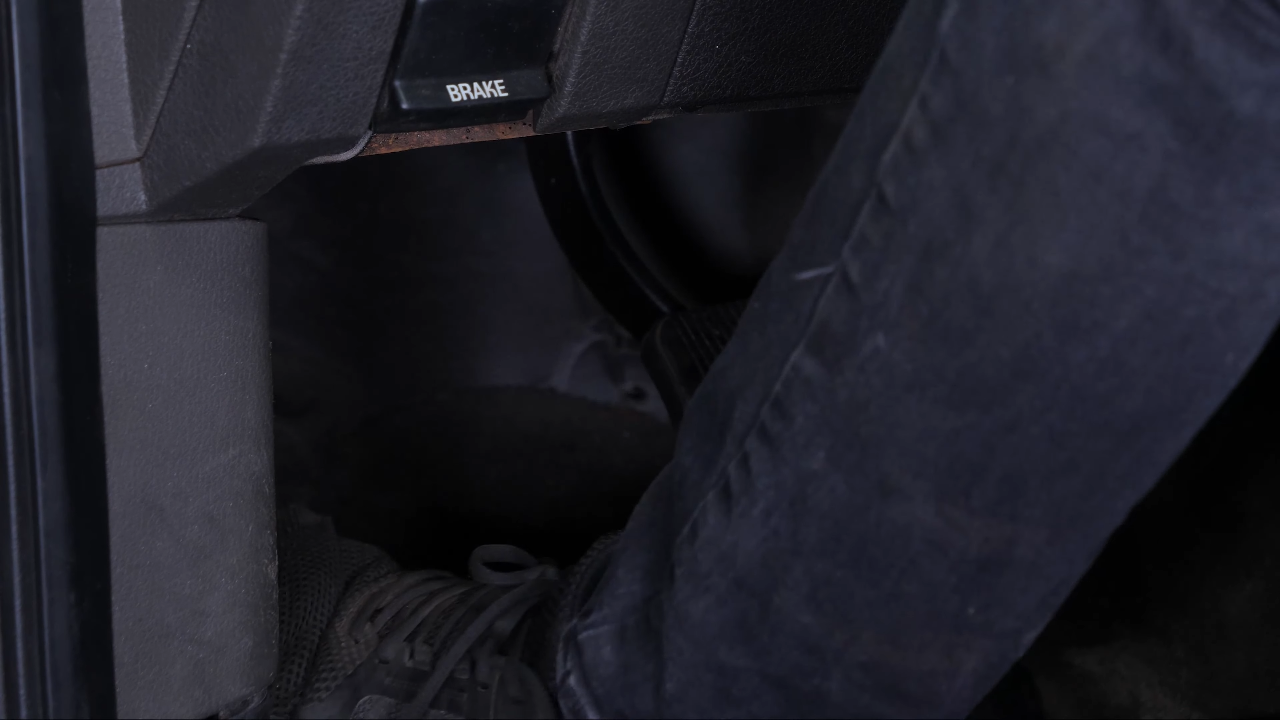
Turn your engine off and set the parking brake.
Chapter 2:
Lift the vehicle
Step 1/2
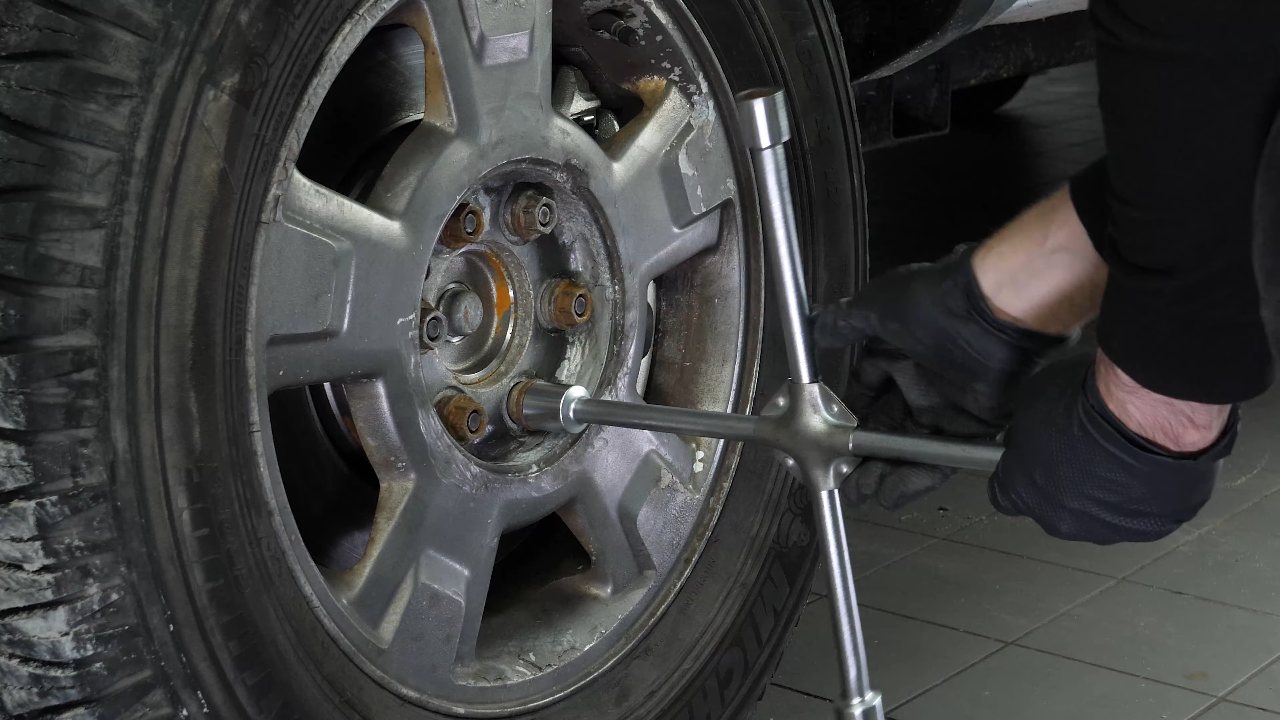
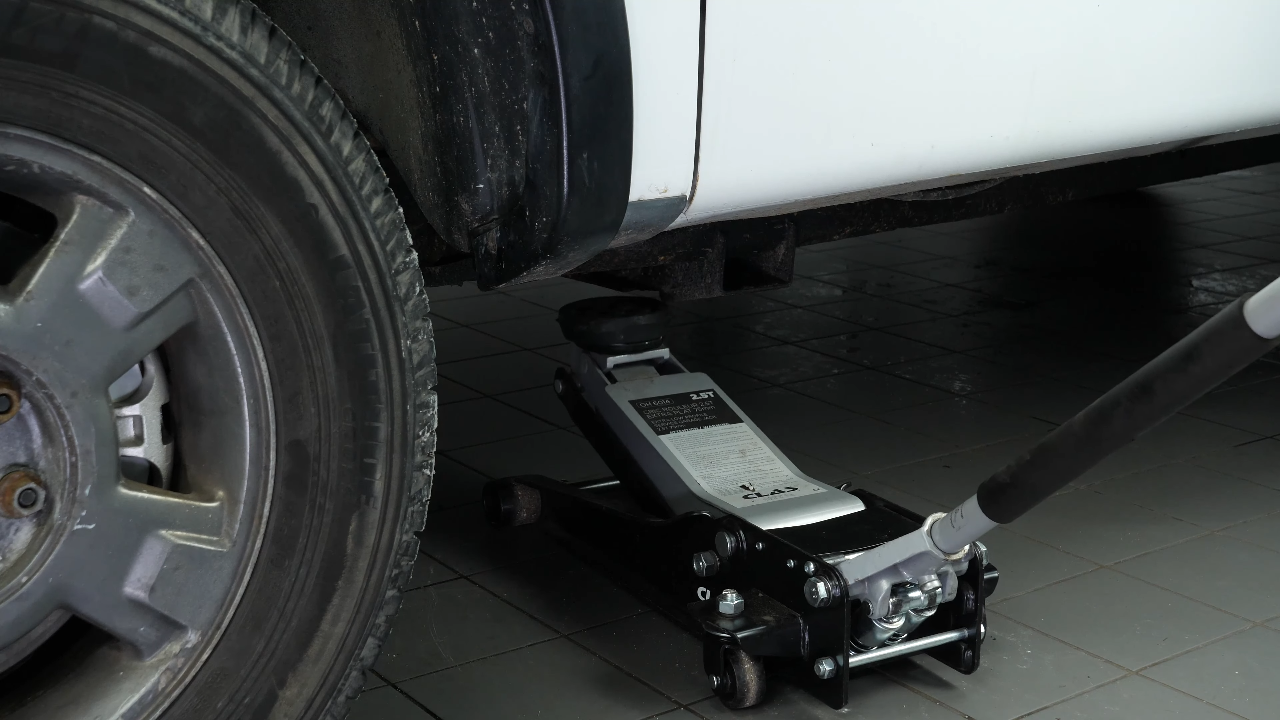
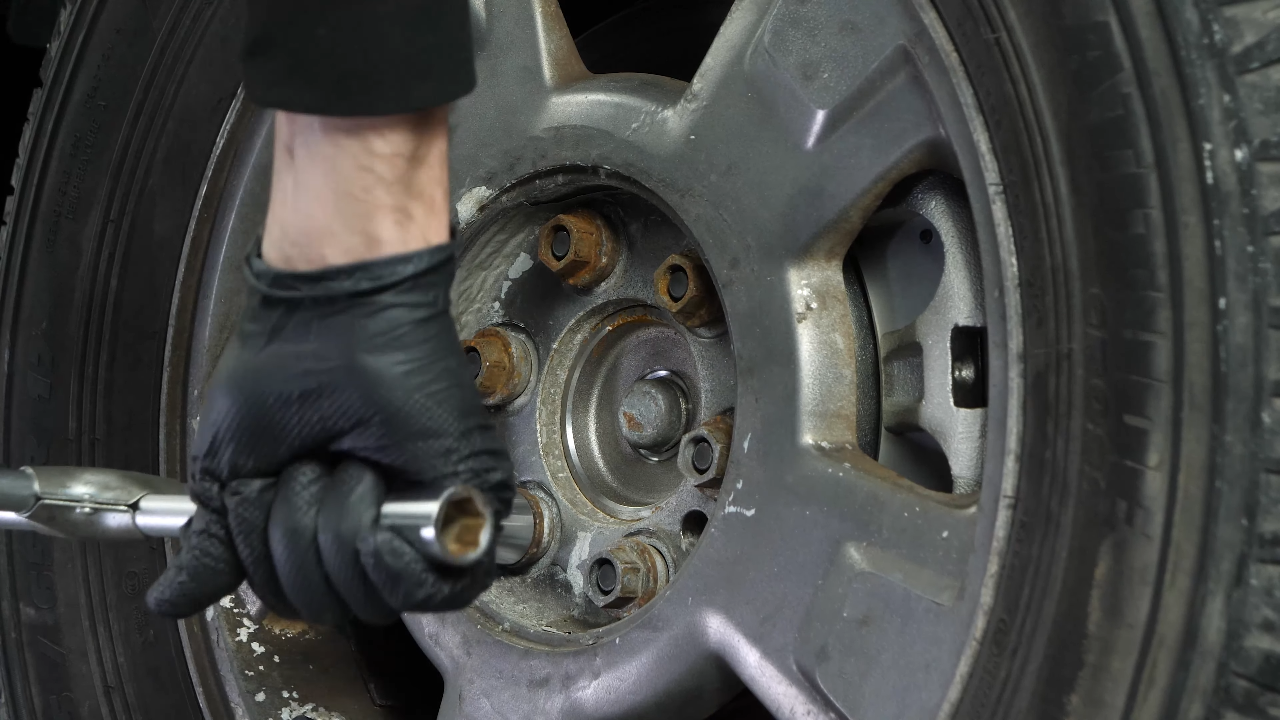
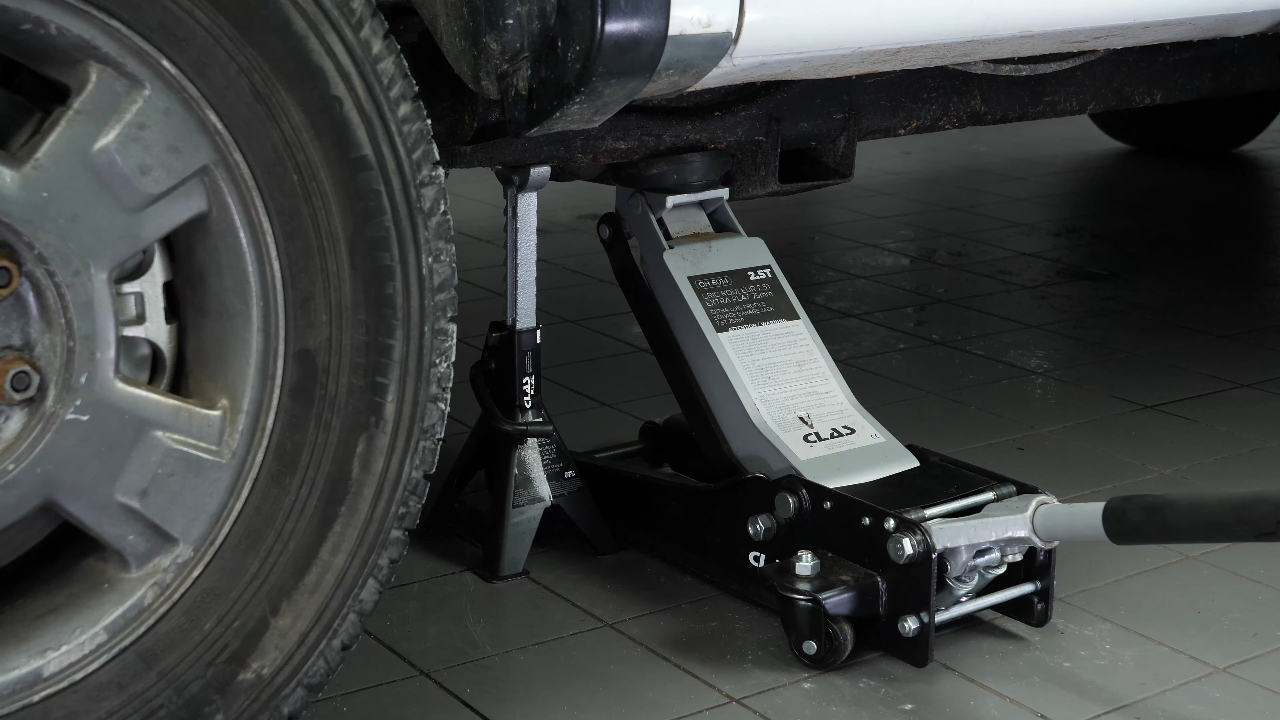
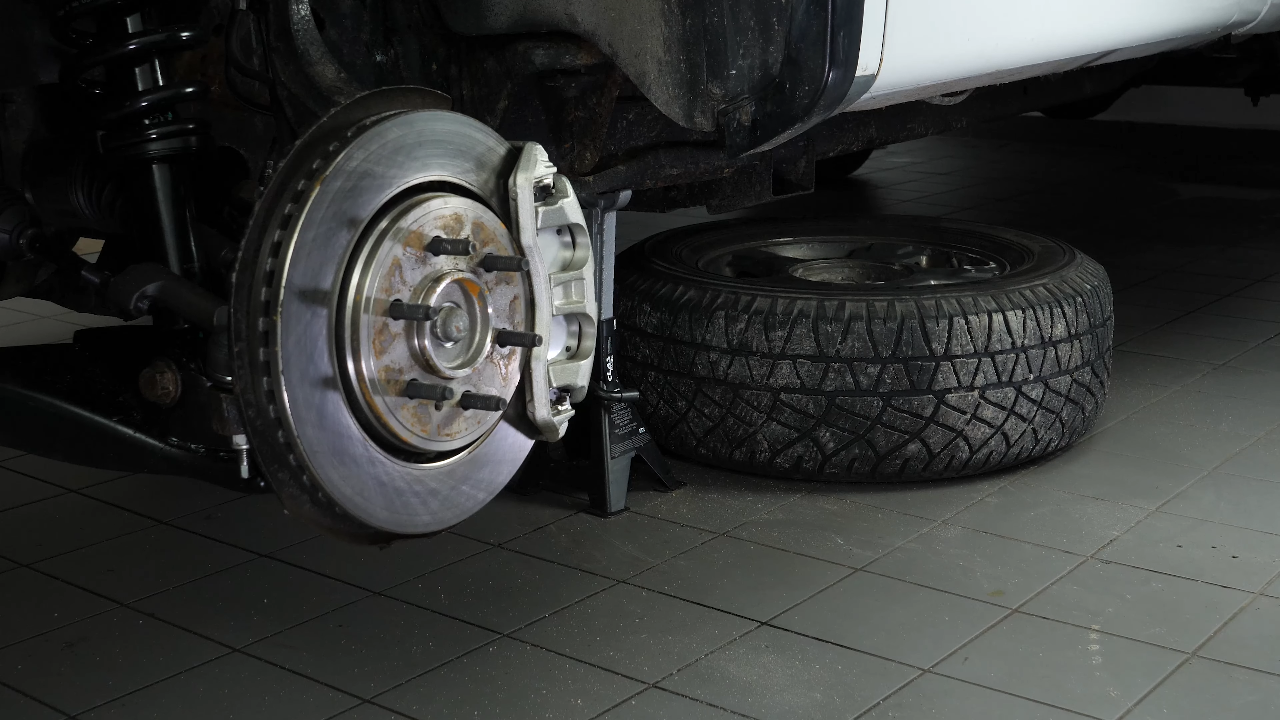
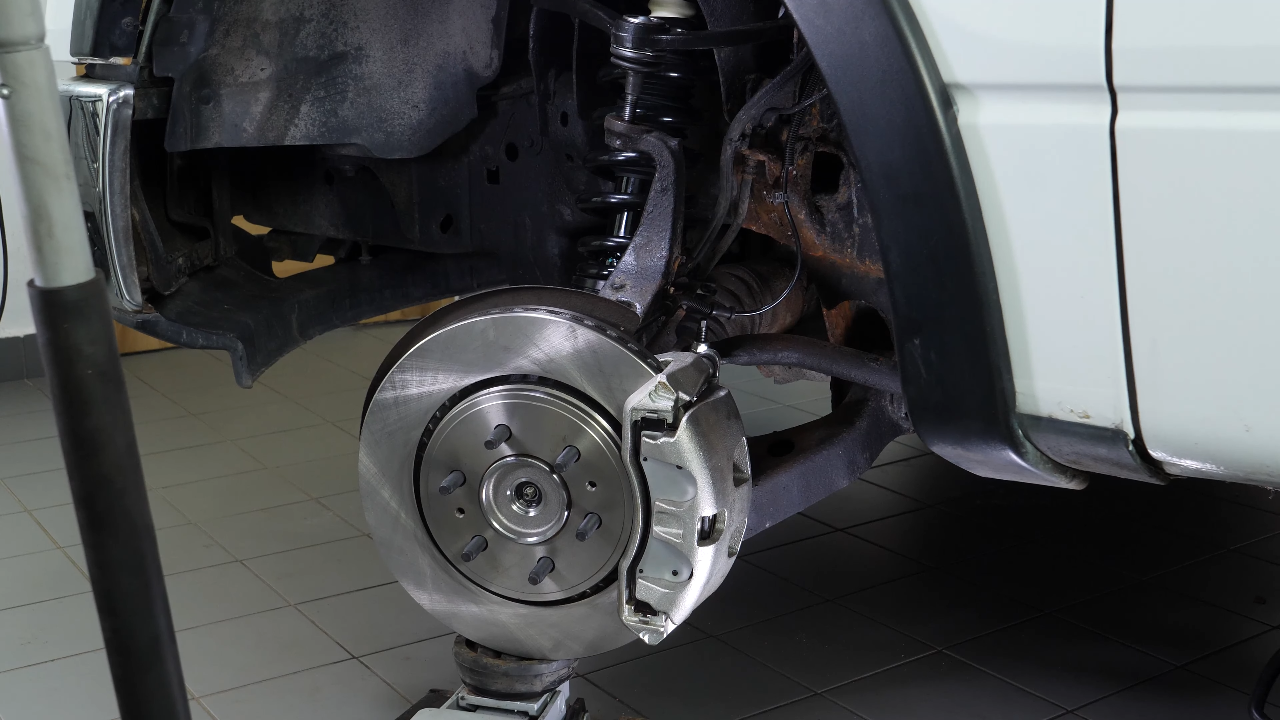
Loosen the stud bolts on the front wheels. Lift the front of your vehicle. Place the vehicle on the axle stands. We strongly suggest watching our video on ‘How to jack your Ford F-150 safely” before carrying out this step.
Chapter 2:
Step 2/2
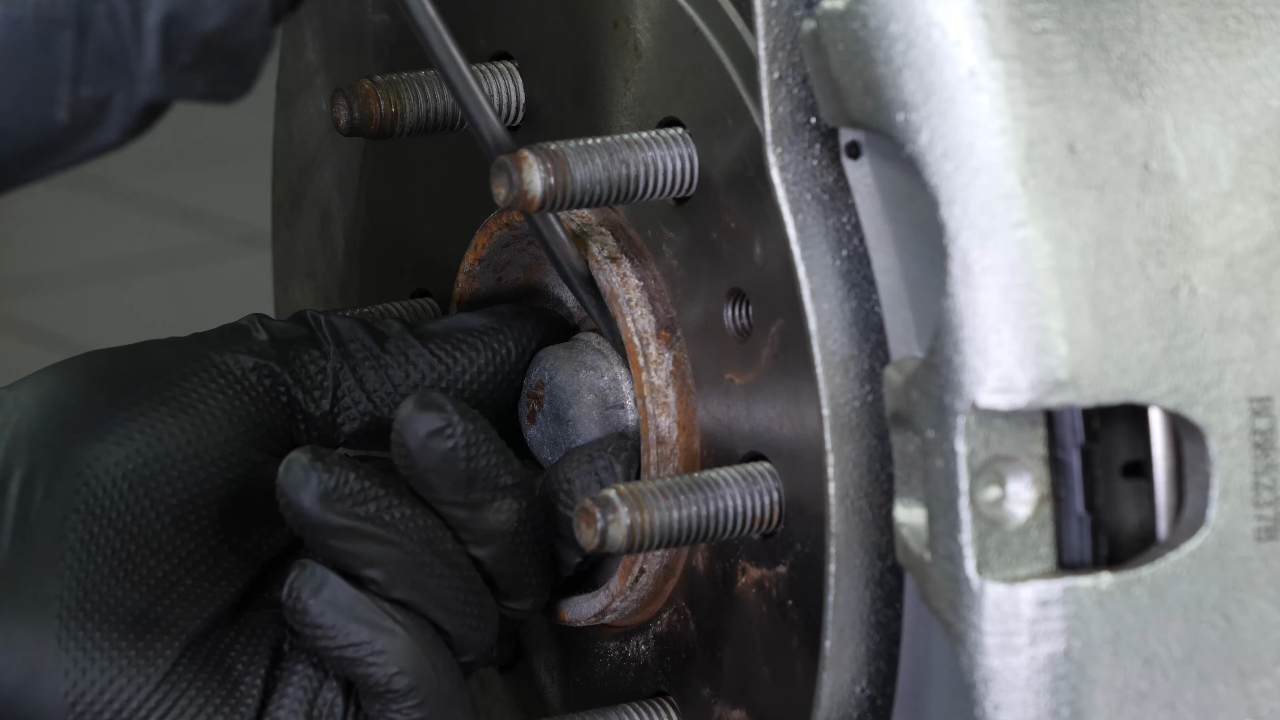
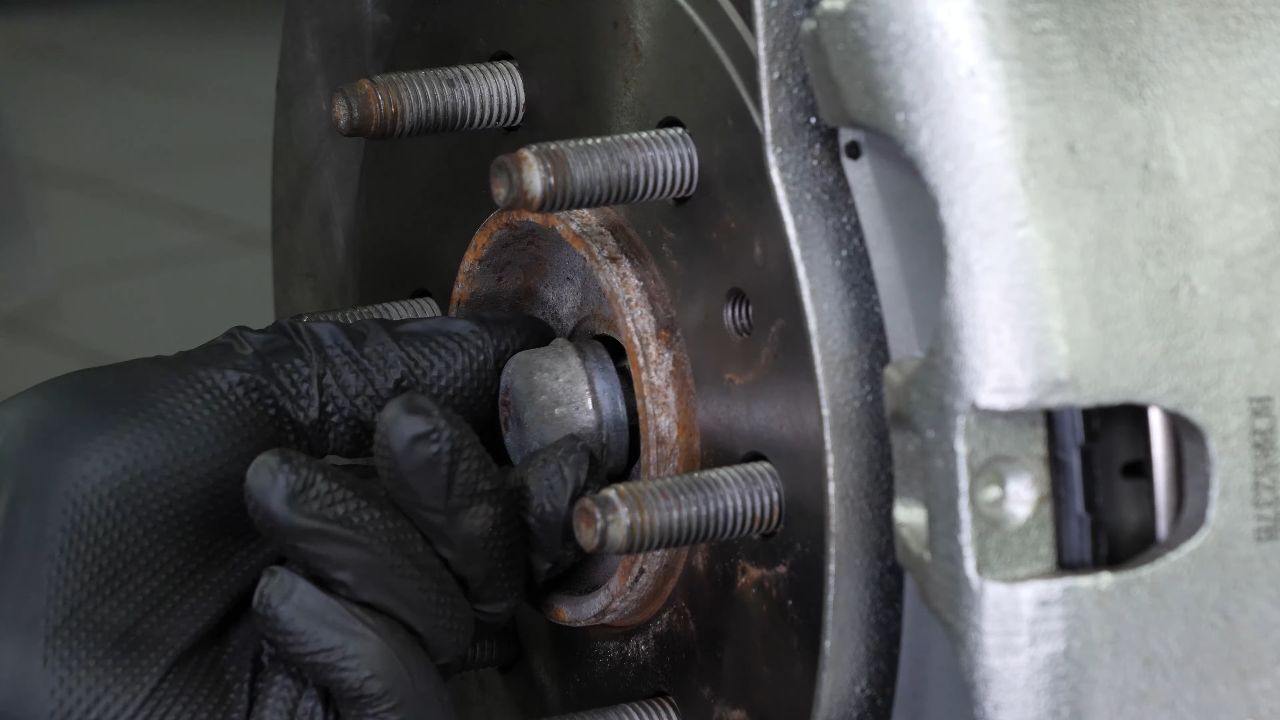
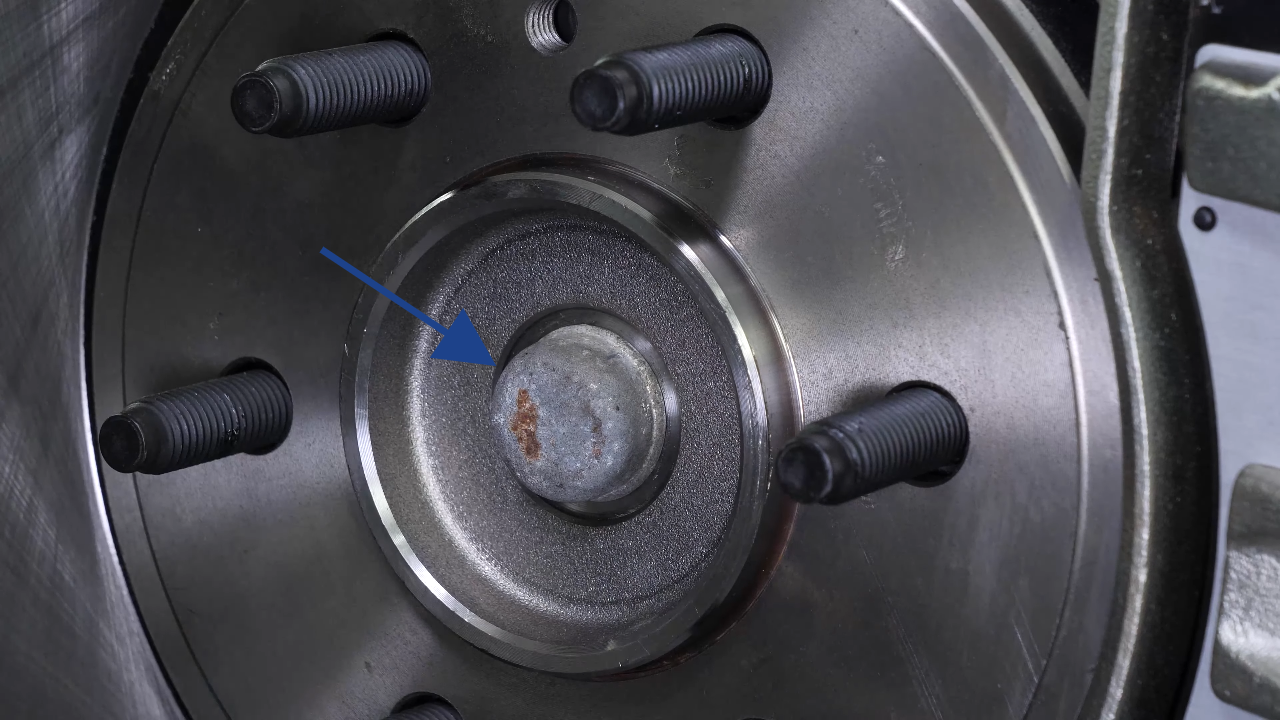
In order to change the CV axle on your vehicle, you will need to take off the wheels to have full access. Don’t forget to put the wheels under the vehicle! Using a flathead screwdriver, remove the nut cover from the hub.
Consider: Using a flathead screwdriver, remove the nut cover from the wheel hub.
Chapter 3:
Unscrew the wheel hub nut
Step 1/2
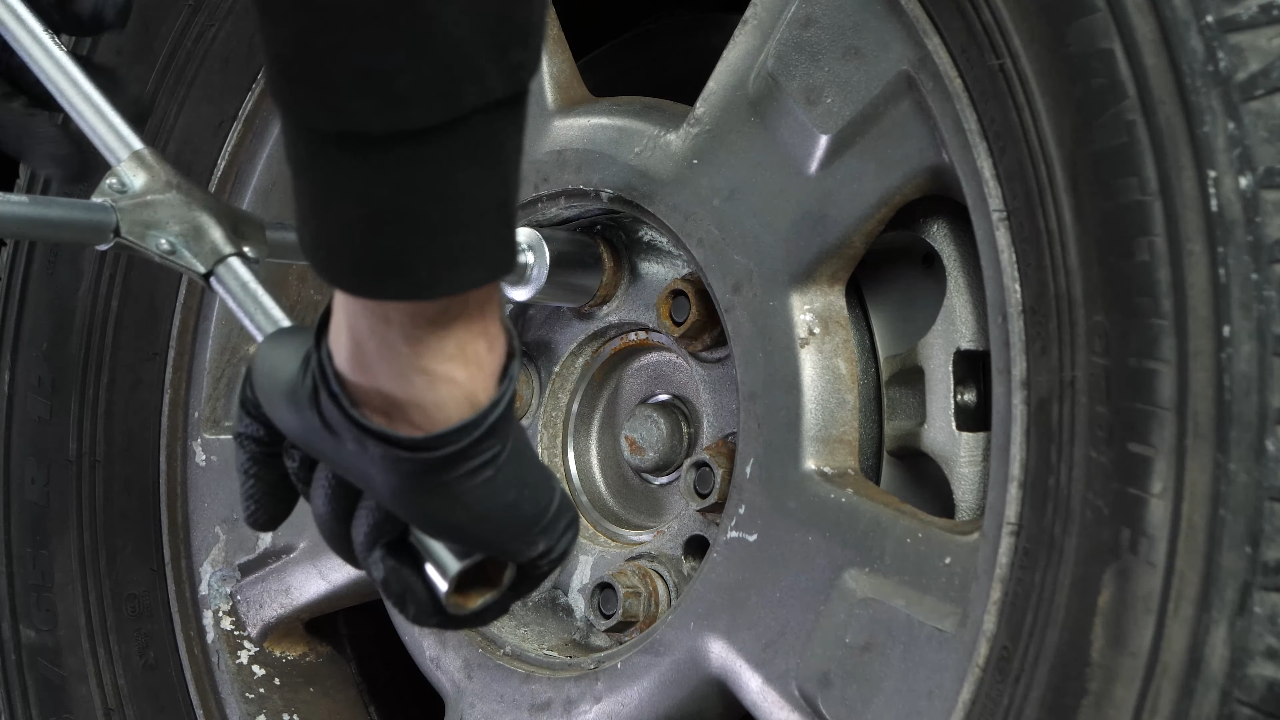
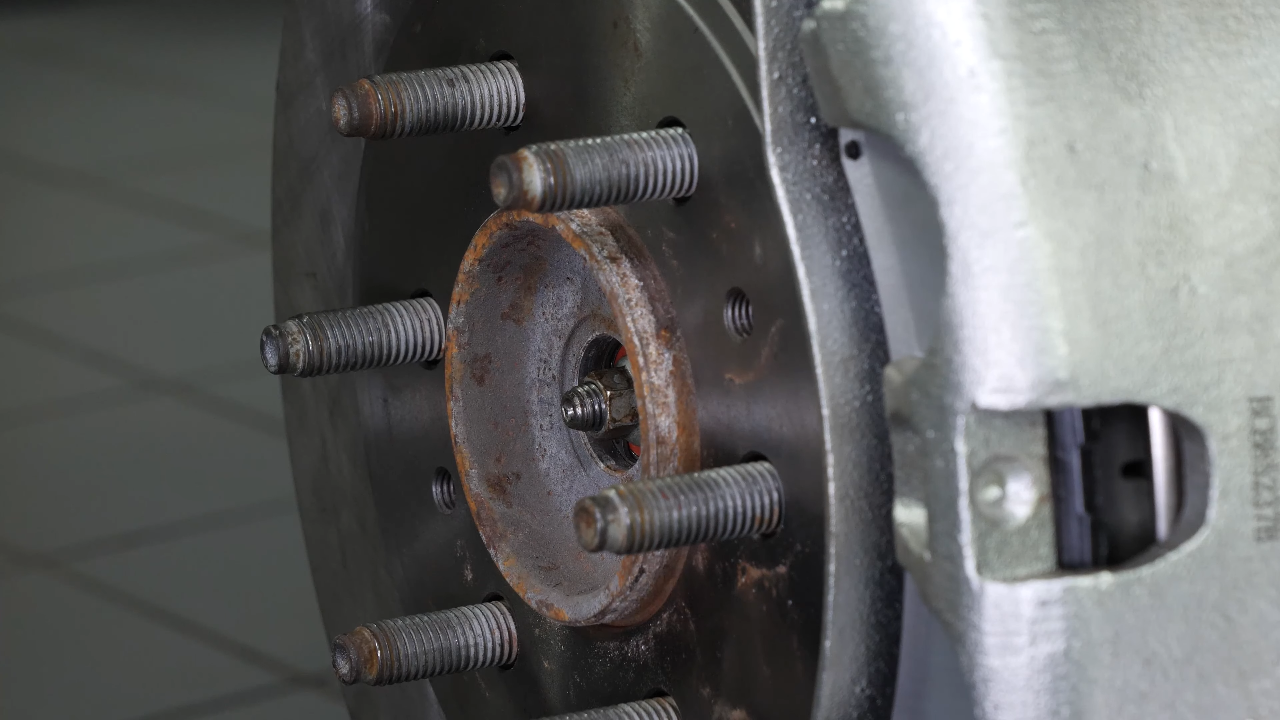
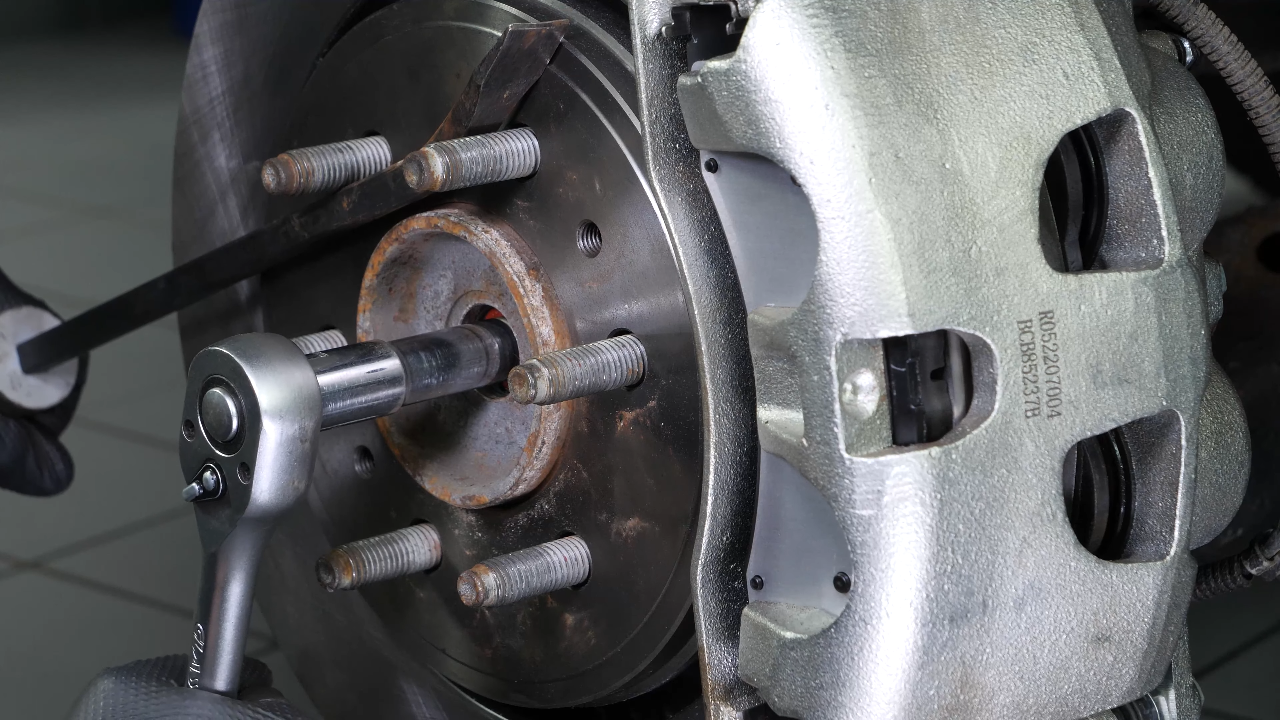
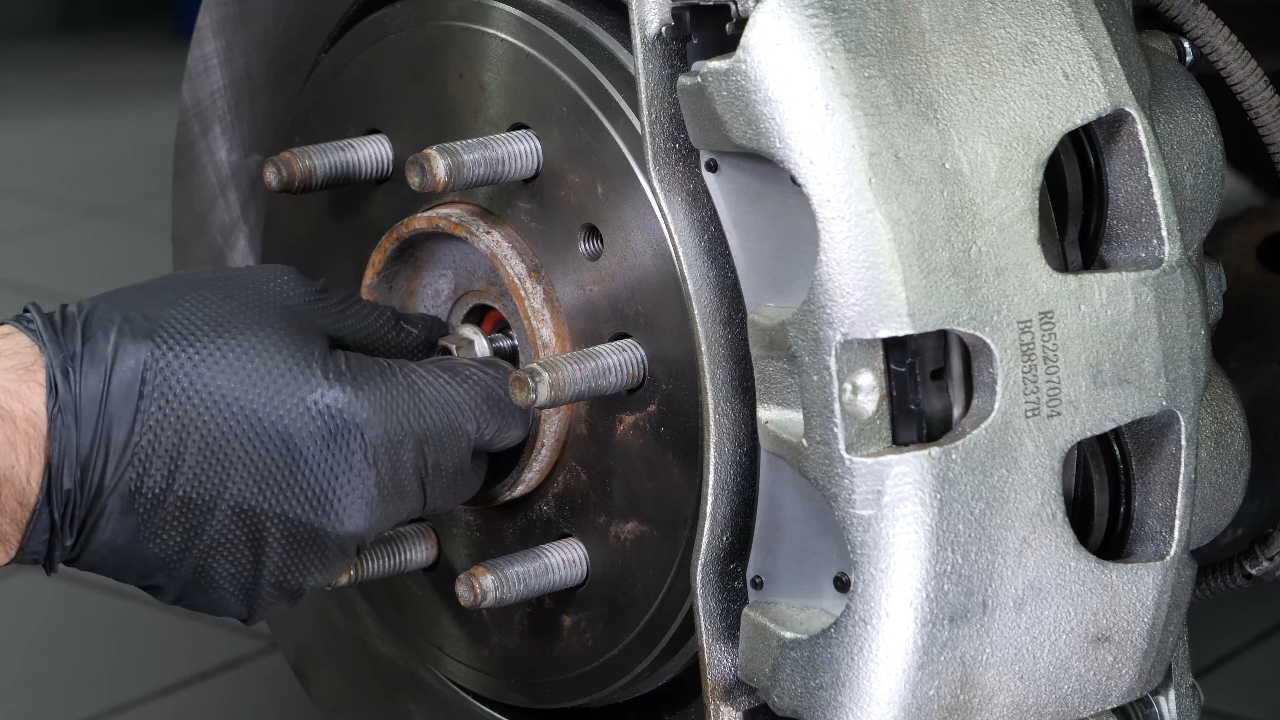
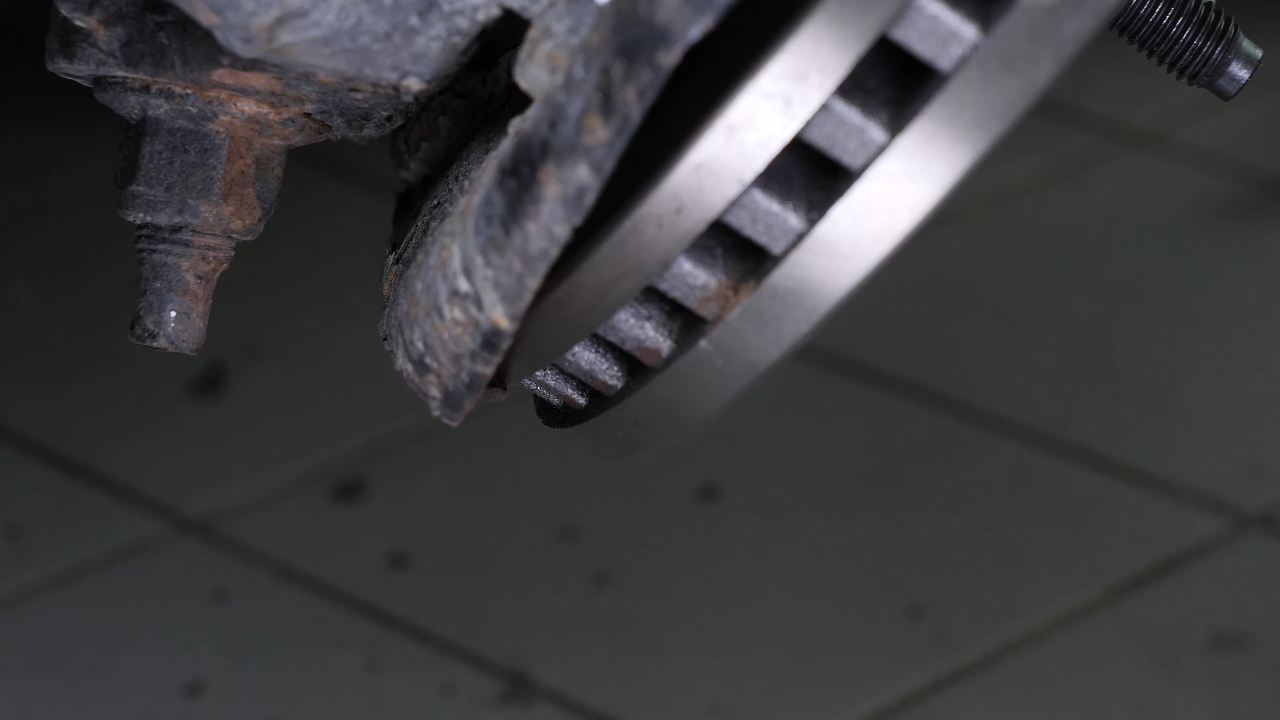
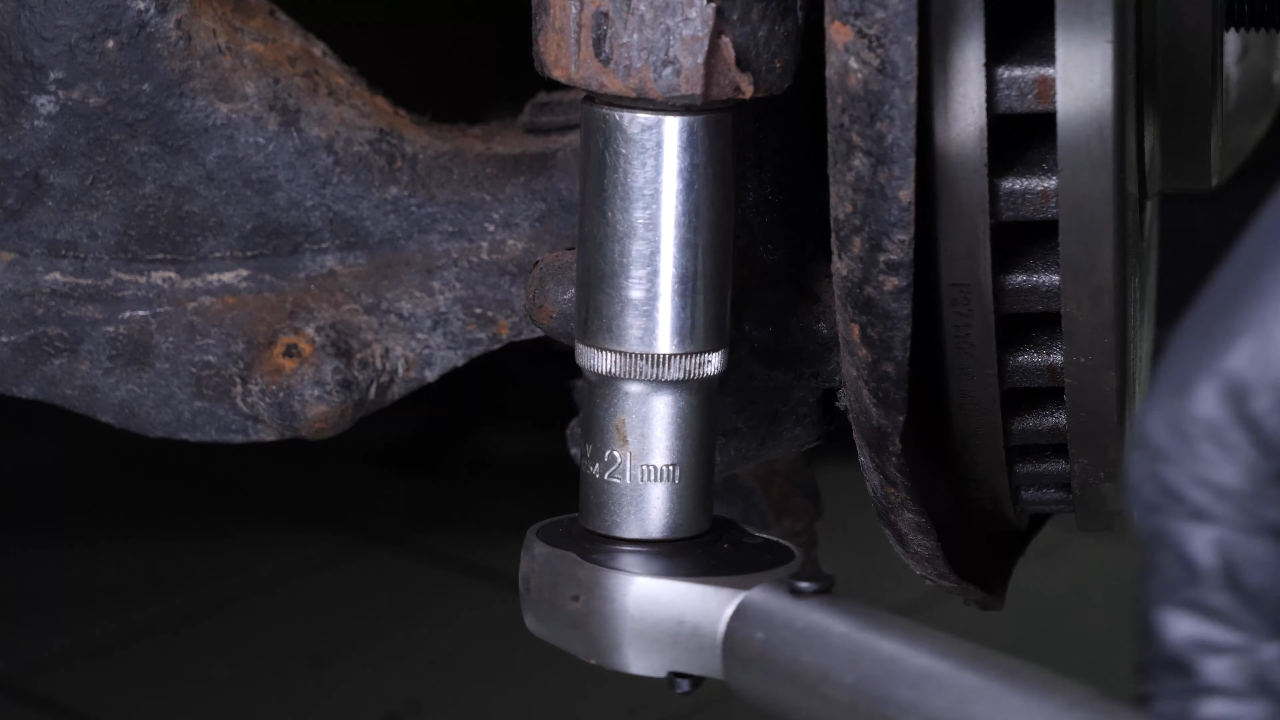
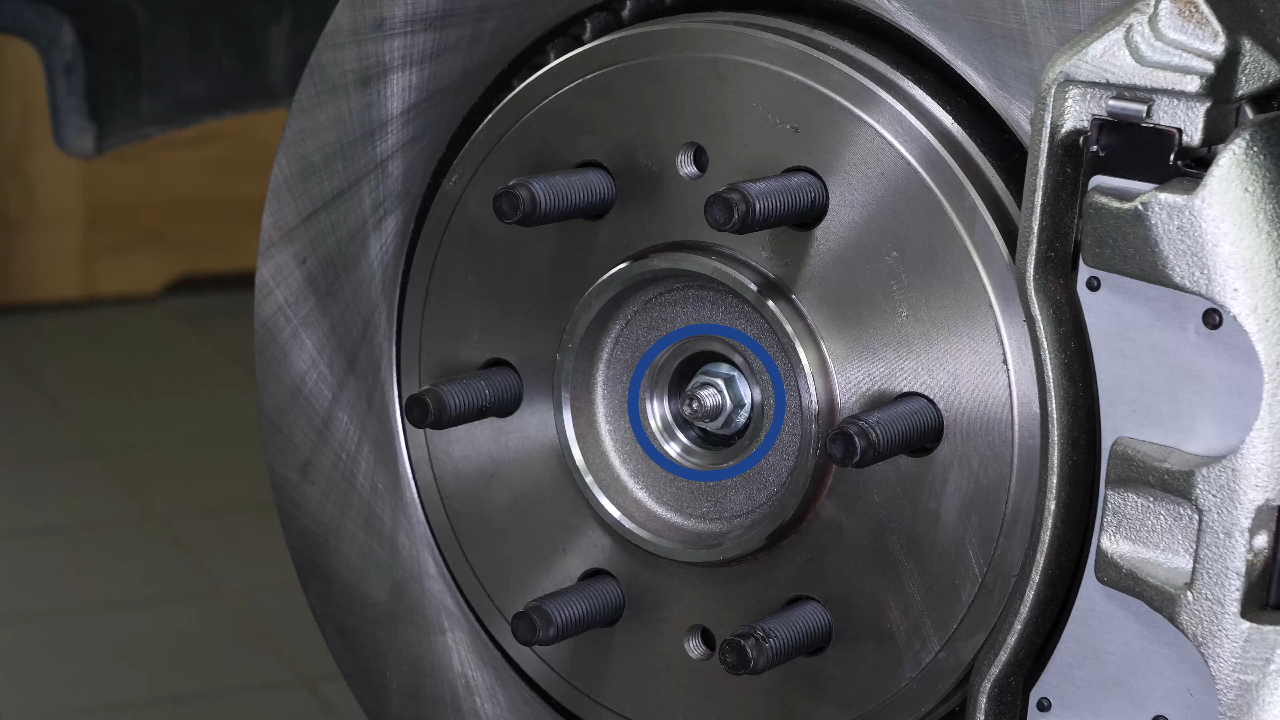
Then, locking the hub rotation with a crowbar, unscrew the hub nut using a ratchet and a 15mm socket.
Chapter 3:
Step 2/2
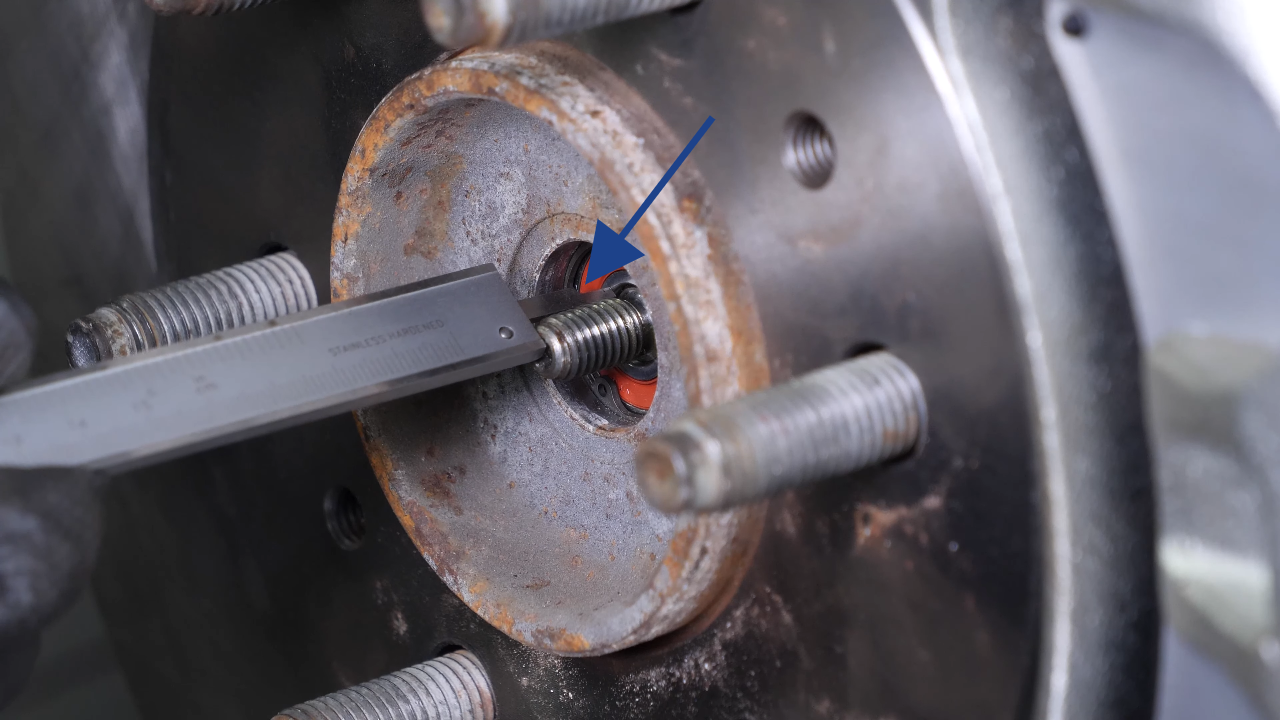
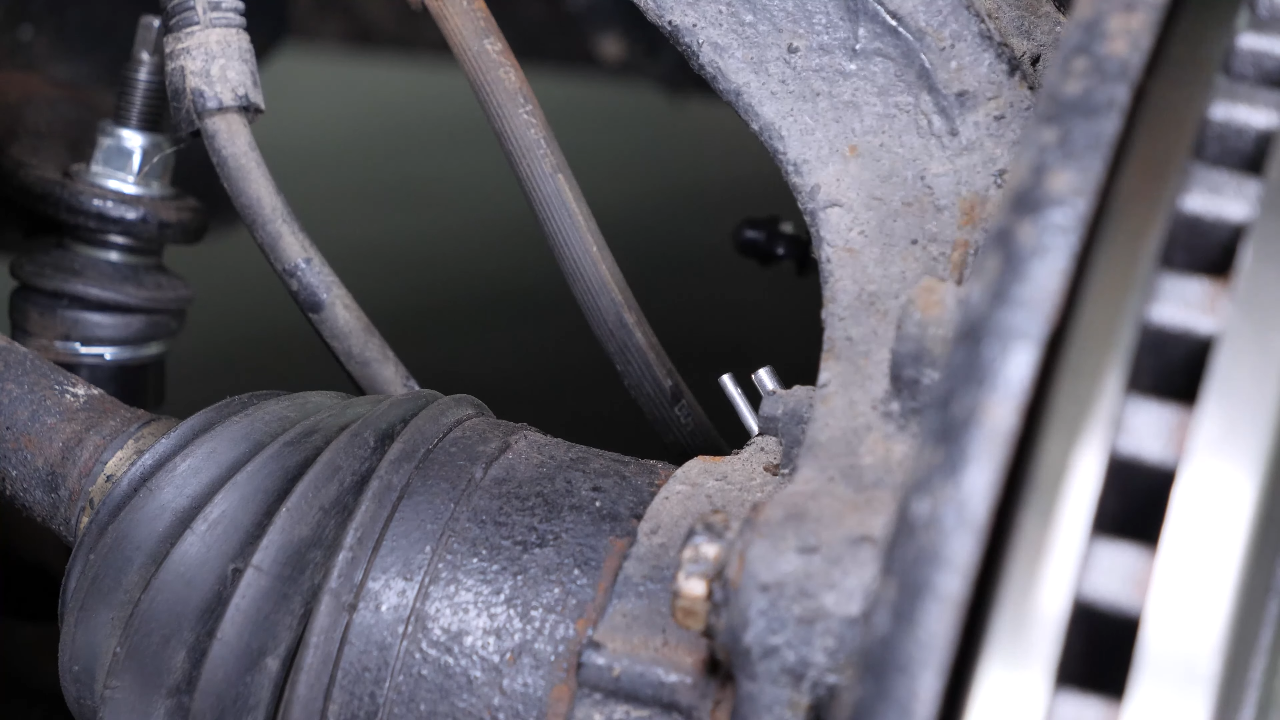
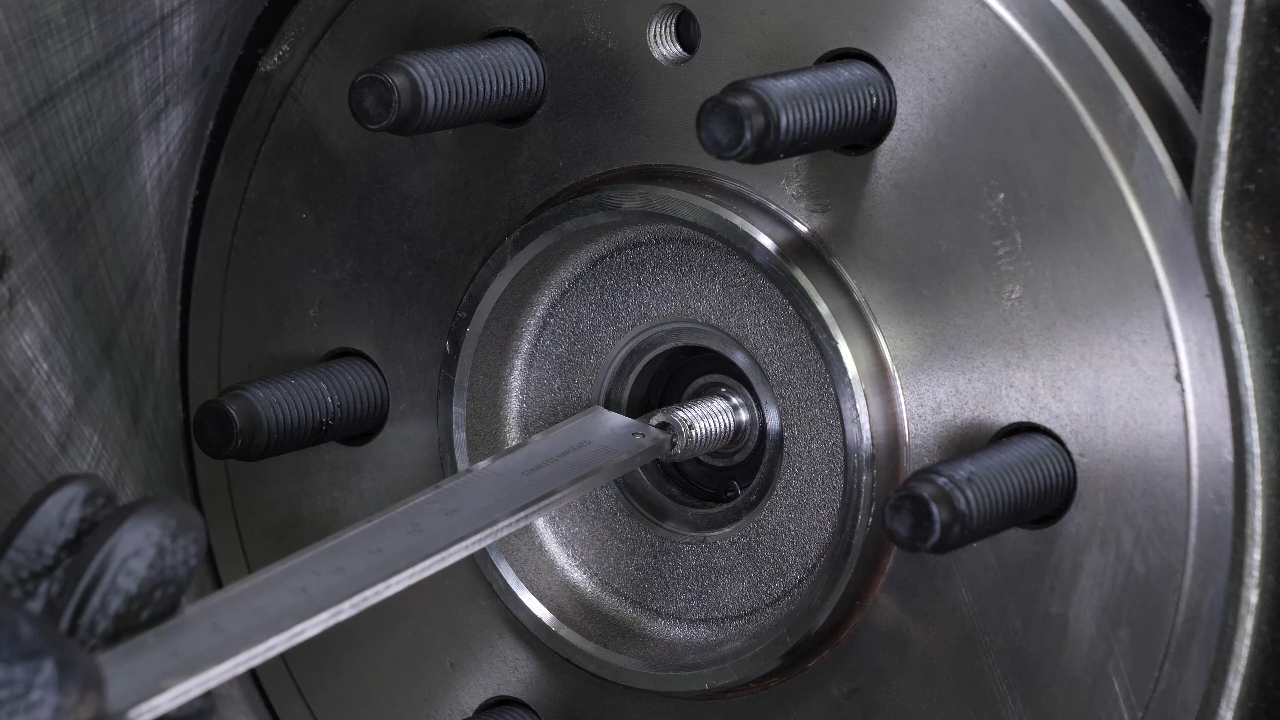
To ensure that the part is properly installed during reassembly, measure the distance between the end of the CV axle thread and the hub with a calliper.
Chapter 4:
Disconnect the ABS and brake hose connectors
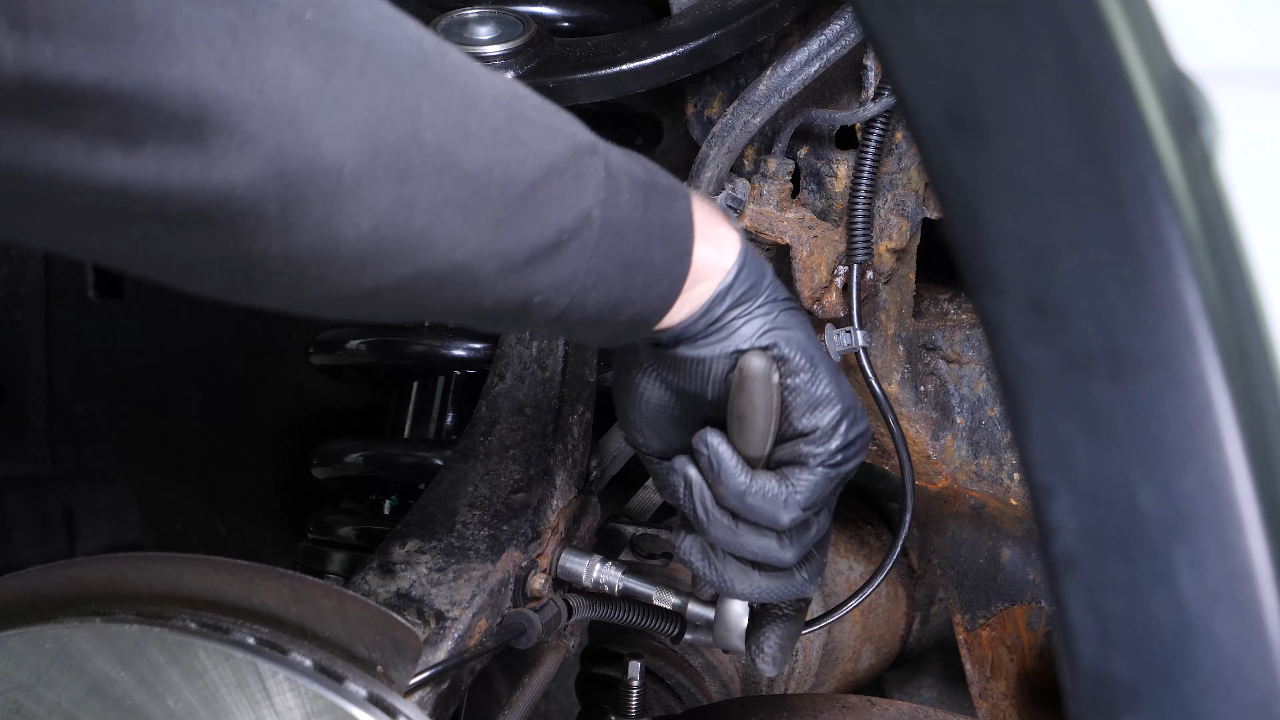
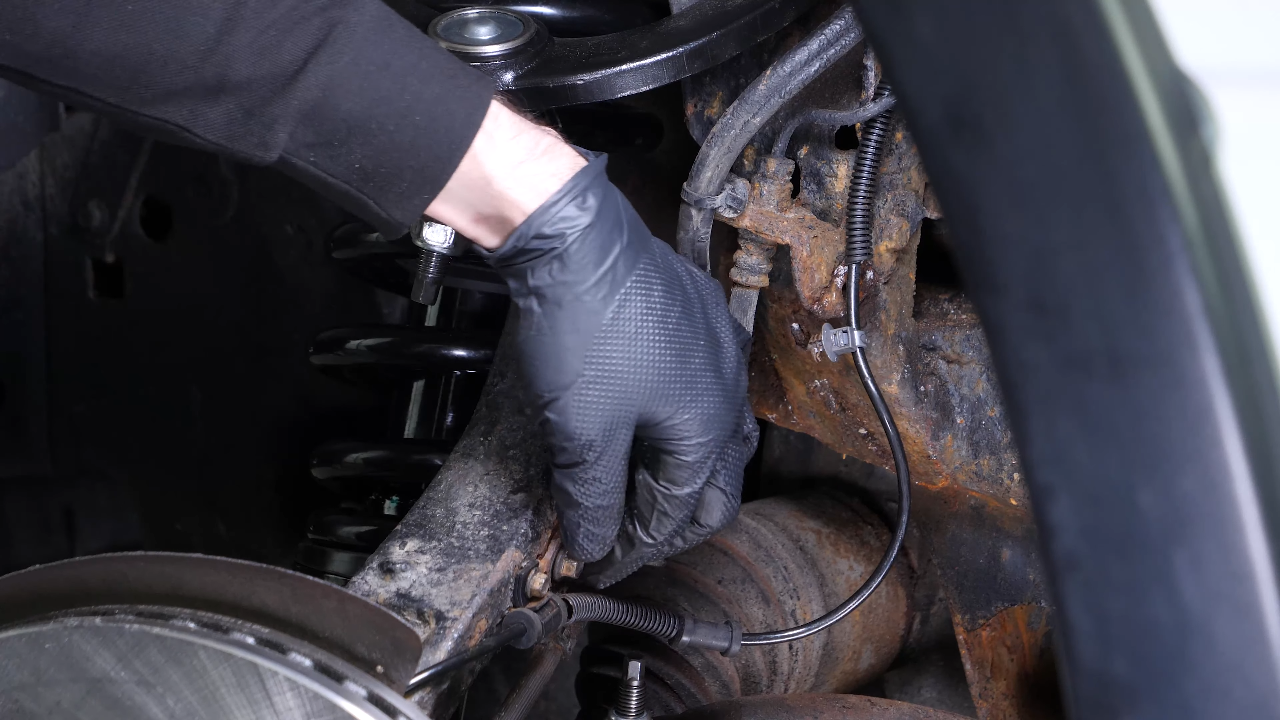
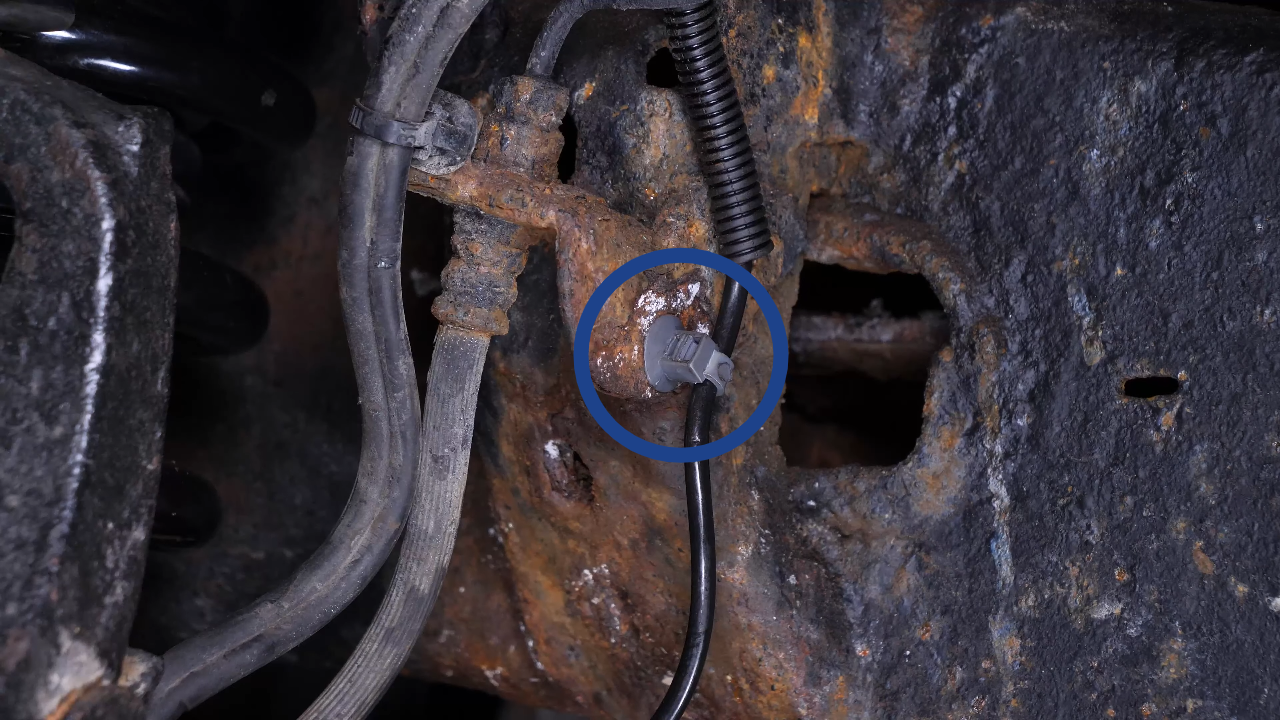
Step 1/2
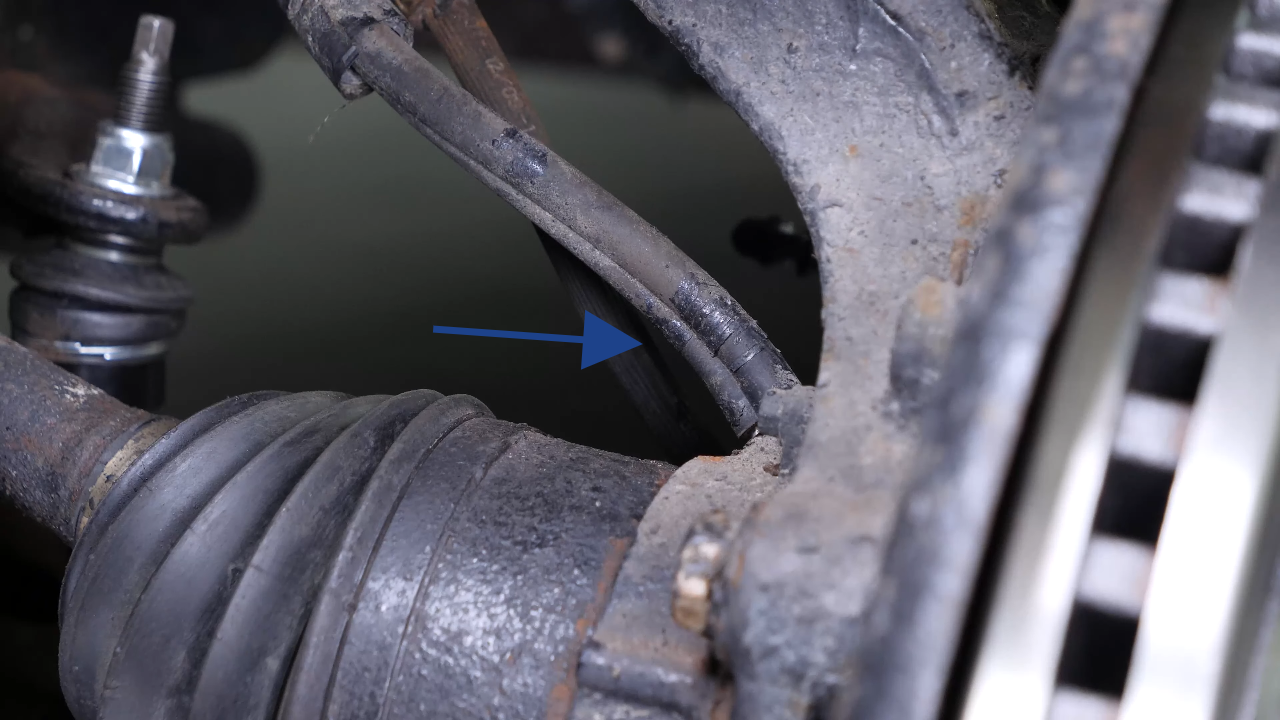
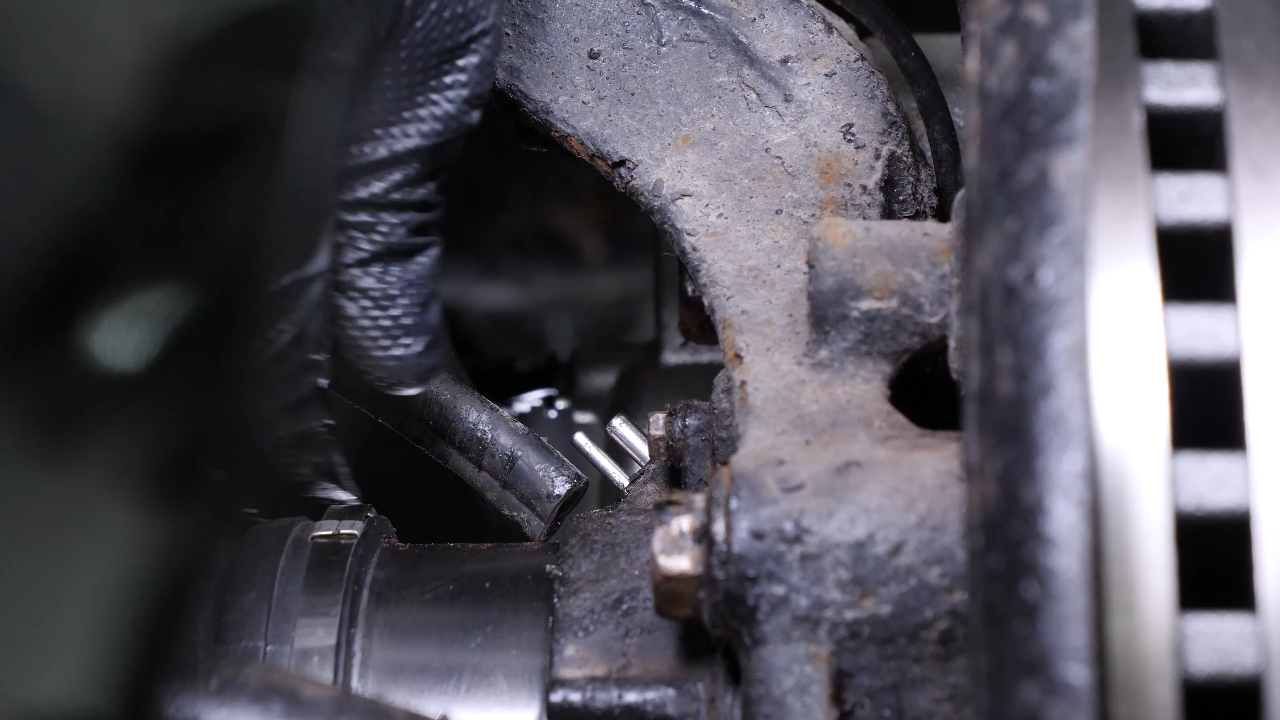
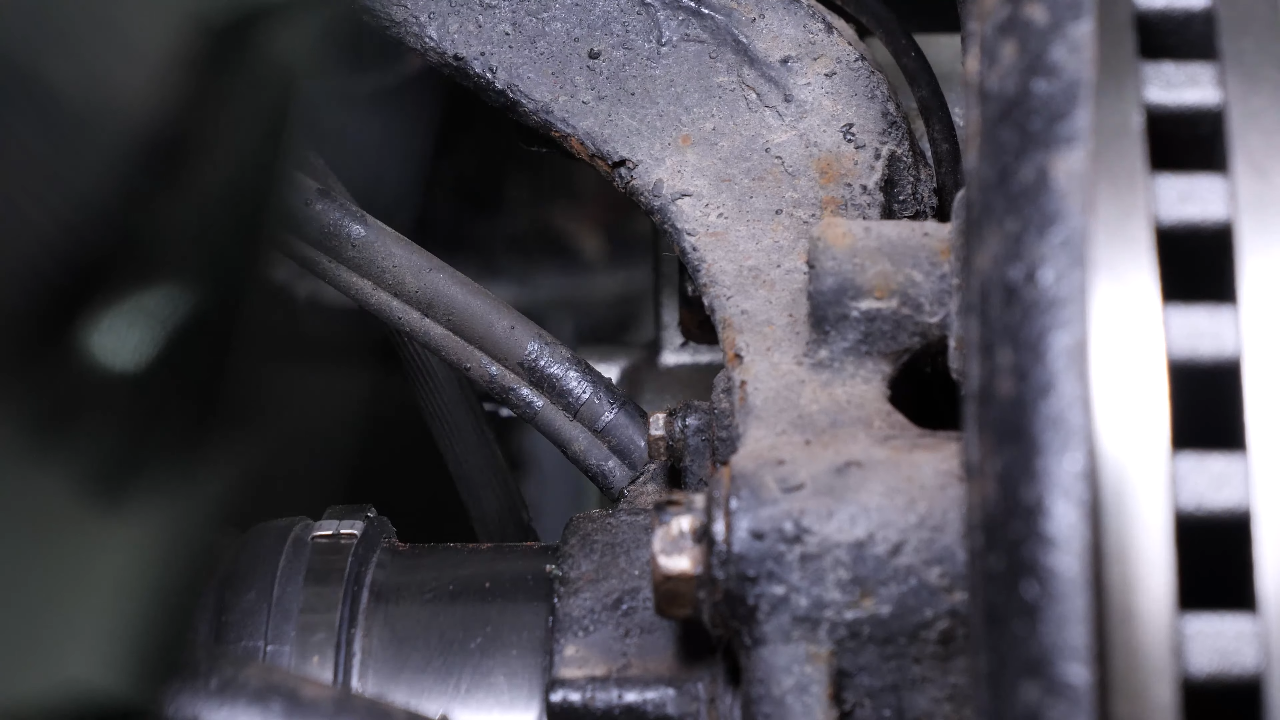
Using a fork, disconnect the ABS sensor cable from the body. Then disconnect it from the brake hose.
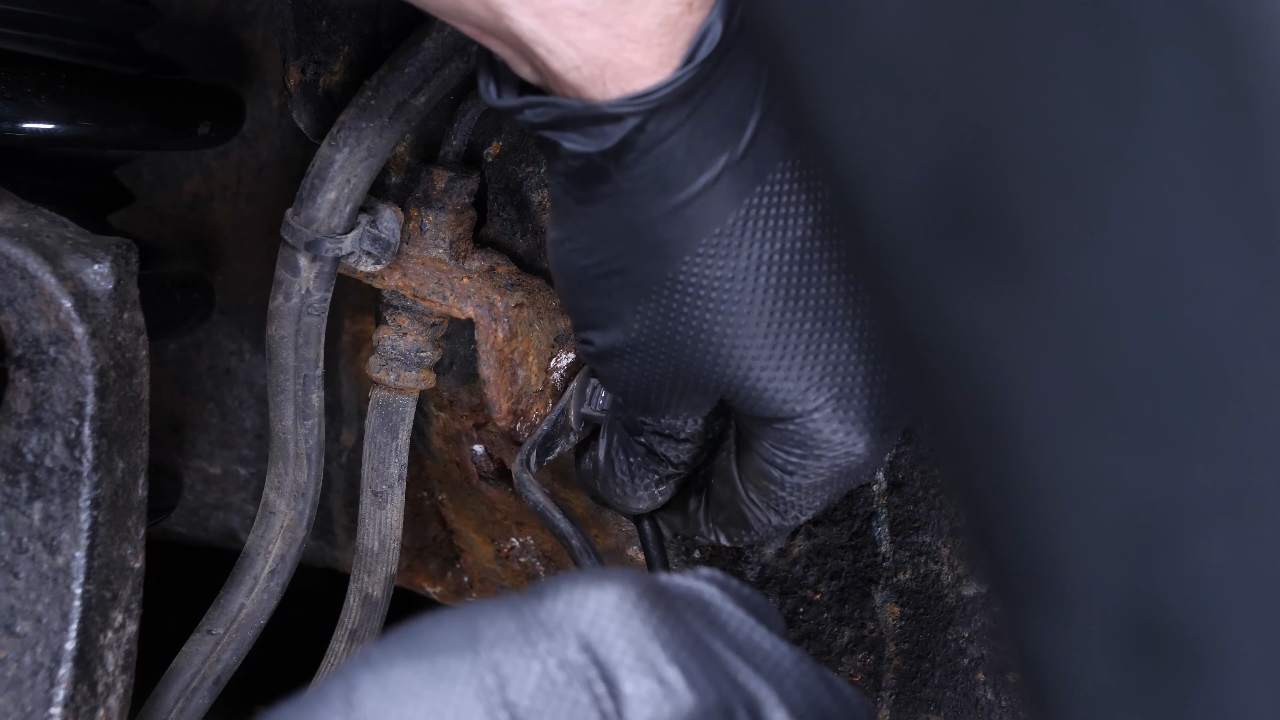
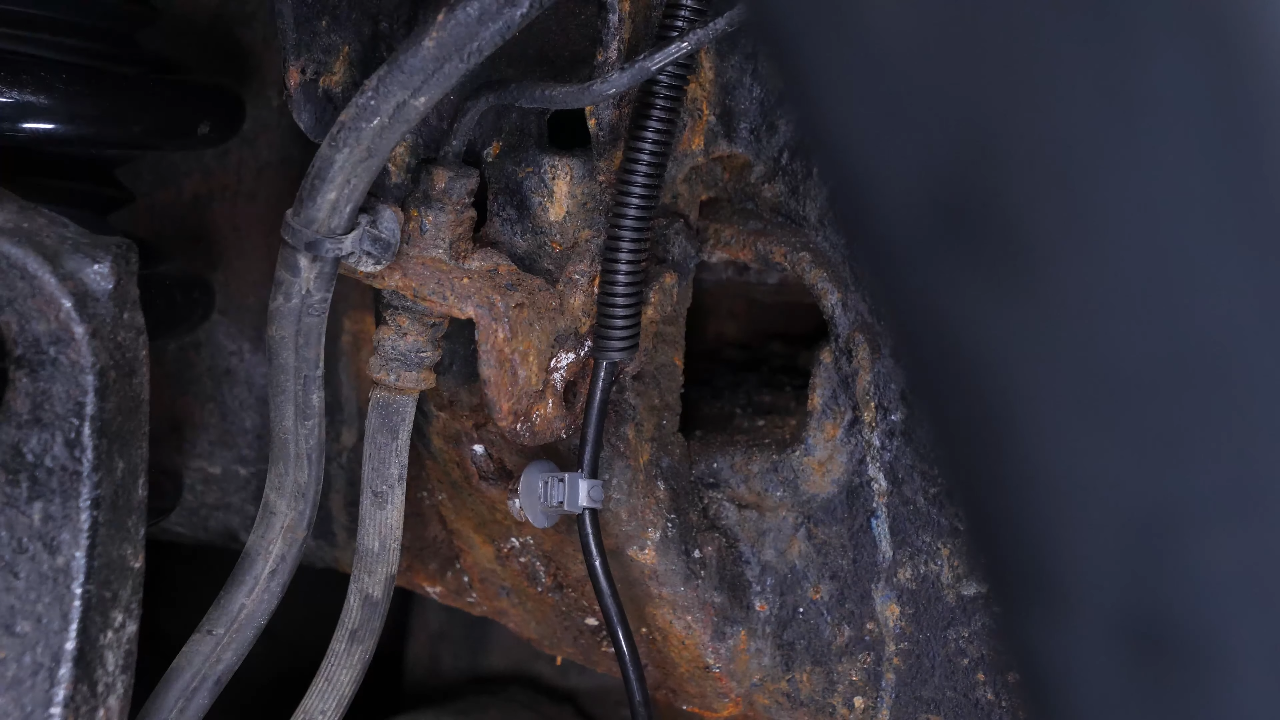
Chapter 4:
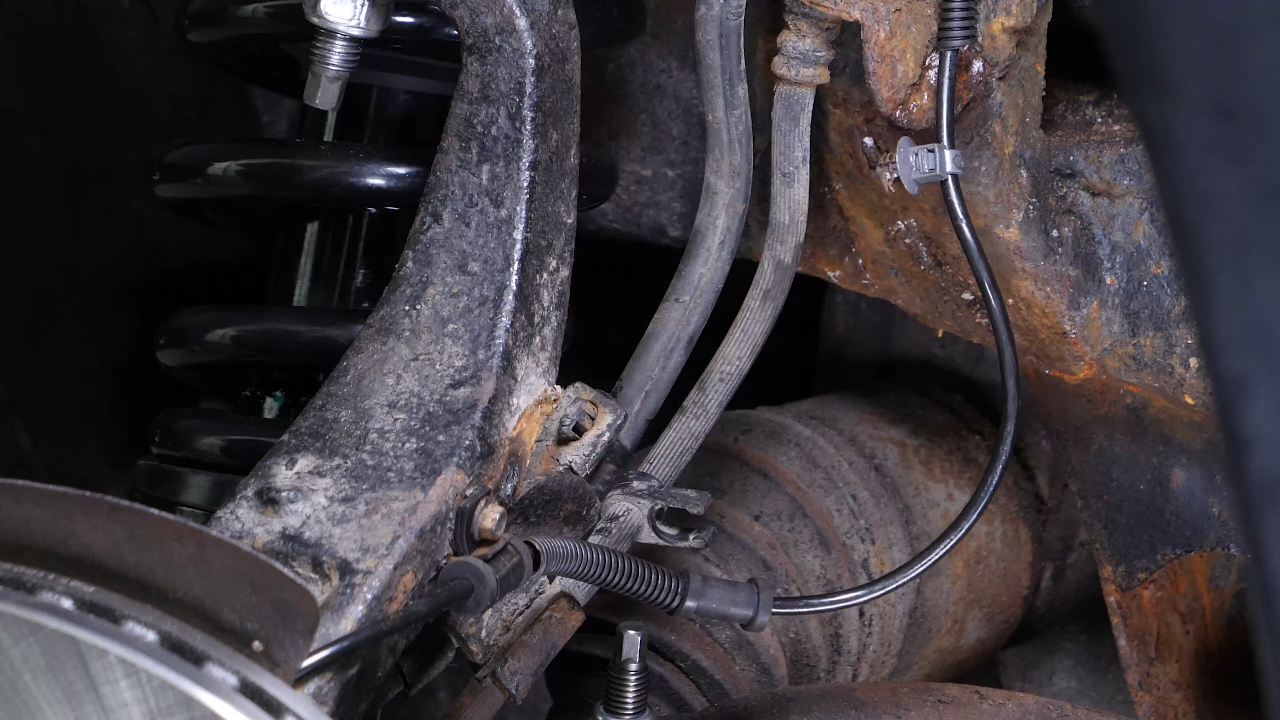
Step 2/2
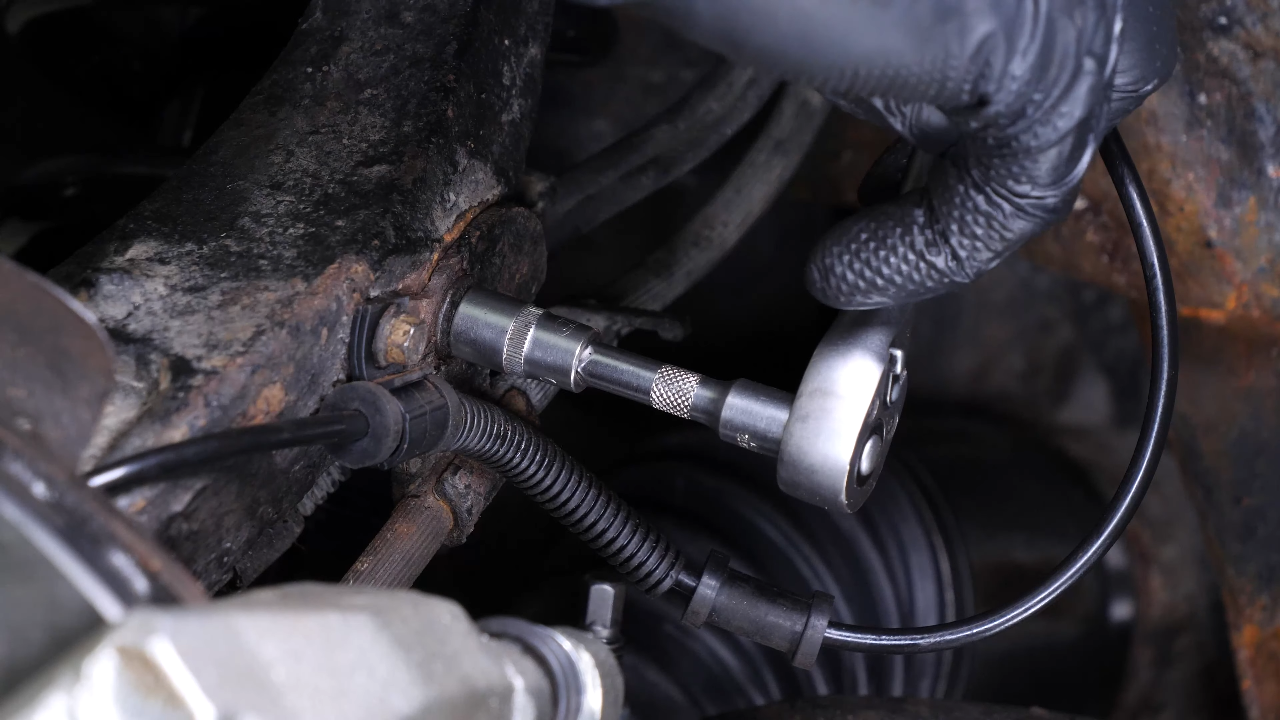
Finally, using a ratchet and a 10 mm socket, unscrew the fixing screw from the brake hose.
Chapter 5:
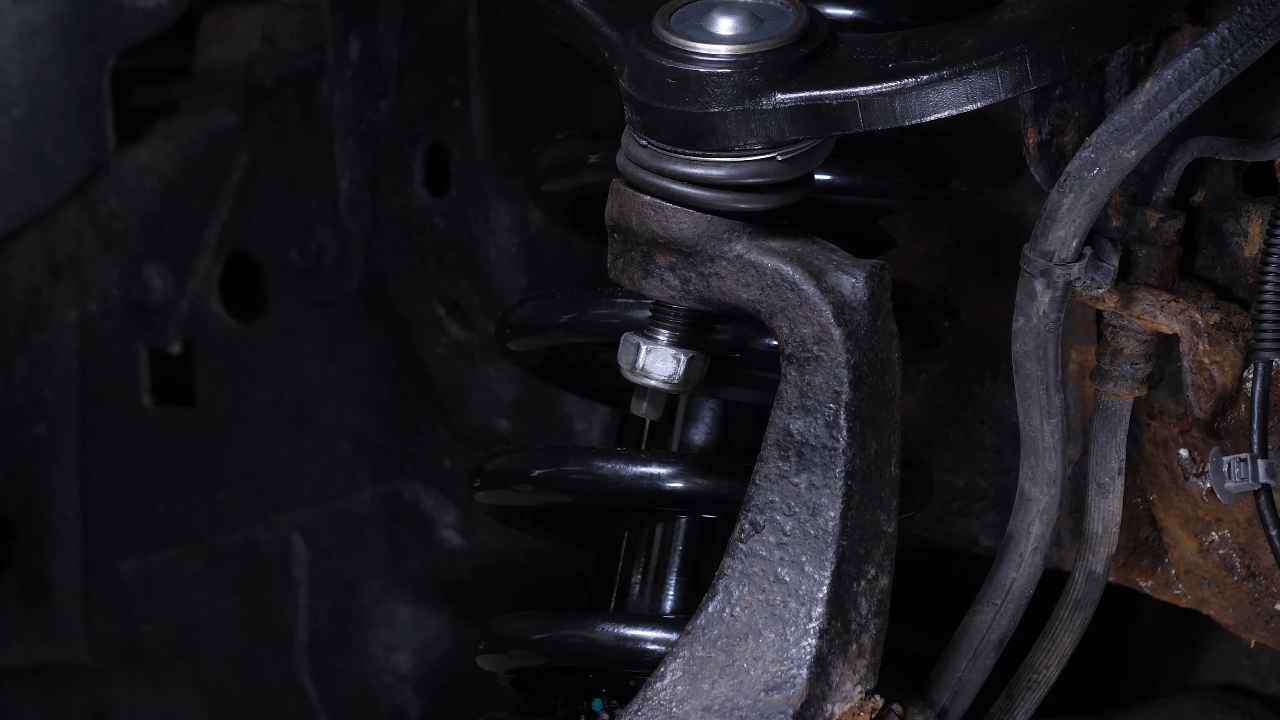
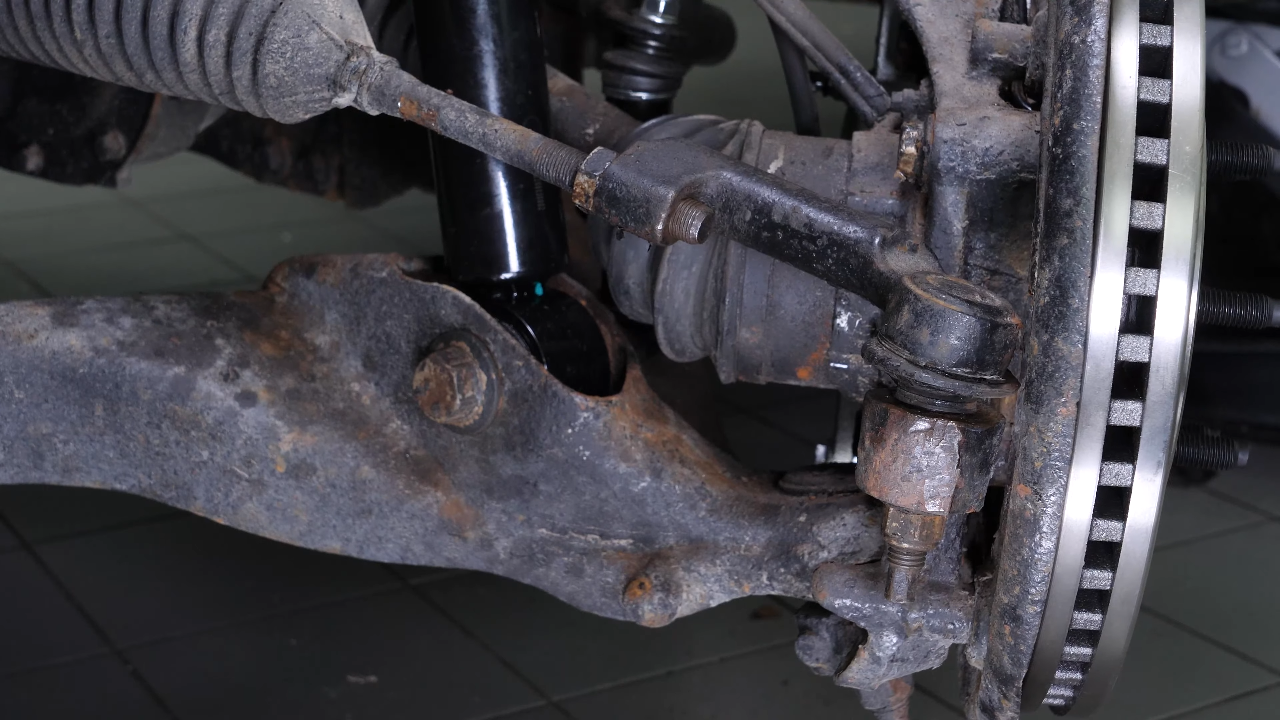
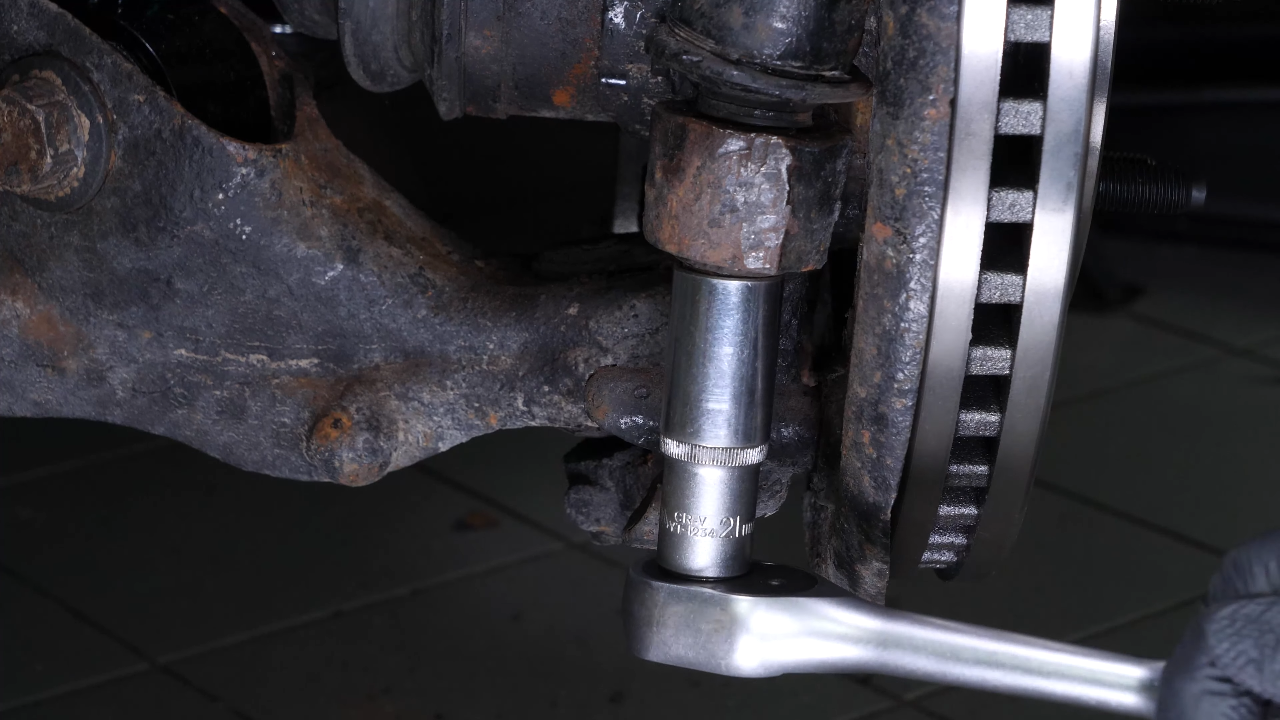
Remove the control arm ball joint
Step 1/1
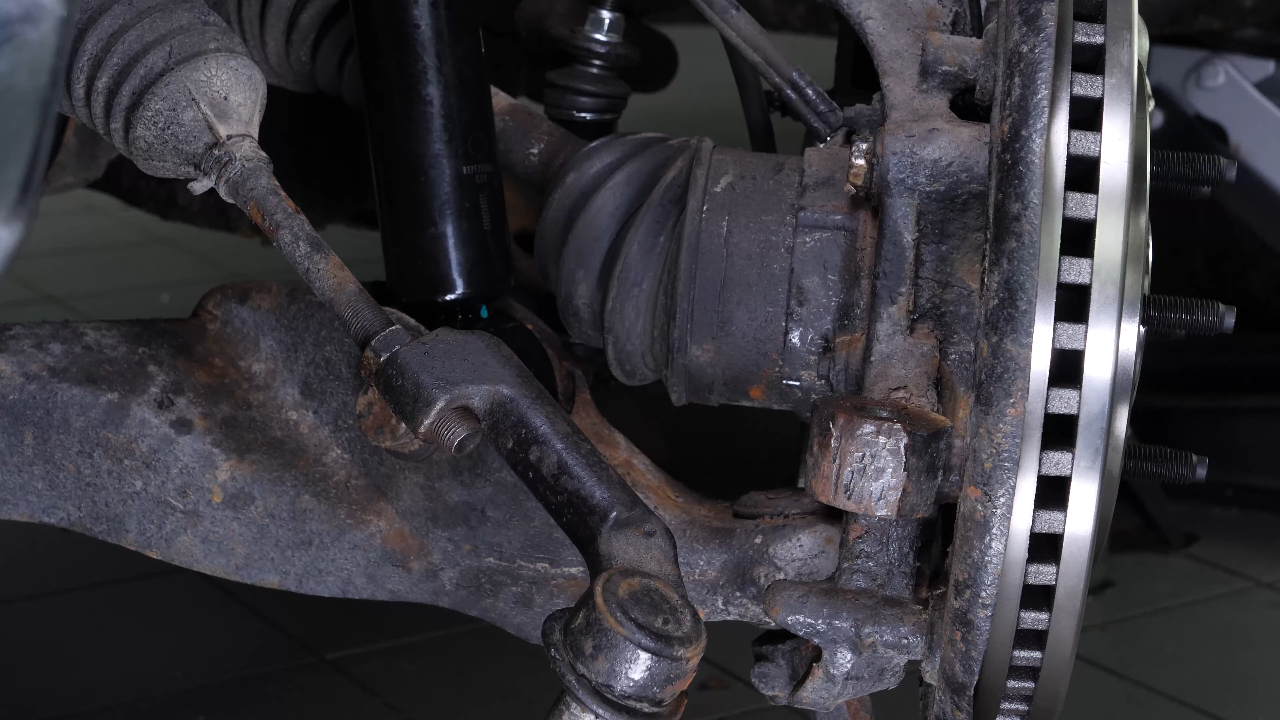
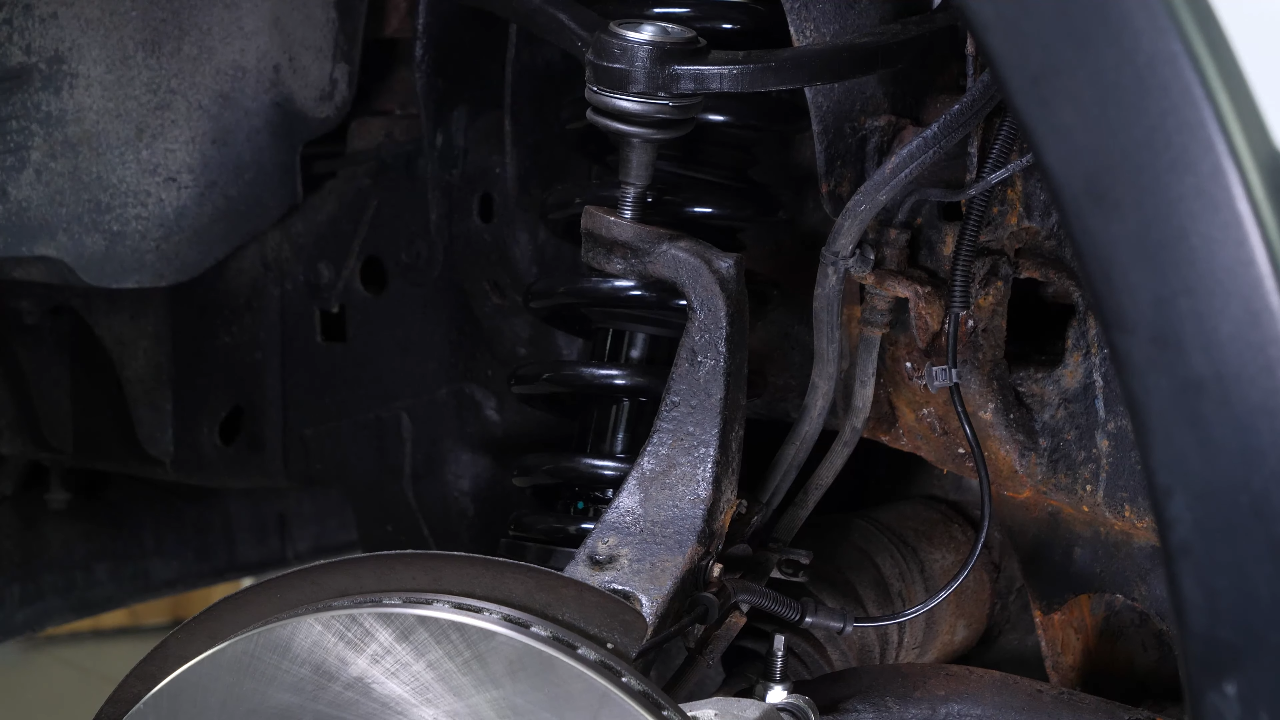
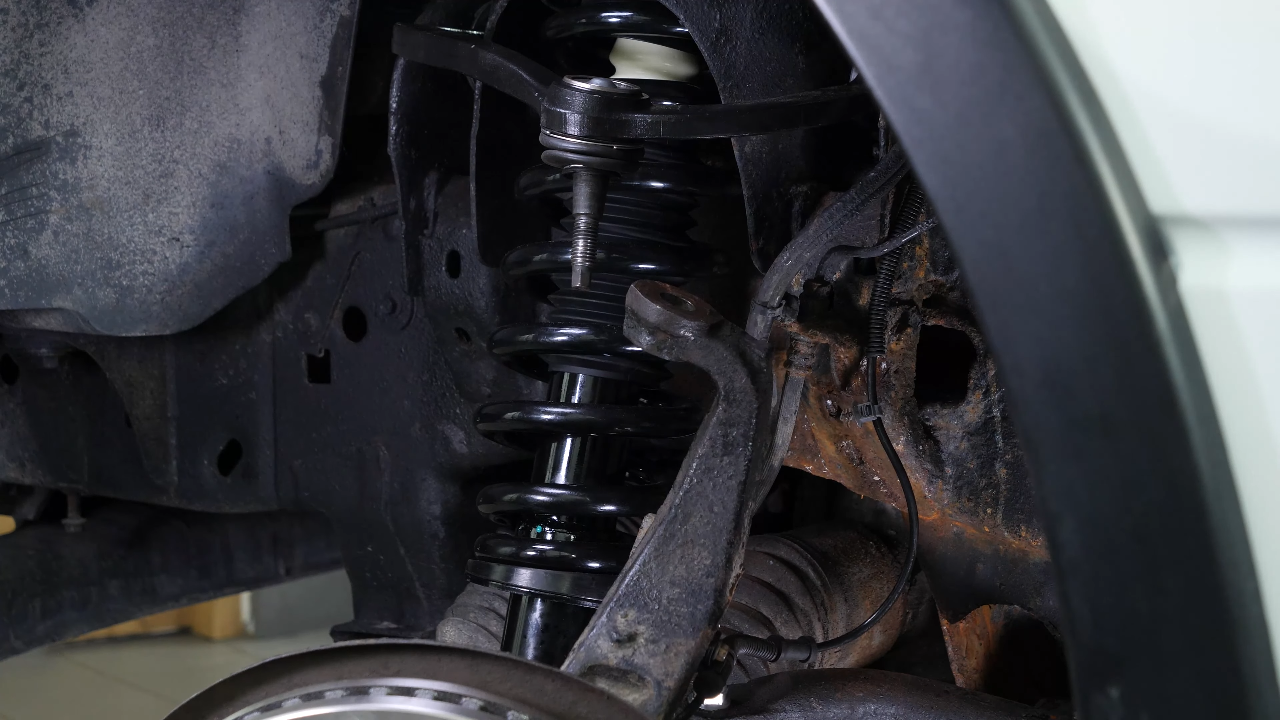
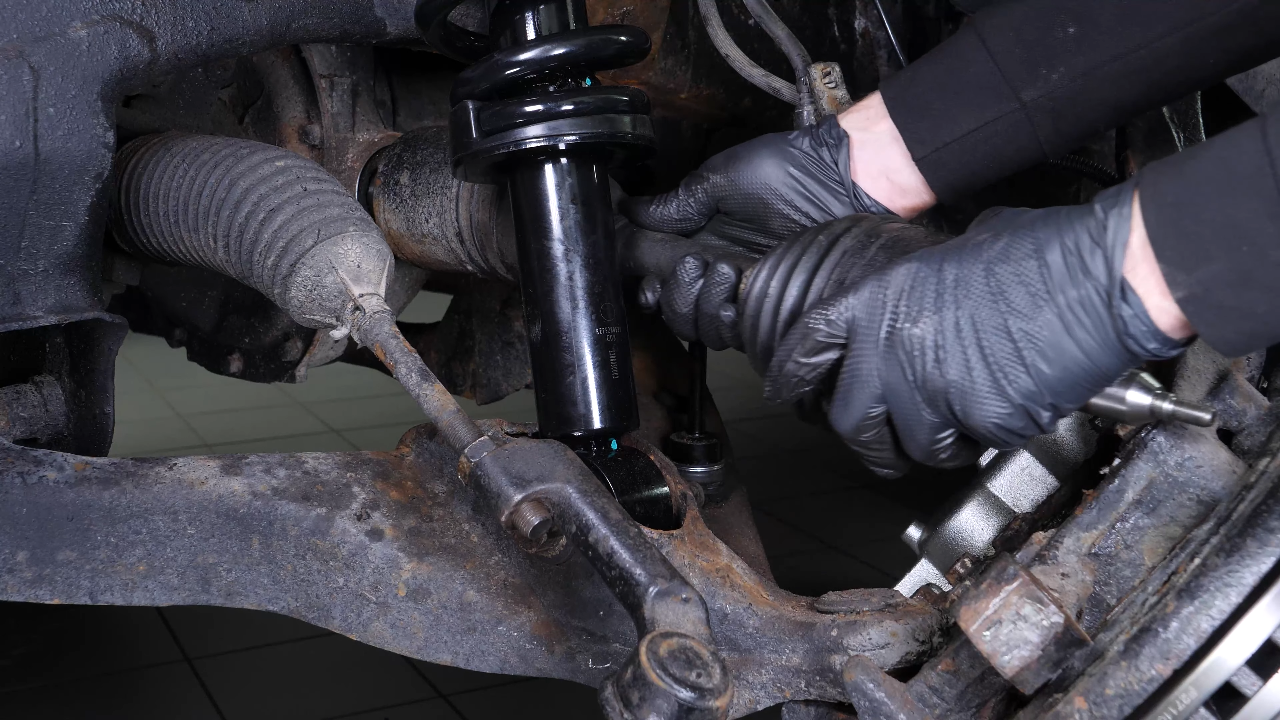
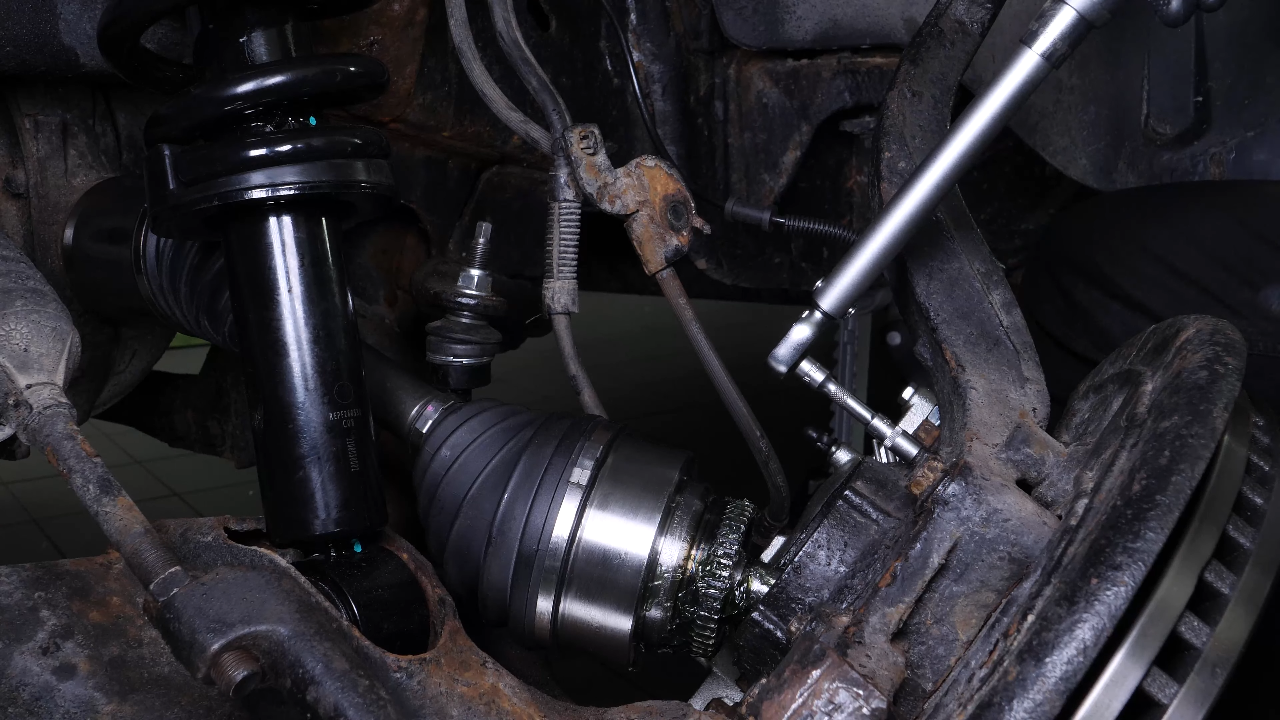
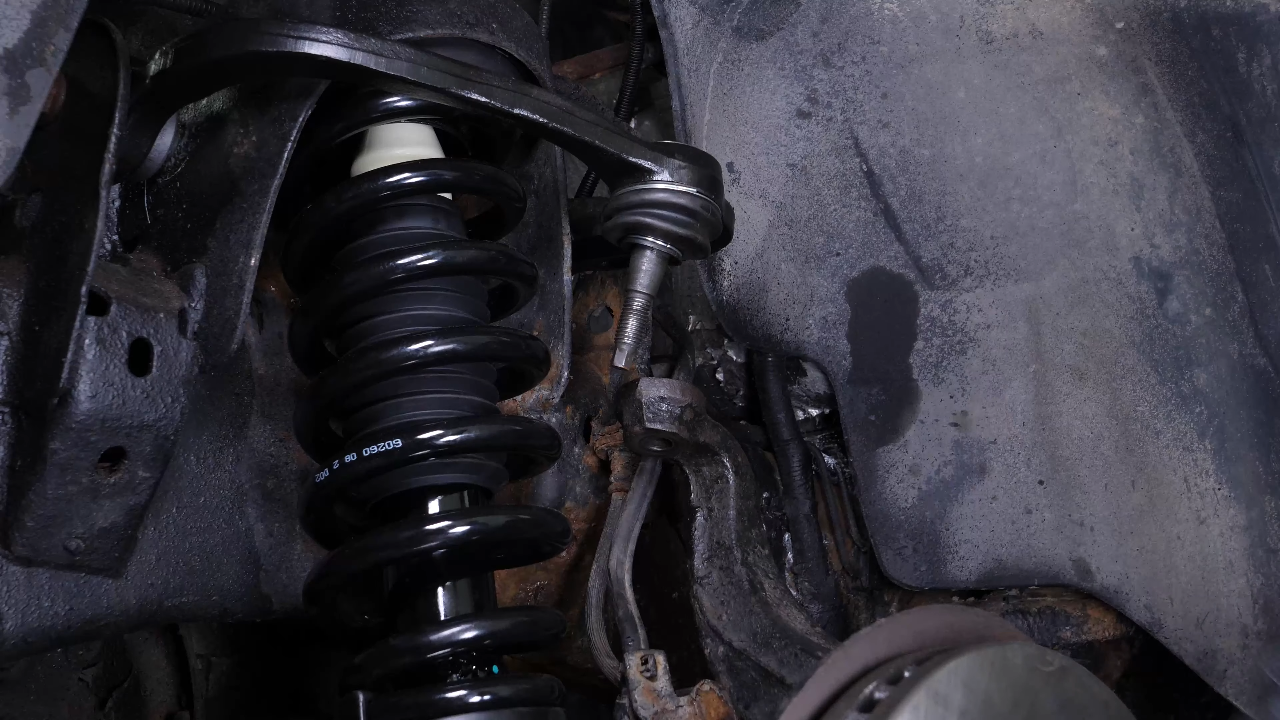
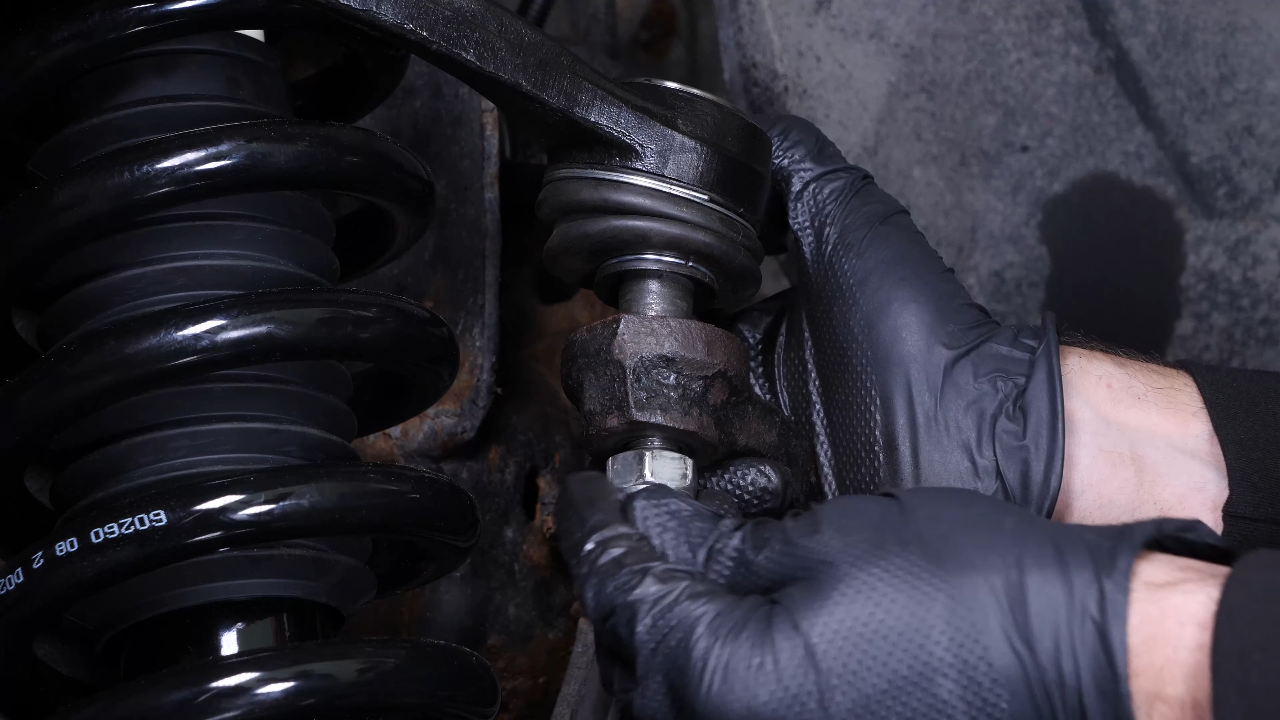
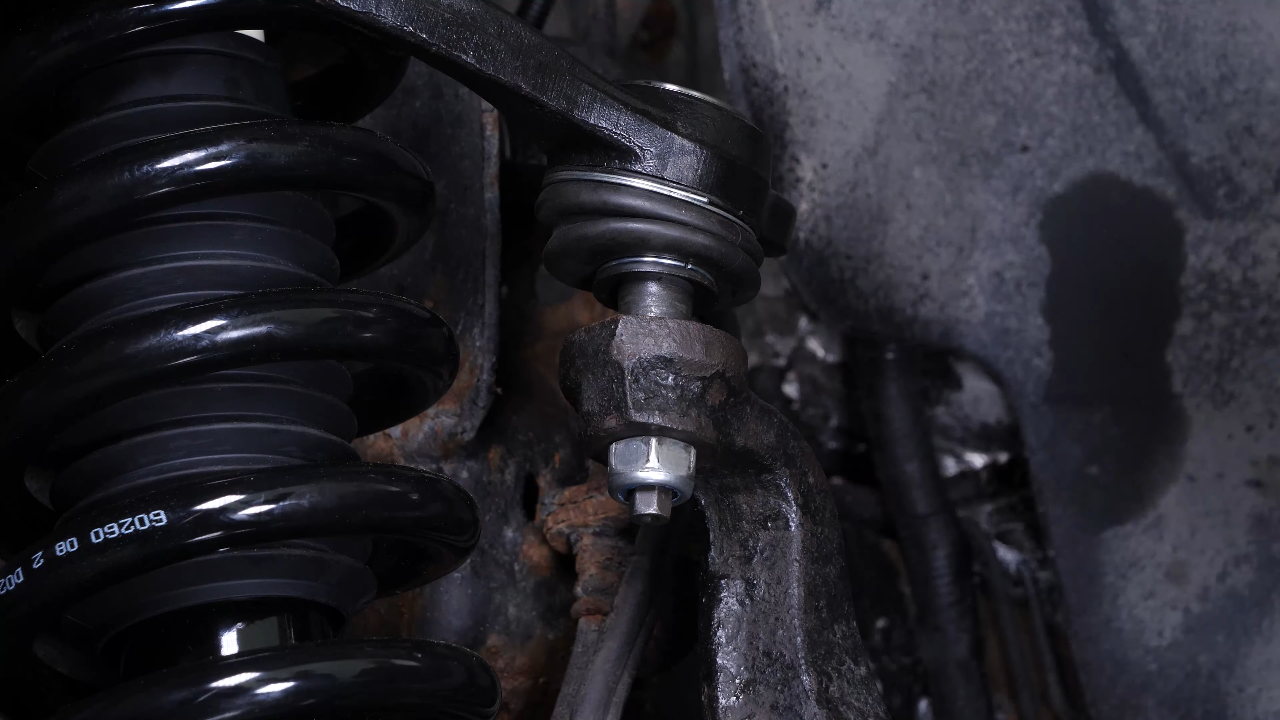
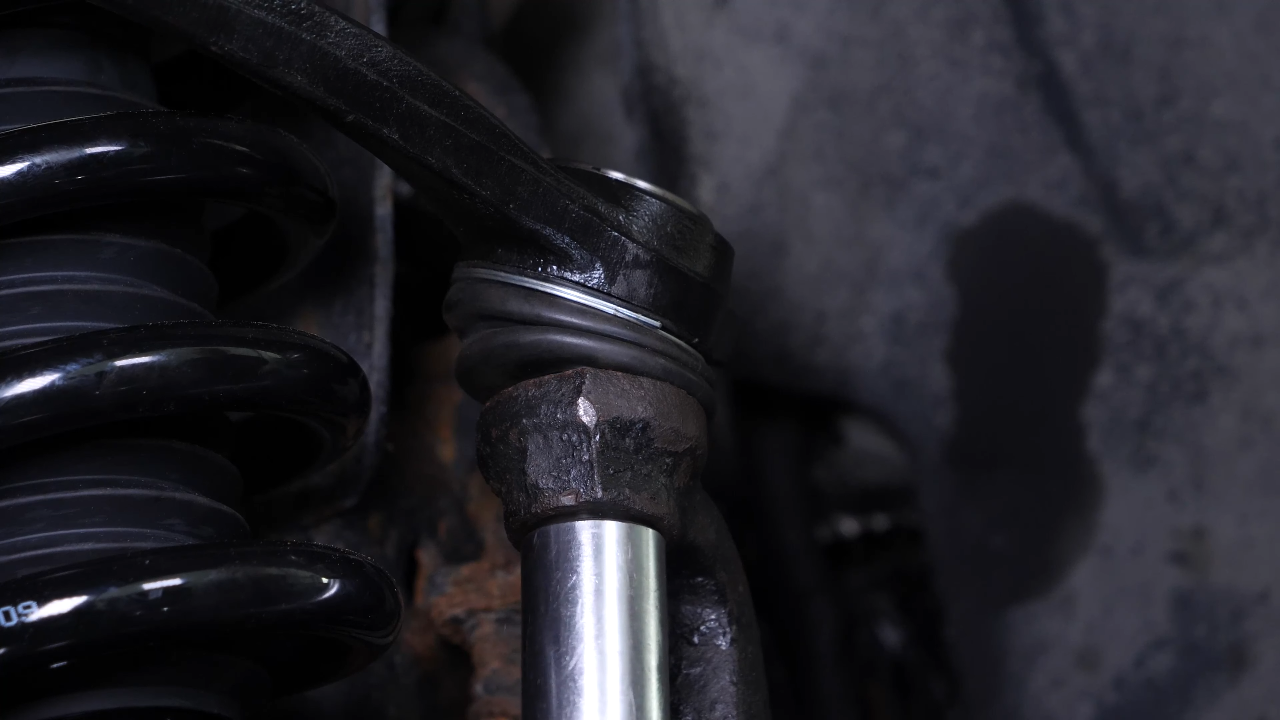
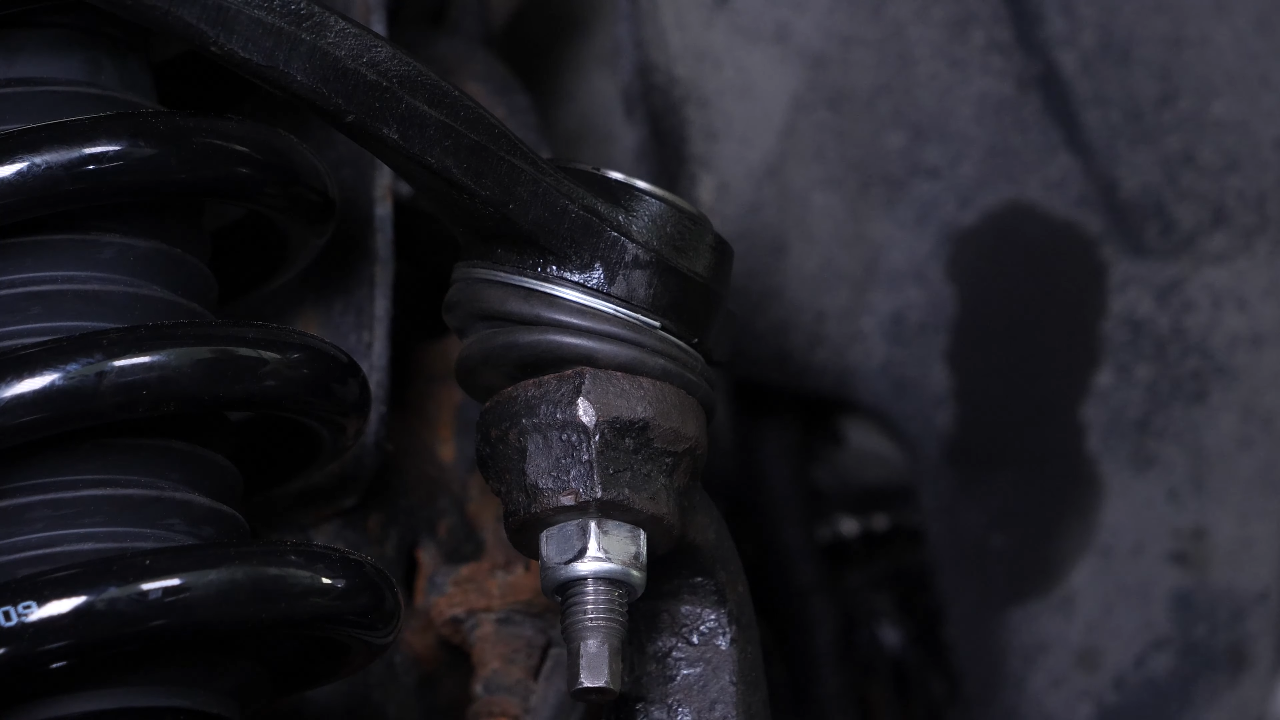
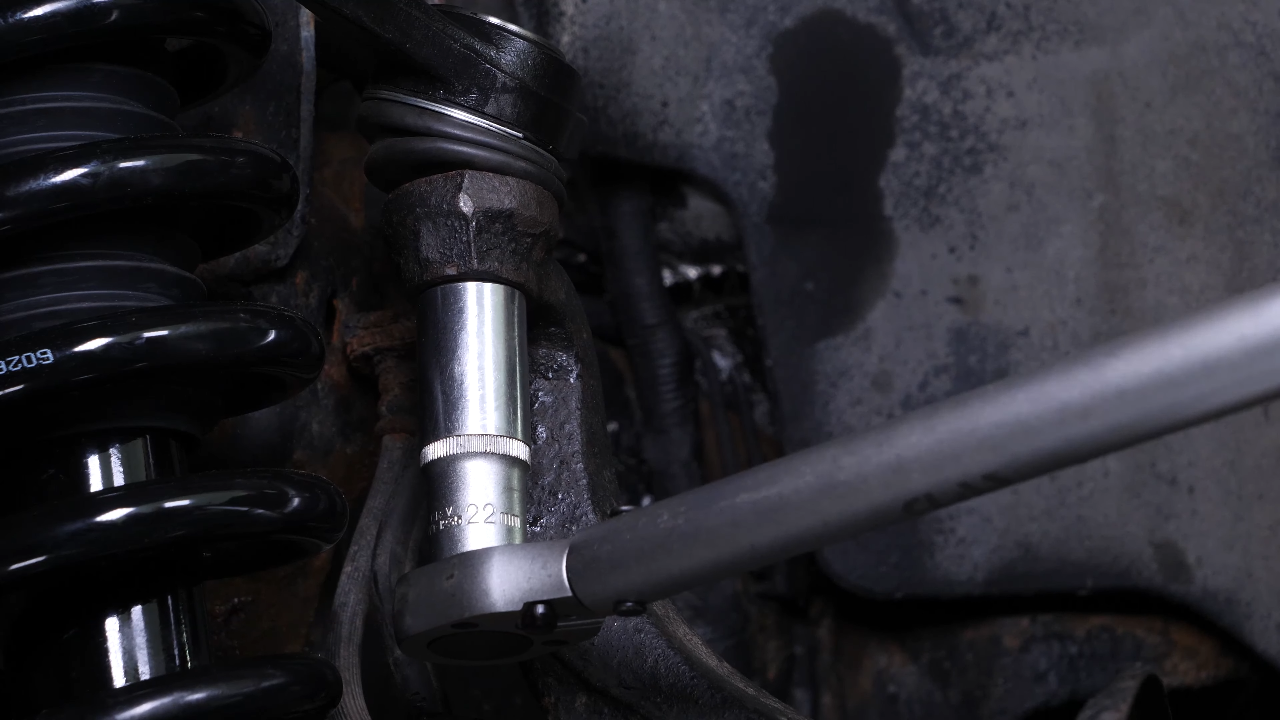
Using a breaker bar and a 22mm socket, loosen the nut on the upper control arm ball joint and unscrew the nut a few threads with a ratchet. Turn the disk outwards, this will facilitate the following steps.

Chapter 6:
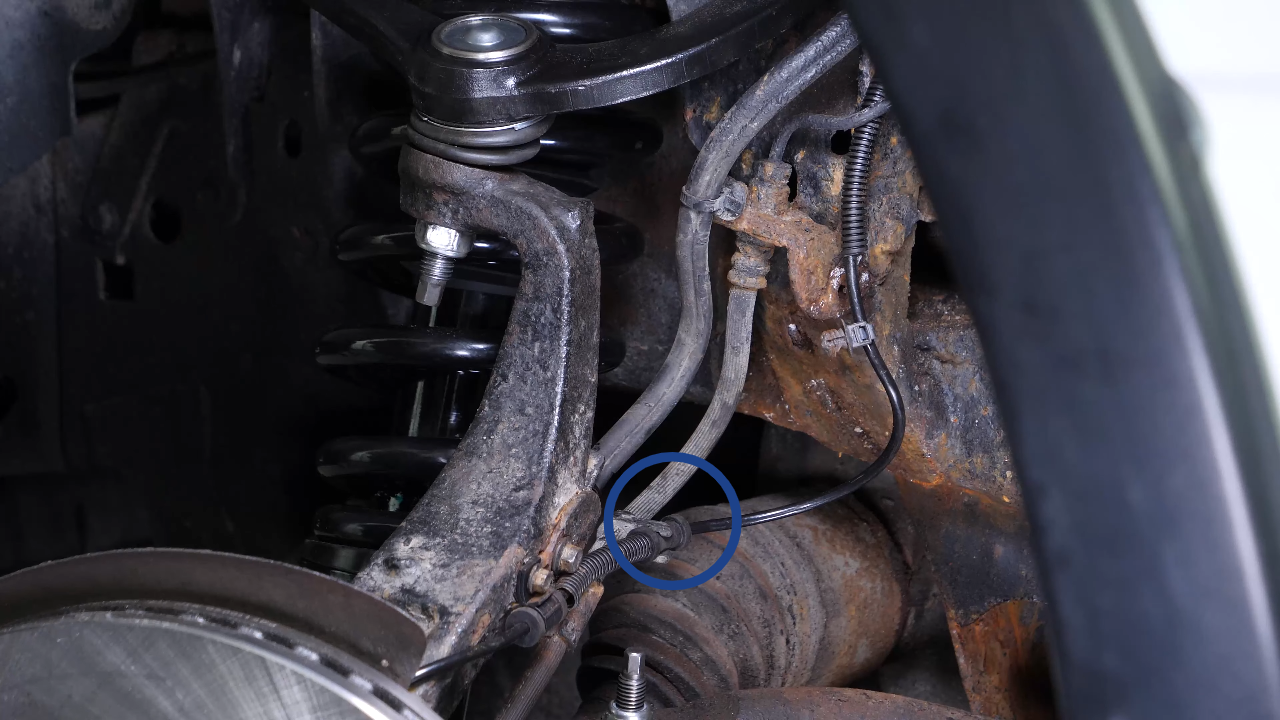
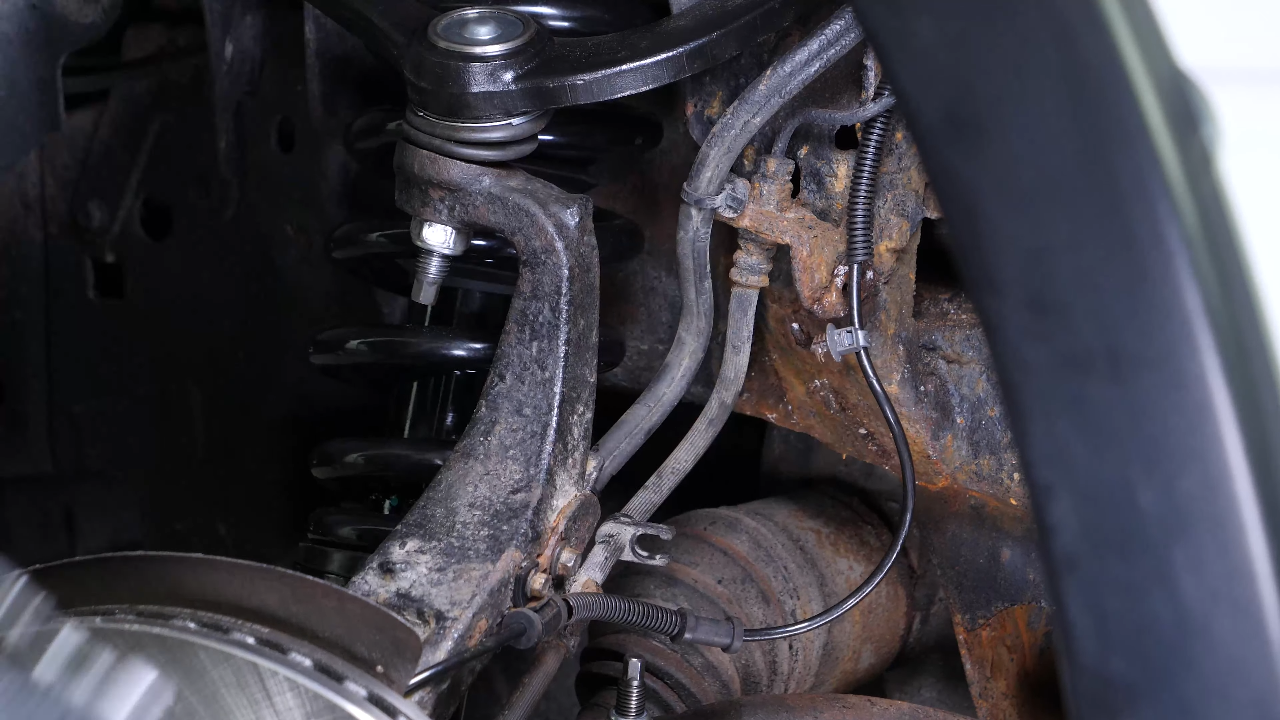
Remove the outer tie rod
Step 1/3
It is now time to remove the outer tie rod from the knuckle. To do so, we recommend watching our video : “How to replace the outer tie rod Ford F-150?”
Chapter 6:
Step 2/3
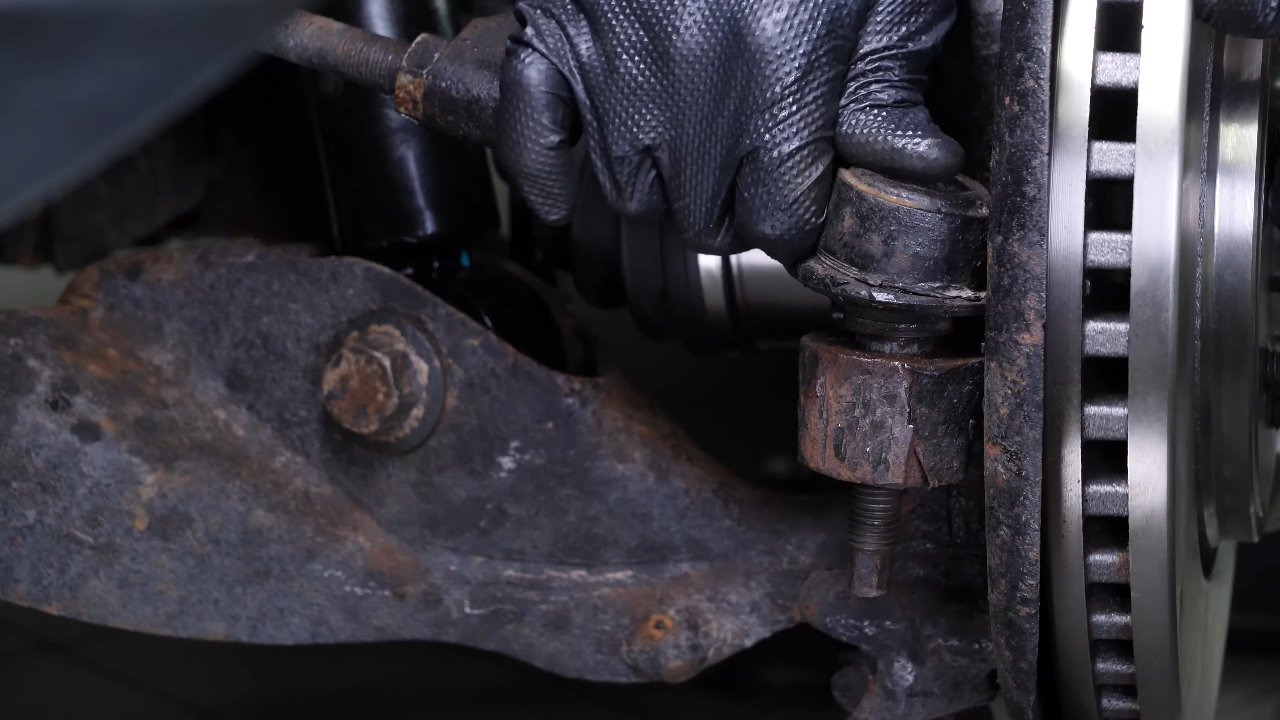
Knock on the knuckle to separate the ball joint from the upper control arm.

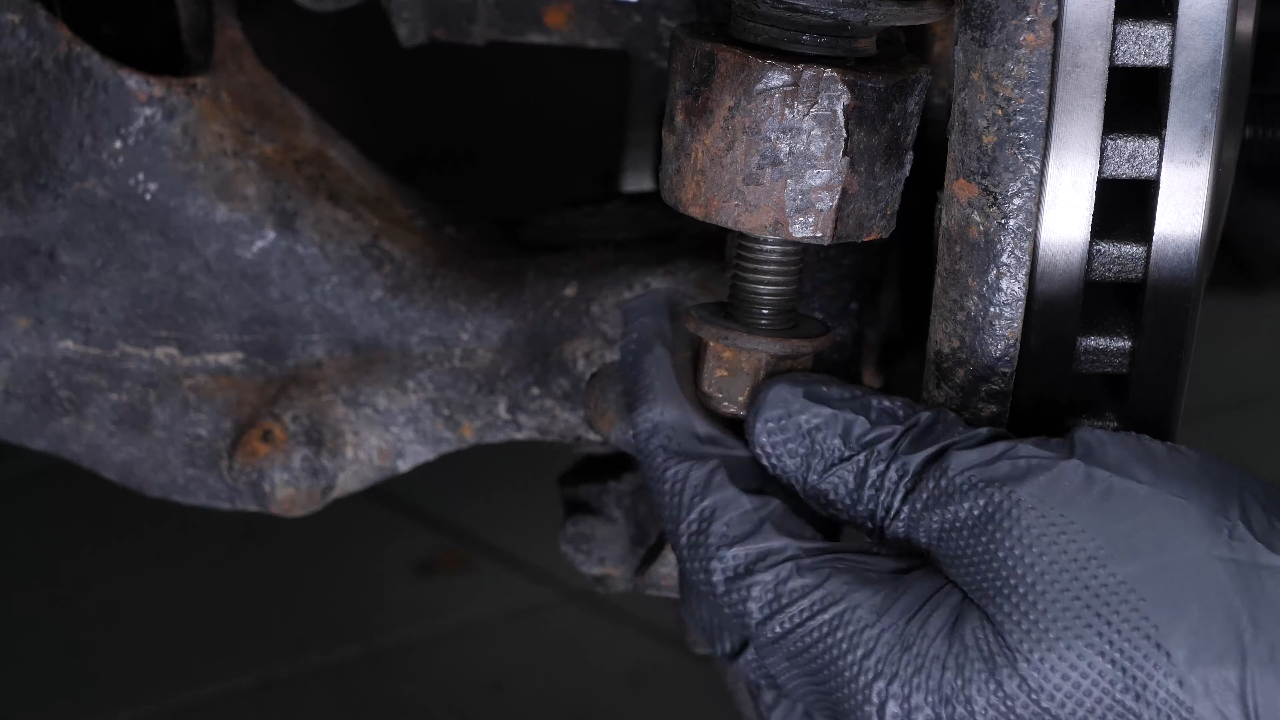
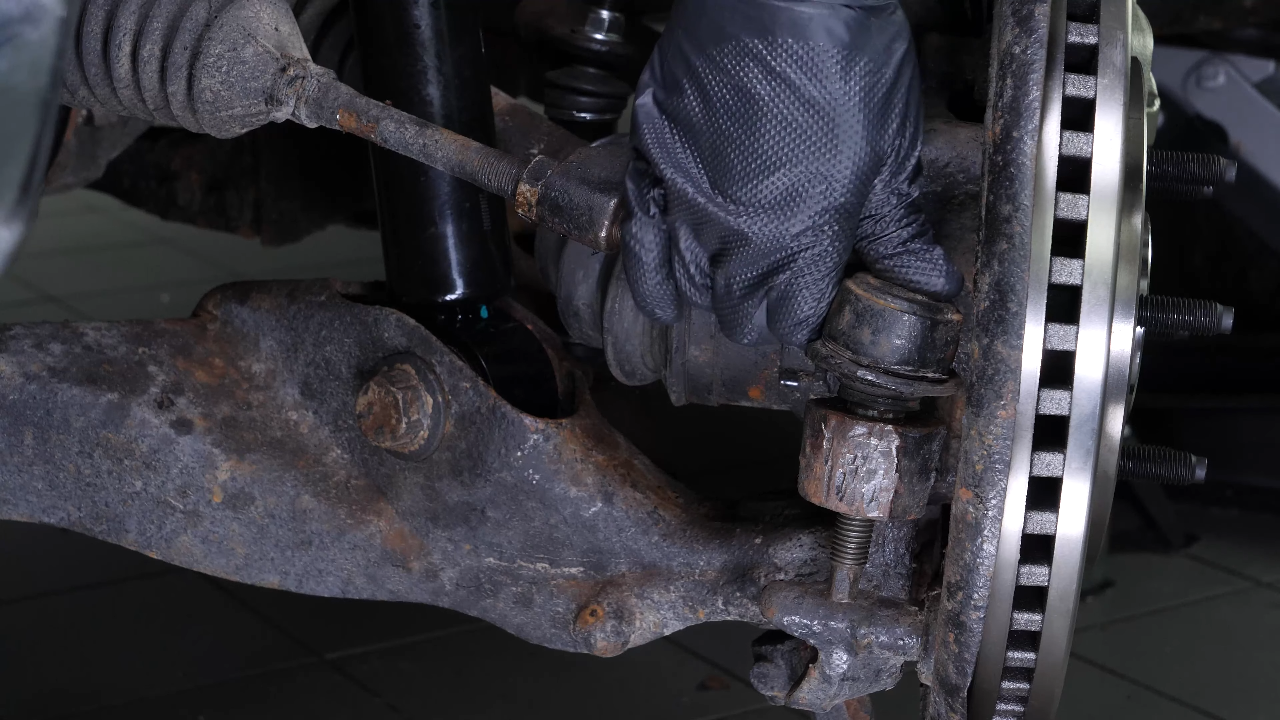
Chapter 6:
Step 3/3
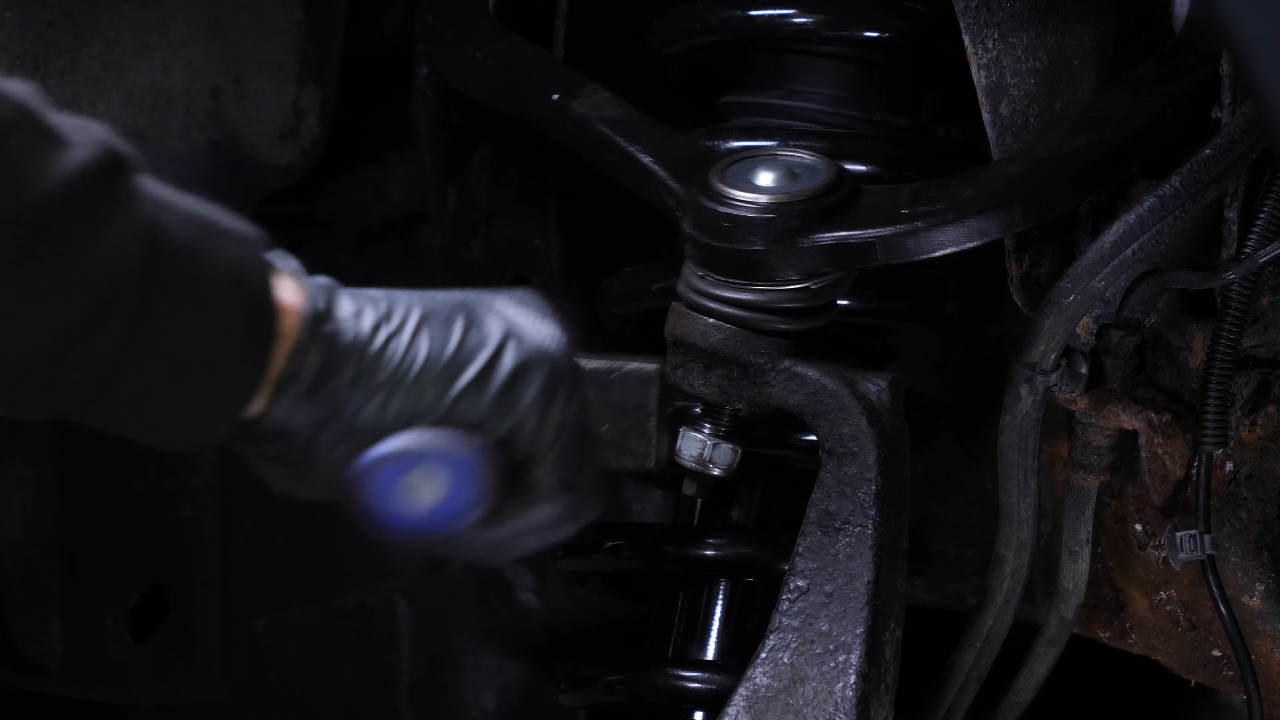
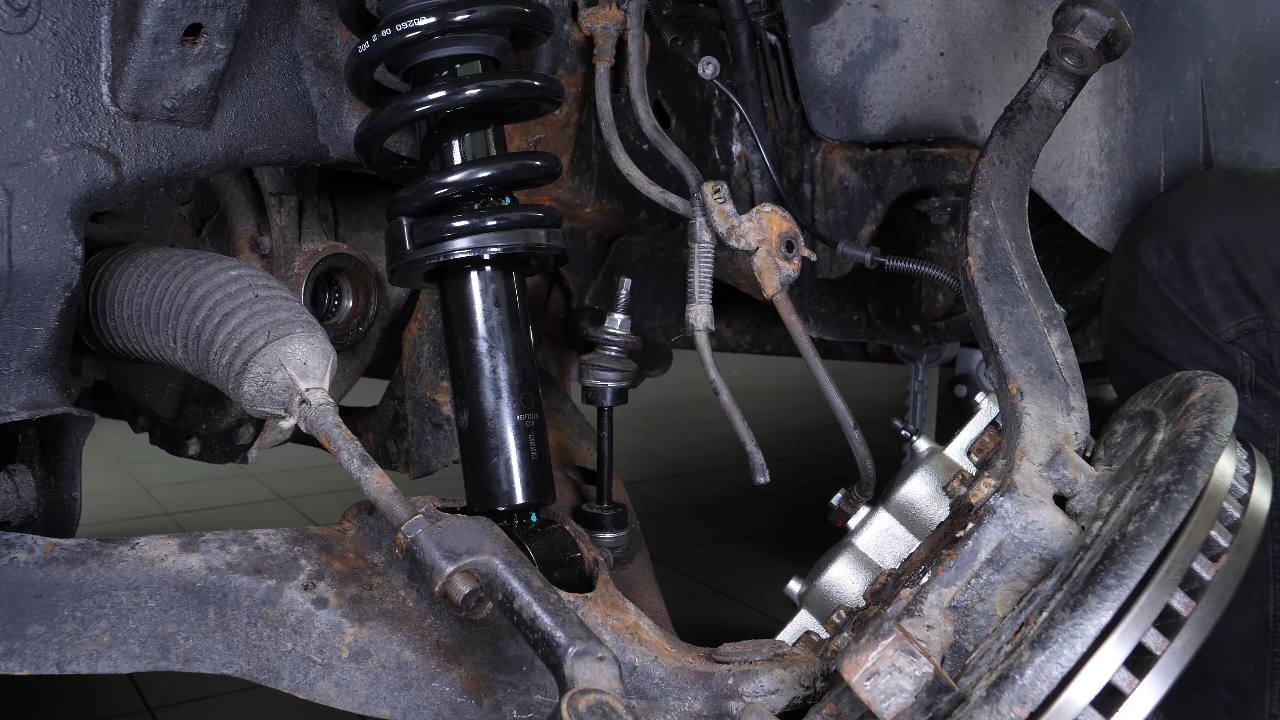
To prevent the wheel knuckle unit from falling off, lift the front axle slightly with a jack while being supported by the lower control arm. Then finish unscrewing the upper control arm ball joint.
Chapter 7:
Remove the wheel hub actuator
Step 1/4
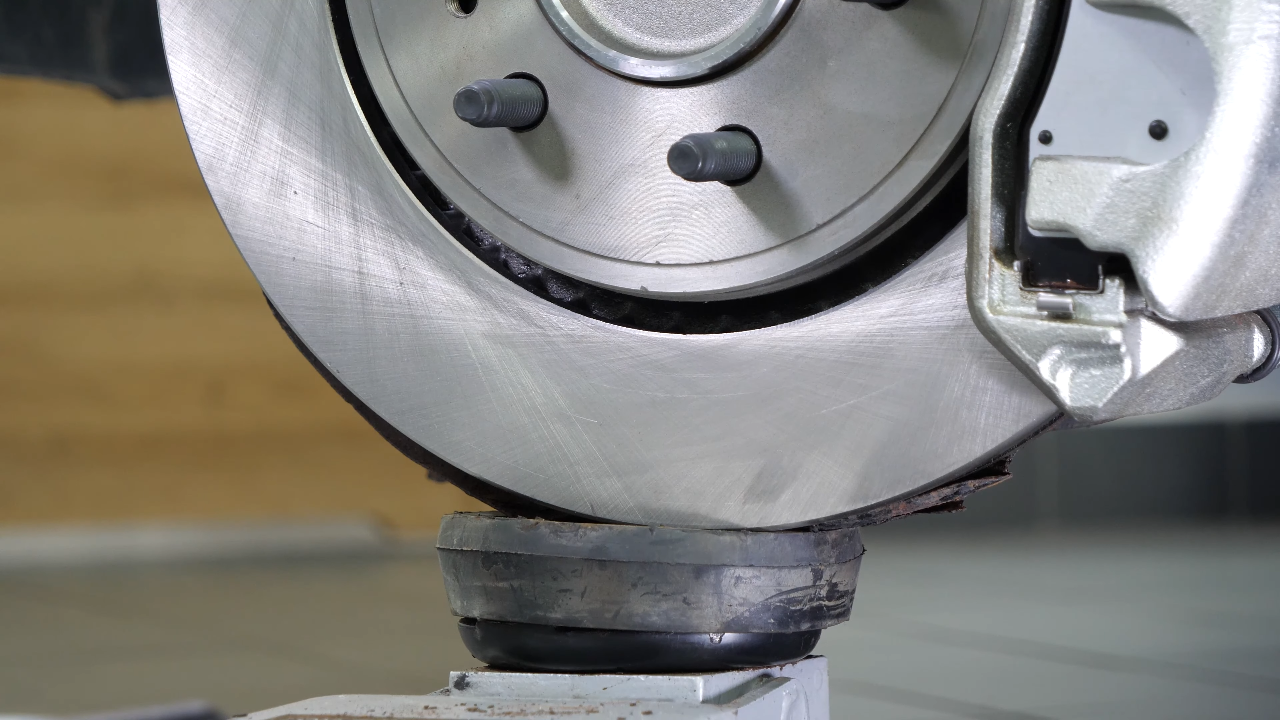
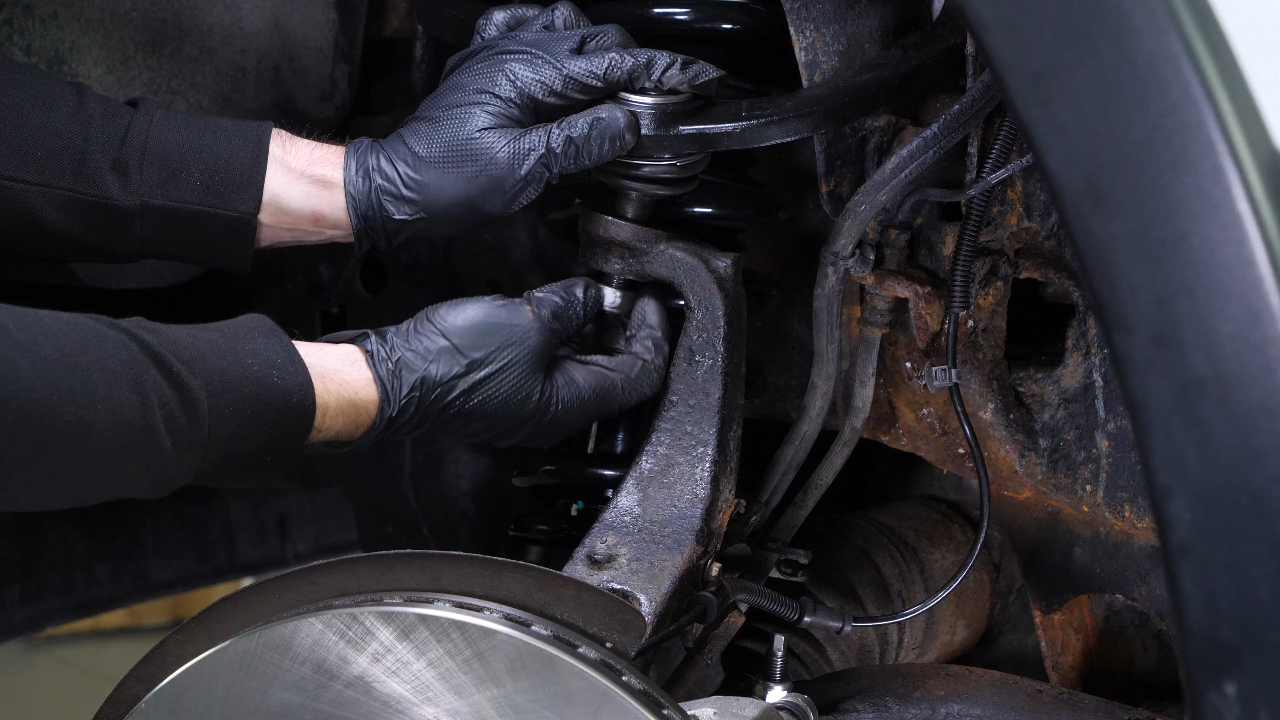
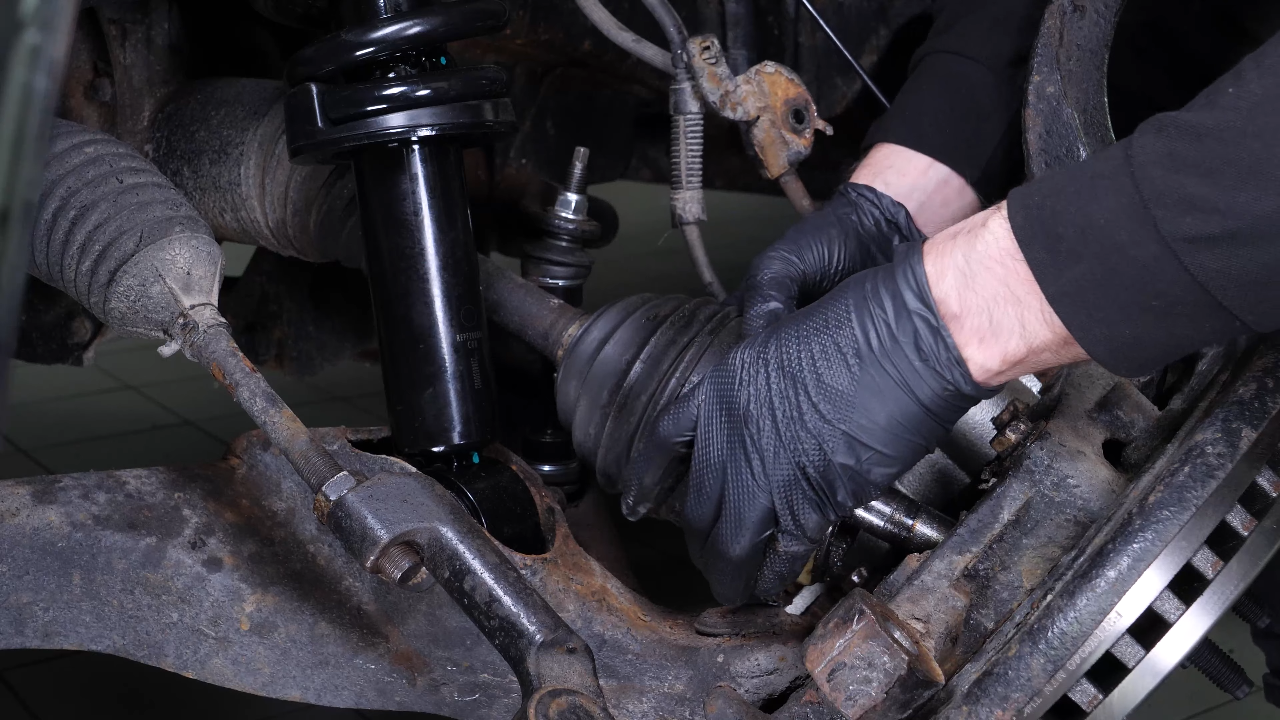
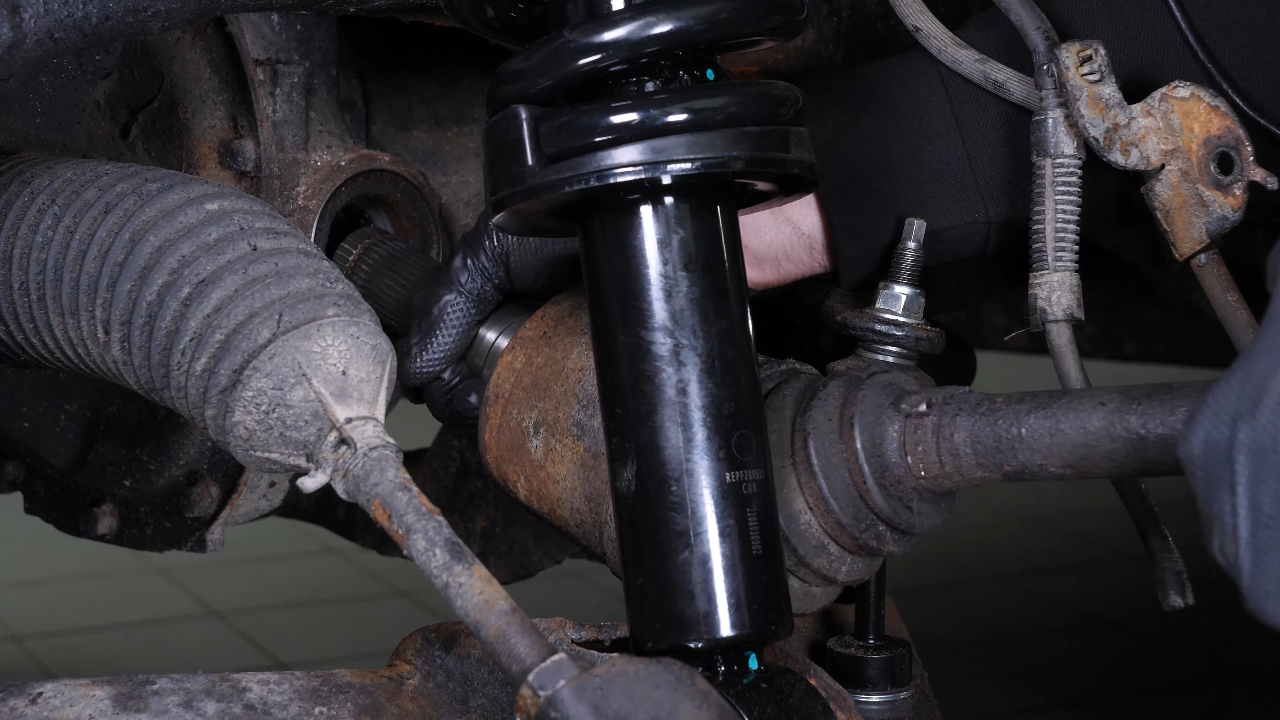
Lower the wheel knuckle slightly with the jack to remove the ball joint, and create the space needed to remove the CV axle. Then shift the whole.
Chapter 7:
Step 2/4
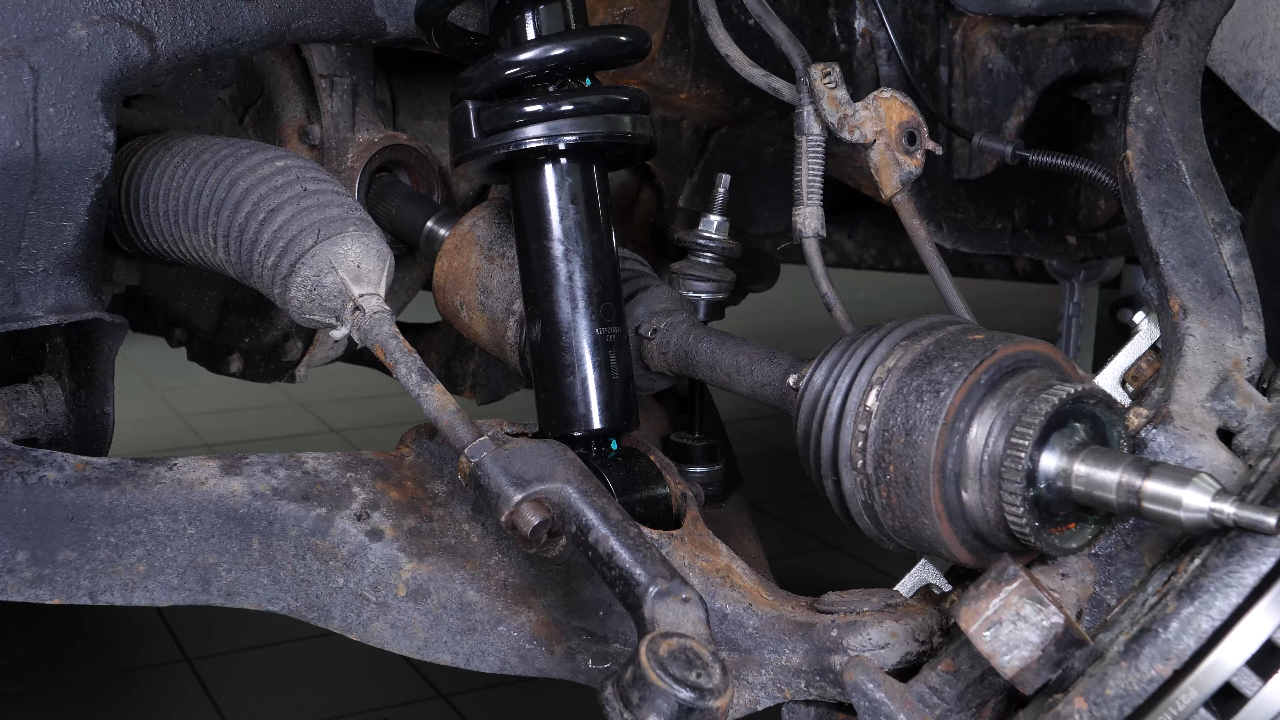
Disconnect the vacuum lines. Tilt the wheel knuckle to remove the CV axle.
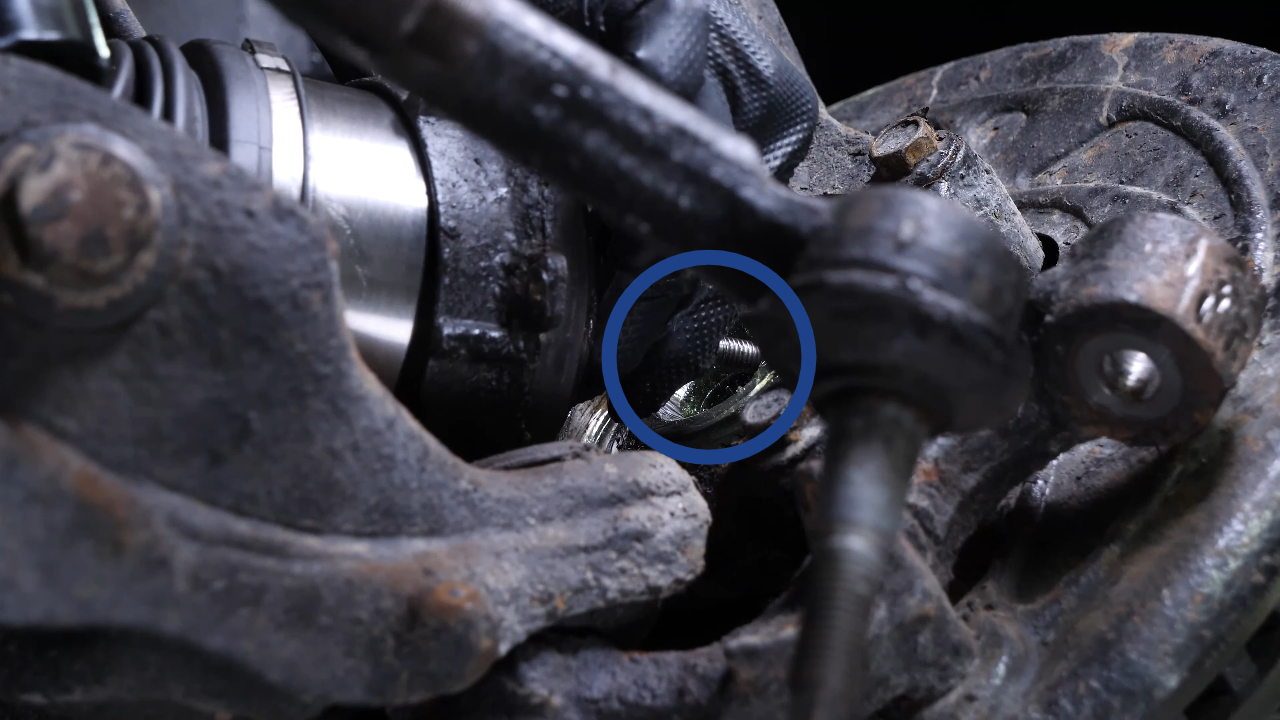
Chapter 7:
Step 3/4
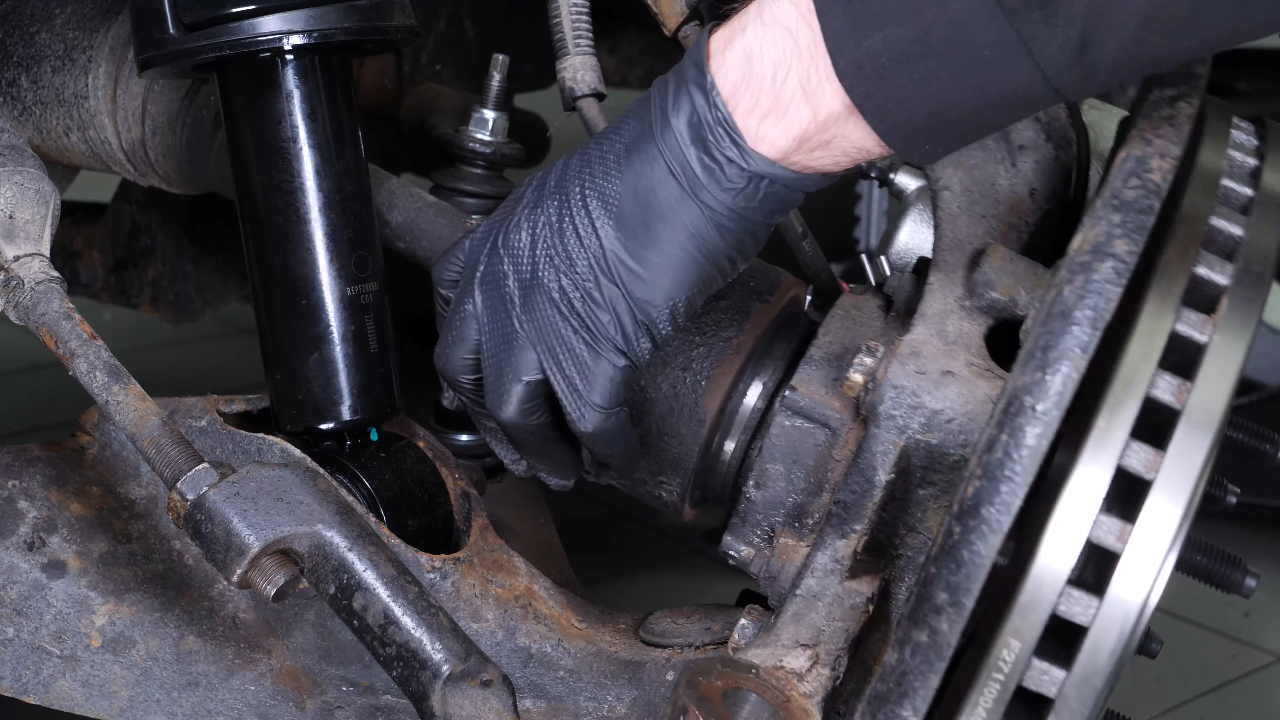
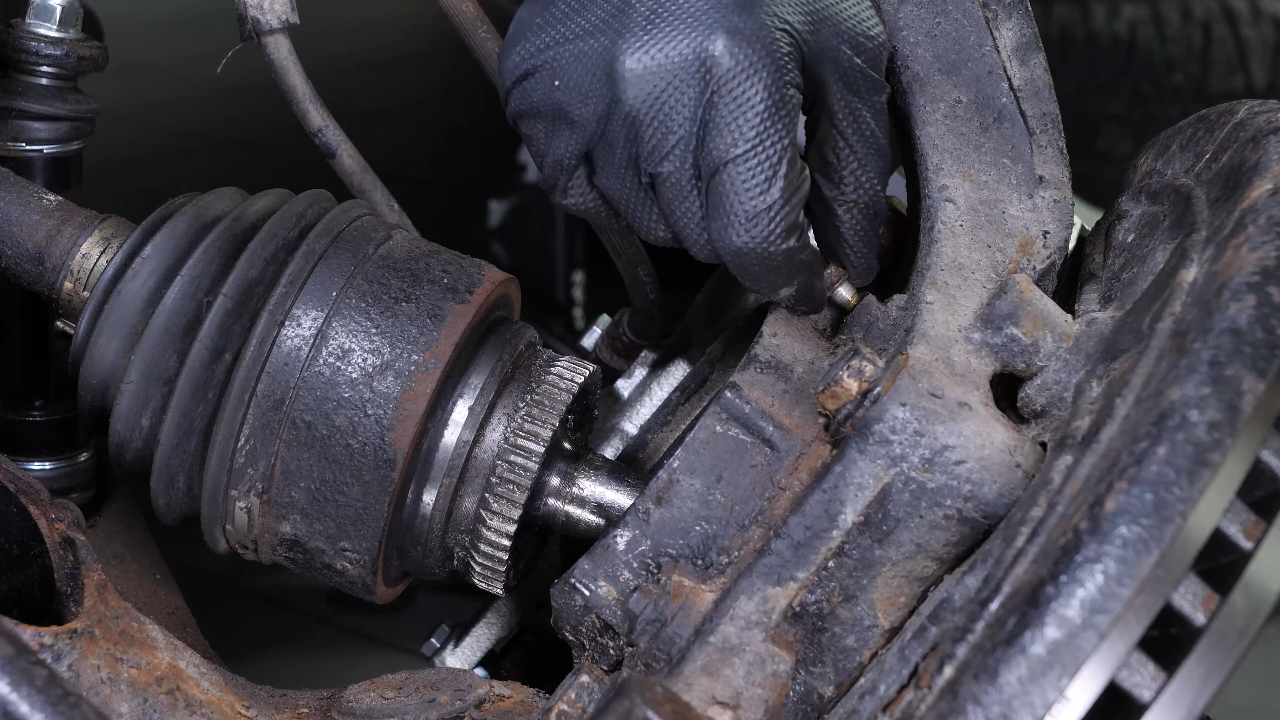
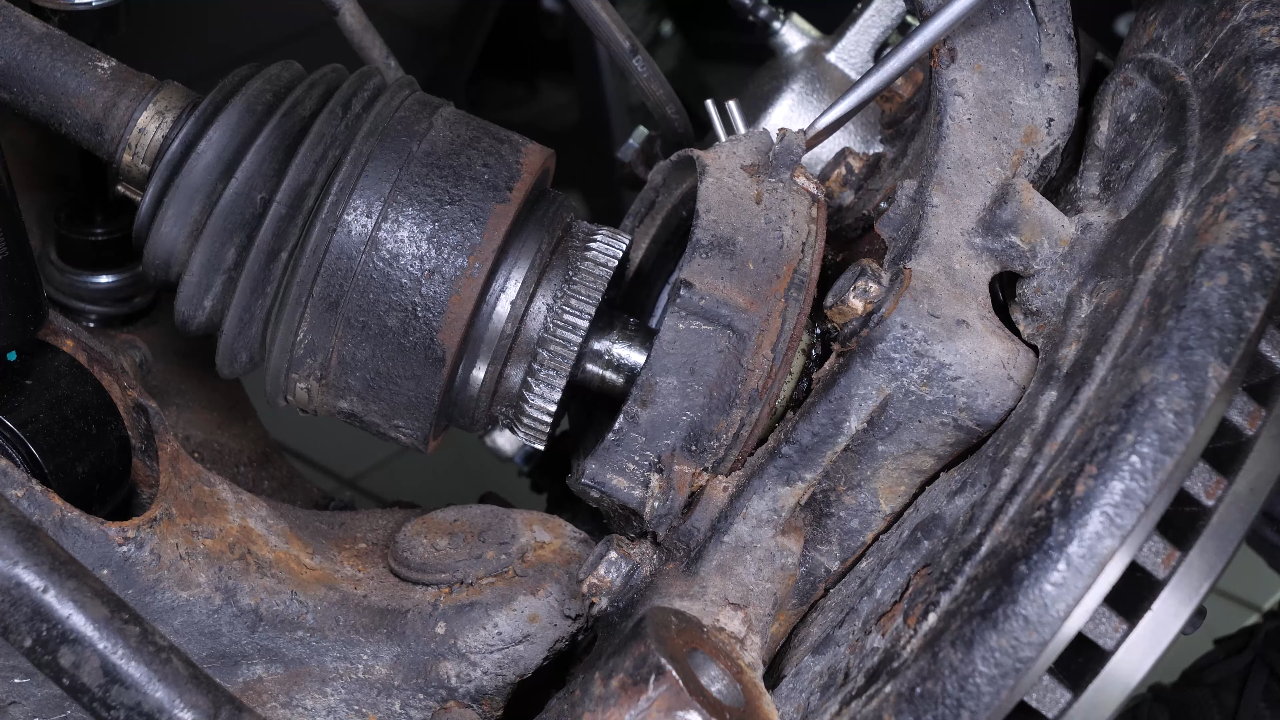
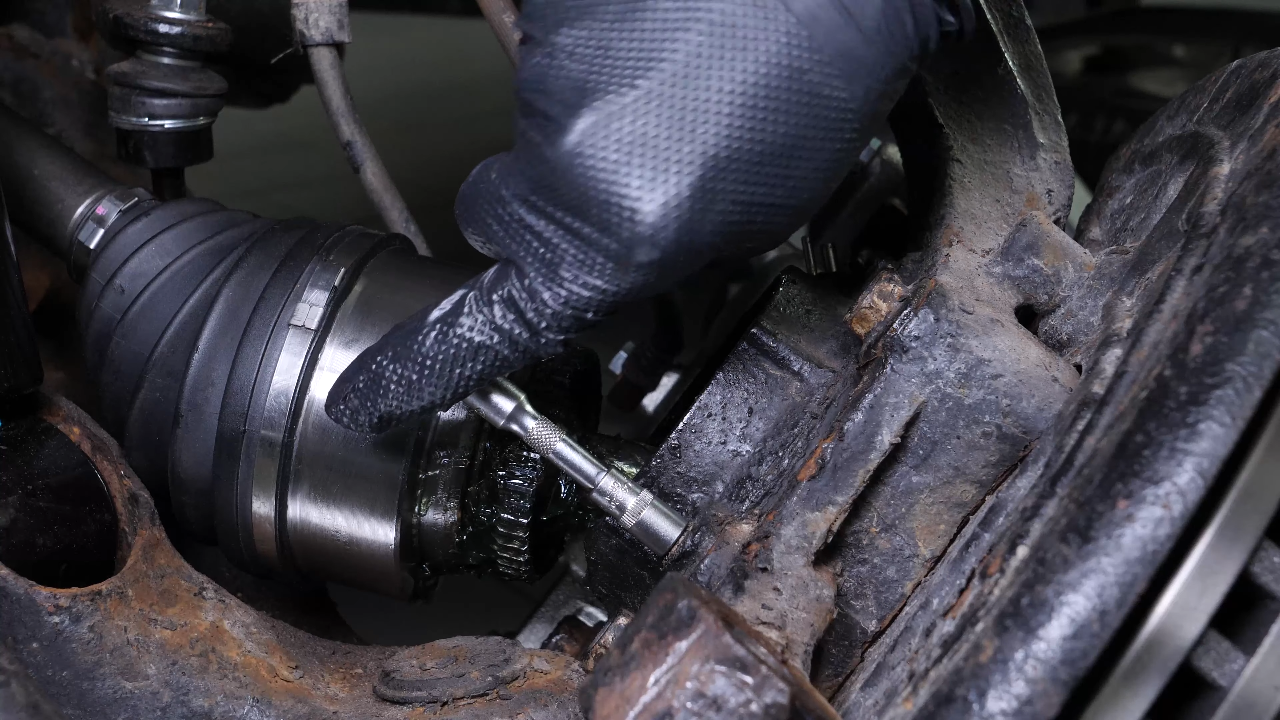
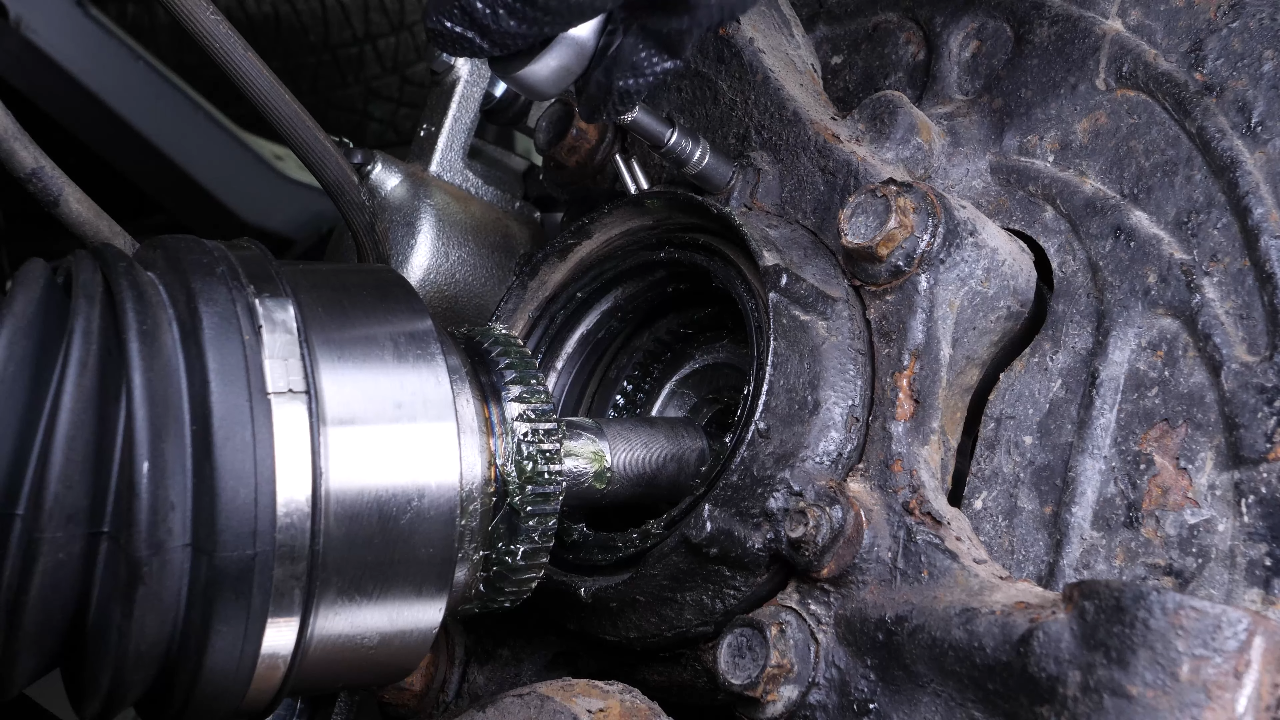
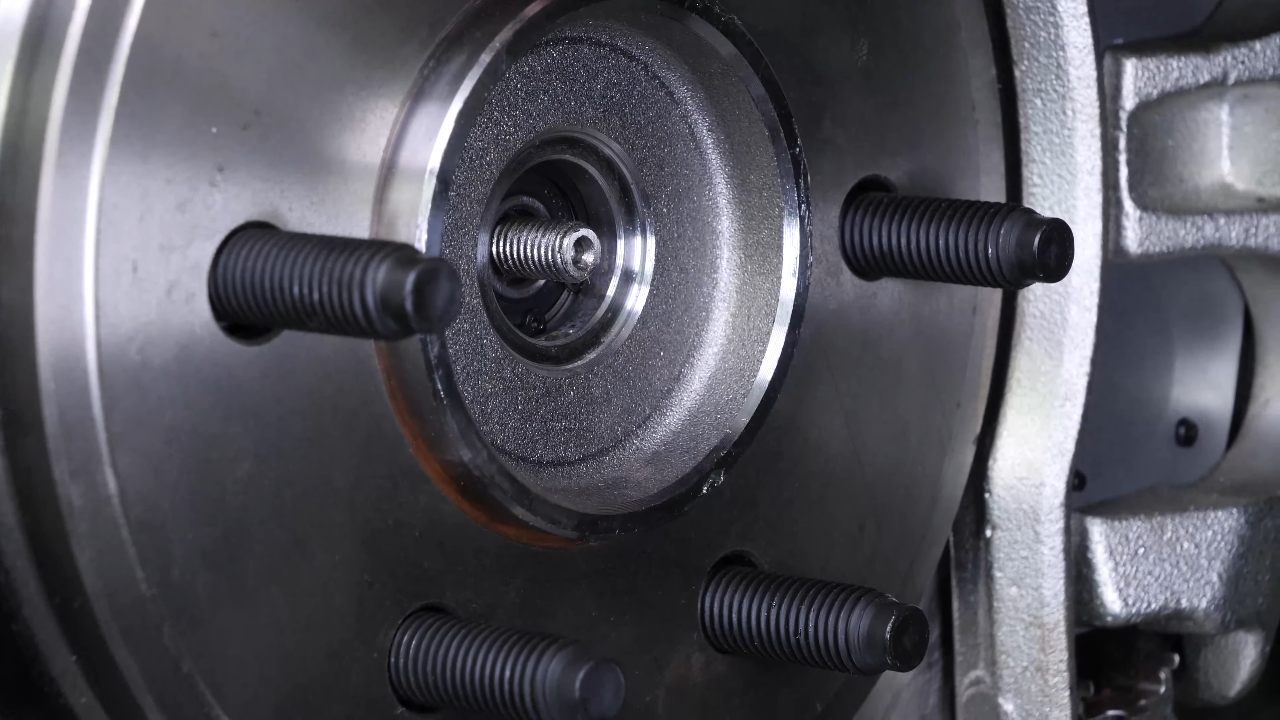
In order to completely remove the CV axle from the hub, it is necessary to remove the hub lock actuator. Using a ratchet and an 8mm socket, unscrew the 3 screws maintaining the hub lock actuator.
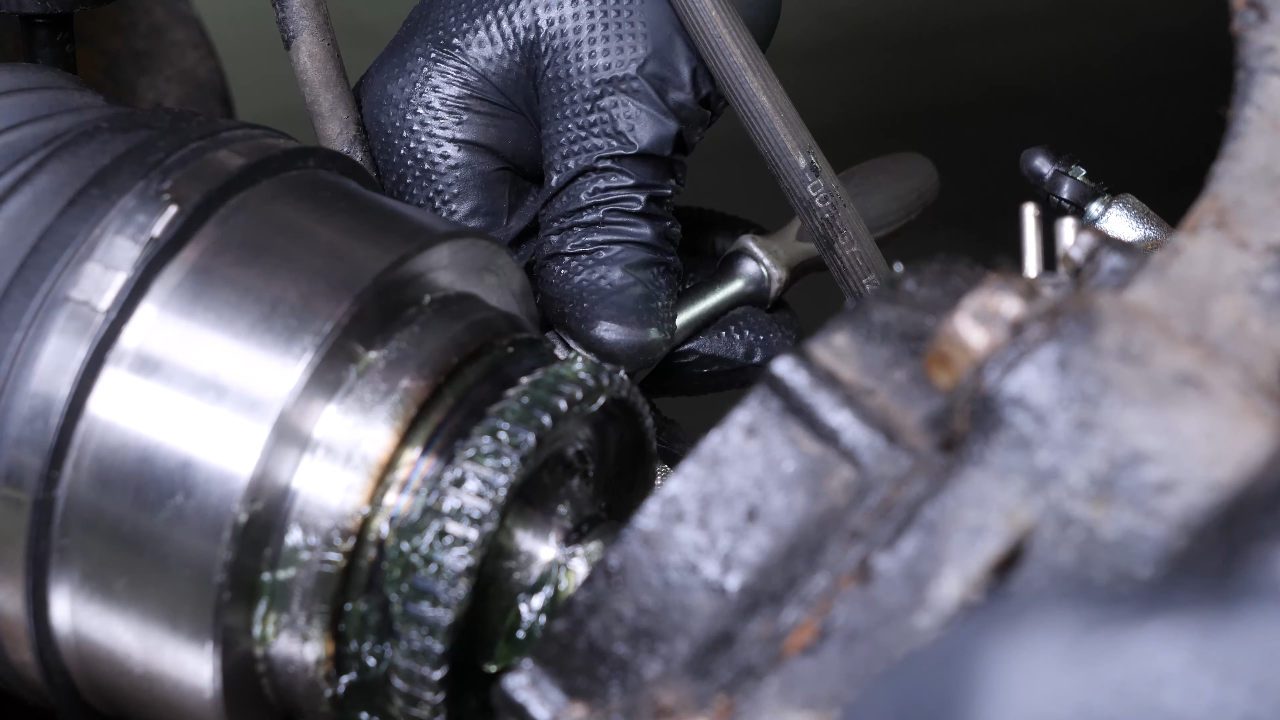
Chapter 7:
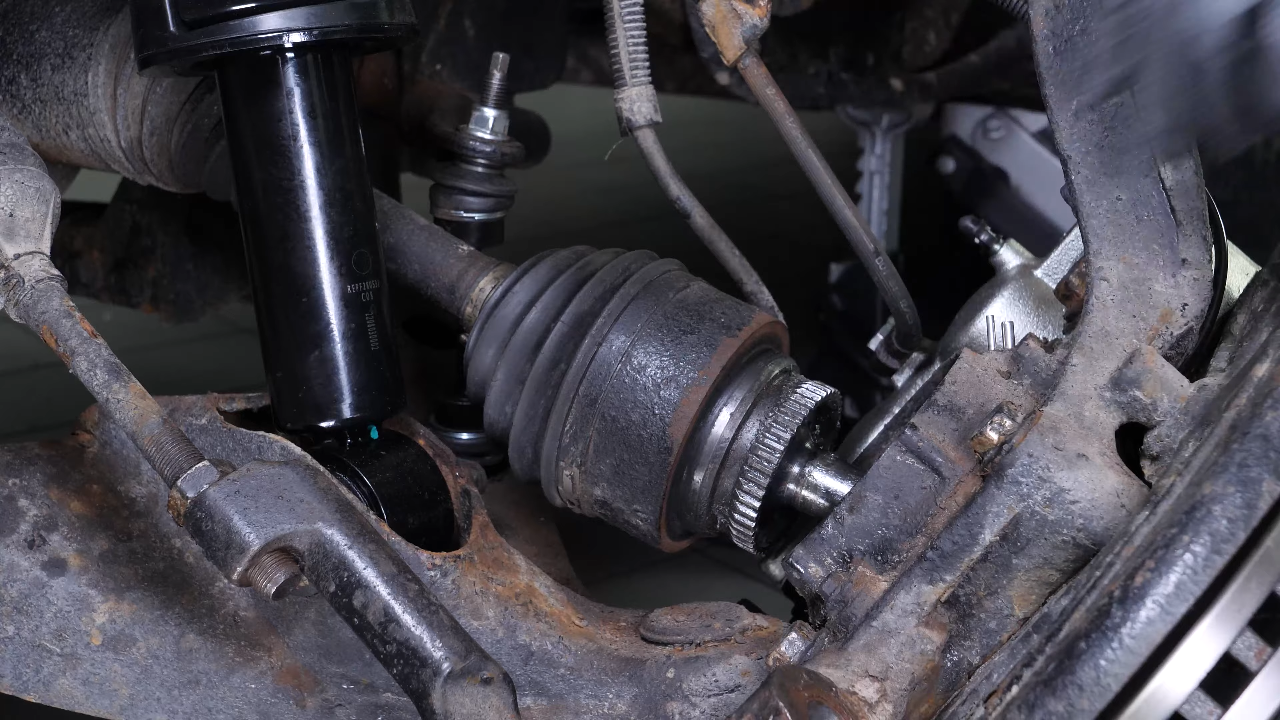
Step 4/4
Using a large flathead screwdriver, pry it out of its slot. You can now pull the CV axle out of the hub and remove the hub lock actuator.

Chapter 8:
Remove the CV axle
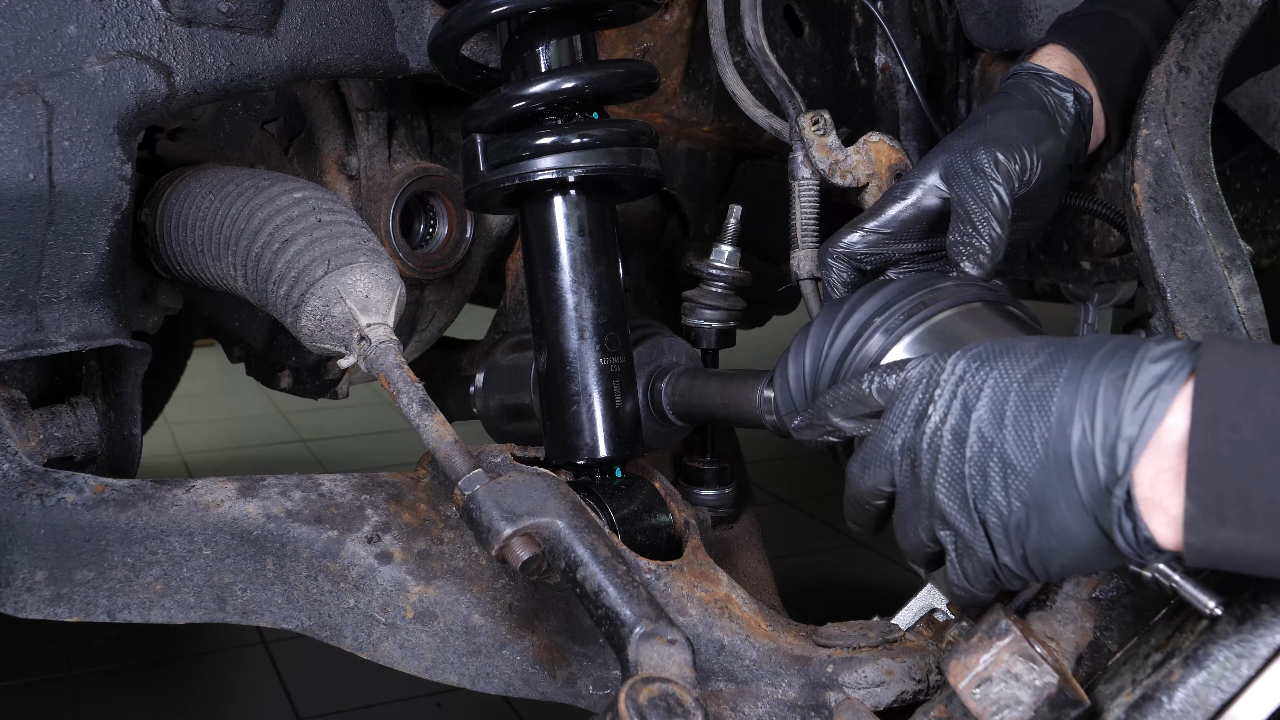
Step 1/2
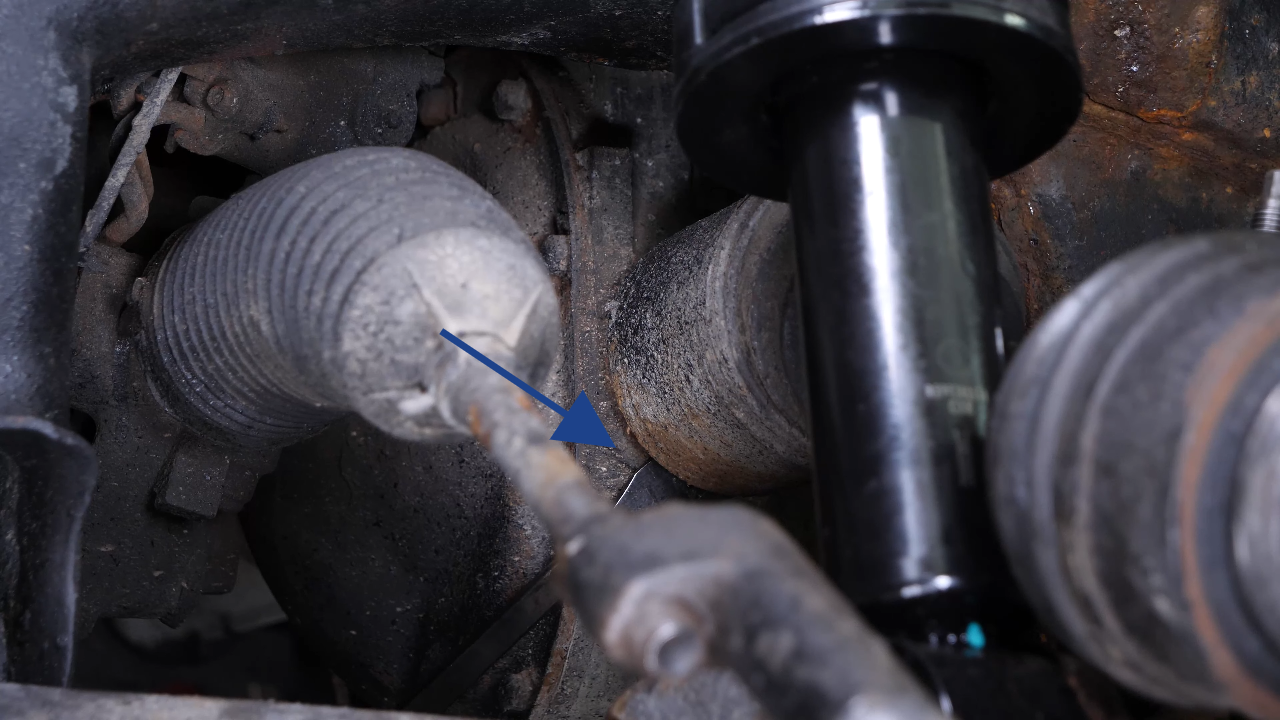
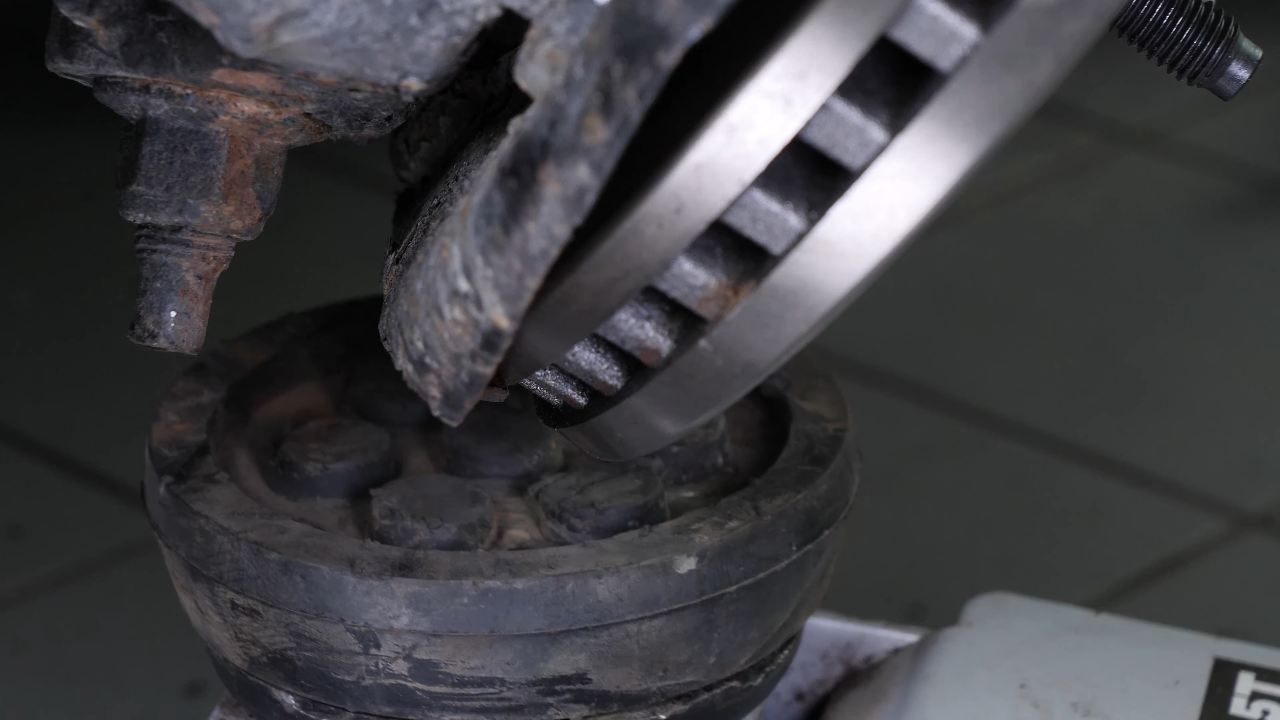
It is now necessary to release the CV axle. Use a crowbar to disengage the CV axle from the differential.
Chapter 8:
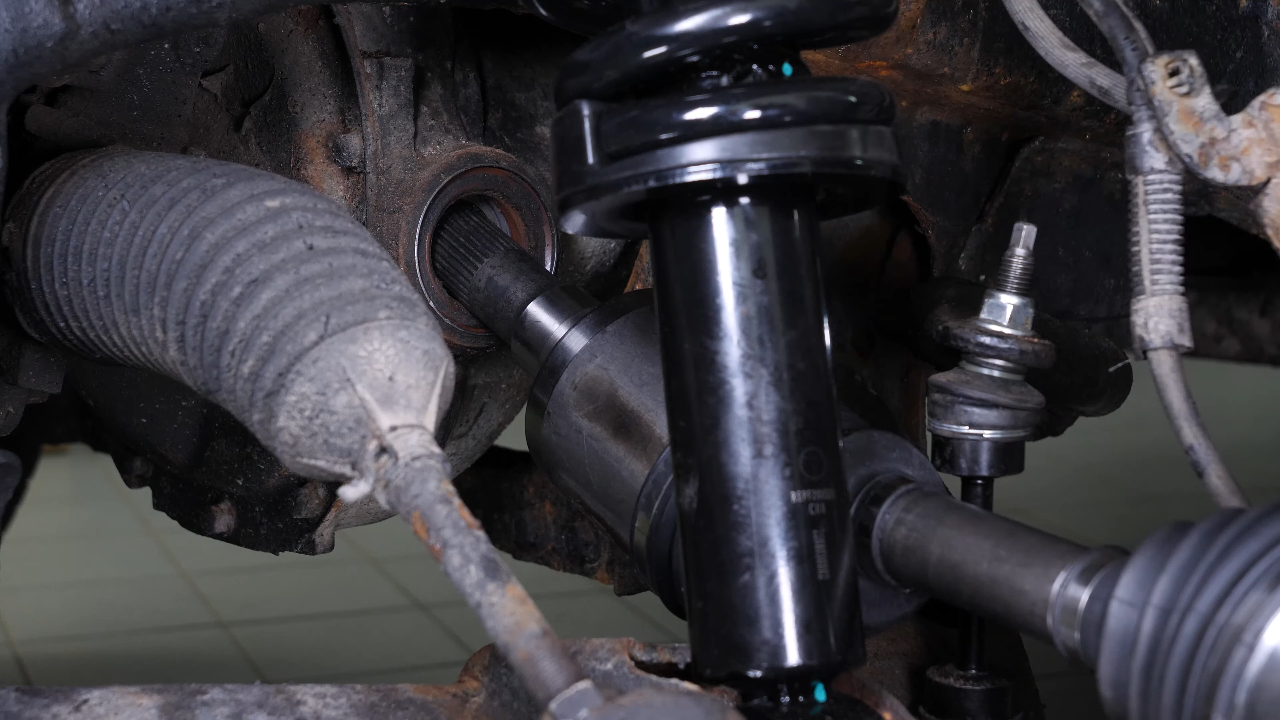
Step 2/2
Then pull the CV axle out completely. It might prove difficult to extract. Take your time, using the technique shown in the video

Chapter 9:
Prepare the installation of the new part
Step 1/2
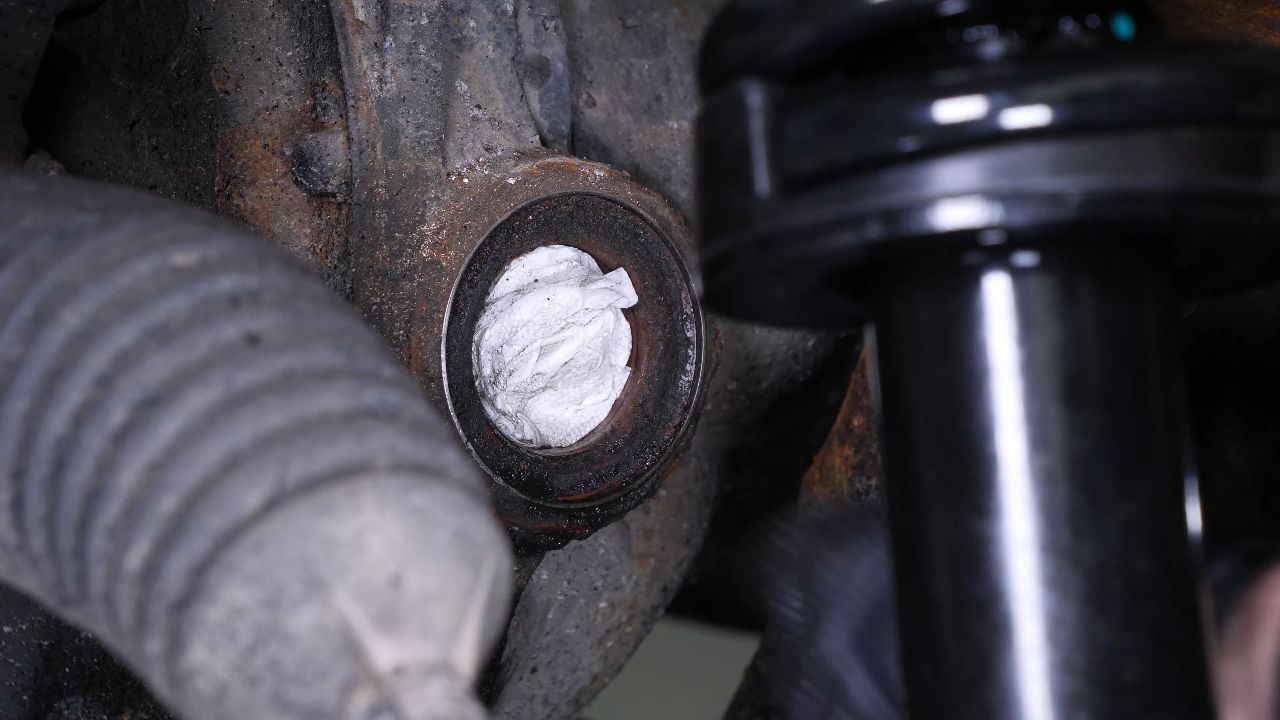
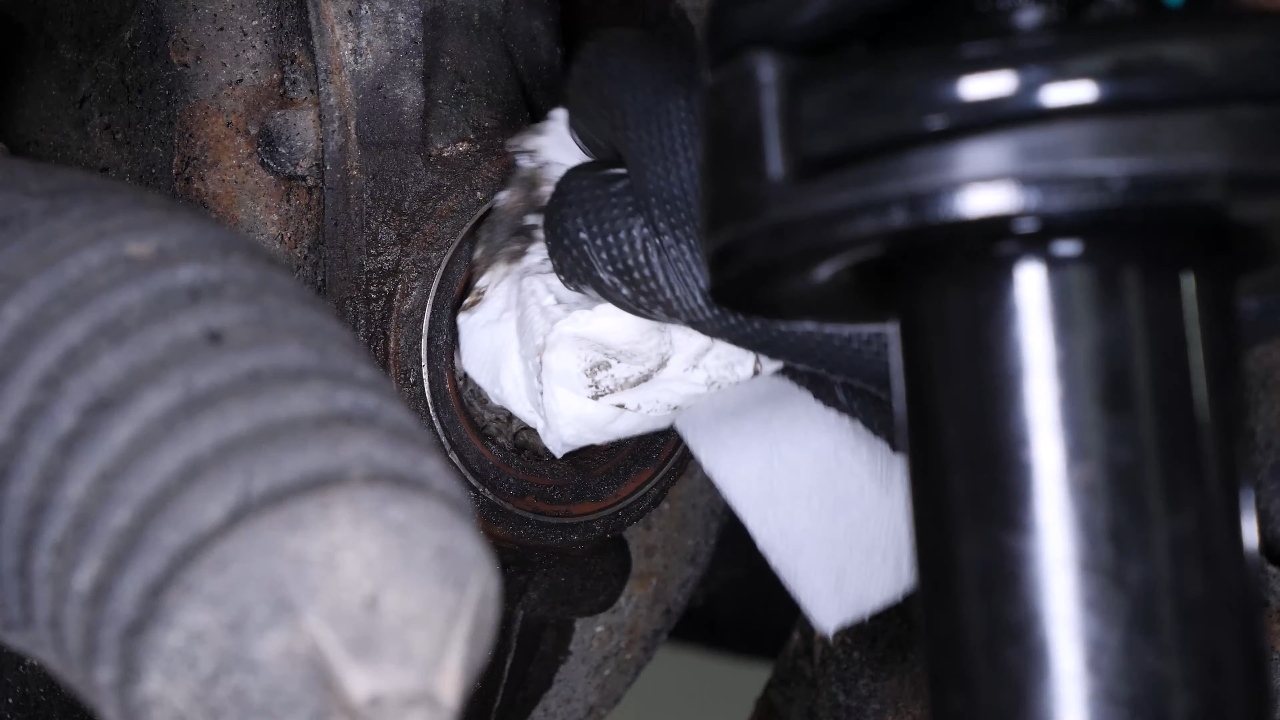
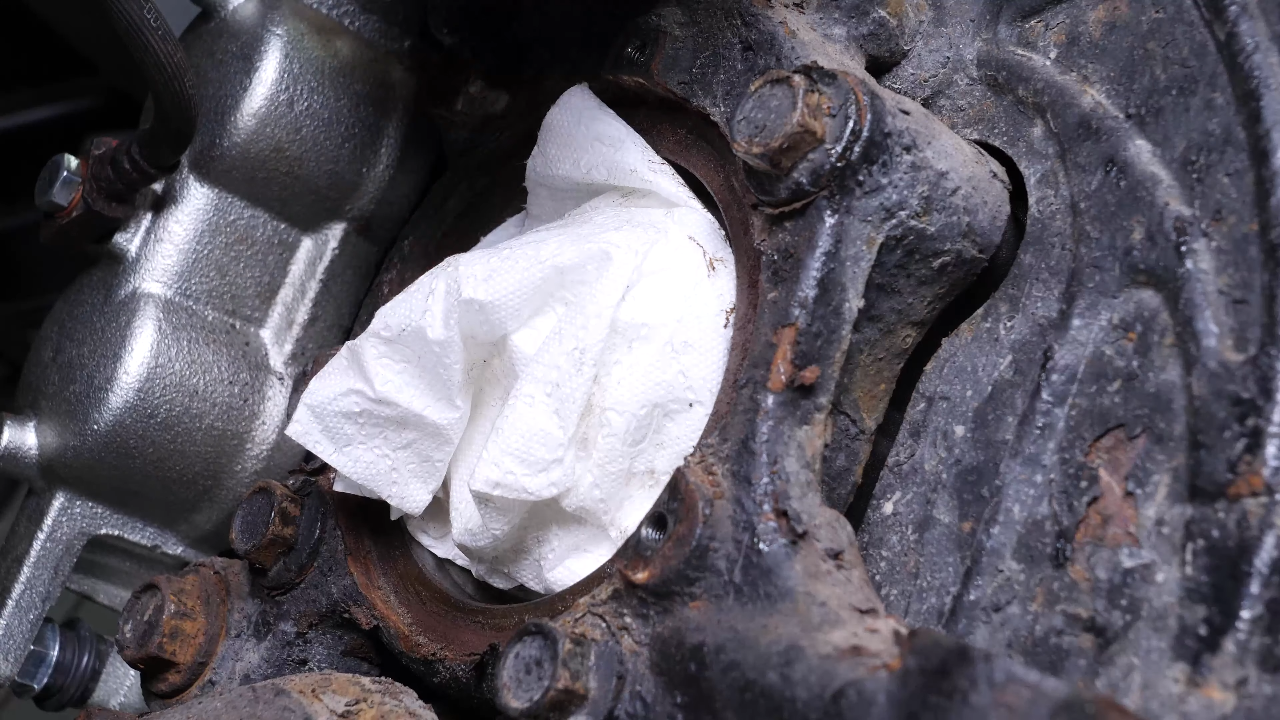
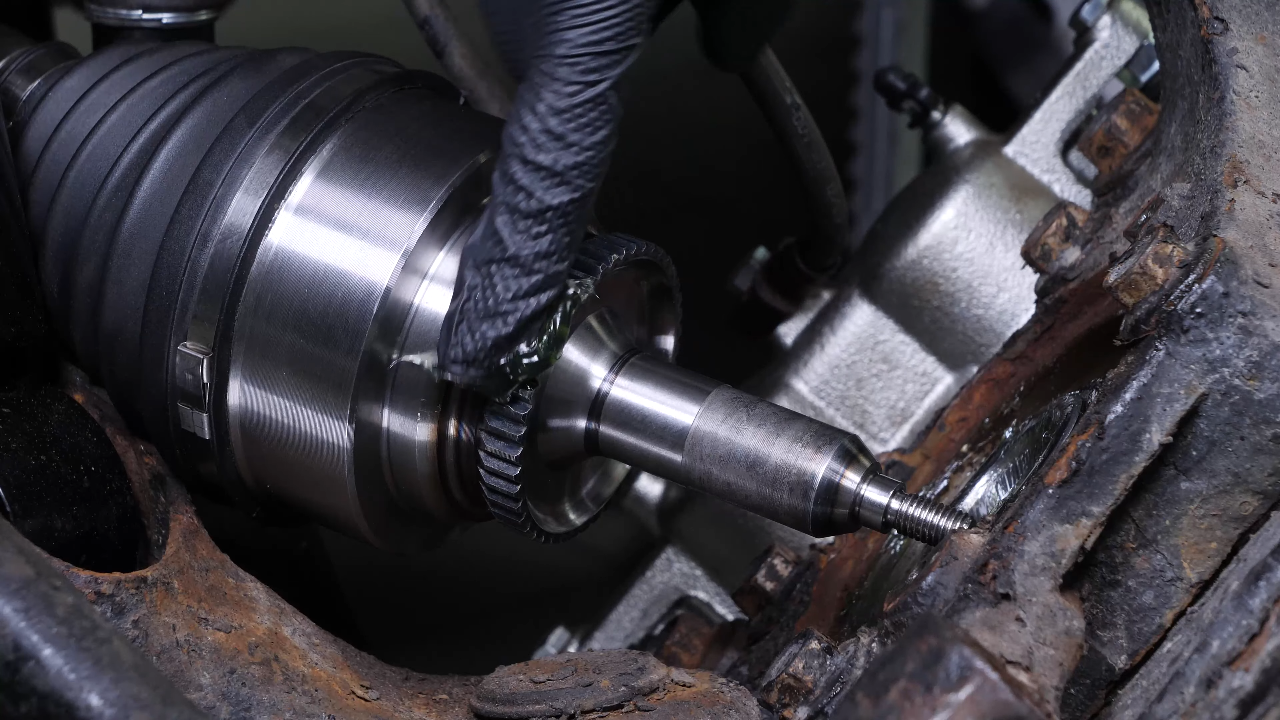
Protect the CV axle insertion slot near the drive axle.
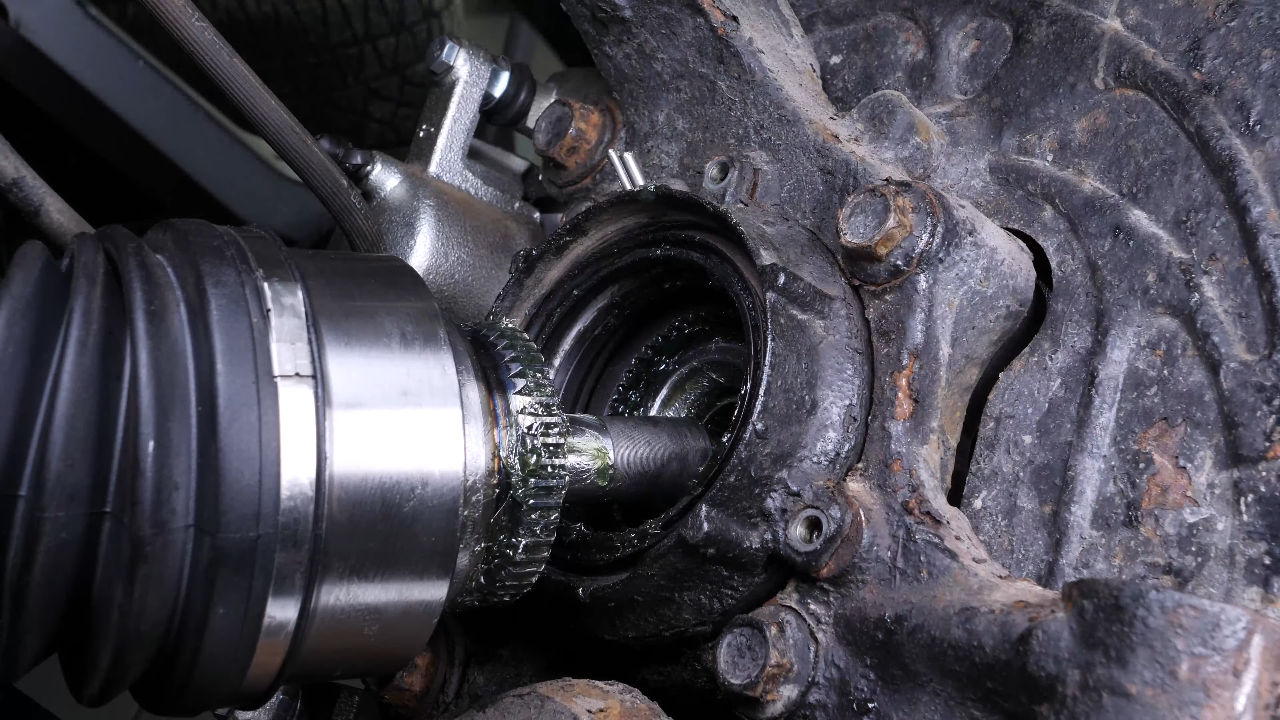
Chapter 9:
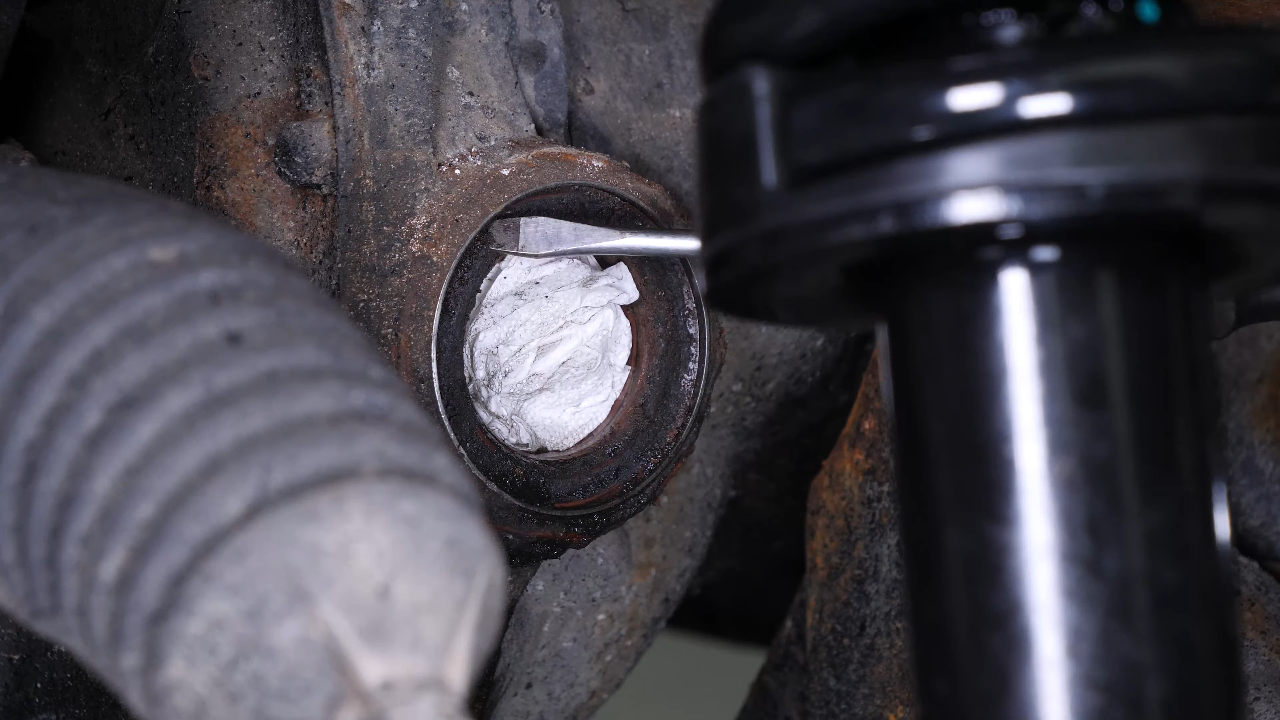
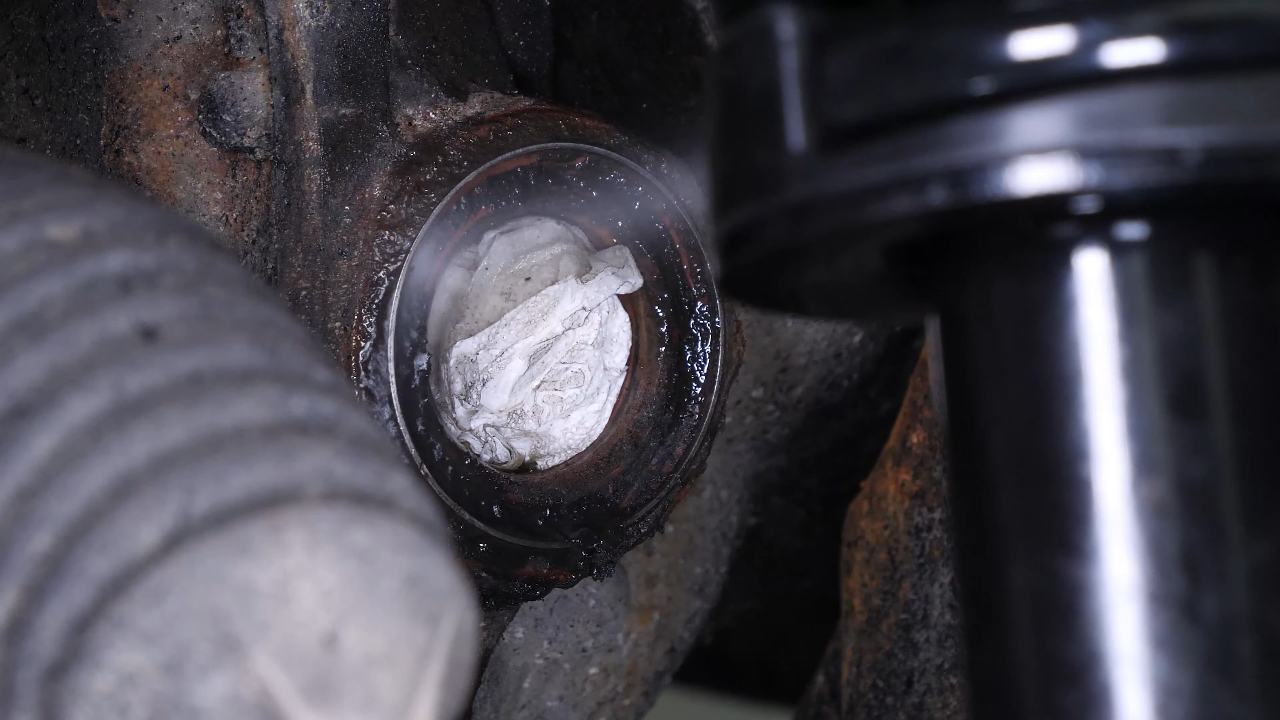
Step 2/2
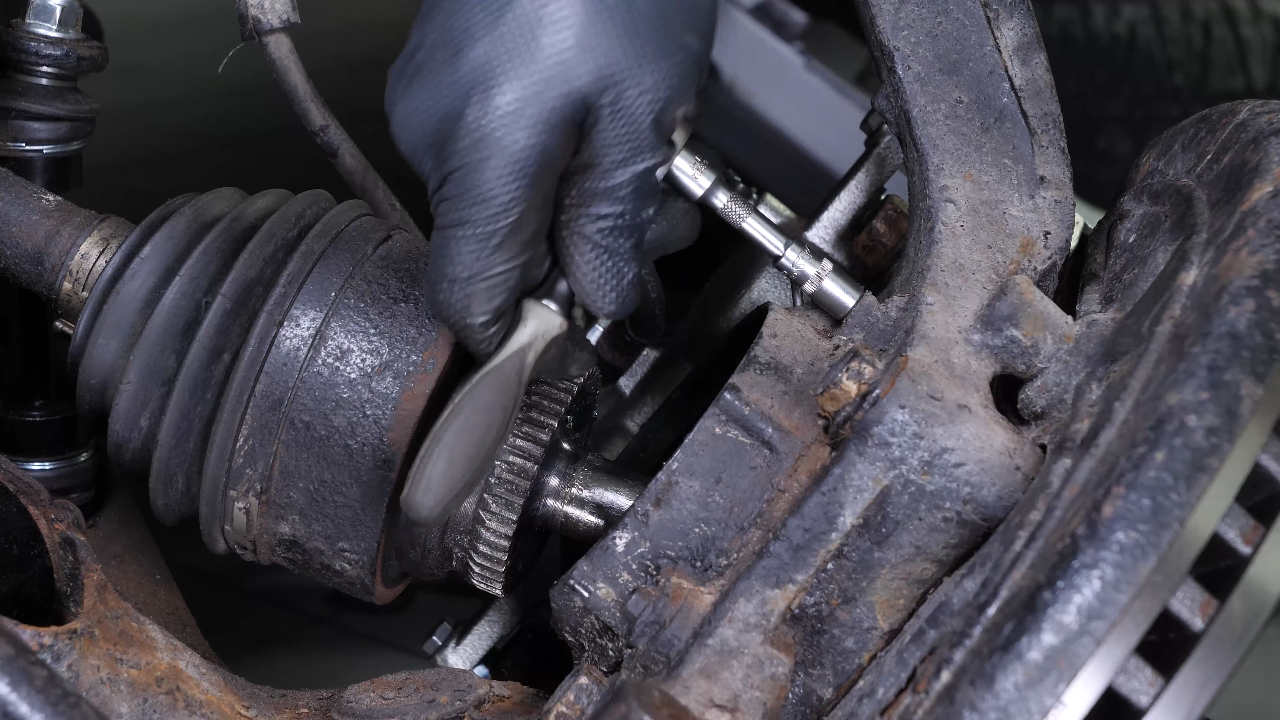
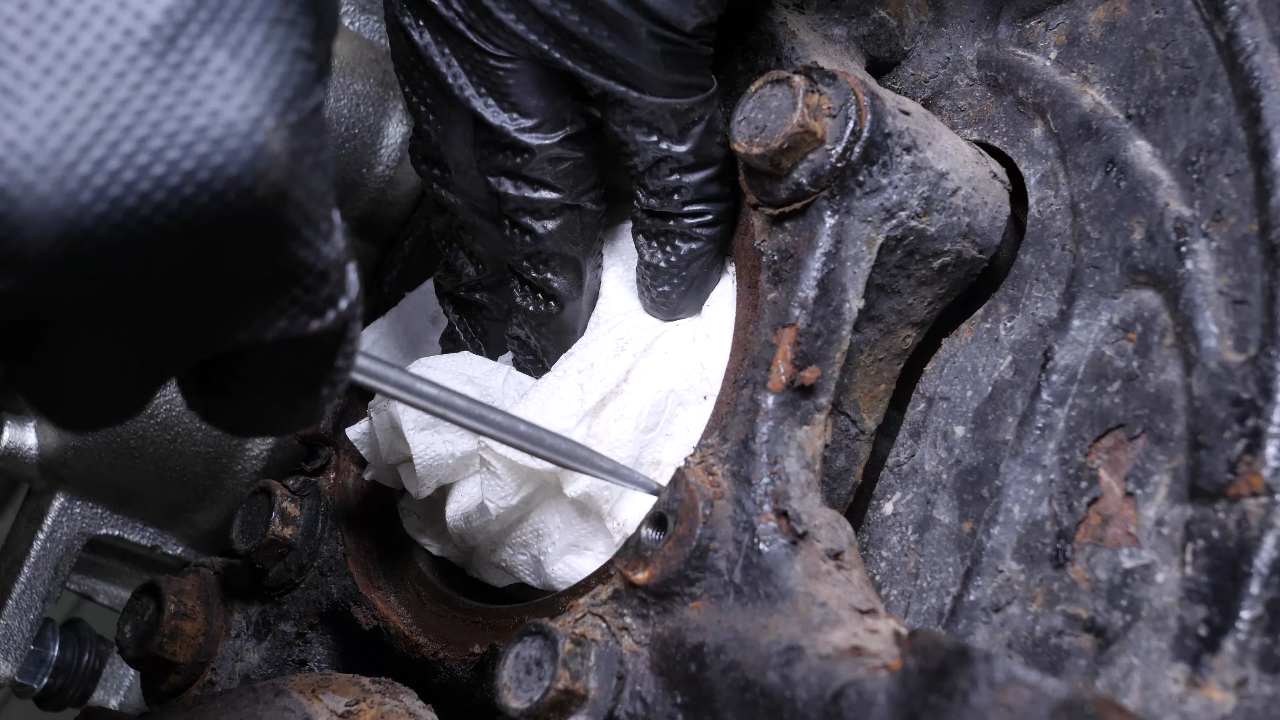
Then clean the impurities at the gasket with a screwdriver, brake cleaner and paper towels.
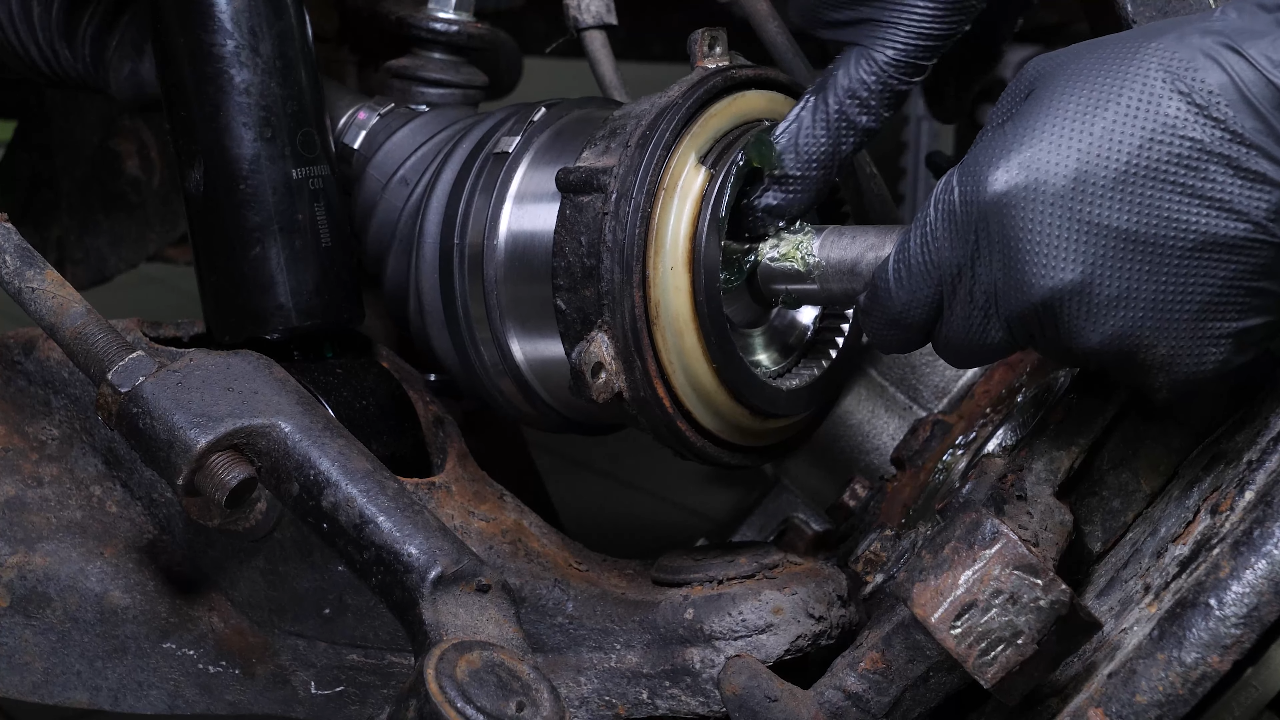
Chapter 10:
Prepare the installation of the new part
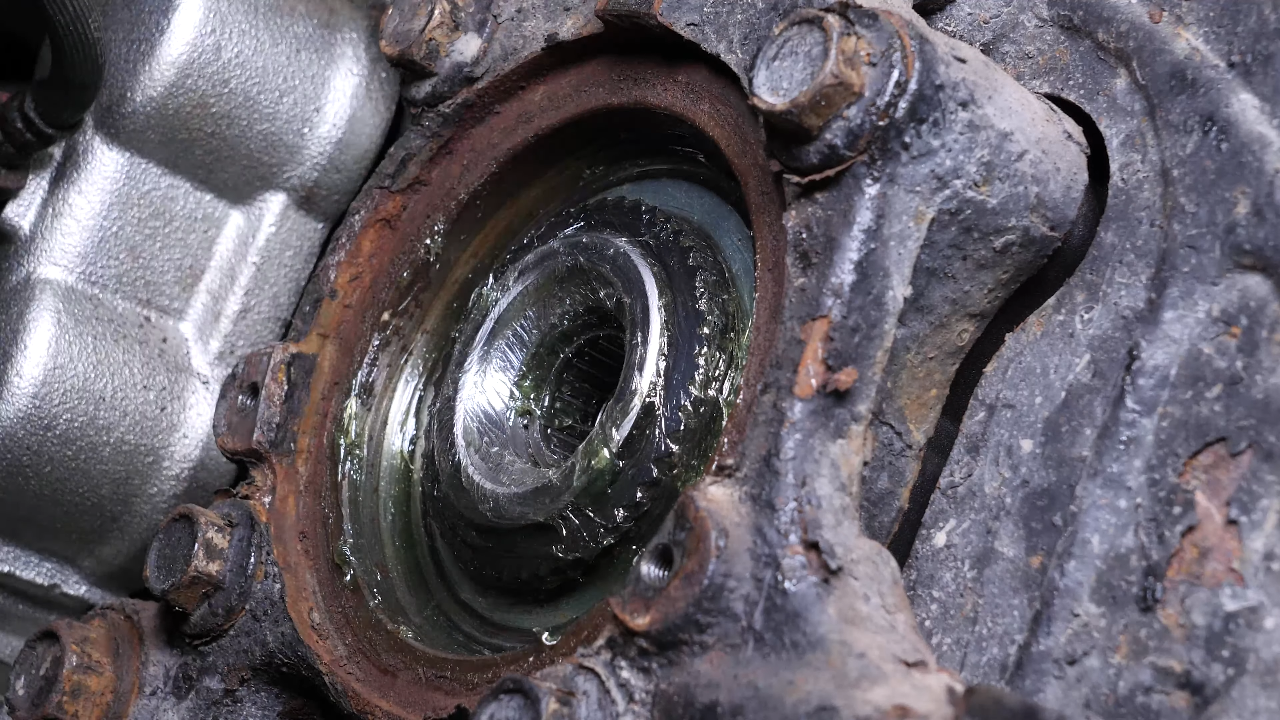
Step 1/1
Do the same on the contact portion between the hub and the hub lock actuator. Apply grease to the wheel hub.
Chapter 11:
Install the new CV axle
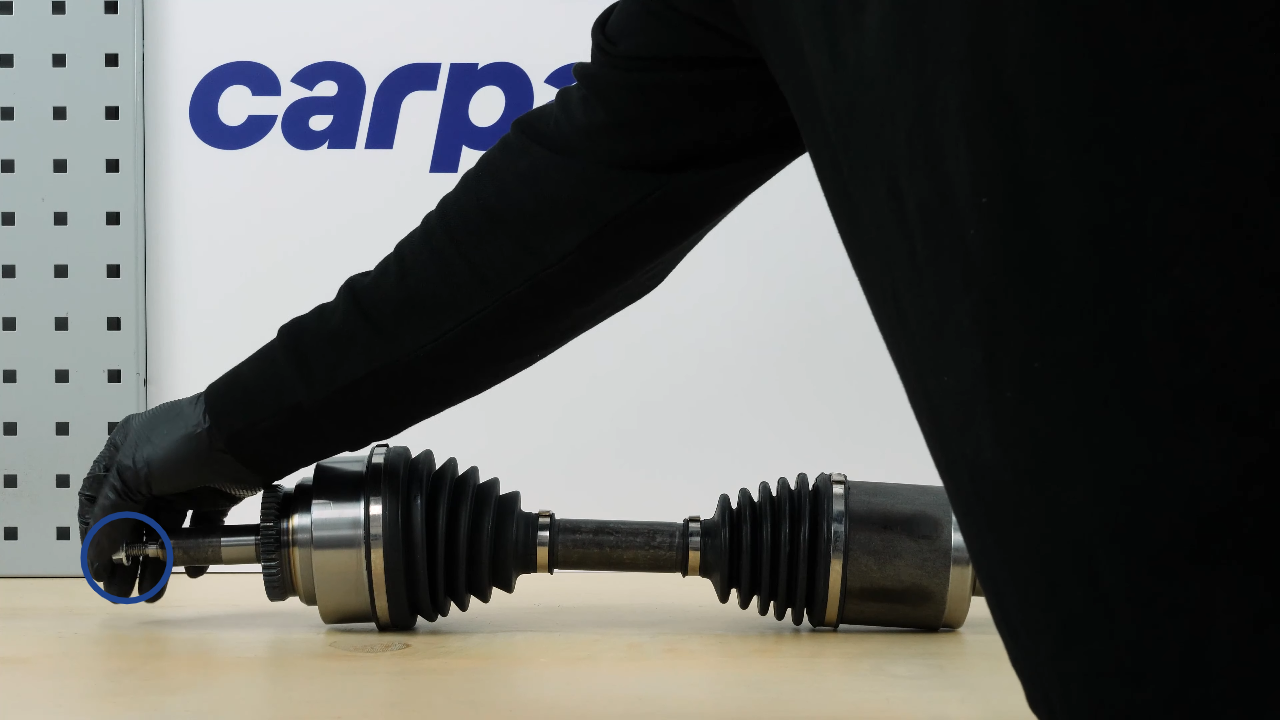
Step 1/2
Take the new CV axle and unscrew the nut supplied with it. Install the CV axle following the steps shown in the video.
Chapter 11:
Step 2/2
Once in position, it is necessary to push firmly to fit it in its place. This might take some time.
Chapter 12:
Finalise the CV axle reassembly
Step 1/4
Once you have verified that the CV axle is properly seated, grease the part that will be in contact with the hub lock actuator.
Chapter 12:
Step 2/4
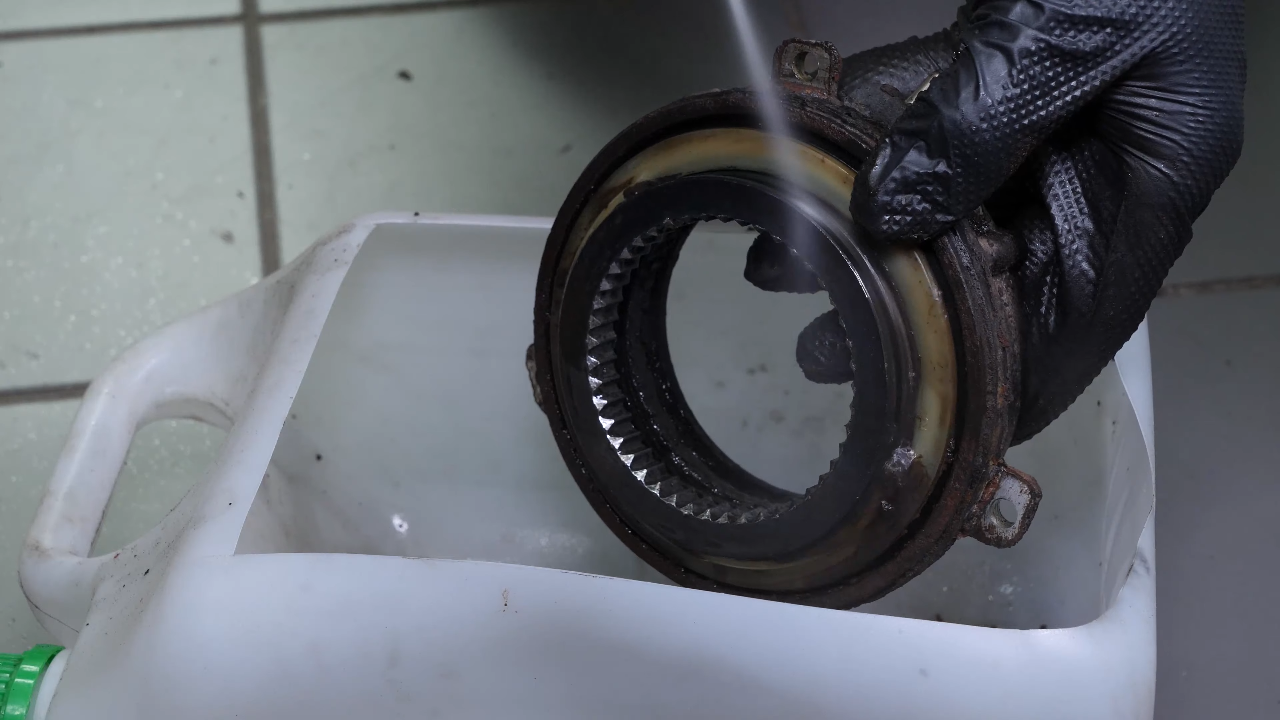
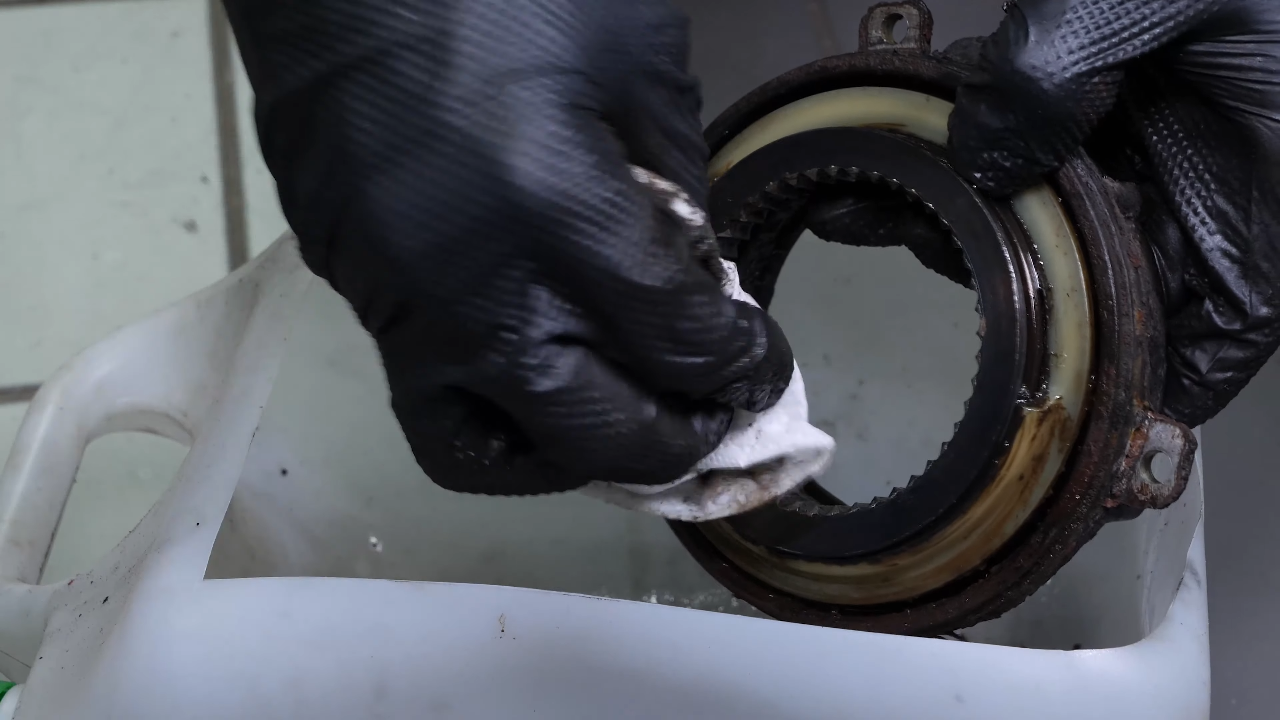
Take the hub lock actuator and clean it with brake cleaner and paper towels. Position it on the CV axle, then grease the hub lock actuator.
Chapter 12:
Step 3/4
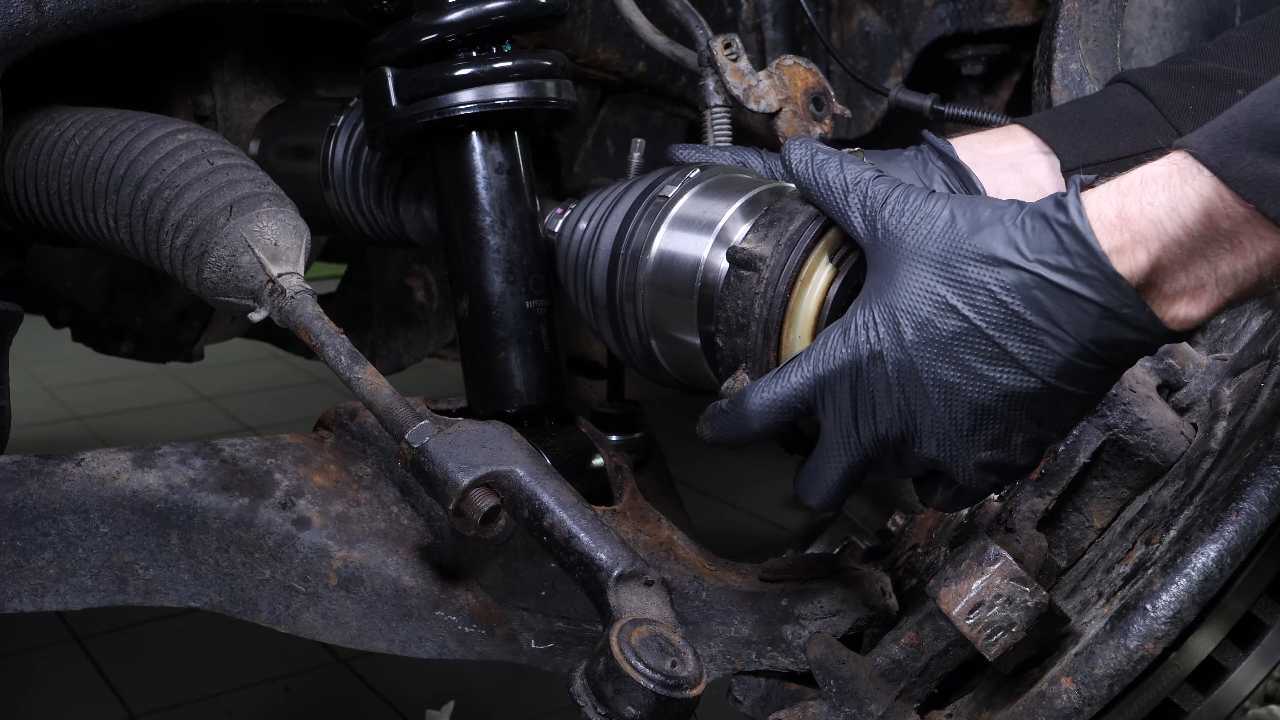
Insert the CV axle into the wheel hub so that the hub lock actuator can be positioned in its slot. Then, screw back the 3 hub actuator retaining screws. Finish tightening using a torque wrench.
Chapter 12:
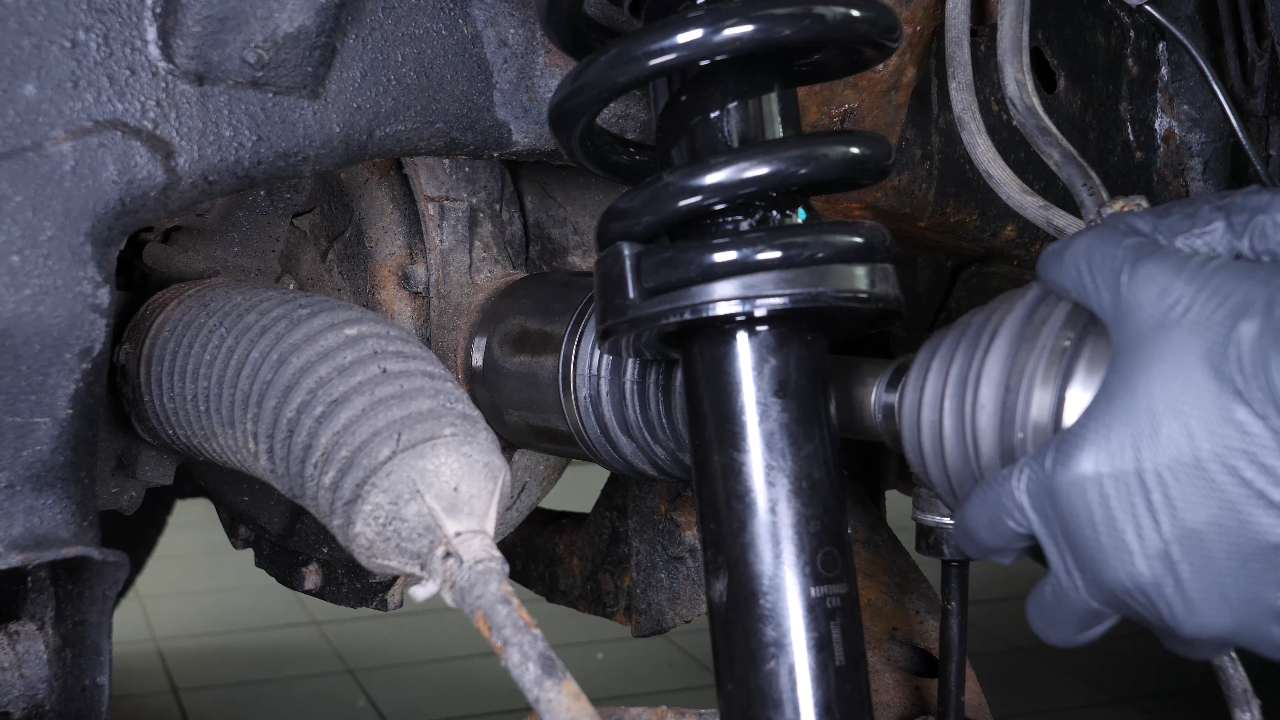
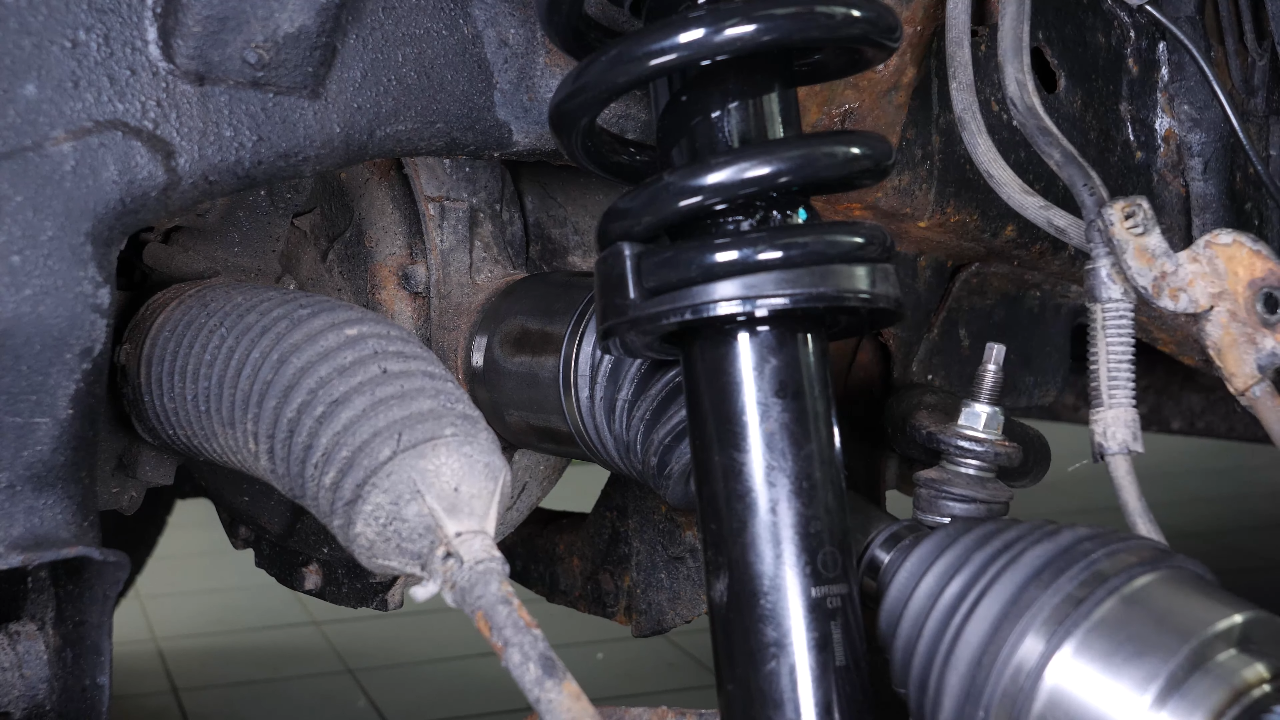
Step 4/4
Remove the jack so you can manipulate the whole. Insert the new CV axle into the hub by rotating it to fit into the wheel hub unit.

Chapter 13:
Screw the control arm ball joint nut back
Step 1/3
Reinsert the upper control arm ball joint into the wheel knuckle. Loosely screw the nut back on to hold it together.
Chapter 13:
Step 2/3
Put the outer tie rod back in place. Then screw it back on. Finish tightening using a torque wrench.
Chapter 13:
Step 3/3
Complete the tightening of the upper control arm ball joint with a torque wrench.
Chapter 14:
Put the components back in place
Step 1/2
You can now reconnect the vacuum hoses. Screw the brake hose mounting bracket back on.
Chapter 14:
Step 2/2
Replace the ABS sensor cable and clip it back into its slots.

Chapter 15:
Finalise the CV axle reassembly
Step 1/3
You can verify the previously measured distance to make sure that the item has been correctly reassembled.
Chapter 15:
Step 2/3
Replace the hub nut. Then, while blocking the rotation of the hub with a crowbar, screw it back on. Finish tightening using a torque wrench.

Chapter 15:
Step 3/3
Put the cover back on the nut.
Chapter 16:
Put the vehicle back on the ground
Step 1/1
Then, you will be able to put the wheels back on your vehicle. Put the car back on the ground and block the wheels properly. Operation completed!