Window tint has many benefits. Aside from reducing glare, it can also protect your interior from the damaging effects of UV rays. Unfortunately, it can fade and get damaged over time. Once this happens, you’ll have to remove and replace it. But make sure the tint you choose to install isn’t too dark so that it violates the laws in your area.
How to Remove Window Tint
There’s more than one way to remove your window’s tint. Here are three of the best ways to do it.
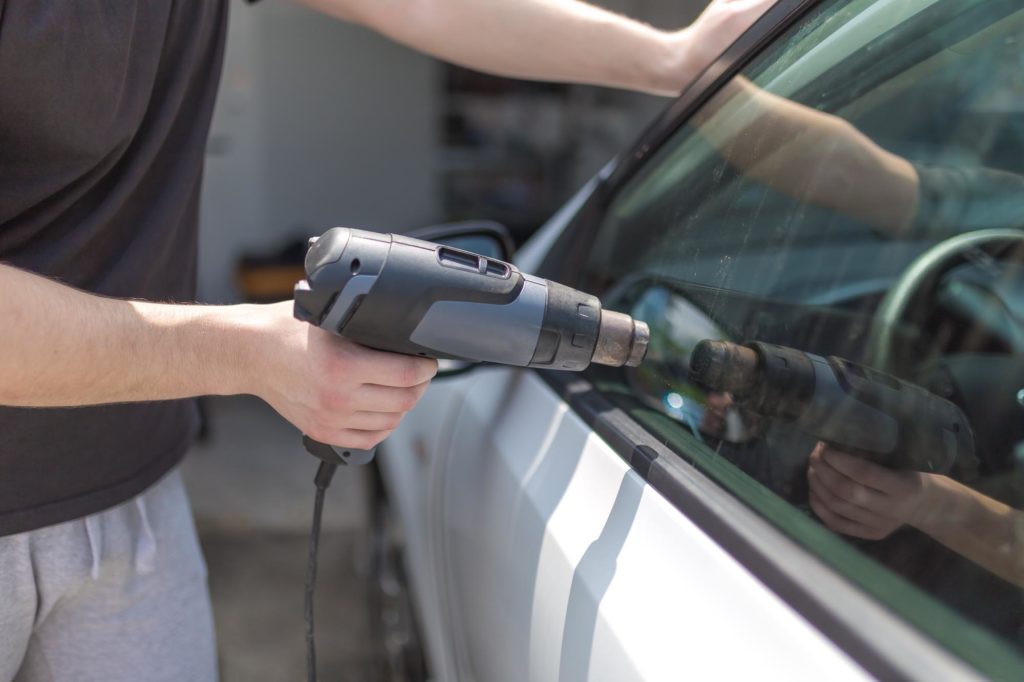
Option 1: Use a Heat Gun
Heat guns are available at most local tool shops so you’ll have no problem finding one.
Heat the Film

Start at the upper corner of your car window. Heating the film will take about one to two minutes, so don’t expect it to loosen up in moments.
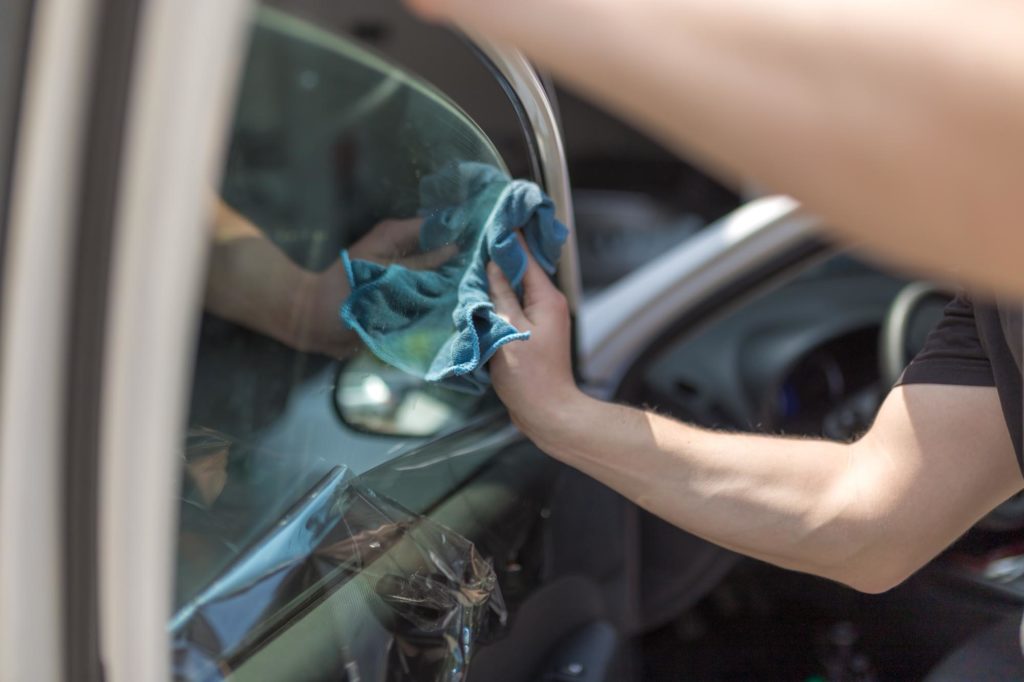
Peel Off the Tint
Peel off the tint carefully using a razor blade to minimize any glue residue. You can also do it by hand if you can get a grip on the film. Start at the upper corner, then work your way down. Heat the film as you go to loosen it up.
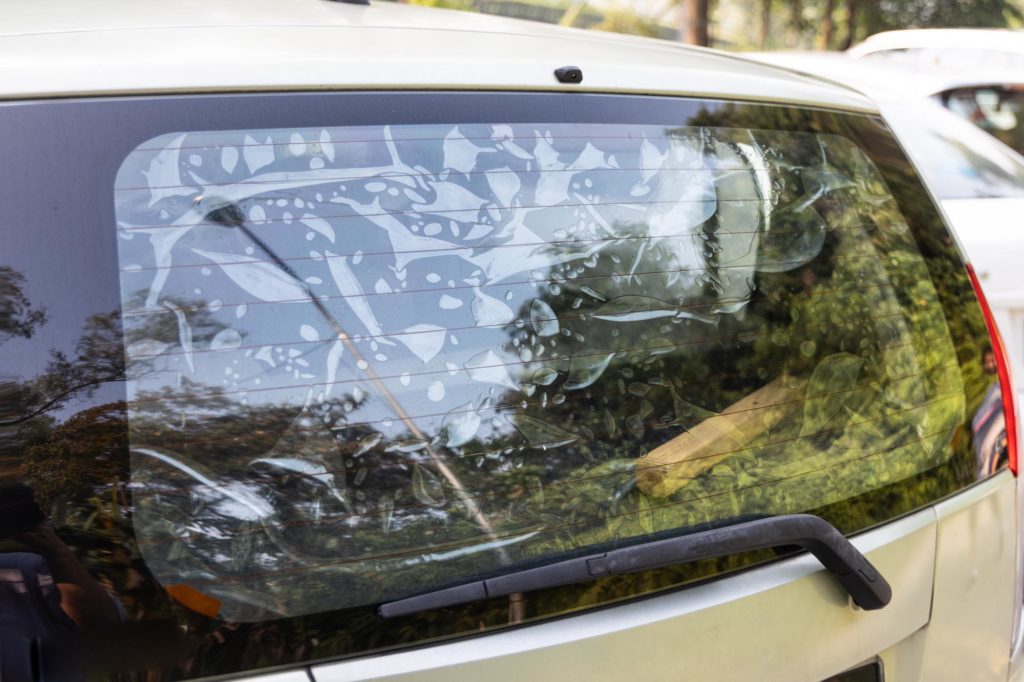
Important note: Tint that is being removed from the rear glass that has an electric defrost grid will need to be removed very carefully to avoid damage to the defroster. A razor blade will ruin the rear defrost unless you’re very careful to remove the tint between the grids with a razor blade that has been modified to take a very narrow strip. It’s best to use the fabric steamer or ammonia methods and allow the tint to soak and become very pliable, but even then, great care must be taken not to damage the defrost grid.
Tint that is being removed from the rear glass that has an electric defrost grid will need to be removed very carefully to avoid damage to the defroster.
– Richard McCuistian, ASE Certified Master Automobile Technician
Take your time if you’re not used to doing this task, especially if you’re using a sharp blade. Otherwise, you might damage the window glass itself or you might end up injuring yourself.
Option 2: Use a Fabric Steamer
Heat is essential for window tint removal. If you’re reluctant to spend on a heat gun because you’ll seldom use it, you can use a fabric steamer instead.
Follow the same steps as if you’re using a heat gun. Use the fabric steamer to heat the window tint film, then wait for the steam to melt the glue for easy peeling.
If you don’t have a fabric steamer, a blow dryer is a great alternative.
Option 3: Use Ammonia
This process involves a chemical, so make sure to wear a mask, safety gloves, and goggles before starting. It’s also best to do it on a sunny day.

Cover the Outer Window Surface
Use garbage bags or plastic sheets to cover the outer window and the other parts of your car that ammonia might affect or damage. Apply soapy water to make them stick. You might also want to cover up your interior to protect it from ammonia.
Spray Ammonia on the Inside of the Window
Once you’re done covering all the sensitive parts of your car, spray ammonia on the inside of your window and cover it with a garbage bag. Wait for the ammonia to dry.
Leave the Ammonia on the Window
For the best effects, leave your car under the sun for more than twenty minutes to let the heat bake the solution. Once the tint film loosens, you can start peeling the film by hand or with a blade.
How to Remove Window Tint Residue
After peeling off the tint, there might be some traces of glue on the glass. There are several ways to get rid of them.

Dampen a microfiber cloth with acetone and use it to wipe off the glue residue. If you don’t have acetone, you can use isopropyl alcohol instead. Apply alcohol to the surface area using a rag or a spray bottle.
Don’t forget to use your mask while doing this to avoid inhaling the alcohol or acetone. If possible, do this process in a ventilated area.
When to Replace Your Window Tint
Not sure whether it’s time to remove your window tint or not? Watch out for these telltale signs.
Bubbling
Noticed air pockets in your window’s tint? This is a clear sign that your window tint wasn’t installed properly. Bubbling has no fix, so you’ll have to remove your window tint and replace it with a new one when you spot this issue.
Discoloration
Tint discoloration is more than just an eyesore. It’s also a sign that the tint’s ability to protect your interior from UV rays isn’t as effective as it was before. If you notice that your tint has discolored or turned lighter, it’s time to have it removed and replaced.
Peeling

If your window tint’s edges are starting to peel, the adhesive under it might not be working anymore. This can happen as the tint gets older. But if you notice this sign after the tint was installed, then it’s likely that the tint was not applied properly.
Holes and Scratches
Sharp objects like nails and screws can put holes and scratches on your window tint. So keep sharp items away from your windows to avoid damaging your window tint and window glass.
What to Do After Removing Your Window Tint
You can leave your windows untinted or have a new one installed.
Want to replace the tint? If you’re not an experienced DIYer, it’ll be best to take a trip to a car tint shop and pay a professional to do it for you. The price range for car window tinting varies depending on your car, but the price will surely be worth it.
On the other hand, if you don’t want to tint your windows, make sure to take care of your window glass. Avoid parking your vehicle under the sun.
Window Tint Laws
If you recently bought a used car from another state, you might need to replace your tint to comply with state laws. Dark window tints make it difficult for drivers to see the road, so most states only allow a certain percentage of VLT (visible light transmission). Most vehicles comply with state laws, but it never hurts to double-check.
Any information provided on this Website is for informational purposes only and is not intended to replace consultation with a professional mechanic. The accuracy and timeliness of the information may change from the time of publication.


