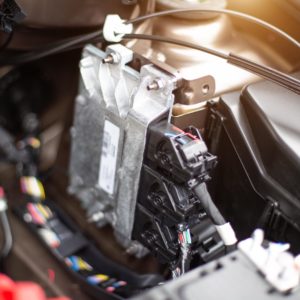
Thankfully, today’s cars no longer have distributors. Modern engines use individual coil packs, which are far less complicated, instead. But there are still countless vehicles on the road with a distributor lurking under the hood. And sometimes those distributors require replacement.
What is a Distributor in a Car?
Before we get into distributor replacement, let’s talk about what a distributor is. You may have never heard of a distributor before, especially if you’re a young Millennial or a member of Generation Z.
A distributor is an ignition component that, as its name implies, distributes spark to each of the engine’s spark plugs. Voltage is sent from the ignition coil to the distributor cap via a spark plug wire. That voltage then travels from the cap’s center terminal to the rotor located inside the distributor.
As the distributor turns, the rotor turns as well, distributing voltage to each of the cap’s outer terminals one at a time. The voltage then travels from each of the distributor’s outer terminals, through individual spark plug wires, to each of the spark plugs. Then the spark plug fires, igniting the air/fuel mixture inside the engine.

In most cases, the car’s distributor also contains a triggering mechanism (usually a pickup coil) that monitors the rotation of the distributor. The mechanism sends a signal to the engine control module or ignition control module. In some cases, the ignition module may also be located inside the distributor.
The module uses the information from the triggering mechanism, along with data from other engine sensors, to determine when to fire the spark plugs. To get the job done, the module interrupts the current in the ignition coil primary windings, creating enough high-voltage in the coil’s secondary windings to fire the spark plugs. In this way, the car’s electronics can control ignition timing, which is the precise time when spark is delivered to each of the engine’s cylinders.
Most distributors have a gear at the bottom. That gear meshes with a gear on the camshaft. The distributor is driven off the camshaft so that the ignition timing and engine timing are in sync. In older vehicles, the distributor can be rotated to adjust base ignition timing. But the base timing is often fixed on newer vehicles.
Also, in many cases, the distributor serves the secondary purpose of driving the engine oil pump.
Bad Distributor Symptoms

A faulty distributor can cause a number of issues. Here are some of the most common:
Engine Performance Problems
A faulty distributor can cause a wide range of engine performance problems, such as stalling, misfiring, and poor acceleration.
Check engine light
If your vehicle was made within the last few decades, chances are, a problem with the distributor will trigger the check engine light.
Engine cranks but doesn’t start
If the distributor is bad, the engine may not get the spark it needs. As a result, the engine will crank, but it will not start or run.
Increased emissions
A bad distributor can cause an engine misfire. That can lead to an increase in emissions and, potentially, a failed state emissions test.
Abnormal noise
In some cases, worn distributor bushings or bearings may allow the distributor to move around and create abnormal noise.
How to Replace a Distributor
Now we get to the fun part: distributor replacement. Are you ready to grab some tools and get dirty? Good. We’re going to discuss replacing a typical electronically controlled, non-adjustable distributor.
Note: The outline below covers replacement when the crankshaft has NOT been rotated. If the relationship between the engine and distributor has been disturbed, say, because the engine was replaced, you’ll need to time the distributor to the engine.
Before we start, keep in mind that all vehicles are different. Be sure to follow the repair information for your specific application. Repair manuals, such as those from Chilton, are useful, but an ALLDATA subscription is even better. ALLDATA has single-vehicle subscriptions for DIYers that provide detailed factory repair information.
Note: The following are general guidelines for educational and entertainment purposes only. Consult your vehicle’s factory information for specific repair instructions and recommended safety procedures.
The tools needed to replace a distributor can vary, depending on what type of car you have. But in general, you’ll need:
- Ratchet and appropriate size sockets and wrenches
- Safety glasses
- Screwdriver (some vehicles)
- Torque wrench
How to Remove the Distributor
1. Put on your safety glasses.
2. Disconnect the negative battery cable.
3. If you’re replacing the distributor cap, remove the spark plug wires. On the other hand, if you’re reusing the cap, you can simply remove it from the distributor (with the plug wires attached) and set it aside.

Note: All vehicles have a specific firing order. The plug wires must go to the correct terminal on the distributor cap. Otherwise, the firing order will be incorrect and the engine will either run poorly or not at all.
In some cases, the distributor cap and plug wires are numbered so that they do not get mixed up. But if yours are not numbered, you’ll want to be sure to mark them to prevent them from getting mixed up.
You can use a piece of tape and pen to tag each plug wire.
4. Disconnect all electrical connectors from the distributor.

5. Mark the position of the distributor base in relation to the engine. You can use a permanent marker or whiteout to do this. The position must be marked to ensure the new distributor is properly aligned during installation.
6. Mark the position of the rotor (which way the tip is pointing) in relation to the distributor housing. The position must be marked to ensure the new distributor is properly aligned during installation.
7. Remove the distributor hold-down bolt and clamp.
8. Remove the distributor by pulling it up and out of the engine. As the distributor is being removed, the rotor will turn slightly. Note the position of the rotor tip when it stops turning and mark that position in relation to the distributor housing as well.
9. Ensure the old distributor O-ring is removed from the engine.
Caution: Do not turn the engine crankshaft once the distributor is removed.
How to Install a Distributor
1. Compare the new distributor to the old distributor to make sure that both are the same design.

2. Make marks on the new distributor in the exact location as the marks you made on the original unit during steps 5, 6, and 8 of the distributor removal process. To do this, you will need to remove the cap from the new distributor.
3. Turn the distributor by hand so that the rotor points to the same location as the mark made in step 8.
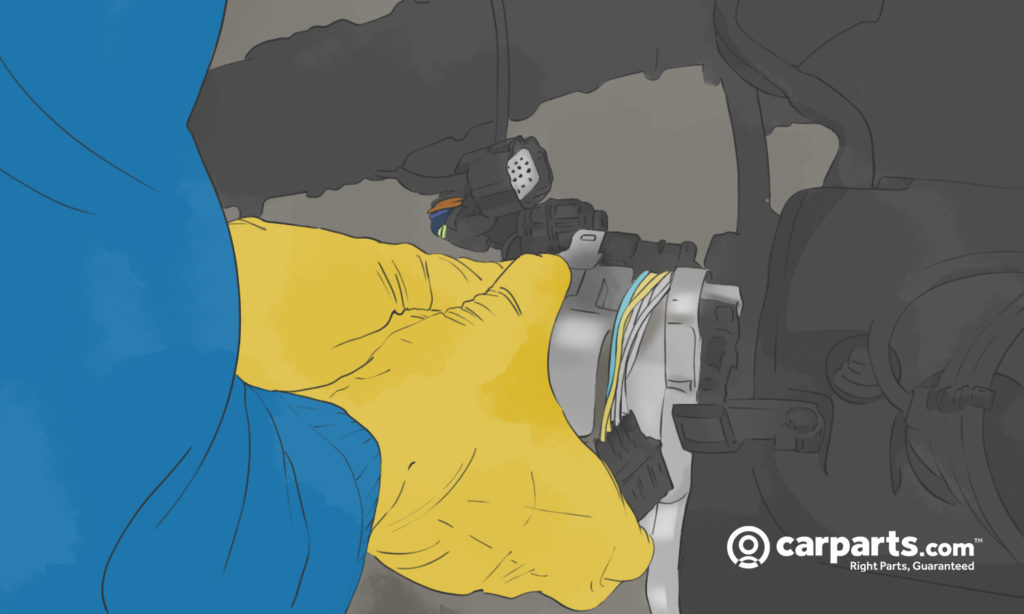
4. Carefully install the distributor (along with a new O-ring) into the engine. If everything was done correctly up to this point, the rotor should turn, then lineup with the marks made in step 5 and step 6.
Note: You may need to play around with the distributor to get its gear teeth to match up with those on the camshaft.
5. Reinstall the distributor cap.

6. Install the distributor hold-down clamp. Use a torque wrench to tighten the retaining bolt to the manufacturer’s specification.
7. Reinstall the electrical connectors going to the distributor.
8. Reinstall the spark plug wires in accordance with the engine firing order.
9. Reconnect the negative battery cable.
10. Start the engine. If the vehicle runs rough or the check engine light is on, the distributor was installed incorrectly. You will need to remove the distributor and reinstall it. ]
Also, you may need to time the distributor to the engine, as cited below.
As was mentioned, if the engine has been disturbed in any way, you’ll need to perform some additional steps prior to installing the distributor. The marks made when removing the distributor will no longer be valid and you’ll need to time the new distributor to the engine.
Typically, the process involves bringing the #1 cylinder to top dead center (TDC) on the compression stroke, then installing the distributor so that the rotor is pointing at (or close to) the #1 cylinder terminal on the distributor cap. Consult the manufacturer’s repair information for the exact procedure.
Car Distributor Replacement Cost
If you decide to have a professional replace your distributor, which is a smart move if you’re uncertain of your mechanical prowess, expect to pay anywhere from around $300 to nearly $1,000. The job can be even more costly if you have a high-end luxury or performance car.
Should you decide to tackle the job yourself, expect to pay anywhere from approximately $100 to $300 for a new or manufacturer distributor.
Once again, if you’ve got a fancy car, the cost may be higher.
Products Mentioned in this Guide
Any information provided on this Website is for informational purposes only and is not intended to replace consultation with a professional mechanic. The accuracy and timeliness of the information may change from the time of publication.


 Spark Plug Wire
 O-Ring
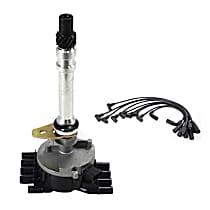 Distributor
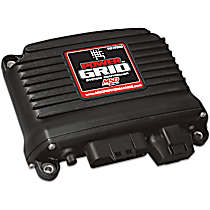 Ignition Control Module


