Dealing with electrical problems can be quite frustrating because you won’t know where it’s coming from at first glance. You might need to open up a few panels and fuse boxes, and inspect each wiring thoroughly, which can be time-consuming.
A short-to-ground is a common issue in many automotive electrical devices and systems, and this guide gives you an idea of how to trace a short circuit in a car.
Common Power or Ground: The Basics
An electrical component will only work if it has both power and ground.
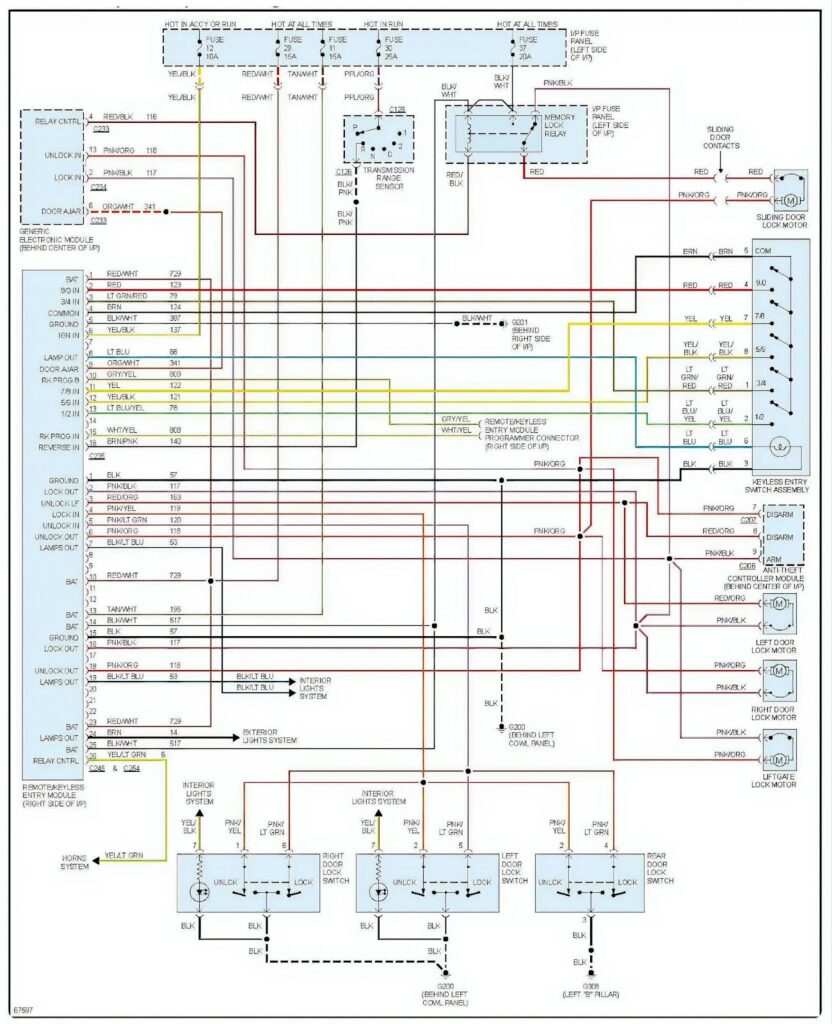
When diagnosing electrical issues that affect more than one component or system, make sure to check the electrical schematic. Verify whether or not there is a common power source or ground.
In some cases, lighting components like the underhood light, courtesy lights, and dome light are powered by one fuse. This means that all of these lights have one power source.
So if you notice that the majority of these lights aren’t working, you might want to check the fuse and circuit for any signs of damage or wear.
Short-to-Ground Meaning
A short-to-ground is a type of short circuit where current flows to the vehicle’s body instead of staying within the circuit.
This type of short circuit lets the current bypass a part of the normal circuit and lets the current flow to the ground instead.
Here are some key information about a short-to-ground:
- A short-to-ground usually has current flowing from copper to steel, given that the ground return circuit is exposed metal, such as the vehicle’s frame, engine, or body.
- A short-to-ground can happen anywhere a power path wire comes into contact with a return path wire or conductor. For example, if you have a chafed wire or one that has no more insulation material, the electricity can transfer from the wire to your vehicle.
- “Grounded” is a term used to define an electrical component or circuit that’s shorted to ground.
- You’re most likely to deal with a blown fuse, damaged connectors, or melted wires if a short-to-ground occurs.
How to Locate a Short In Car Wiring
A short-to-ground will always blow a fuse. It also usually involves a power side wire coming into contact with metal.
Here are various methods you might want to consider when locating a short circuit.
Circuit Breaker Method
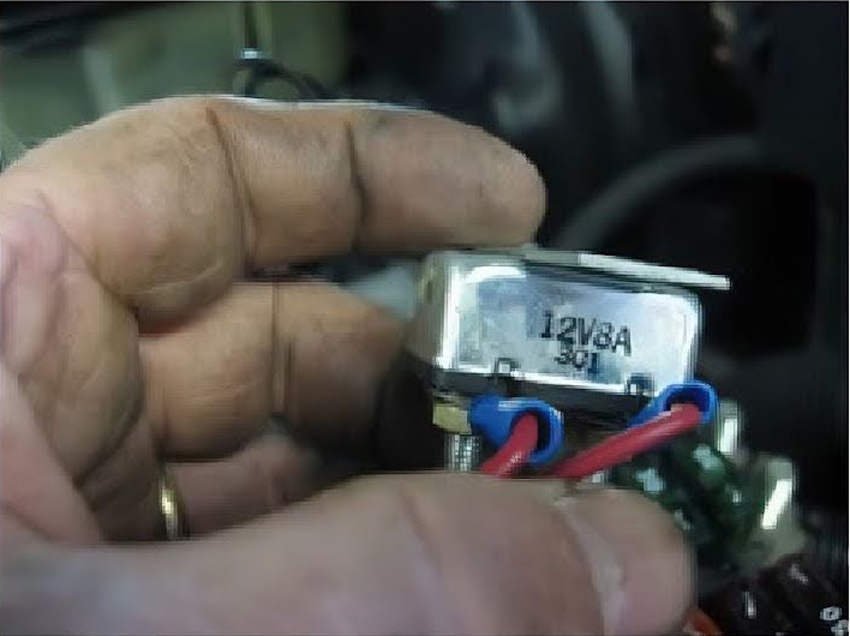
Connect an automotive circuit breaker to the contacts of the fuse holder with alligator clips or a suitable adapter such as you can buy online.

The breaker will open and close the circuit, protecting the wiring from overheating damage.
When using this method, it’s important to disconnect all the components included in the defective circuit. Disconnect these components one at a time until the breaker stops clicking.
The disconnected unit that caused the breaker to stop clicking is the one that’s causing the short circuit.


Test Light Method
This method involves removing the blown fuse and connecting a test light to the fuse holder terminals.
A short circuit will cause current to flow from the fuse’s power side and through the test light. The current will also travel to ground via the short circuit, causing the test light to turn on.
From there, unplug the connectors and components belonging to the fuse, and continue until the test light goes out. The disconnected circuit that caused the test light to turn off is the one with a short circuit.
Buzzer Method
The buzzer method generally works the same way as the test light method.
A buzzer replaces a fuse and acts as an electrical load. If the circuit is shorted, the buzzer will emit a sound and stop when the grounded circuit is unplugged.
Ohmmeter Method
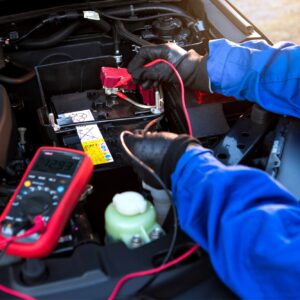
An ohmmeter that’s connected to the fuse holder and ground will indicate low ohm readings when connected to a short circuit. Note, however, that an ohmmeter is not the best way to do this because the results can be misleading.
Gauss Gauge Method
The Gauss gauge method uses a handheld meter that responds to weak magnetic fields. A weak magnetic field is usually created when a short circuit blows a fuse and the circuit breaker opens and closes the affected circuit.
Electronic Tone Generator Tester
A tone generator tester emits a tone via a receiver or probe. The tone will be heard as long as there is an electrical path in the circuit.
If the tone stops, it means that there’s a short-to-ground or an open in the circuit.

How to Test for Short-to-Ground
To give you an idea of how you can test a unit for short-to-ground, try to picture a wheel speed sensor.
Connect one ohmmeter lead to one of the wheel speed sensor wires and another to a clean chassis ground.
If there’s no short circuit, the resistance on the ohmmeter should be infinite. On the other hand, a low resistance reading means the component is shorted to ground.
Causes of Electrical Shorts
Three things can cause electrical shorts: heat, wire movement, and damage.
Heat
Wires near heat sources like the exhaust system, cigarette lighter, and alternator are most likely to short circuit.
Wire Movement
Wiring near the doors, trunk, or hood can fall out of place.
Damage
Wirings are prone to mechanical damage, such as getting smashed due to heavy objects. Wirings can also get damaged as a result of an accident or a previous repair.
Electrical Troubleshooting Tips
Below are some things to keep in mind when troubleshooting electrical components.
- An electrical component that has no power usually means that there’s an open power side.
- Power on both sides of a device means there’s an open ground.
- A blown fuse usually translates to a grounded power side wire.
- Most non-computer-controlled devices open and close the power side of the circuit.
- Most computer-controlled devices open and close the ground side of the circuit.
Understanding Wiring Schematics
Understanding wiring schematics is crucial to an effective electrical troubleshooting job.
Most service manuals for vehicles come with wiring schematics for every electrical circuit. A typical wiring schematic uses symbols and lines to represent components and wires.
In most cases, wiring schematics have all of the circuits combined on several large, folded sheets, but they can be broken down into sections as well.

Replacing Inoperative Electrical Components
After singling out the faulty part responsible, it’s a good idea to either repair or replace inoperative electrical components. Fortunately, finding a replacement that’s compatible with your vehicle is easy with the help of CarParts.com.
Items in our catalog are vetted by a team of industry professionals to guarantee fit and performance. Products are sourced from today’s top parts manufacturers but are priced competitively to give you the best bang for your buck.
Shop now and get your order in as fast as two business days. Our distribution centers are equipped with advanced technologies to ensure items are packed and shipped out in no time.
Visit our website or download our mobile app to place your order today. Check out our vehicle selector and toggle our search filters to shop according to your preferred brand, price range, and more.
Don’t hold off on replacing faulty components. Shop and grab the best deals at CarParts.com!
Any information provided on this Website is for informational purposes only and is not intended to replace consultation with a professional mechanic. The accuracy and timeliness of the information may change from the time of publication.


