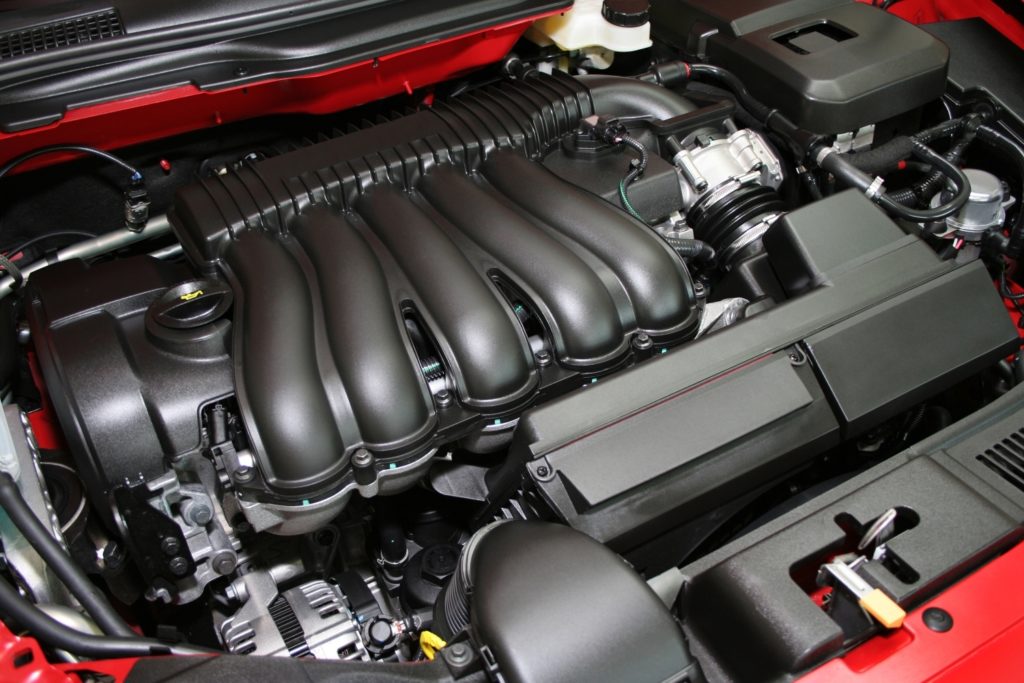
An internal combustion engine is often described as being similar to a large air pump. As the pistons move up and down, they pull air (and fuel) into the cylinders and push exhaust gases out. In a gasoline-powered engine, the downward motion of the pistons working against the throttle blade creates a vacuum in the intake manifold.
A vacuum leak occurs when there’s a leak somewhere, allowing unmetered air to enter the intake manifold. The unaccounted-for air (and loss of vacuum) can lead to various problems, ranging from an illuminated check engine light to stalling.
The Most Common Signs of a Vacuum Leak

Do you think you might be dealing with a vacuum leak? If your vehicle is exhibiting one or more of the following symptoms, you might be correct.
Note: Because many other problems can present the same symptoms as a vacuum leak, you’ll want to perform a thorough diagnosis of the vehicle before jumping to conclusions.
Illuminated Check Engine Light
An engine needs a precise mixture of air and fuel to run properly. The engine computer, which is often referred to as the powertrain control module (PCM), monitors the mixture via oxygen sensors in the exhaust stream.
If there’s a vacuum leak, the PCM may detect the resulting lean mixture—a mixture with too much air and not enough fuel—and turn on the check engine light. At the same time, the module will store a corresponding diagnostic trouble code (DTC) in its memory.
Rough Running and Stalling
A vacuum leak can lean out the engine’s air-fuel mixture to the point that proper combustion can no longer take place. As a result, the engine will run rough and misfire. The vehicle may even stall if the mixture is lean enough.
Vacuum leak-related engine performance problems are usually the most obvious at idle. Under this condition, unmetered air entering the engine has a more noticeable effect because there isn’t much airflow through the throttle plate.
Incorrect Idle Speed
If a vacuum leak is substantial, there may be enough air circumventing the throttle body to increase idle speed. The effect is similar to that of an idle air control valve (IAC) that allows air to bypass the throttle body to raise engine RPMs at idle.
Hissing or Whistling Noise
In some cases, a vacuum leak will be severe enough to cause an audible hissing or whistling noise. When the hood is open and the vehicle is running, you’ll hear the sound coming from the engine compartment.
Note: Engine vacuum is often used as a medium to operate various components in other vehicle systems besides the engine. For example, on some vehicles, engine vacuum is used to operate the brake booster and climate control doors. As such, a vacuum leak can potentially affect other parts of the vehicle beyond the engine.
What are the Common Causes of a Vacuum Leak?
Anything that allows unmetered air to enter the intake manifold can result in a vacuum leak. Common leak sources include:

- Vacuum hoses and lines
- The intake manifold and gasket
- The throttle body and gasket
- The exhaust gas recirculation (EGR) valve
- The brake booster
Can You Drive with a Vacuum Leak?
In most cases, a vacuum leak won’t prevent you from driving your car. But you should address the issue as soon as possible, as it can lead to a lean misfire that can potentially damage other parts of the vehicle.
How Do You Fix a Vacuum Leak?
Diagnosing and repairing a vacuum leak can be challenging. First, you need to confirm there’s a leak (and not some other issue). Then, you can move on to pinpointing the source of the leak and performing the necessary repairs.
Step 1: Determine Whether Your Car Has a Vacuum Leak
If the vehicle is suffering from a vacuum leak, the engine will run lean. The best way to tell whether your engine is running rich or lean is to monitor the fuel trim data via a scan tool (not a code reader) that displays live data. To use the scan tool, simply plug it into the diagnostic port under the vehicle’s dashboard, then follow the product instructions to retrieve the live data stream from the car.
Fuel trim is typically displayed as a percentage on the scan tool. There are two fuel trim data sets: short-term fuel trim (STFT) and long-term fuel trim (LTFT). As you might guess, STFT refers to the mixture adjustments the PCM is currently making, whereas LTFT is an average of the adjustments the PCM has made over a certain period.
When the engine is running rich, the PCM will reduce fuel delivery, resulting in a negative fuel trim value. On the other hand, when the engine is running lean, the PCM will increase fuel delivery, resulting in a positive fuel trim value.
Generally, the engine is considered to be running too lean when fuel trim is above 10% (with the engine running in closed-loop mode). If fuel trim is below -10%, the engine is typically considered to be running rich. Though on some vehicles, the fuel trim specifications may vary, so it’s a good idea to consult a repair manual or repair database if the readings you’re seeing don’t make sense.
Of course, there are other problems besides a vacuum leak that can create a lean running condition. Because vacuum leaks are most apparent at idle, you can narrow down the possible causes of a lean condition by increasing engine RPMs while monitoring your scan tool.
Bring the engine speed up to about 2,000 RPMs and note the STFT readings on your scanner. If STFT returns to normal at a higher engine speed, you’re likely dealing with a vacuum leak.
Step 2: Locate the Source of the Leak

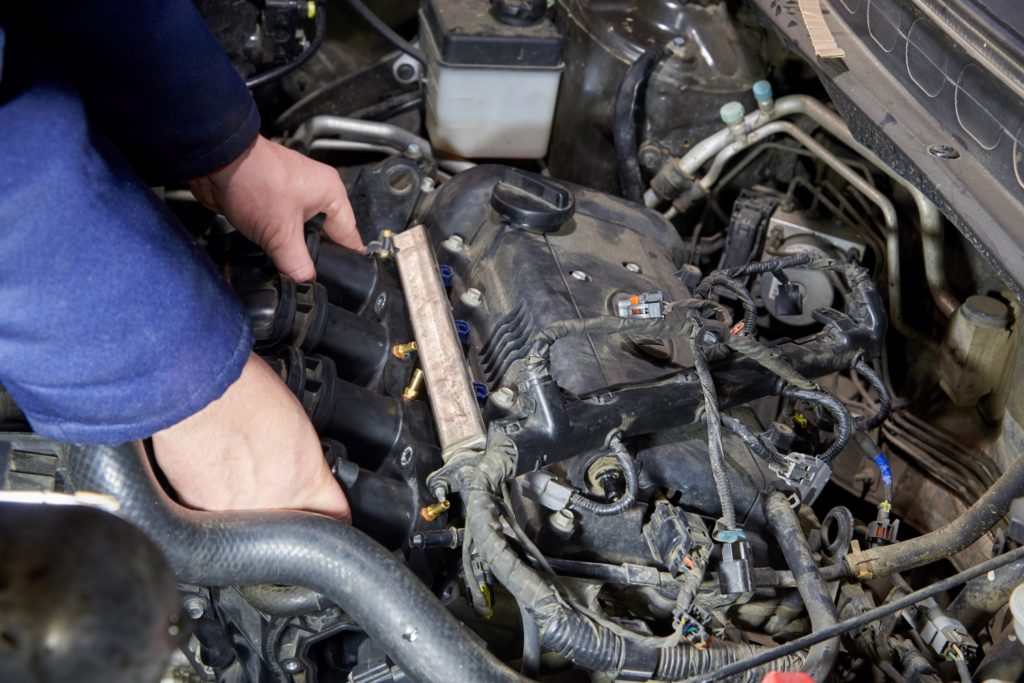
The next step is finding the source of the leak. Start by performing a visual inspection, looking for obvious signs of damage, such as broken or disconnected vacuum hoses.
If a visual inspection doesn’t reveal anything, you’ll need to move on to more advanced troubleshooting. Most professional technicians use a smoke machine, which forces smoke into the intake manifold, to locate vacuum leaks. If there’s a leak, smoke will billow out from the source.
Another popular option is to use a bottle of propane with a length of rubber hose attached. Start your car’s engine and let it idle. Then, open the valve on the propane bottle and pass the hose over the possible leak points. You’ll know you found the source of the leak if idle speed suddenly increases and the engine smooths out.
Locating the leak with aerosol brake cleaner is another option. Spray the brake cleaner around the suspected leak points—if idle speed suddenly increases and the engine smooths out, you’ve found the source of the leak.
Keep in mind, however, that propane and brake cleaner are both highly flammable. Be sure to take all of the necessary precautions and have a fire extinguisher handy.
Step 3: Replace the Faulty Component
Once you’ve located the leak, the final step is to replace whatever component was causing the problem in the first place. As was mentioned, the fix could be anything from a broken vacuum hose to a cracked intake manifold.
Is a Vacuum Leak Expensive to Fix?
The cost of fixing a vacuum leak will depend on a variety of factors, such as what’s causing the leak and how difficult the leak is to pinpoint. Fixing the problem could require anything from replacing a vacuum hose to swapping out the intake manifold.
Where to Get Quality Replacement Parts to Fix Vacuum Leaks
Rough running and stalling due to vacuum leaks make driving risky and a hassle. To fix the leaks, you have to identify and replace the faulty part that’s causing the issue. The great news is that you’re sure to find the replacement parts you need with just a few clicks here at CarParts.com.
Search for the parts you need, then input your ride’s exact details into our vehicle selector to view the products that fit your ride. All our replacement parts passed strict quality control checks, so you can be sure they function just like your factory parts.
What’s more, all our replacement parts come with a low-price guarantee to help you get the best value for your money. Our distribution centers are located across the country, so you won’t have to wait a long time before your orders arrive. Order your replacement parts from CarParts.com today and get them in a few days.
Shopping for replacement parts has never been this quick and easy. Take a look at our extensive catalog now and order what you need today!
Any information provided on this Website is for informational purposes only and is not intended to replace consultation with a professional mechanic. The accuracy and timeliness of the information may change from the time of publication.


