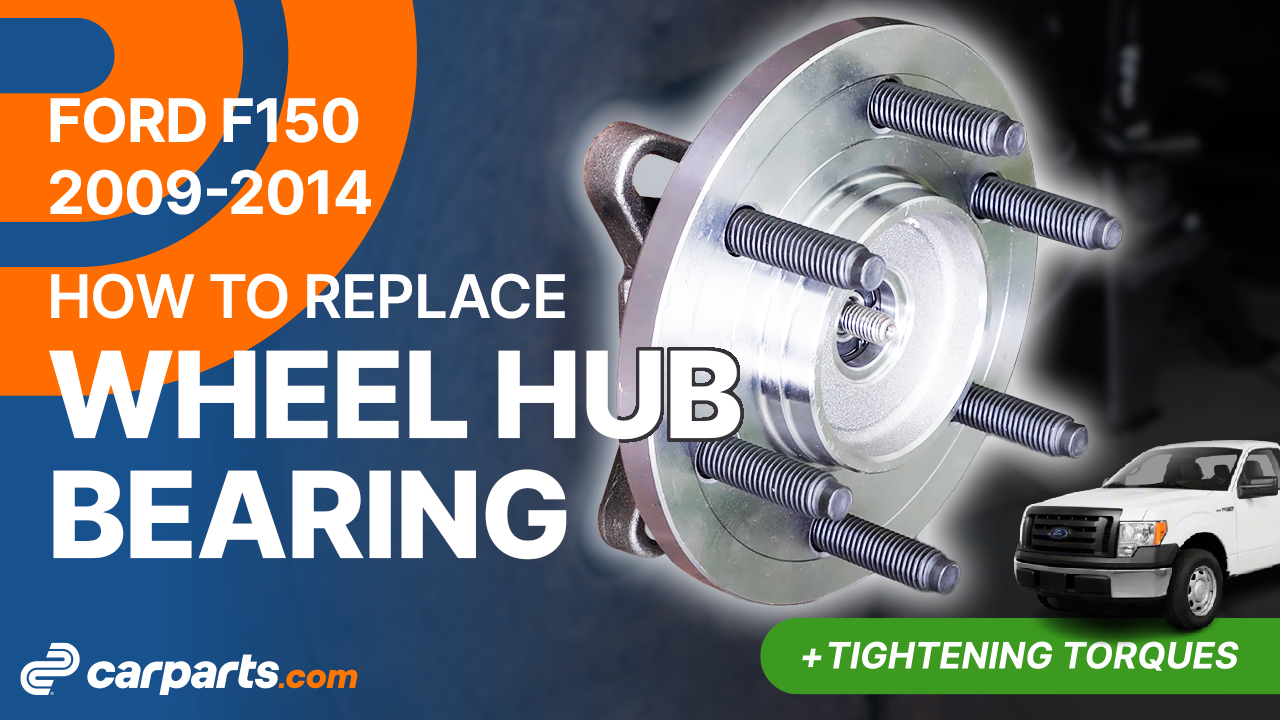
How to replace he front wheel hub bearing 2009 2014 Ford F-150
To replace he front wheel hub bearing on your F-150 we’re here to help. You’ll need to lift the vehicle, take off the wheels, remove the wheel hub and other steps you’ll need to follow in the correct order. You can carry out this tutorial of 12 chapters in 80 minutes. Take your chisel and your 22 mm wrench and let’s get started!
Duration
80 minutes
Number of steps
12
Difficulty out of 5
3
Average savings
$70
Parts You Will Need
Tools You Will Need
Step-by-Step Installation
Chapter 1:
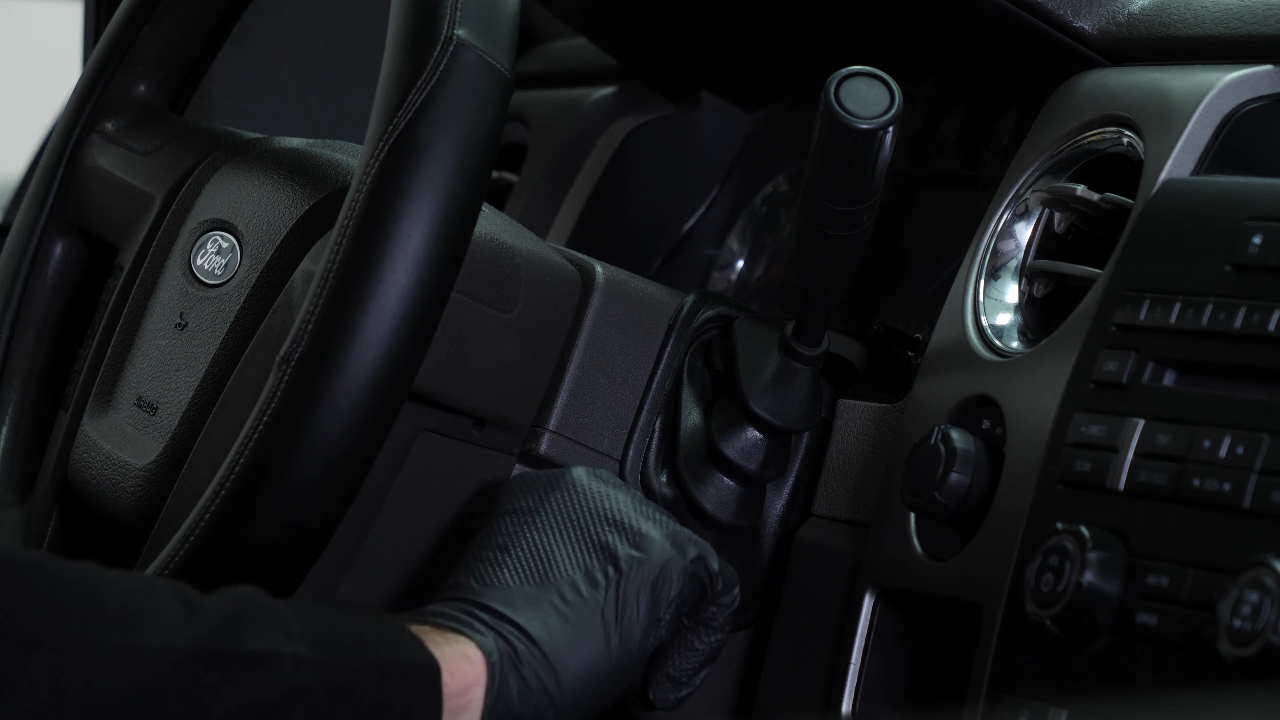
Open the hood
Step 1/1
Turn your engine off and set the parking brake.
Chapter 2:
Lift the vehicle
Step 1/2
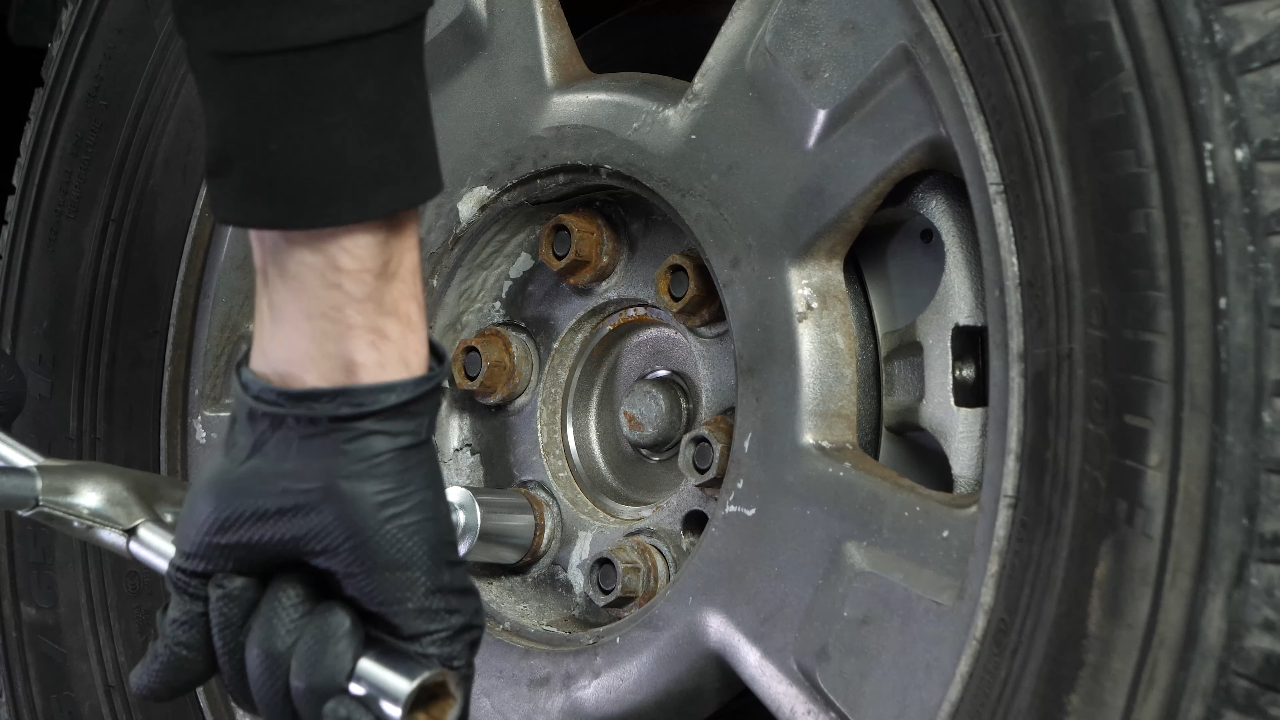
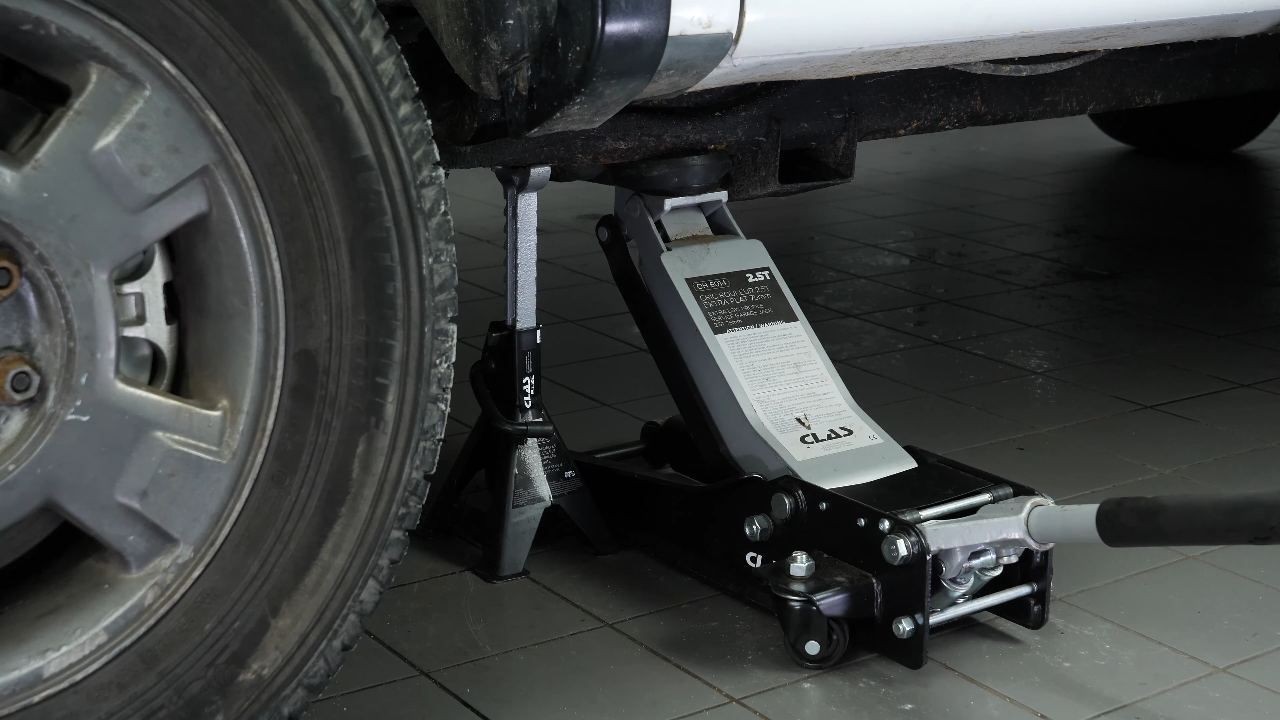
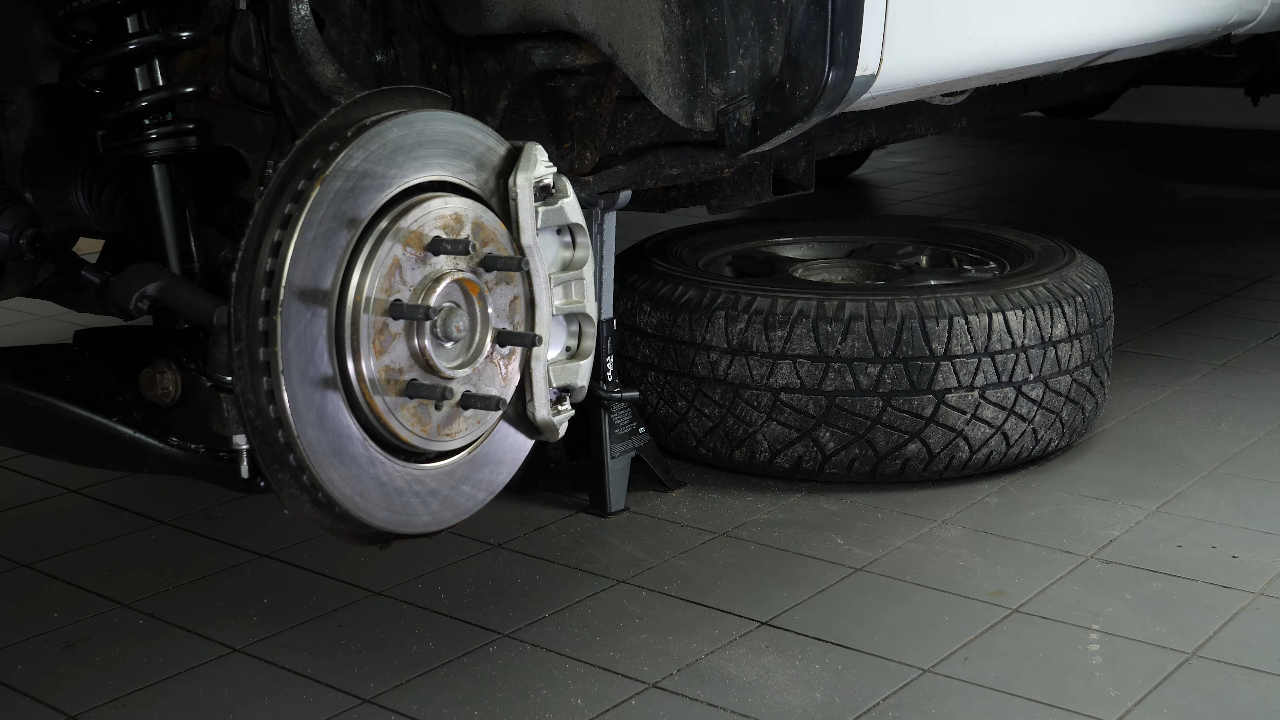
Loosen the stud bolts on the front wheels. Lift the front of your vehicle. Place the vehicle on the axle stands. We strongly suggest watching our video on ‘How to jack your Ford F-150 safely” before carrying out this step.
Chapter 2:
Step 2/2
In order to change the front wheel hub assembly on your vehicle, it is necessary to remove the wheels to gain full access. Don’t forget to put the wheels under the vehicle!
Chapter 3:
Disconnect the ABS sensor and brake hose connectors
Step 1/2
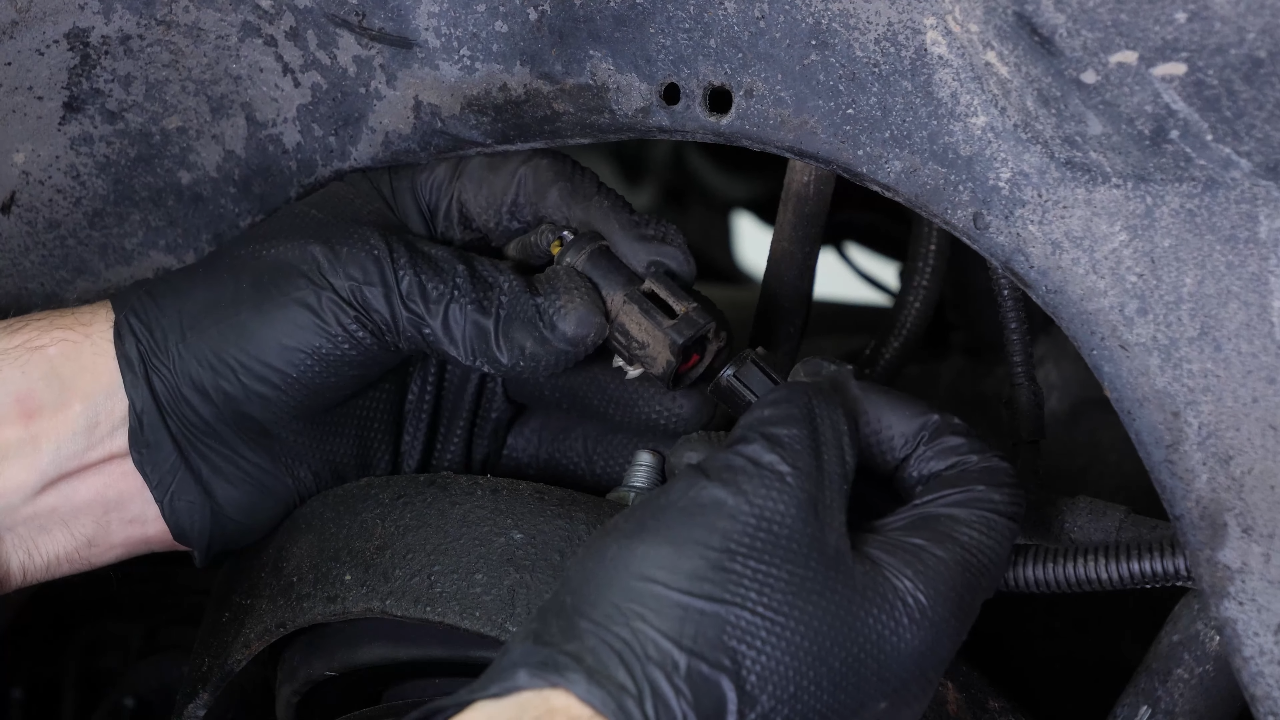
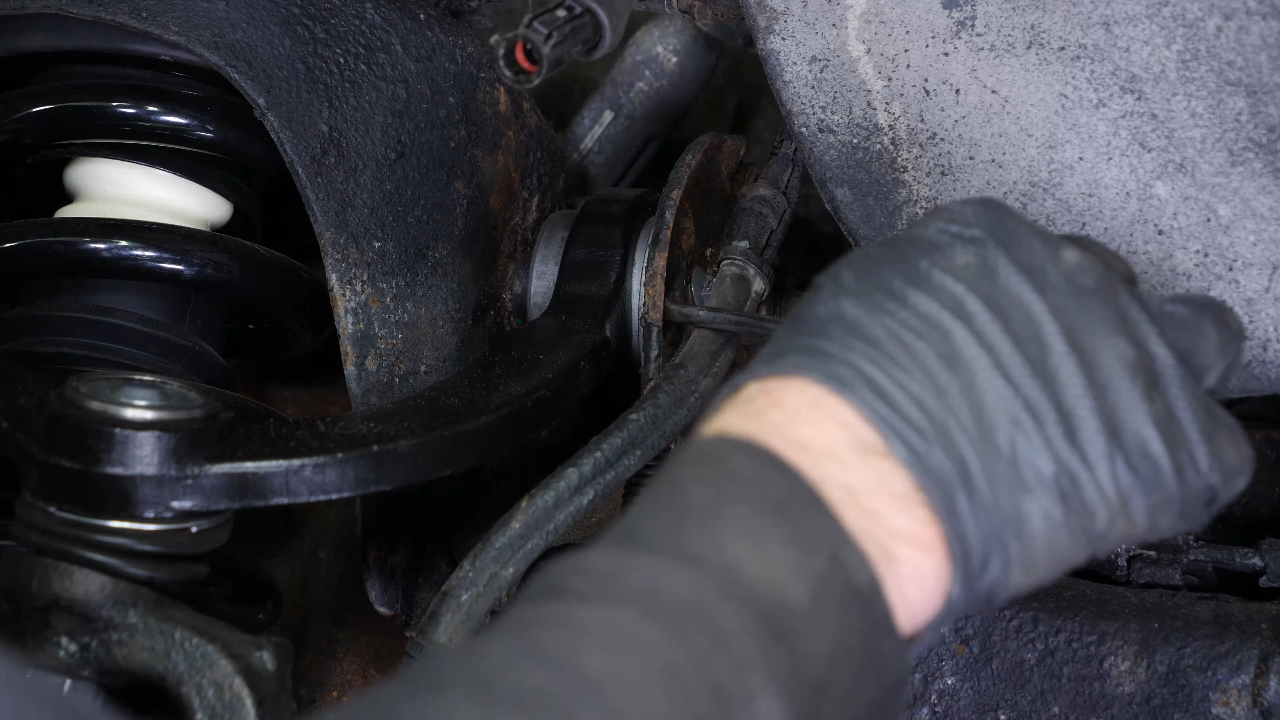
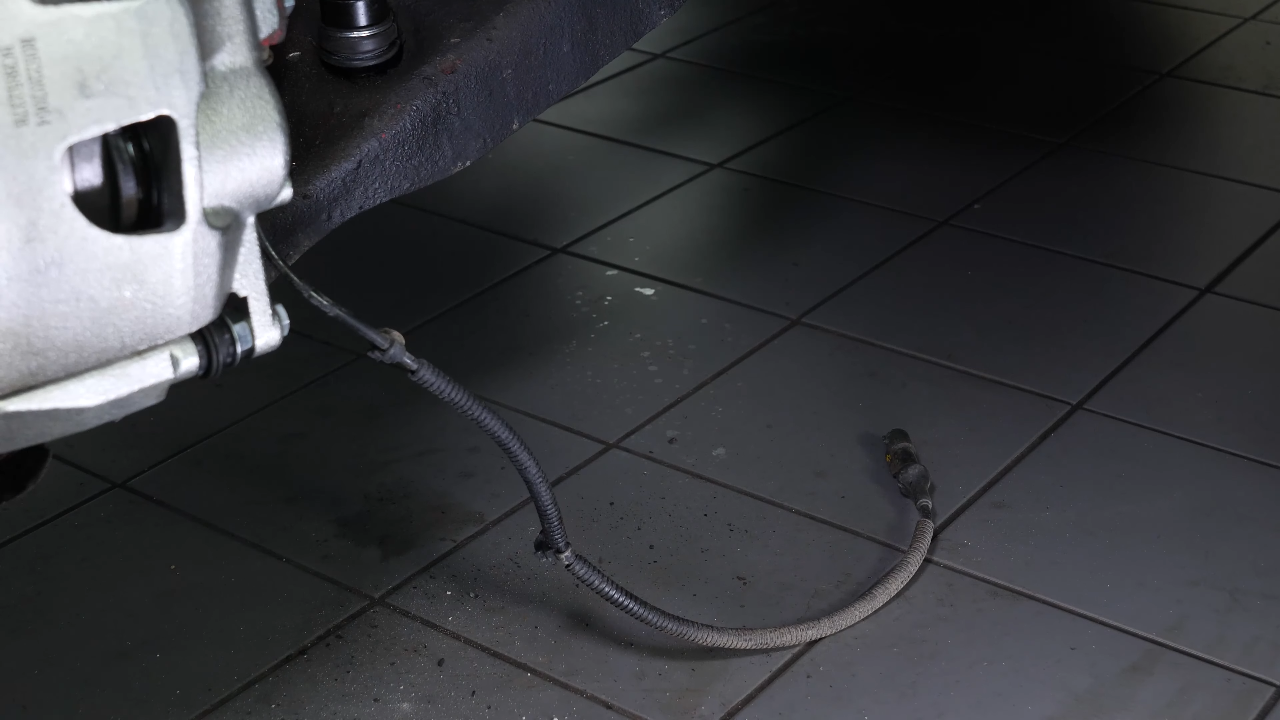
Start by unclipping the ABS sensor cable connection from the mudguard. Unclip the two cable attachment points using a fork.

Chapter 3:
Step 2/2
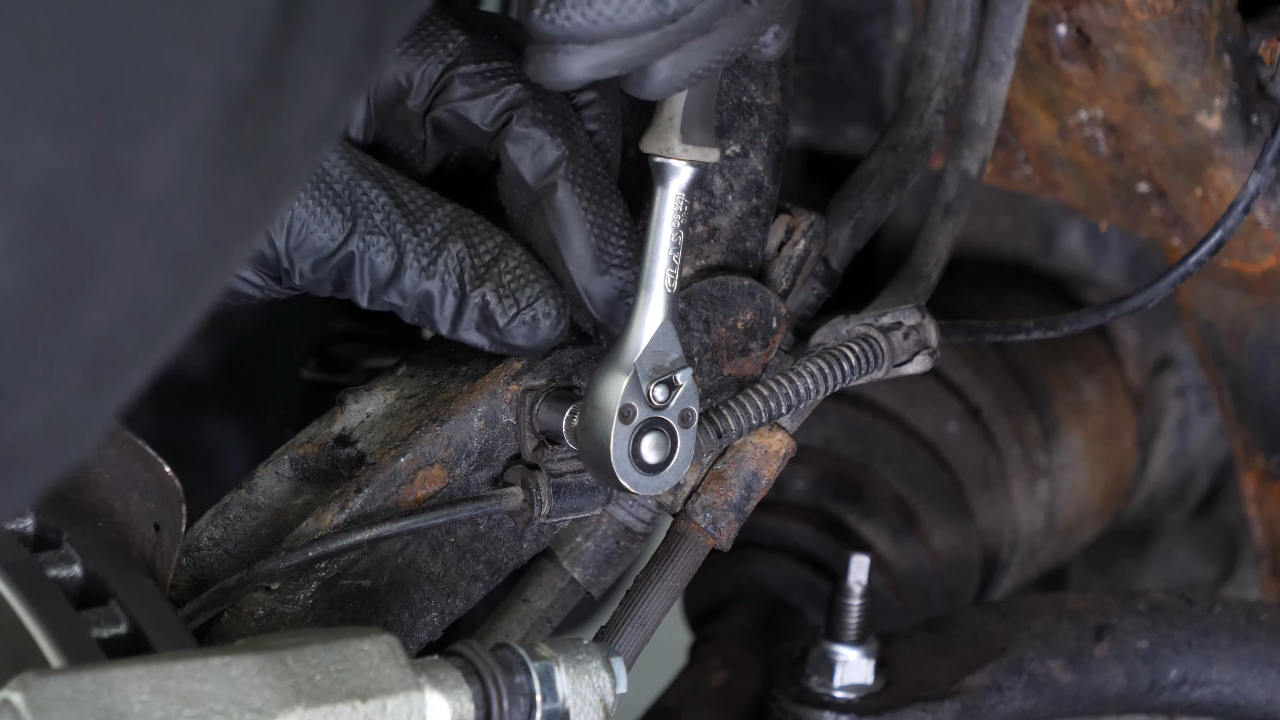
Finally, using an 8mm spanner, unscrew the screw that holds it to the wheel knuckle. Then disconnect it from the brake hose. Then put the cable down.

Chapter 4:
Unscrew the wheel hub nut
Step 1/2
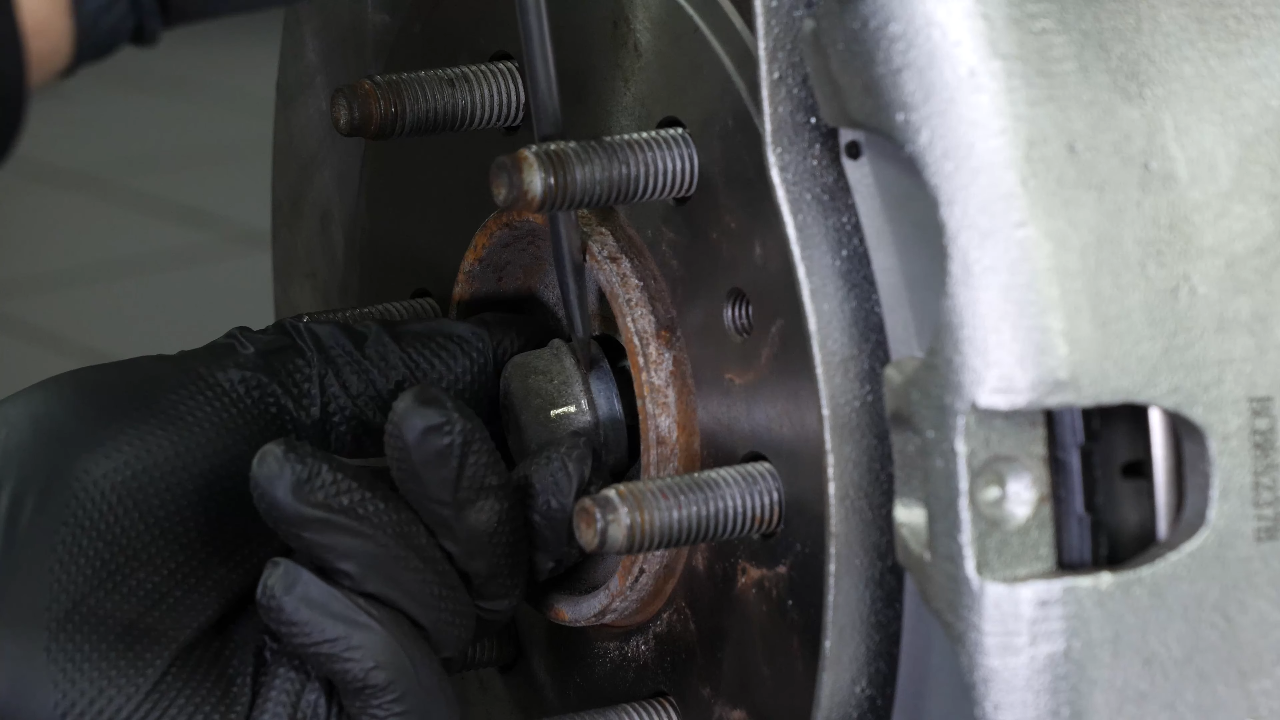
Using a flathead screwdriver, remove the nut cover from the hub.
Consider: Using a flathead screwdriver, remove the nut cover from the wheel hub. Then, locking the hub rotation with a crowbar, unscrew the hub nut using a ratchet and a 15mm socket.
Consider: Then, locking the wheel hub rotation with a crowbar, unscrew the hub nut using a ratchet and a 15mm socket.

Chapter 4:
Step 2/2
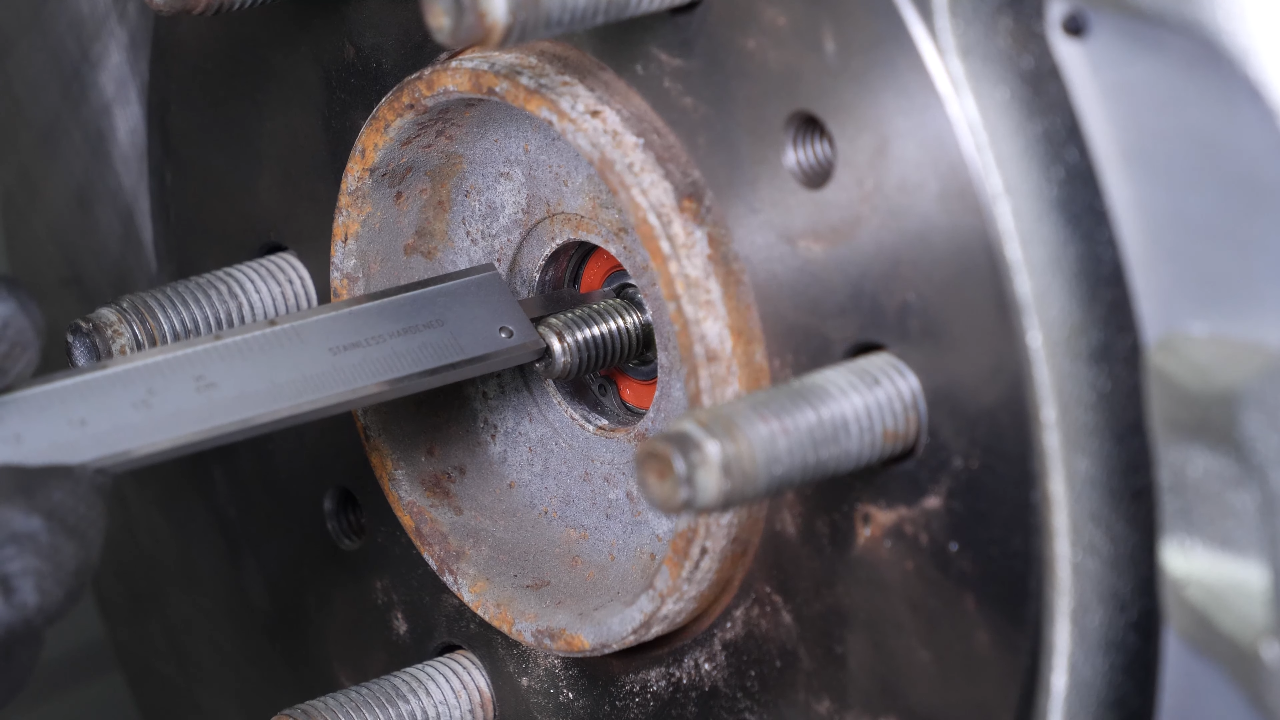
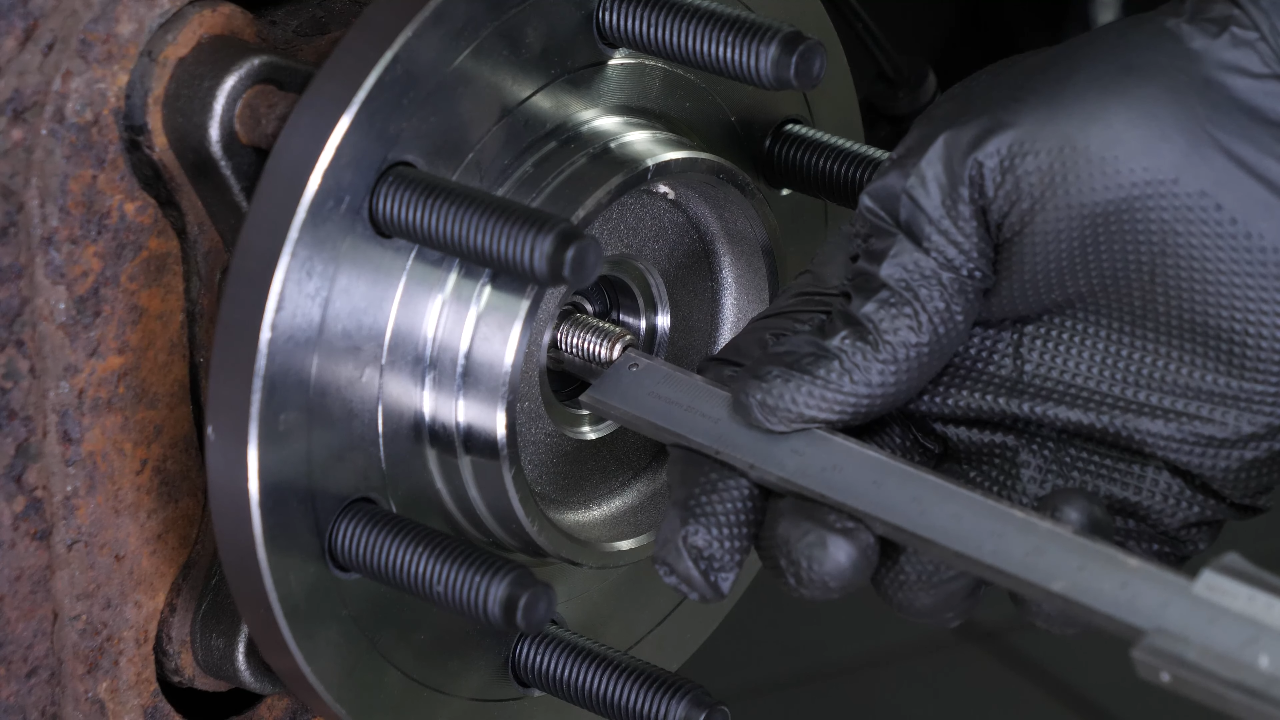
To ensure that the part is properly installed during reassembly, measure the distance between the end of the drive shaft thread and the bearing with a caliper.
Chapter 5:
Remove the caliper assembly
Step 1/3
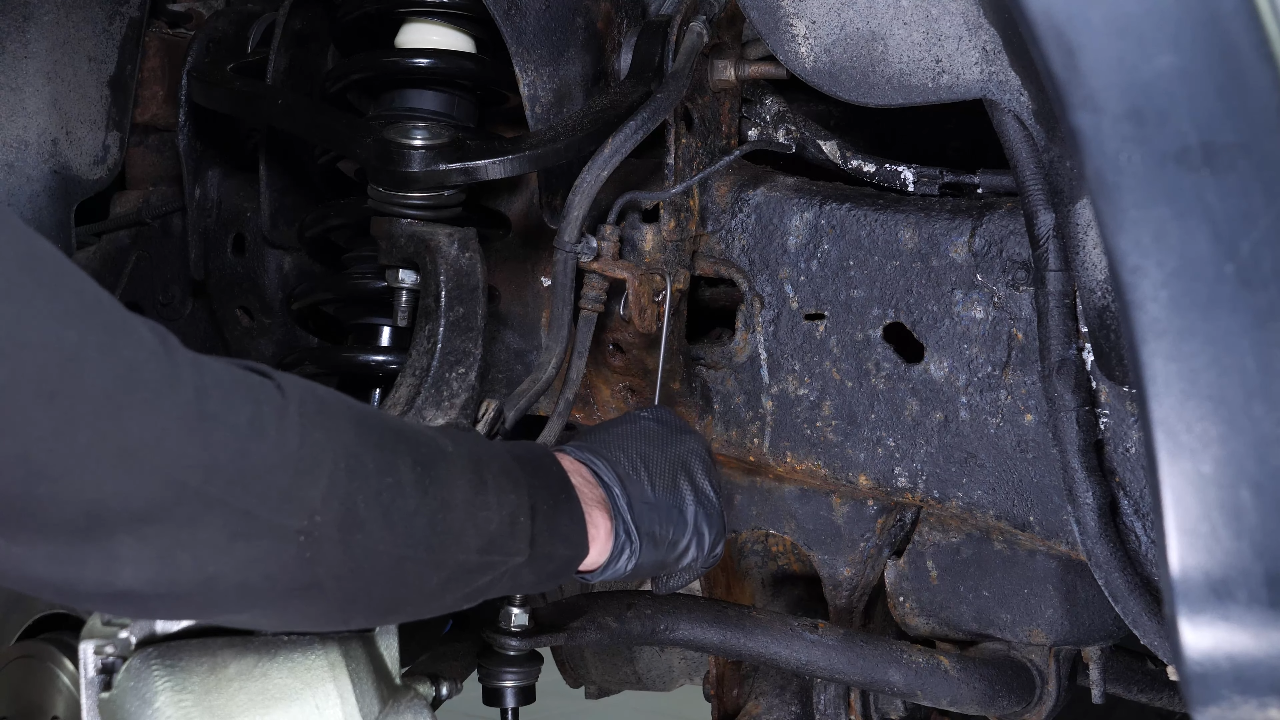
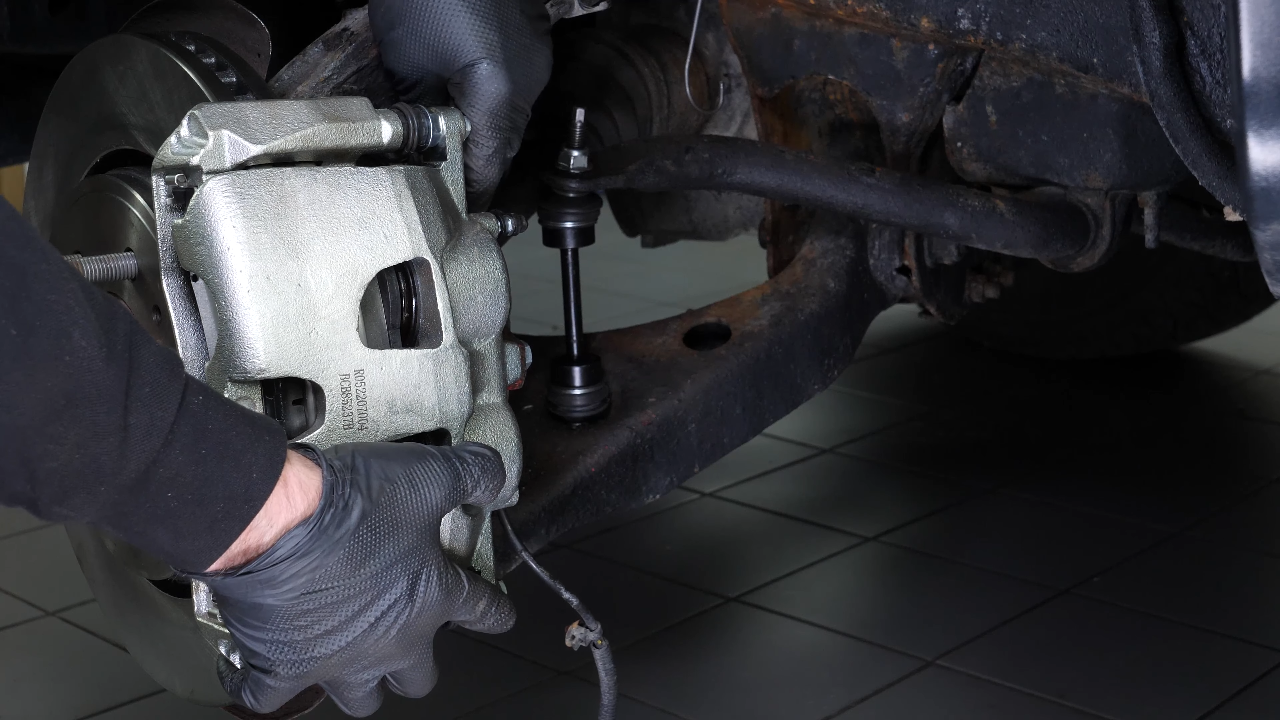
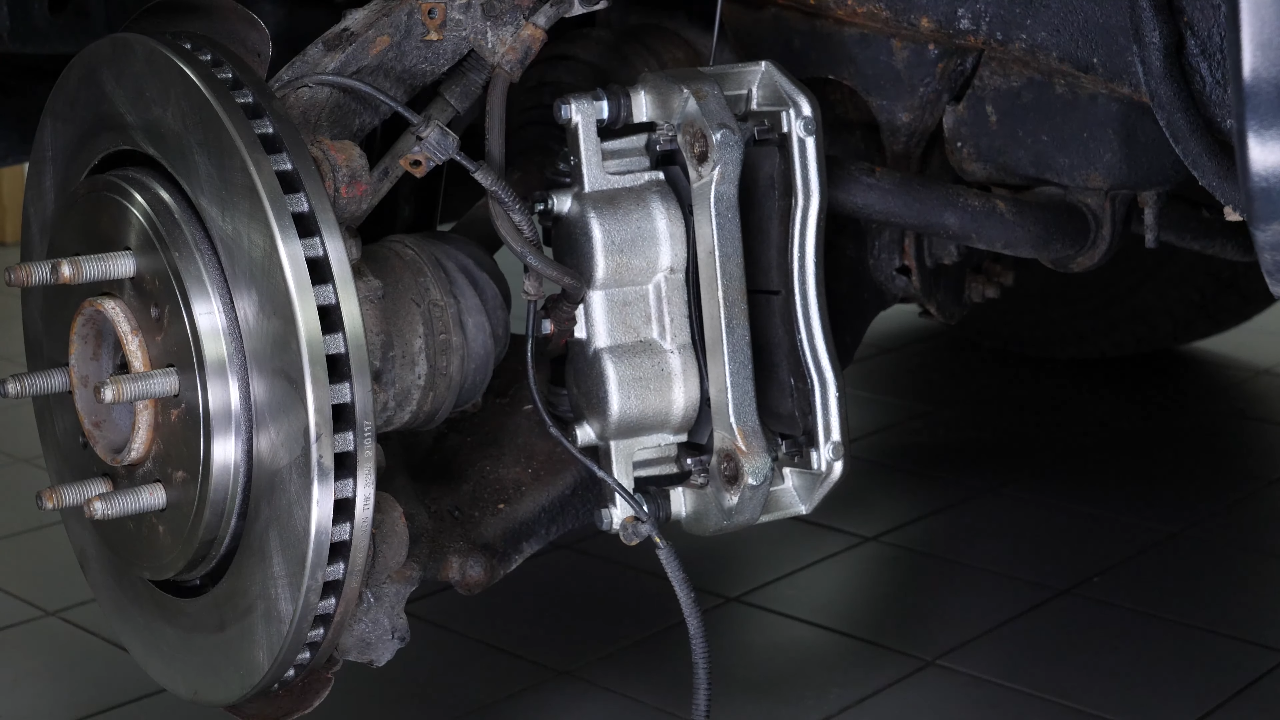
It is now necessary to remove the caliper assembly. Start by attaching an iron thread to the vehicle body to hold it together when it is removed.
Chapter 5:
Step 2/3
Then using a ratchet and a 21mm socket, unscrew the two screws from the caliper mount. Then attach it to the previously installed iron thread. For more information, we recommend watching our video : “How to replace the front discs and pads Ford F-150”
Consider: For more information, we recommend watching our video : “How to replace the front brake discs and brake pads Ford F-150”
Chapter 5:
Step 3/3
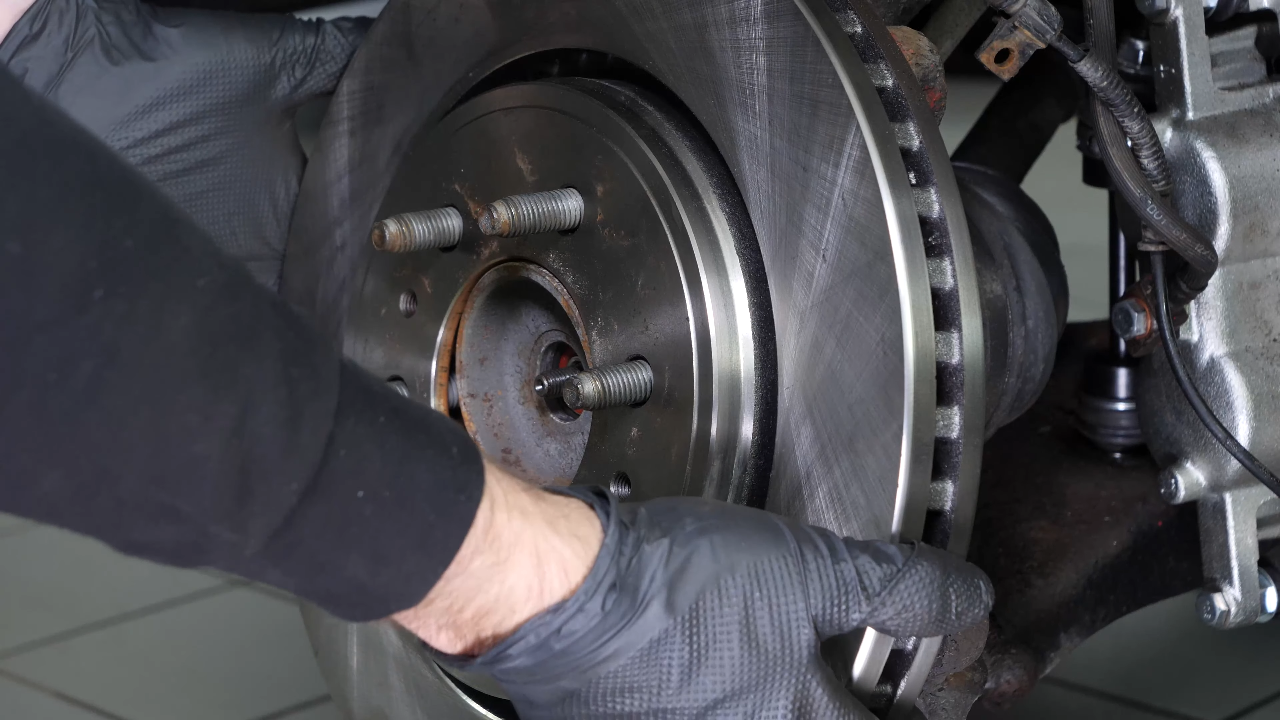
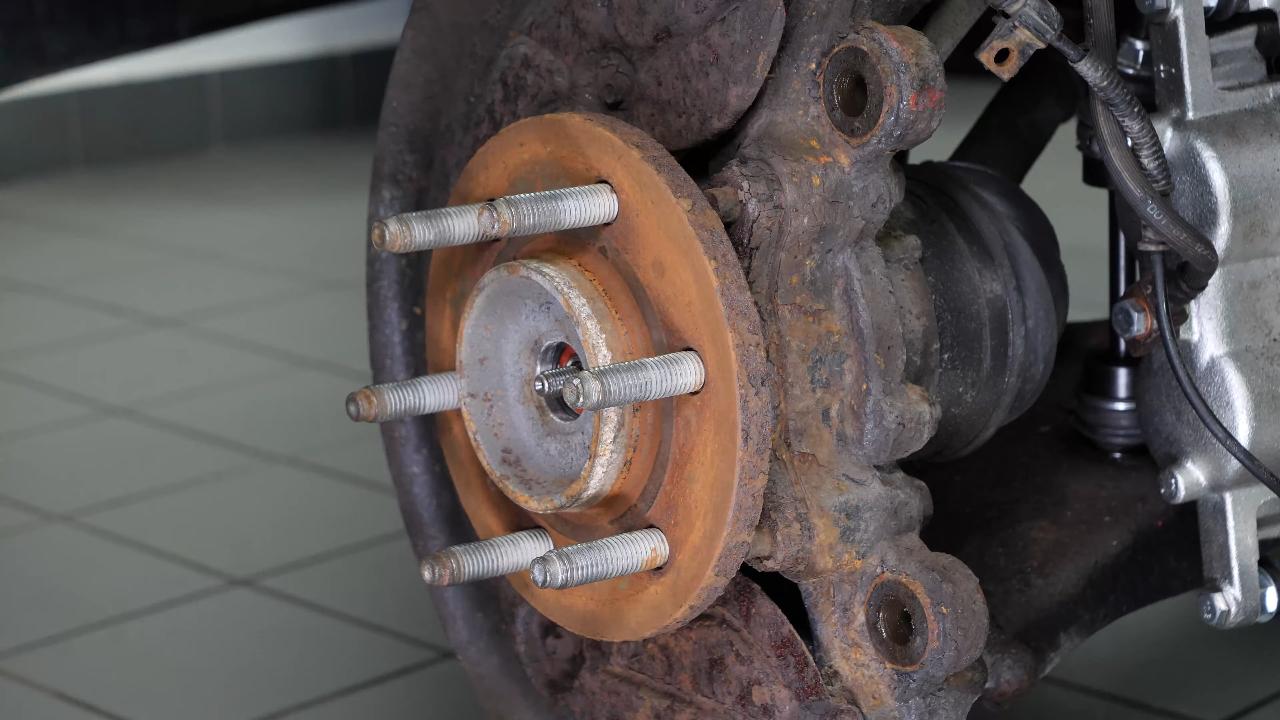
Then remove the disc. You can use a mallet to avoid damaging the disc.
Chapter 6:
Remove the wheel hub
Step 1/2
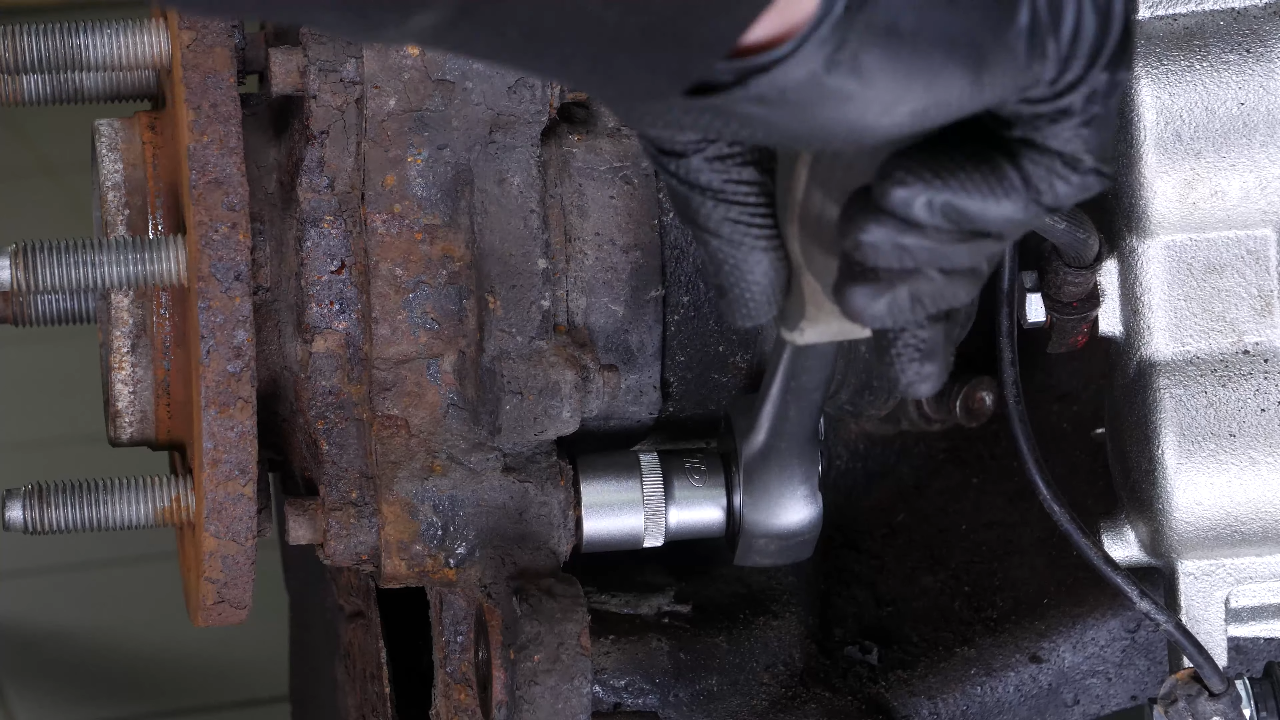
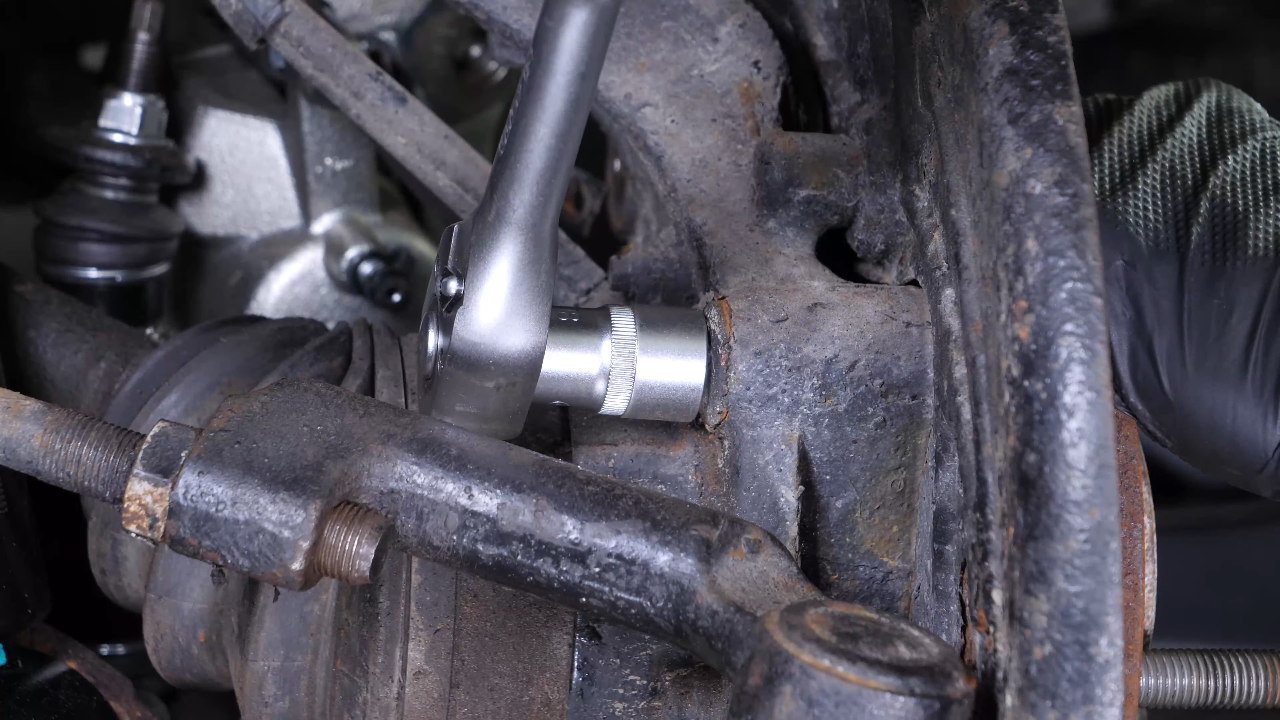
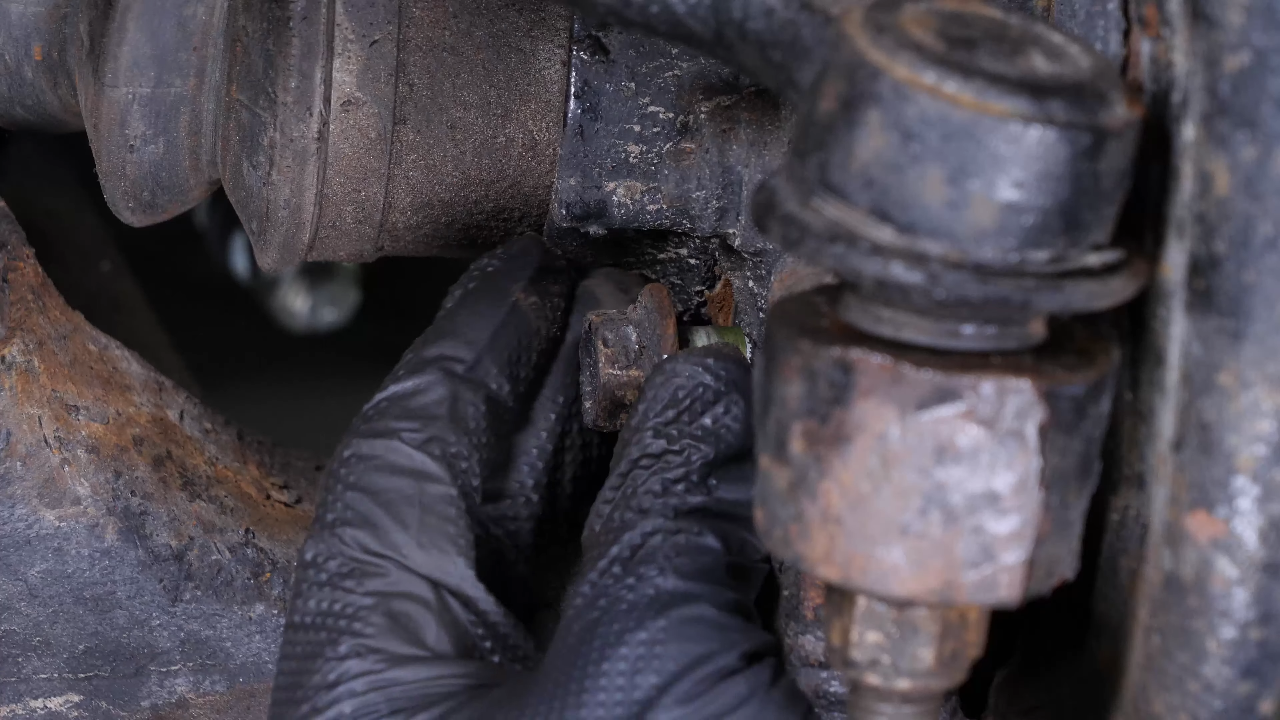
Using a ratchet and a 18 mm socket, unscrew the 4 screws holding the hub assembly.
Consider: Using a ratchet and a 18 mm socket, unscrew the 4 screws holding the wheel hub assembly.
Chapter 6:
Step 2/2
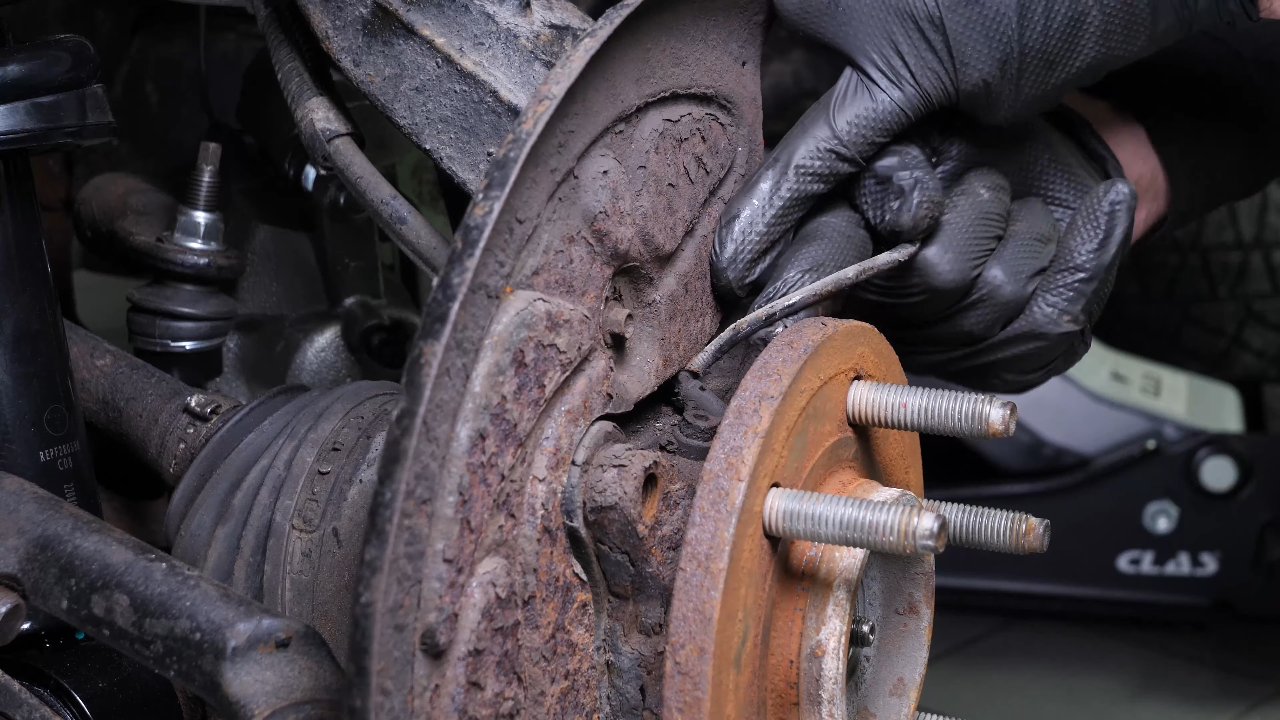
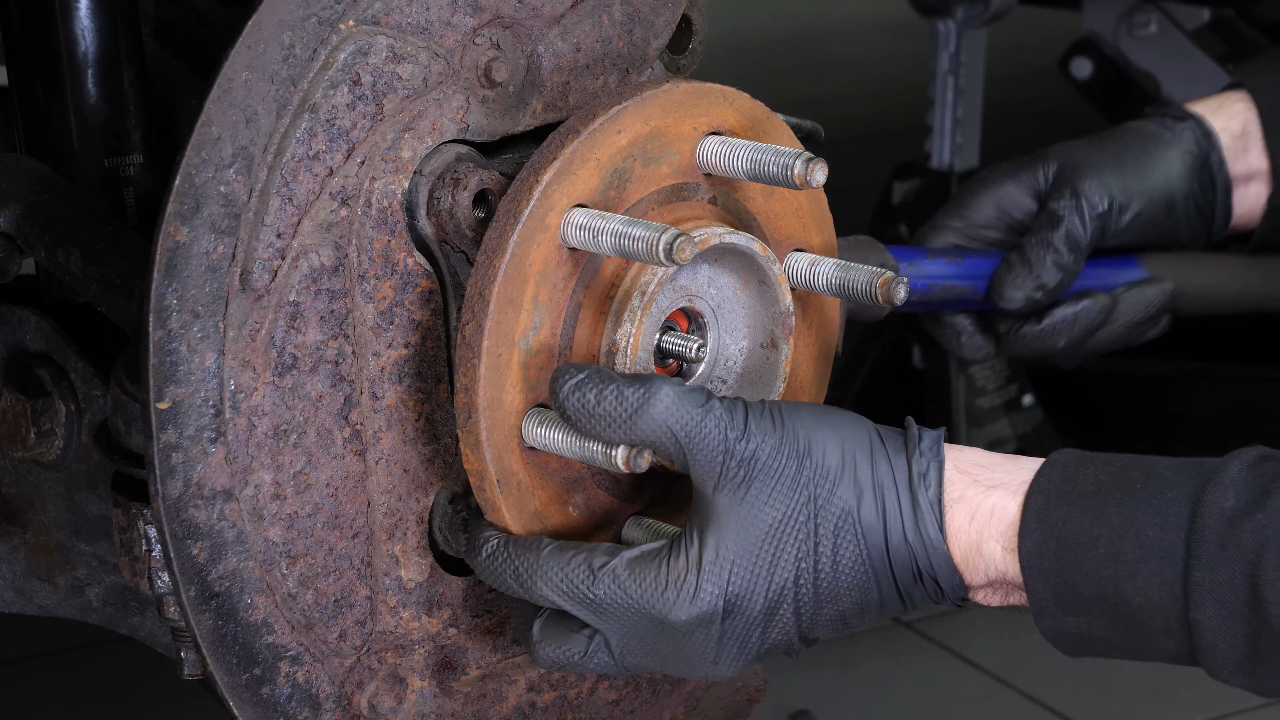
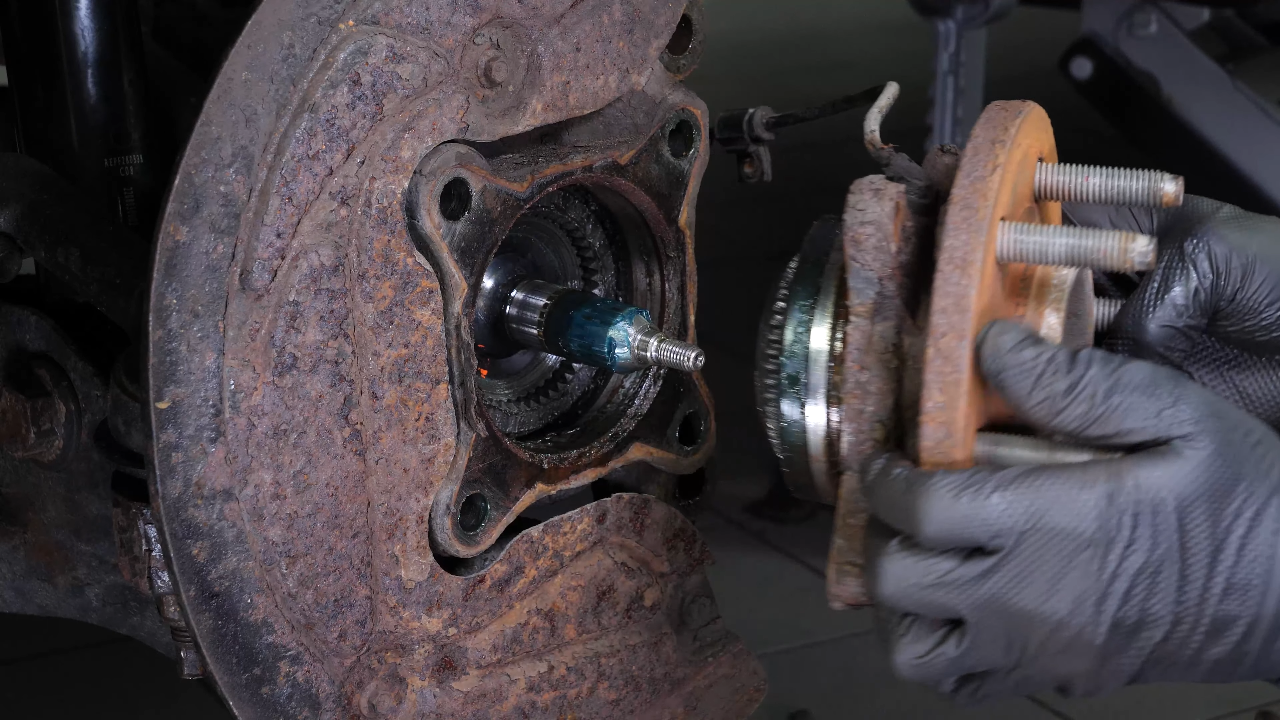
Shift the ABS sensor cable to the other side of the brake system anchor plate. You can now remove the hub assembly from its location with a hammer.
Consider: You can now remove the wheel hub assembly from its location with a hammer.
Chapter 7:
Prepare the installation of the new part
Step 1/2
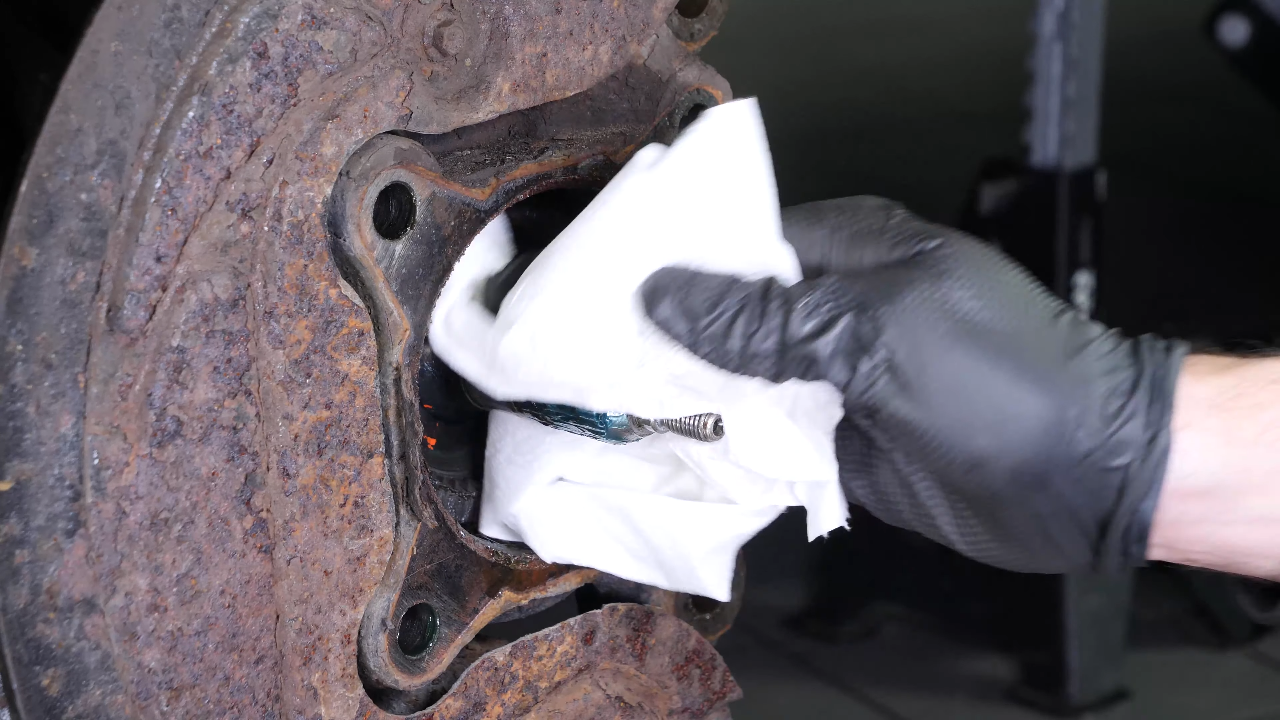
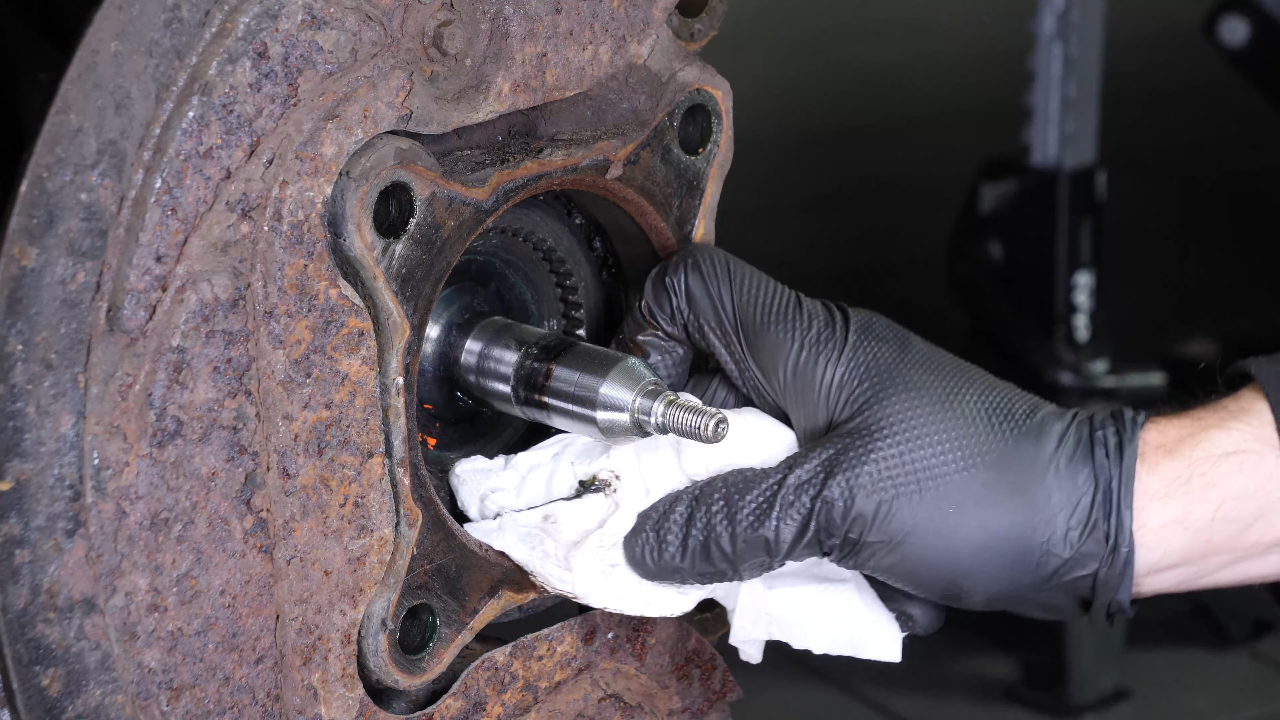
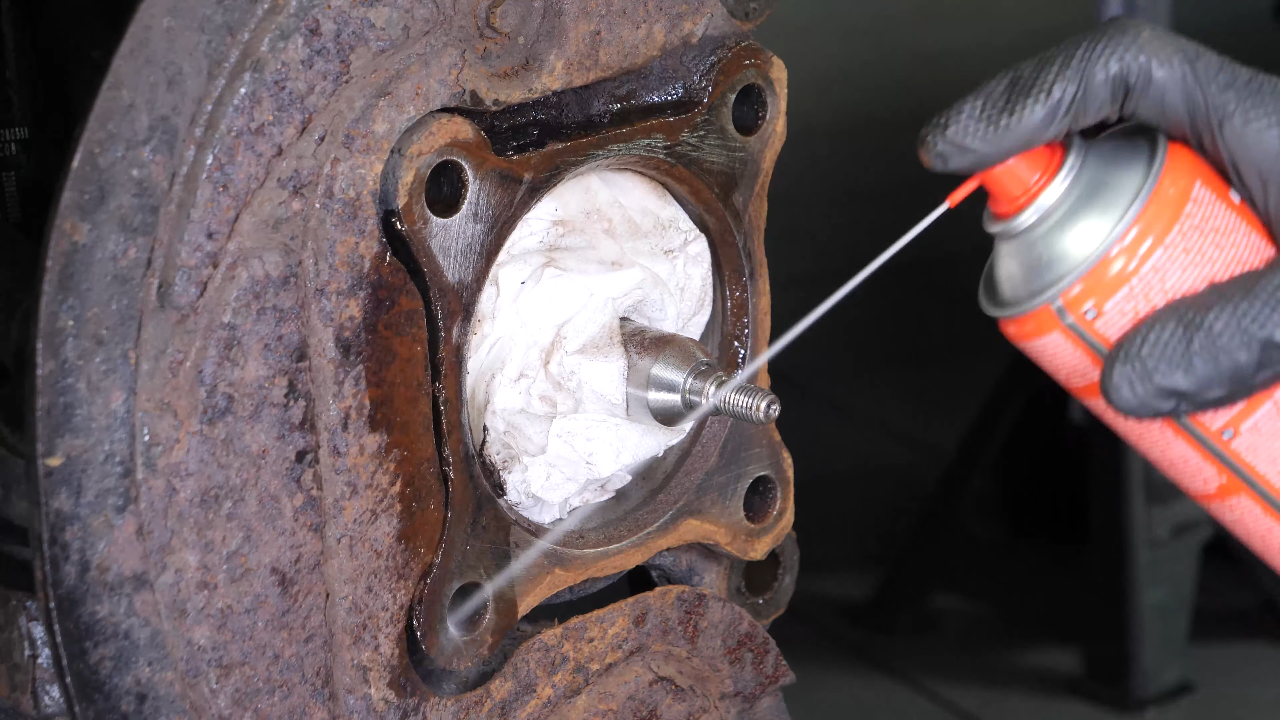
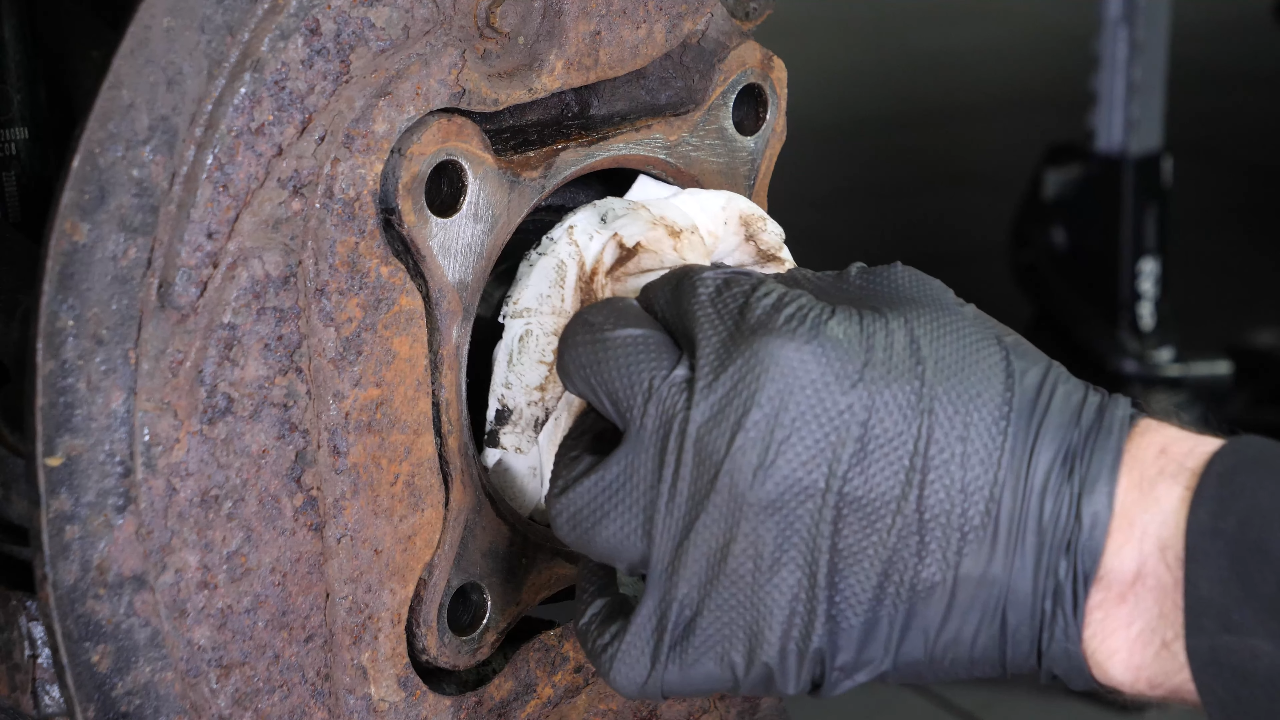
Clean the drive shaft and the inside of the hub with a paper towel.
Consider: Clean the CV drive shaft and the inside of the wheel hub with a paper towel. Then protect the whole.
Consider: Then protect the assembly.
Chapter 7:
Step 2/2
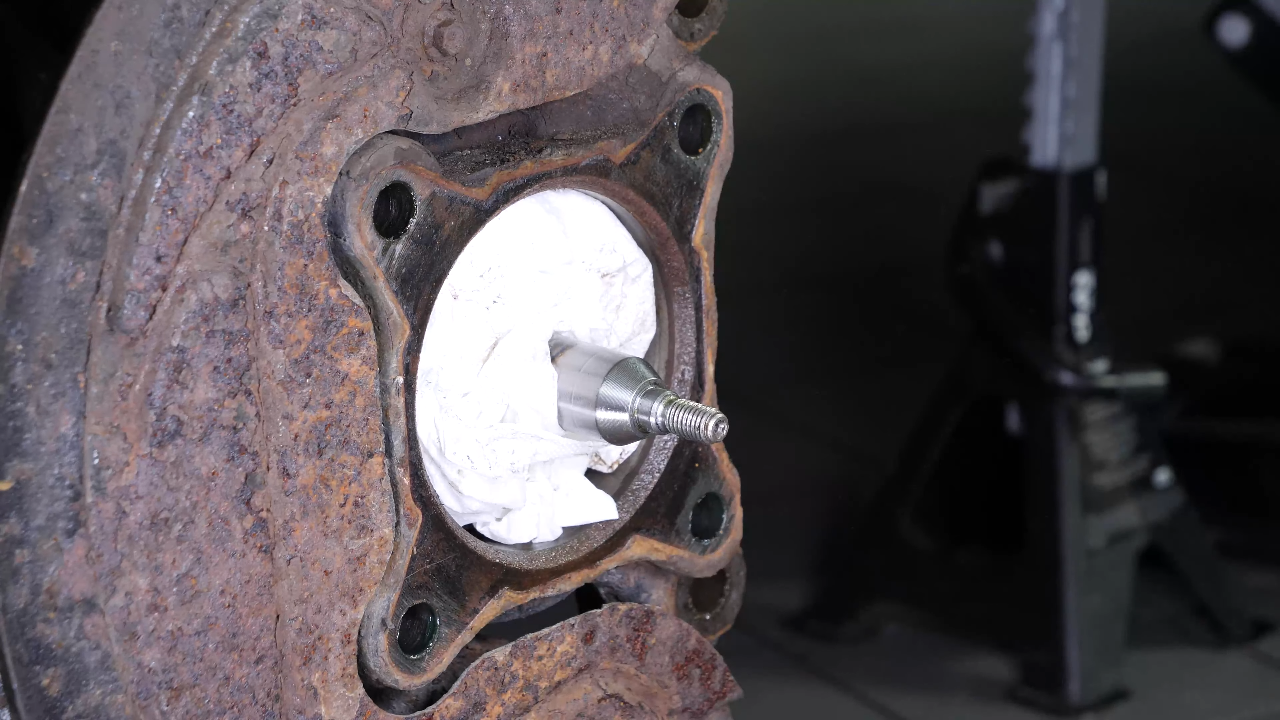
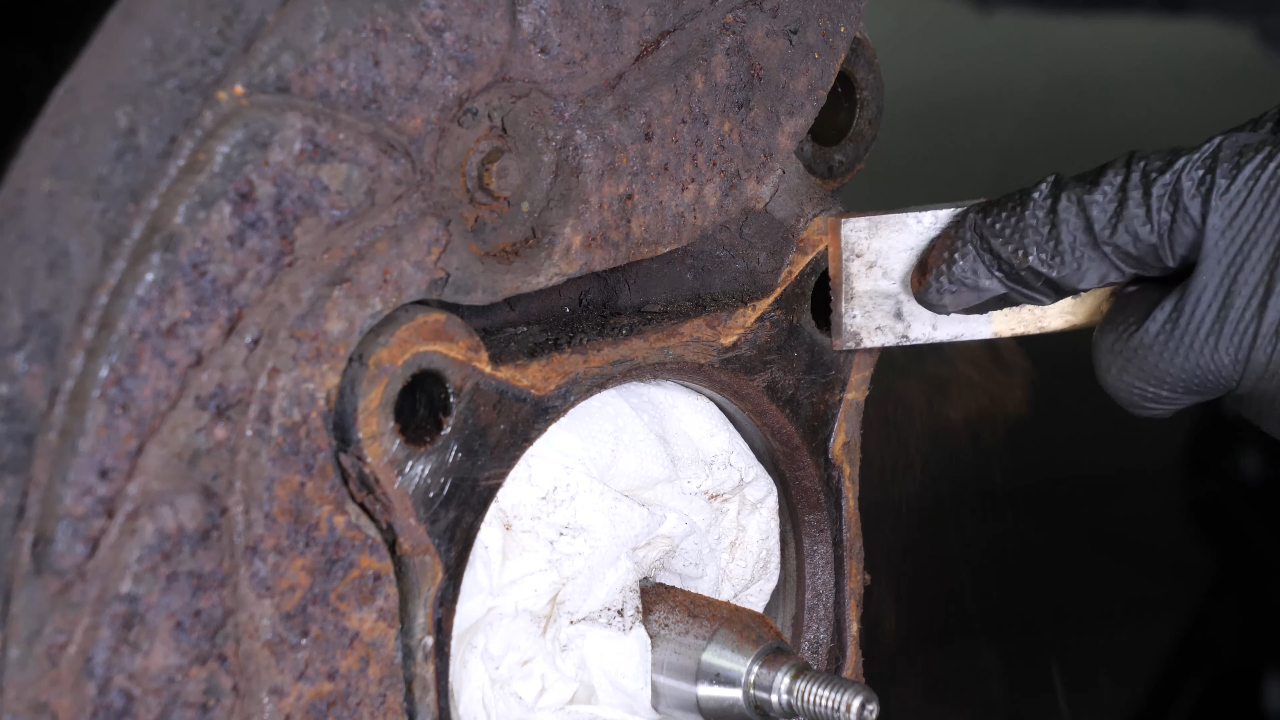
Using a fine chisel, remove the corrosion layer from the hub.
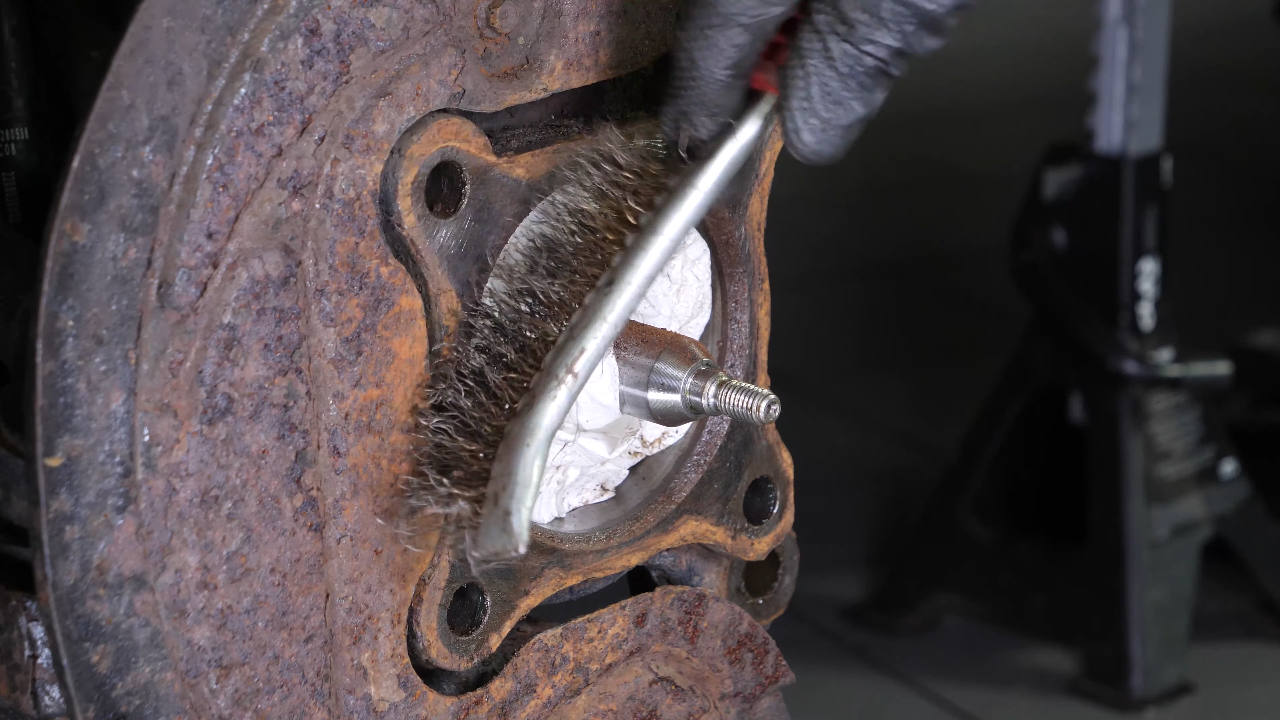
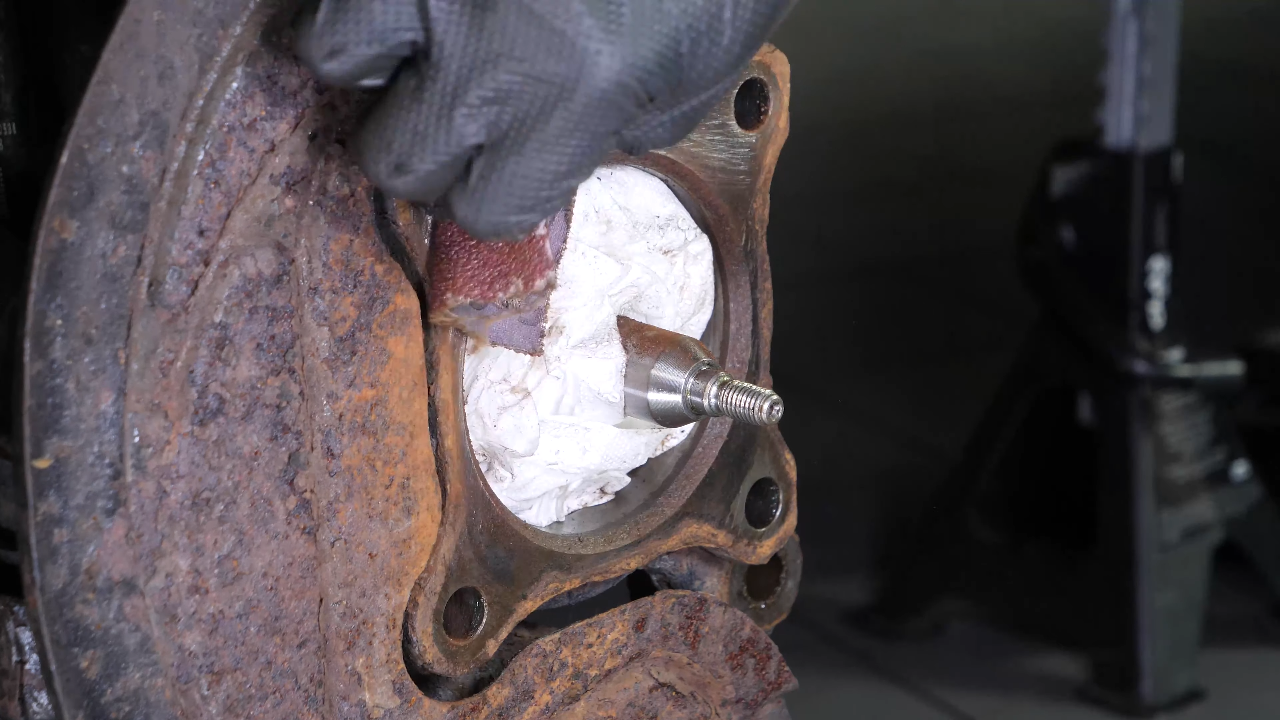
Consider: Using a fine chisel, remove the corrosion layer from the wheel hub. Then brush it with a wire brush. You can finish the cleaning with sanding paper, without forgetting to clean with brake cleaner. Remove the paper towel.
Chapter 8:
Manipulate the wheel hub
Step 1/4
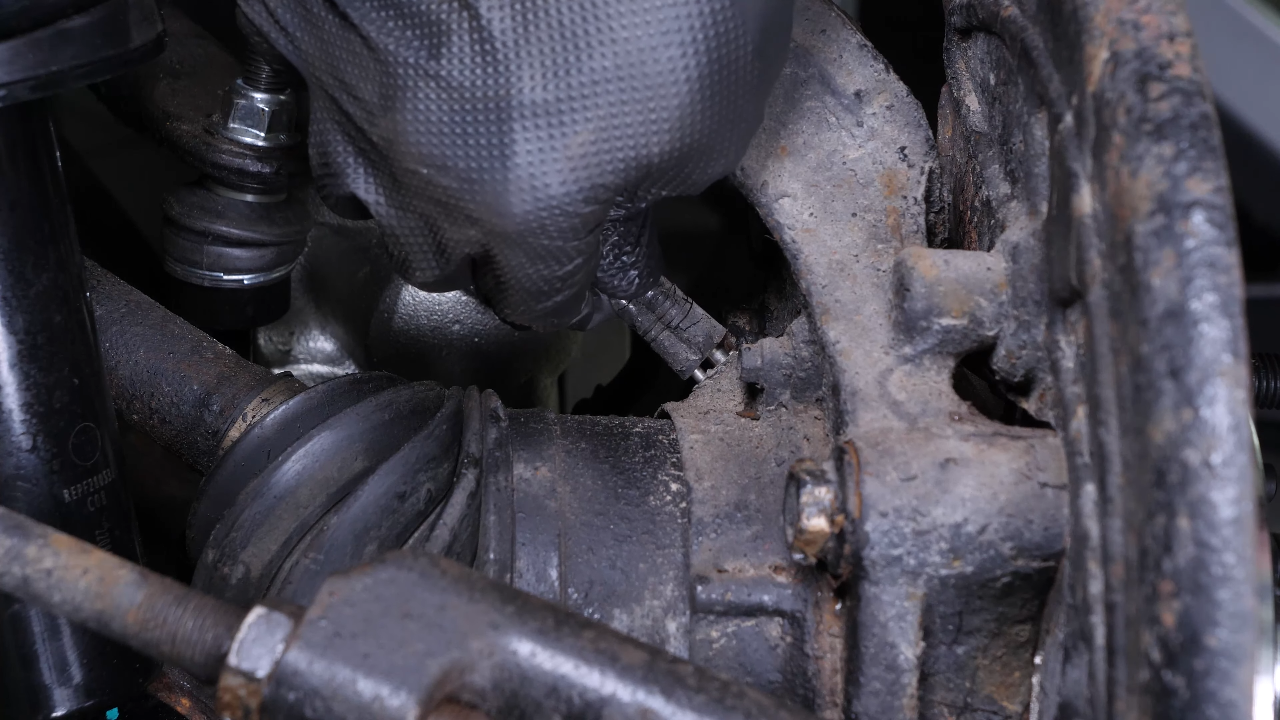
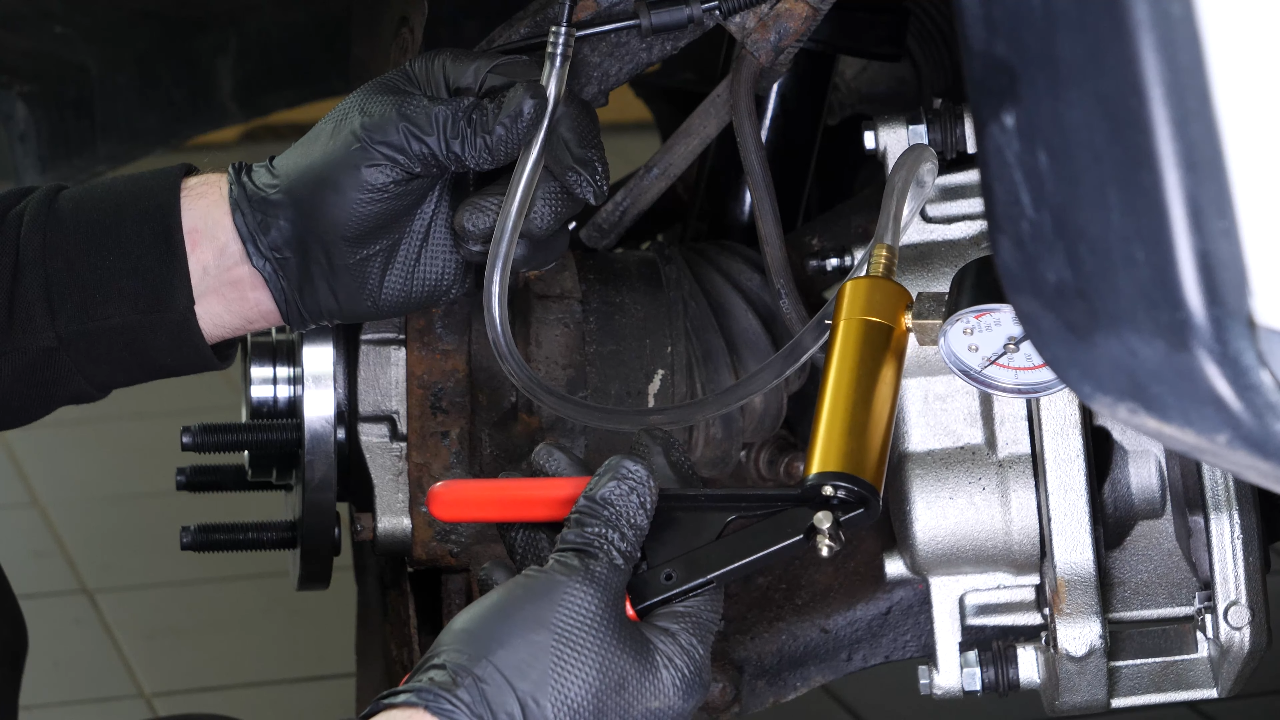
Disconnect the vacuum hoses, and use the tool you can find in the video description. This is a manual vacuum pump, highly recommended for the installation of the new hub.
Consider: This is a manual vacuum pump, highly recommended for the installation of the new Wheel hub. Connect the pump to the large diameter nipple, then vacuum with the pump. This causes the hub lock actuator gear to be drawn in.
Consider; This causes the wheel hub lock actuator gear to be drawn in.

Chapter 8:
Step 2/4
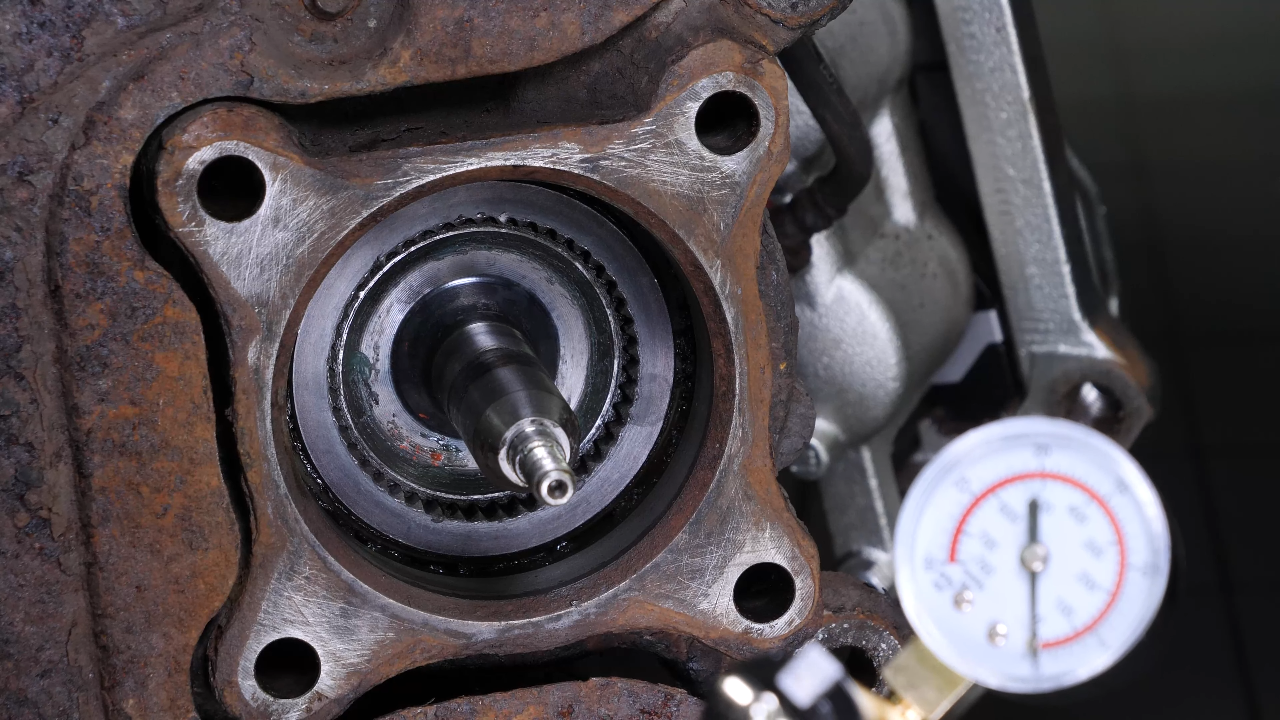
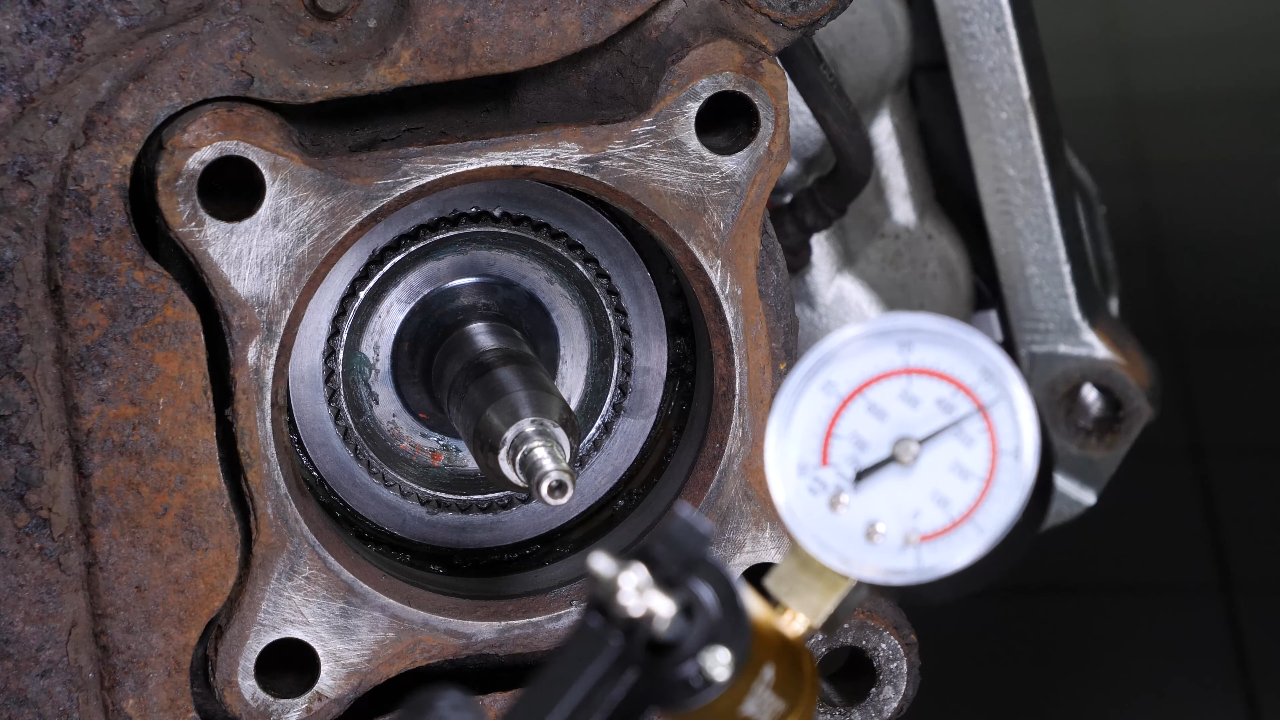
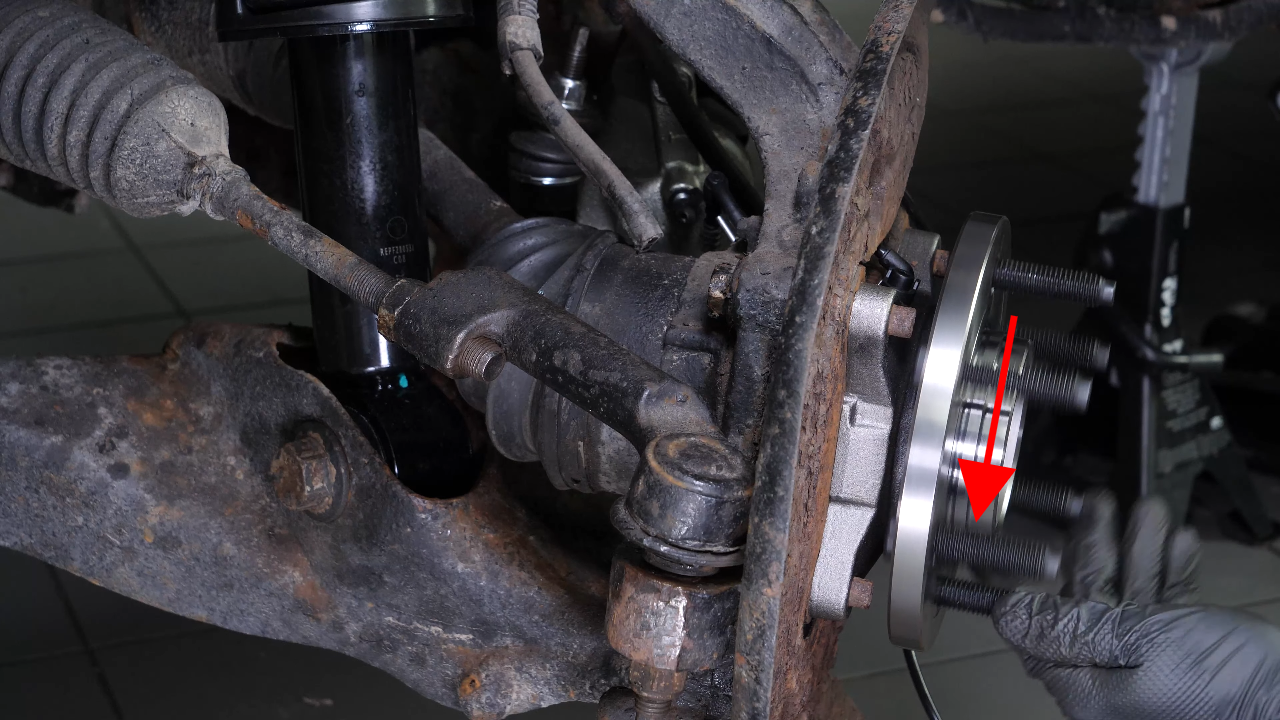
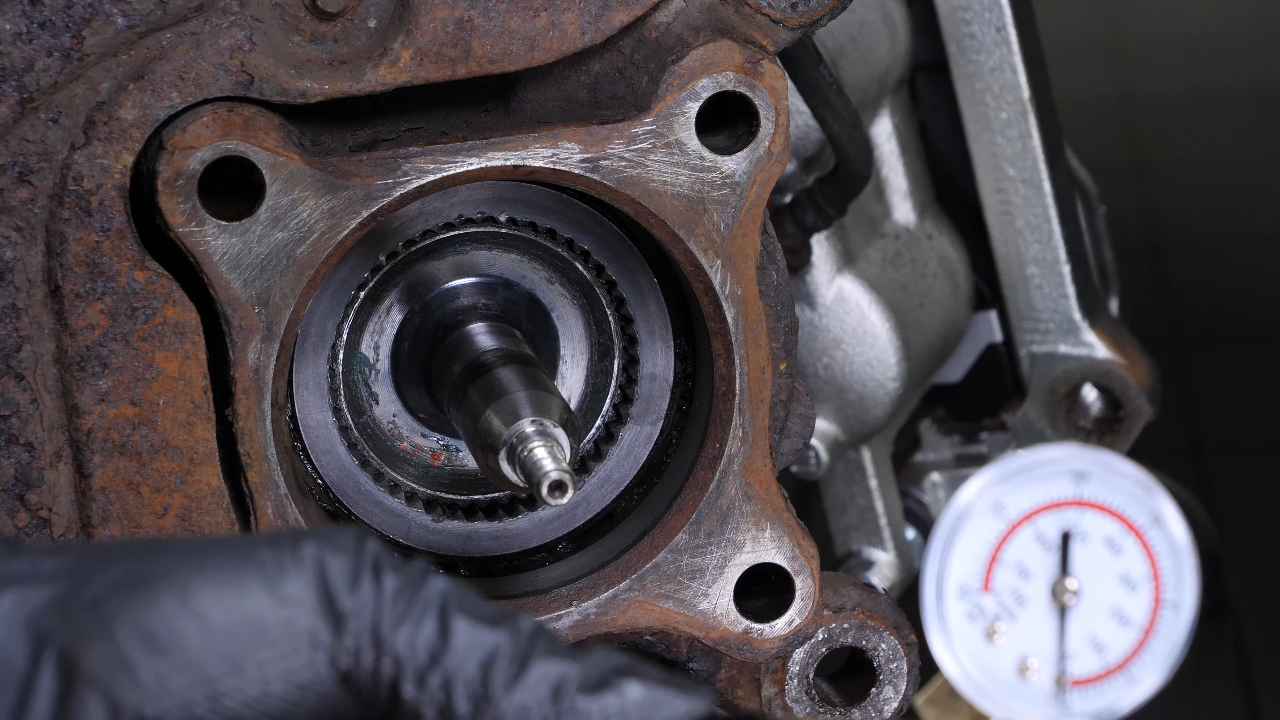
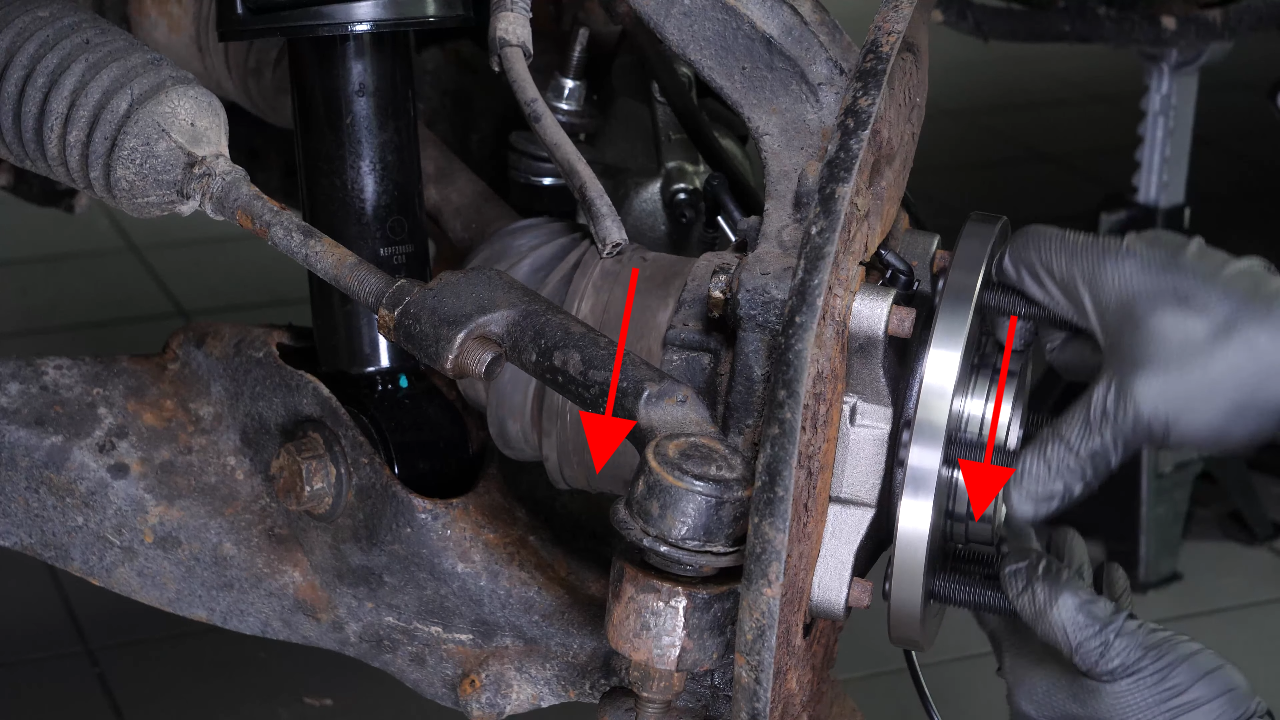
In these images you can see how the hub lock actuator operates.
Consider: In these images you can see how the wheel hub lock actuator operates. When your vehicle is in RWD mode, the vehicle’s vacuum pump operates and the hub lock actuator gear is drawn in, effectively disengaging the hub bearing transmission.
Consider: When your vehicle is in RWD mode, the vehicle’s vacuum pump operates and the hub lock actuator gear is drawn in, effectively disengaging the wheel hub bearing transmission. When the vehicle is in 4WD mode, the vacuum is switched off, the hub lock actuator switches on and the transmission connects to the wheel hub.
Chapter 8:
Step 3/4
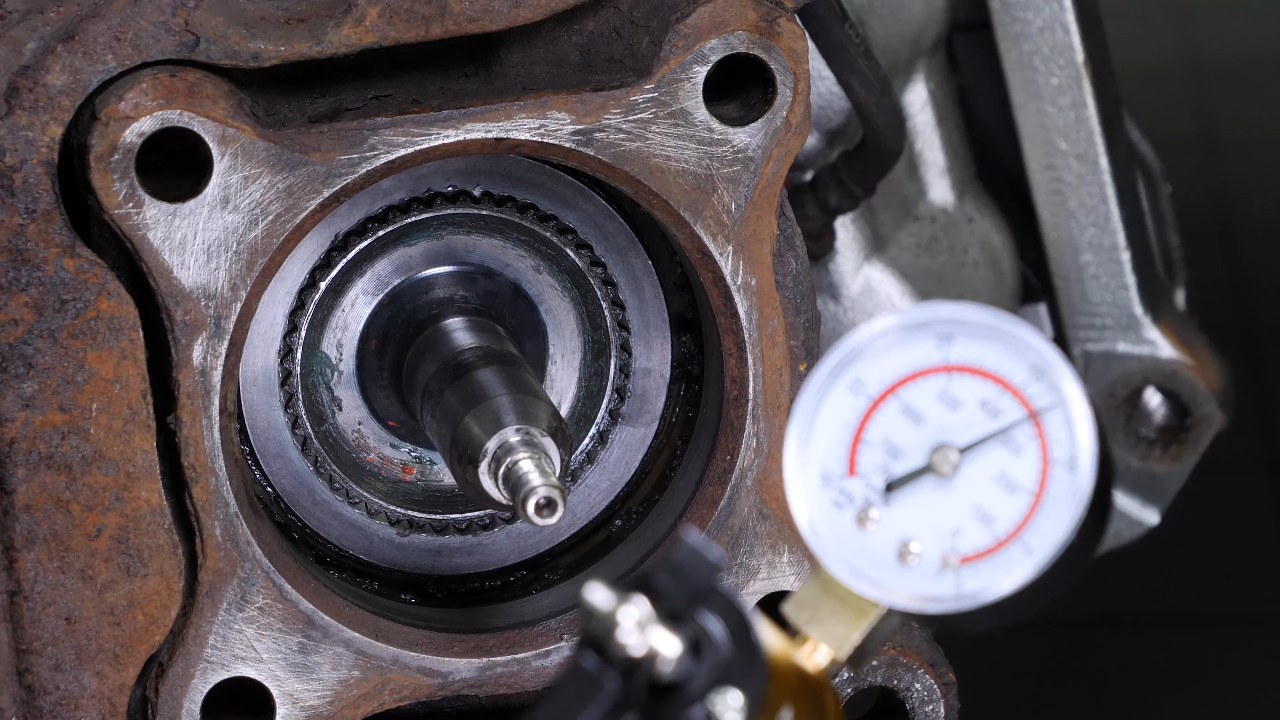
To install the new part, it is important to get the gear in using the pump, so that it can be easily and completely inserted into the hub.
Consider: To install the new part, it is important to get the gear in using the vacuum pump, so that it can be easily and completely inserted into the wheel hub.
Chapter 8:
Step 4/4
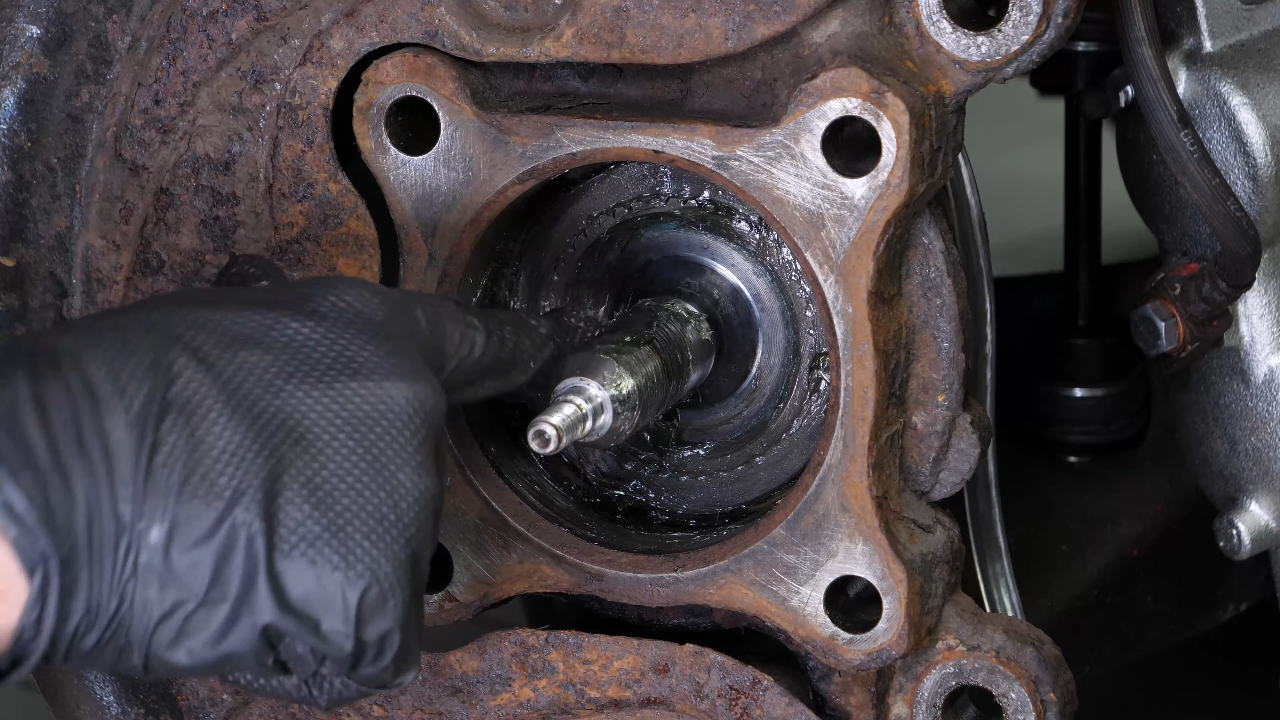
When fully in, apply grease to the hub lock actuator.
Chapter 9:
Install the wheel hub bearing
Step 1/4
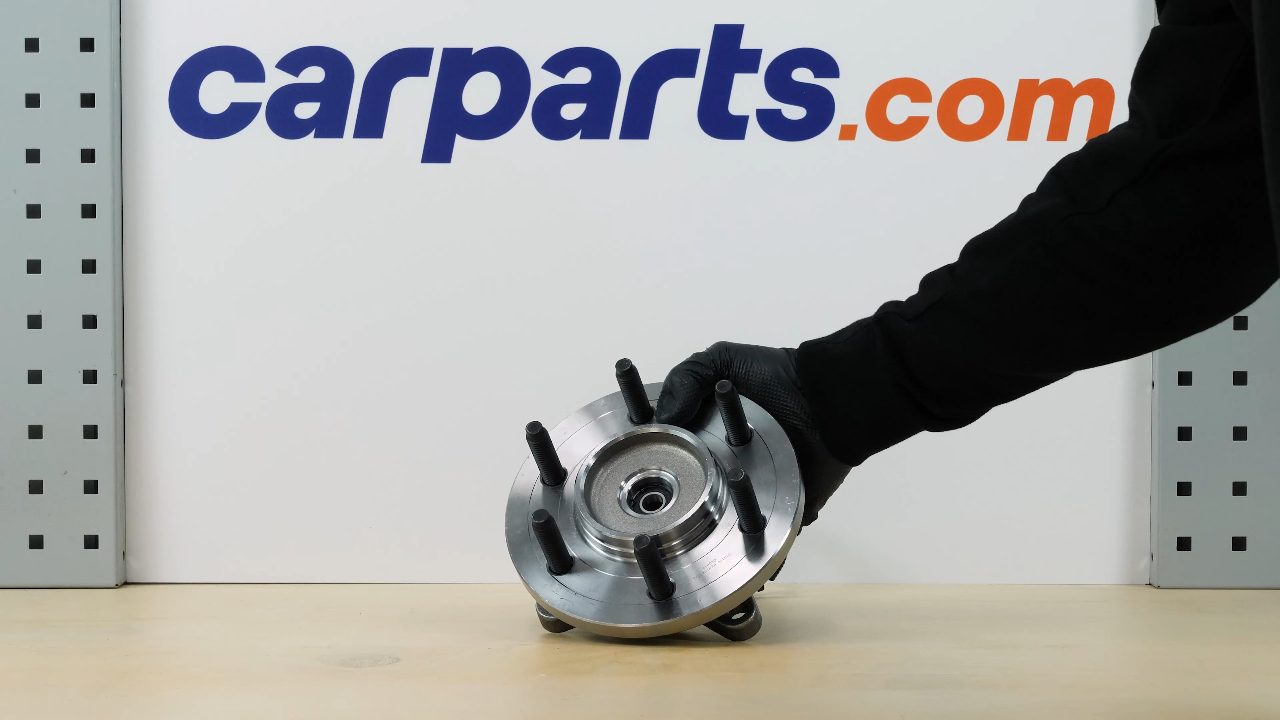
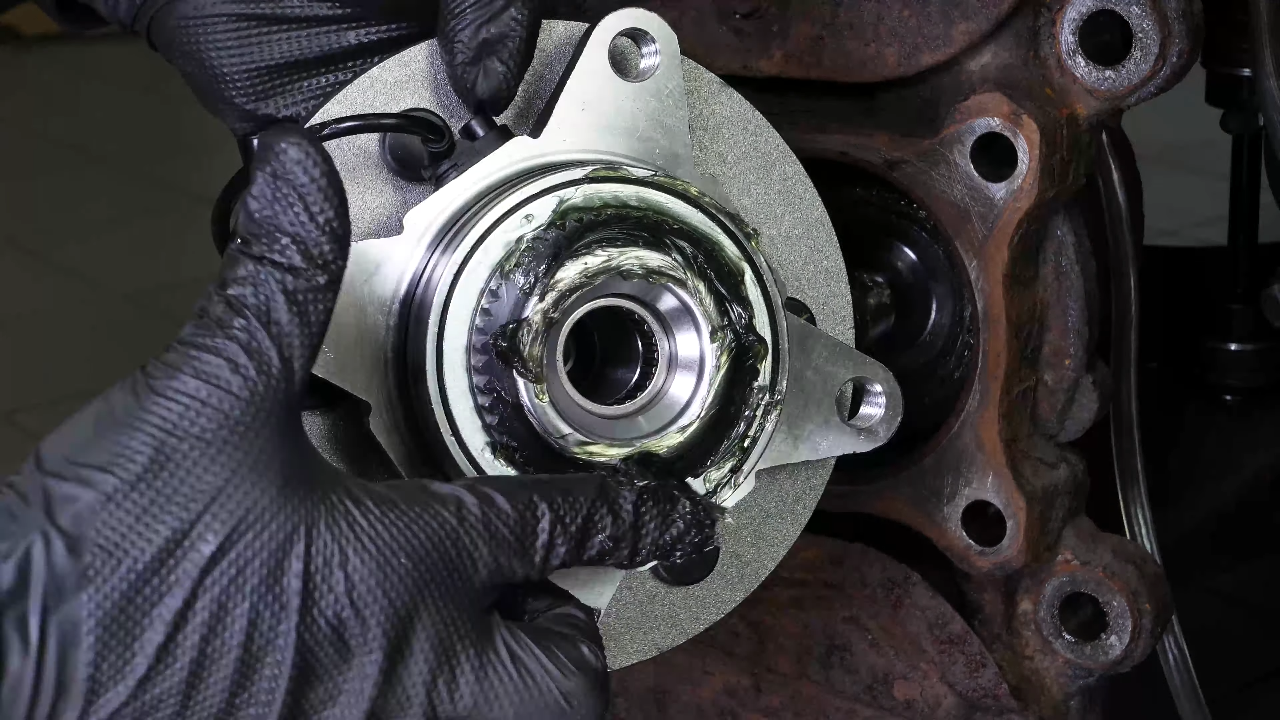
Take the wheel hub assembly. Grease the part of the wheel hub assembly that will be in contact with the locking actuator.
Chapter 9:
Step 2/4
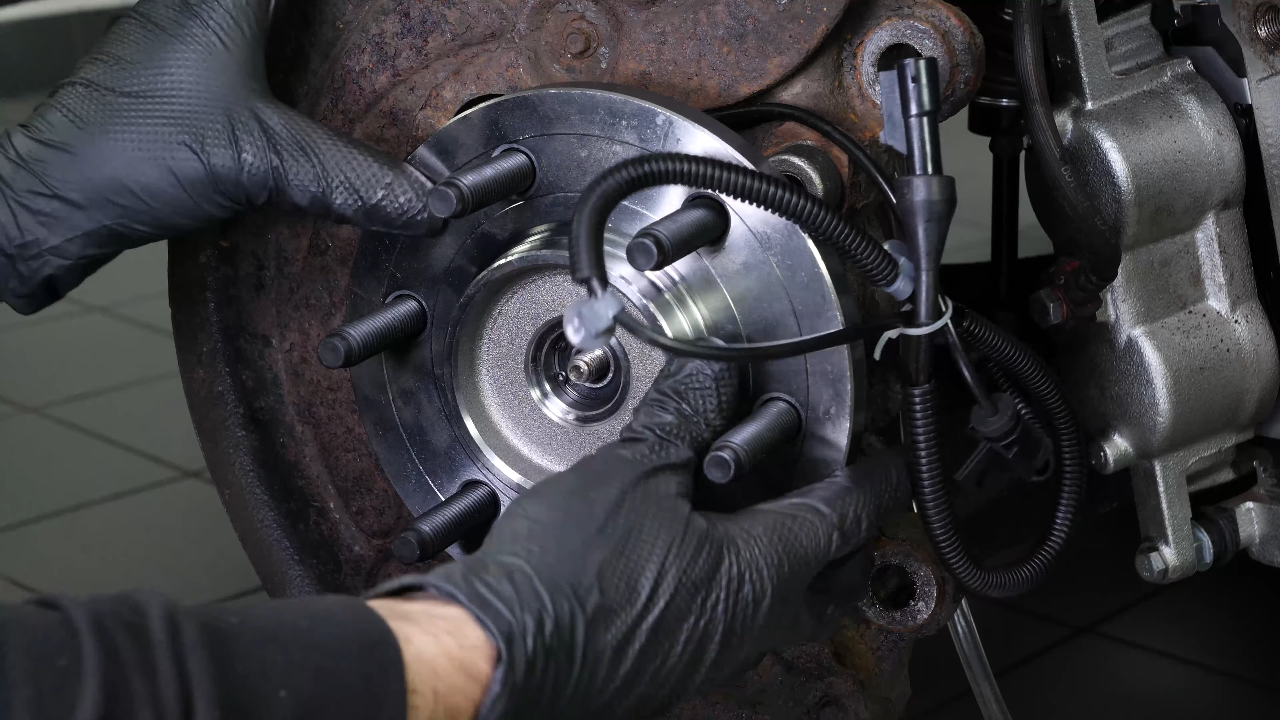
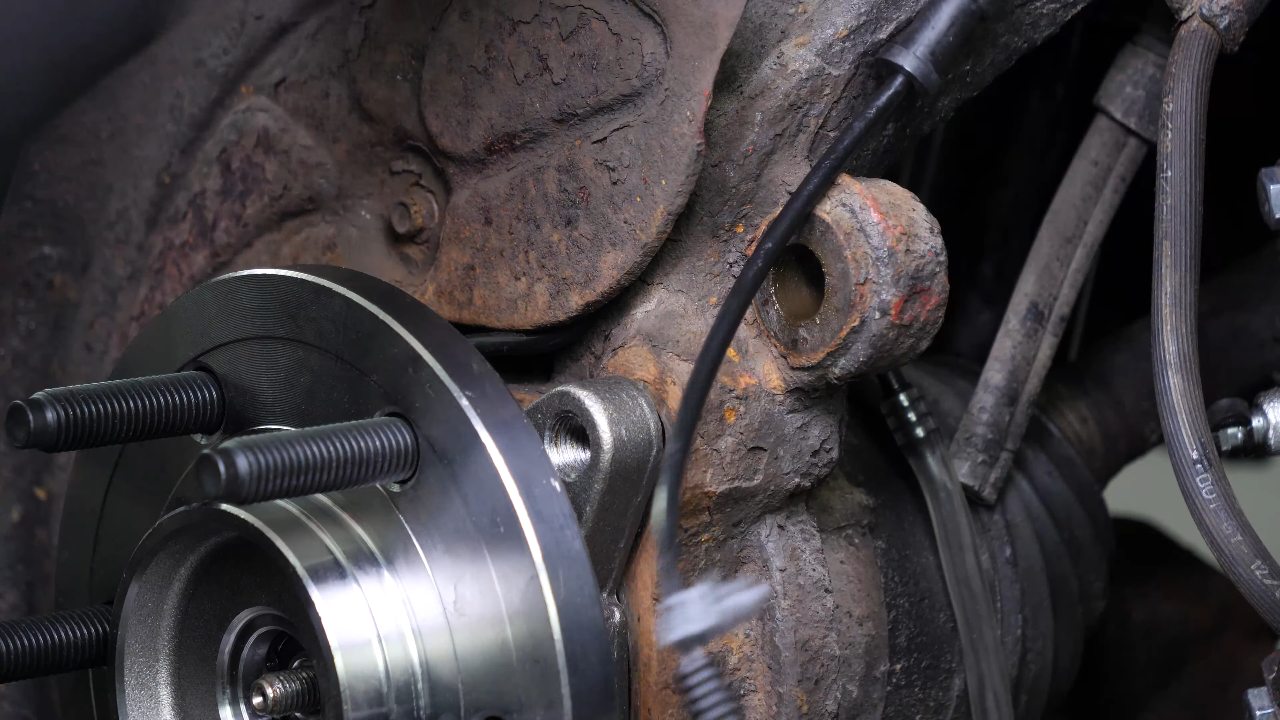
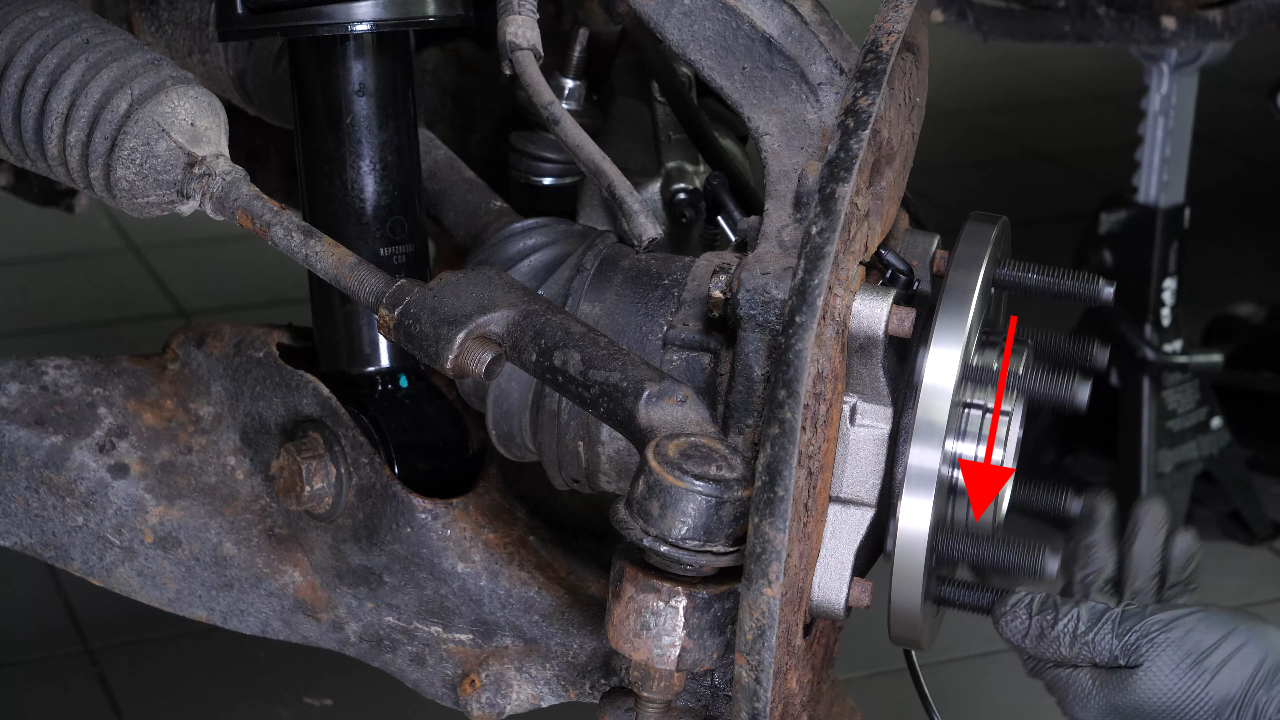
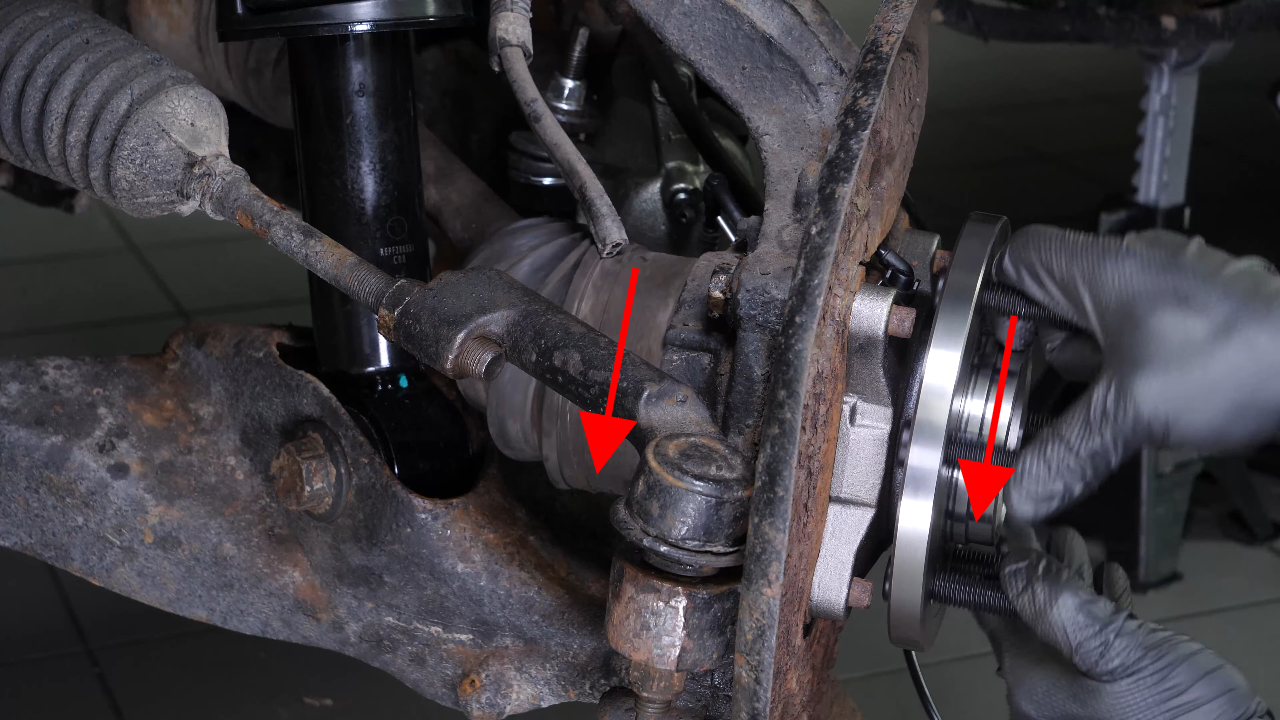
Then install the wheel hub assembly properly, the ABS sensor upwards. Cut the cable clamp, then pull the cable behind the brake system anchor plate.

Chapter 9:
Step 3/4
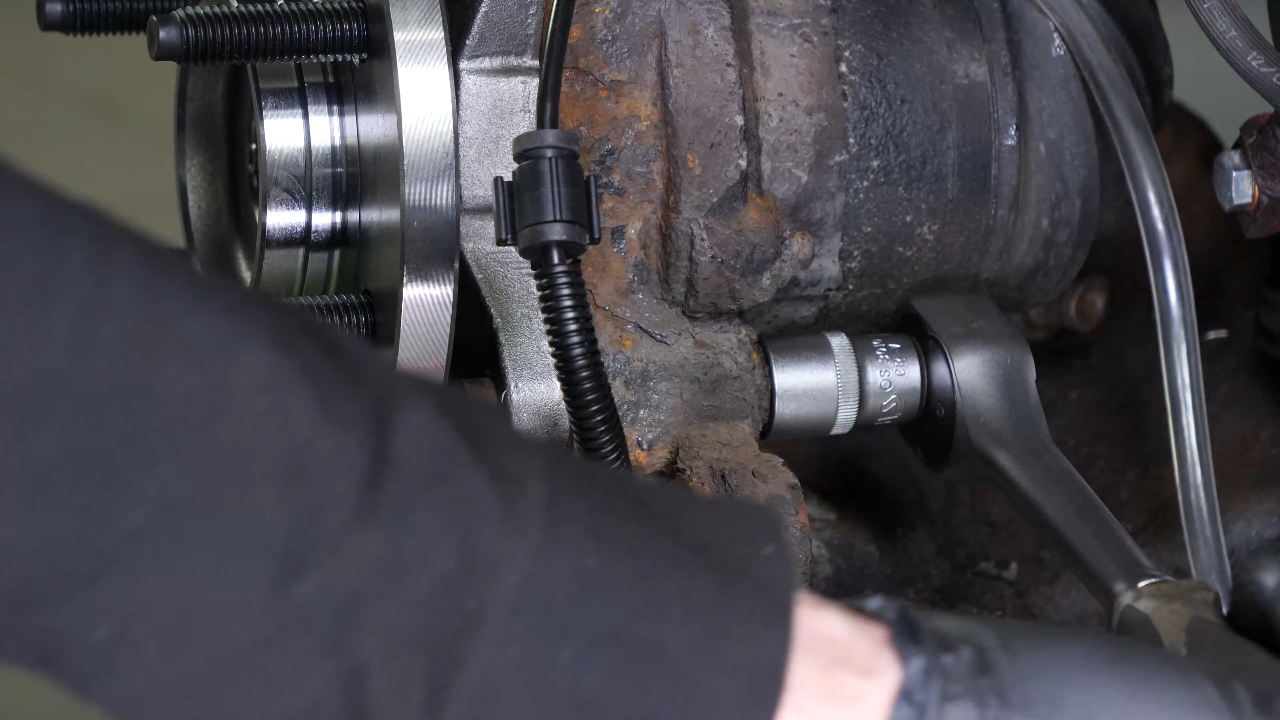
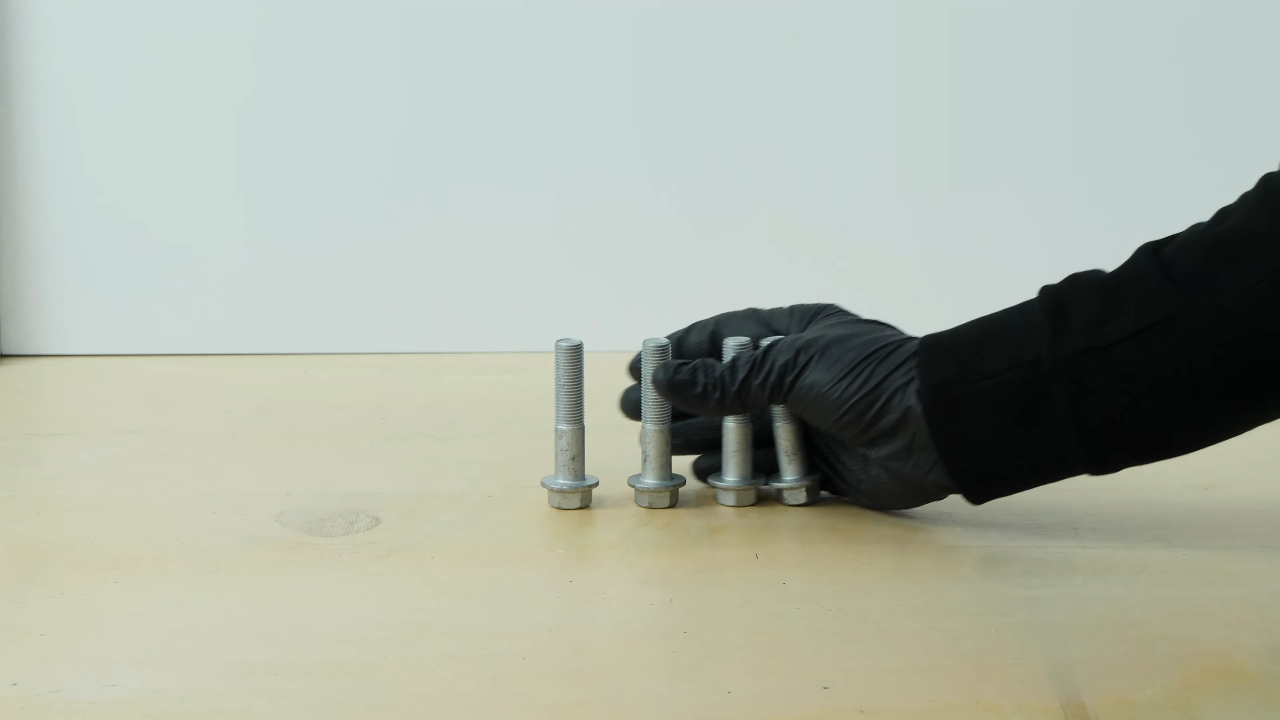
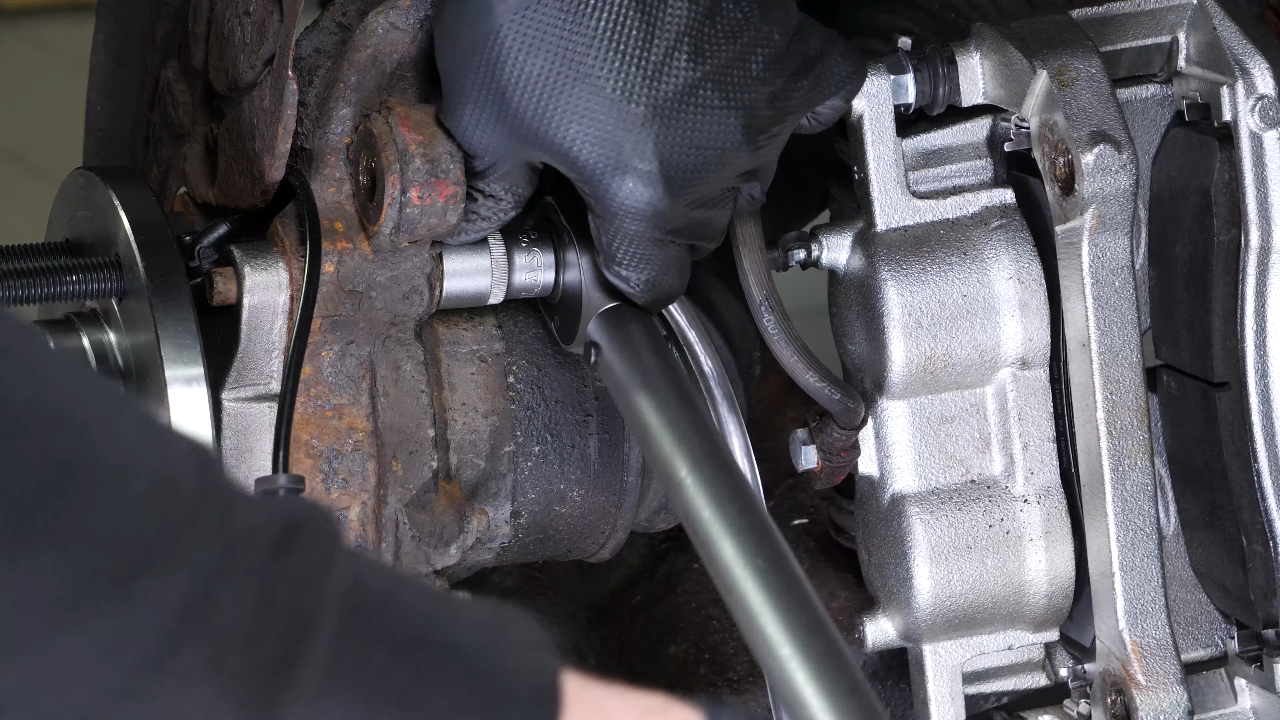
For optimal installation of the part, it is necessary to screw in the part crosswise, screwing in the screws one by one until they make contact, using the ratchet. We advise you to install new screws, as they are single-use elongation screws. Finalize the tightening crosswise, and with a torque wrench.

Chapter 9:
Step 4/4
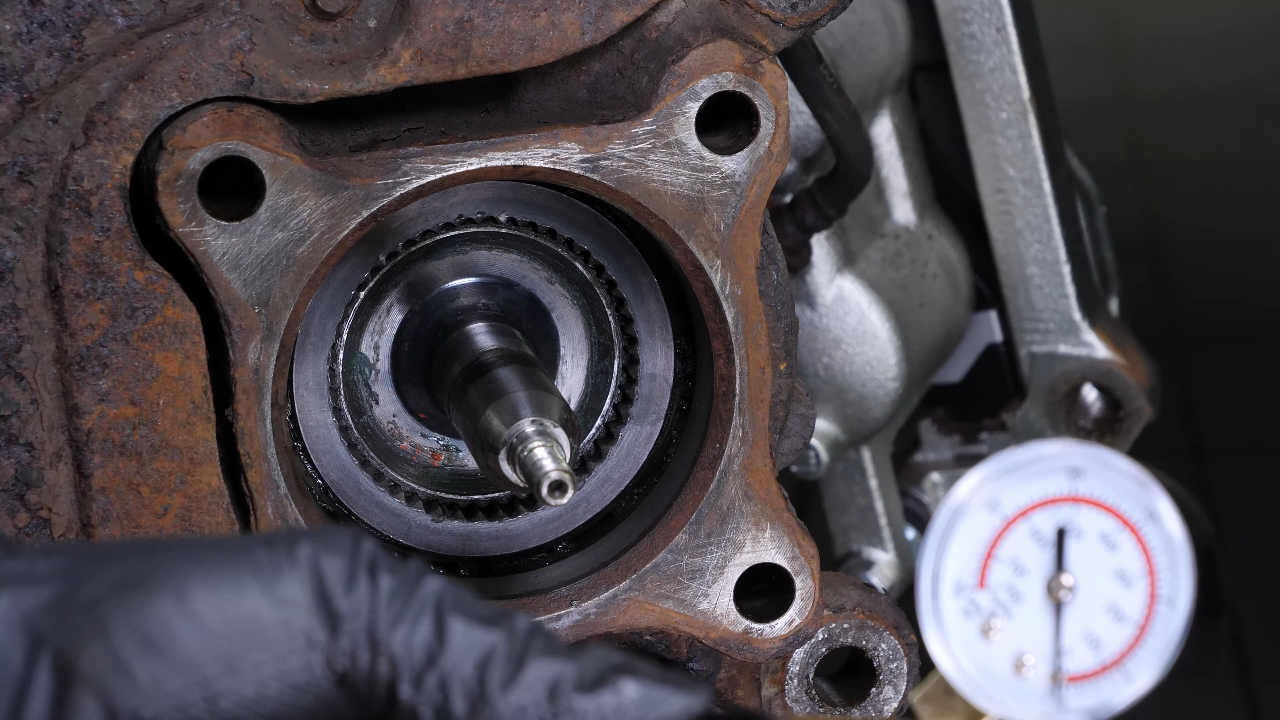
Verify the correct operation of the assembly using the vacuum pump. You can now reconnect the vacuum hoses. You can verify the previously measured distance. However, if you have done the operation with the vacuum pump, there should be no installation problems.

Chapter 10:
Screw the wheel hub back
Step 1/2
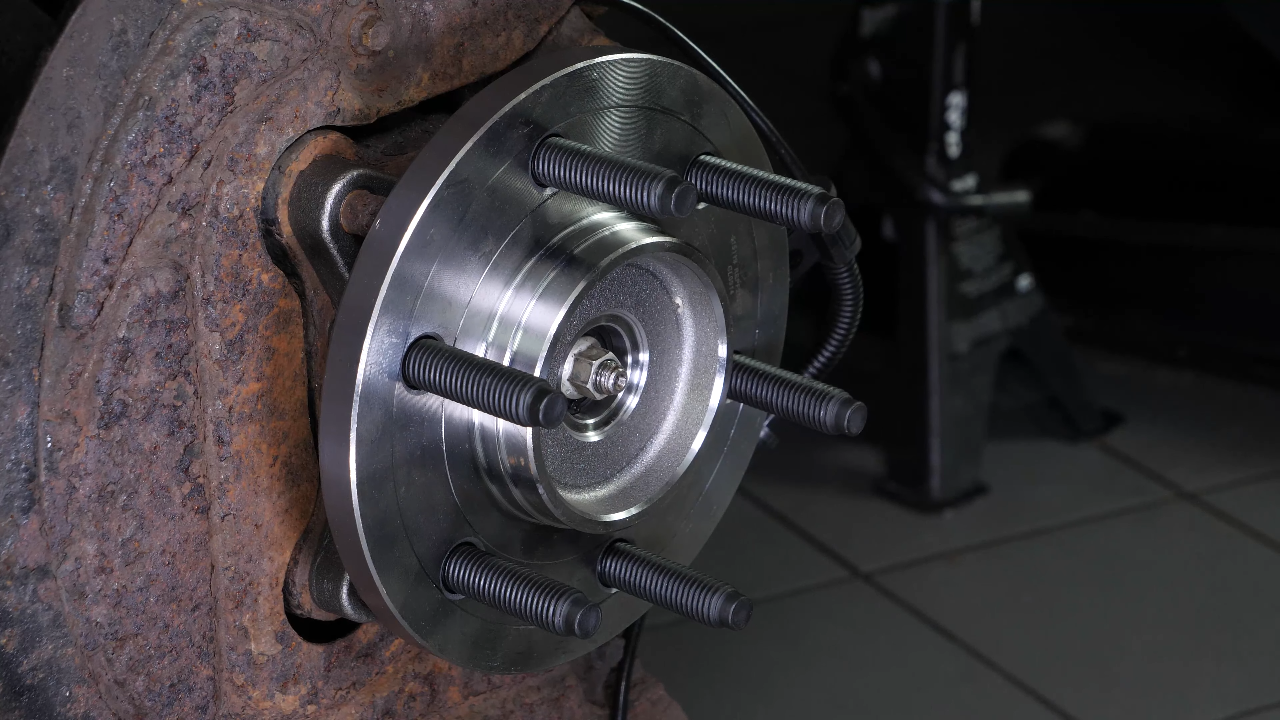
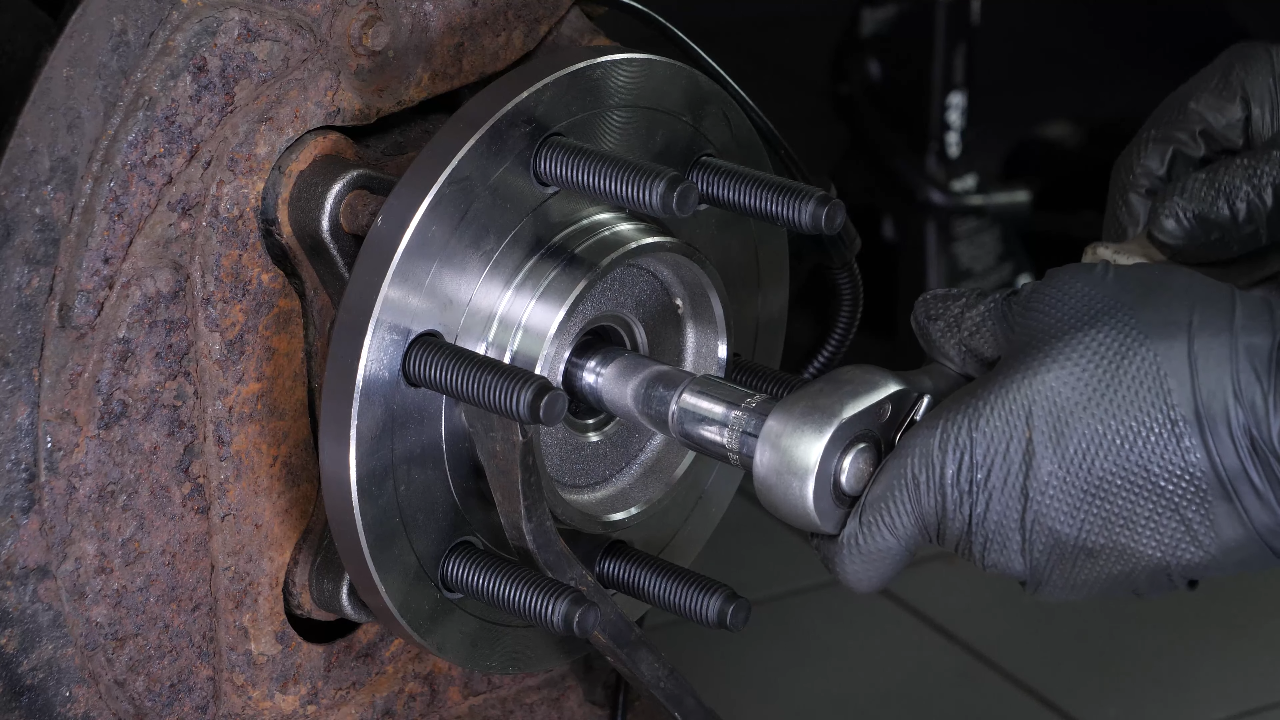
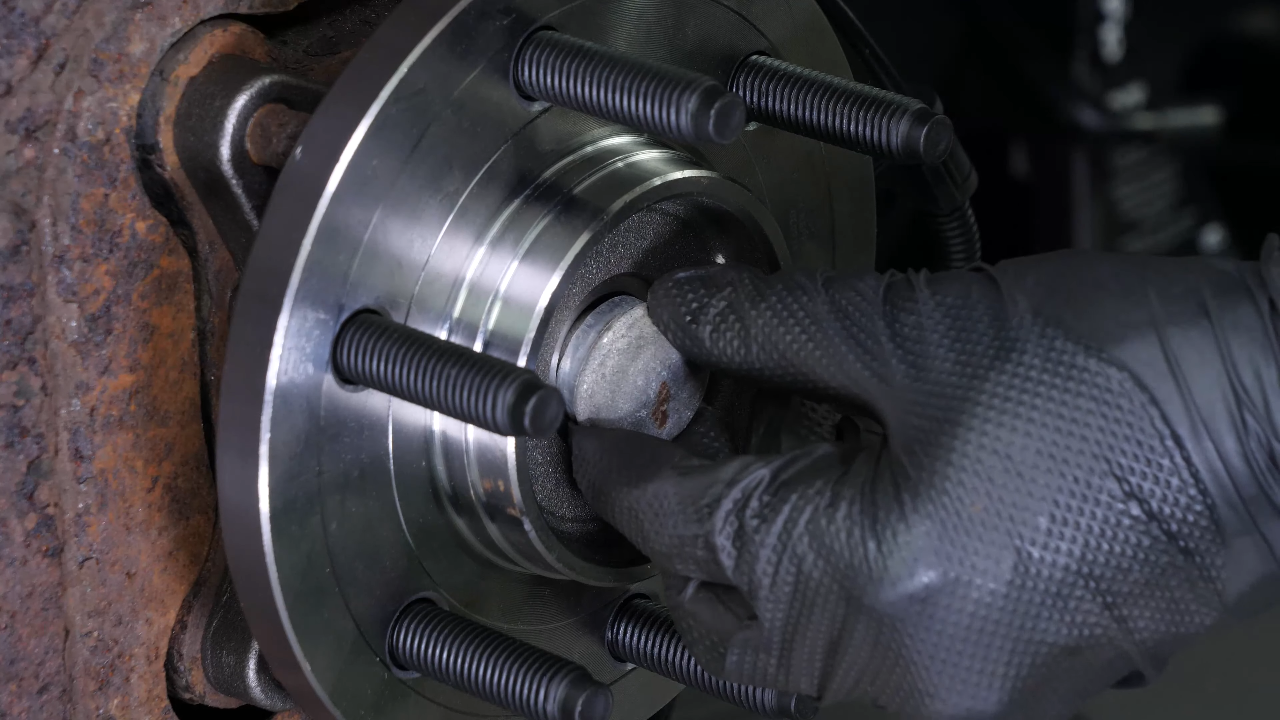
Replace the hub nut. Then, while blocking the rotation of the hub with a crowbar, screw it back on. Finish tightening using a torque wrench. Put the cover back on the nut.

Chapter 10:
Step 2/2
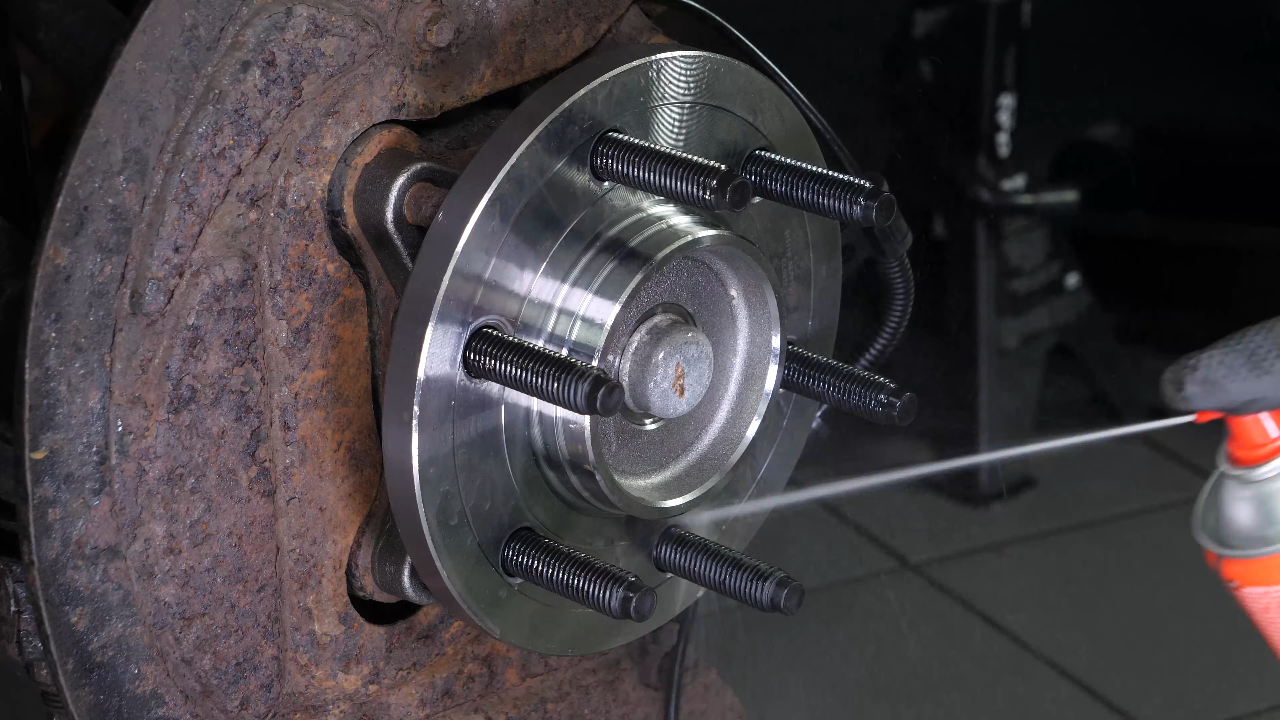
You can now clean the hub with brake cleaner.
Chapter 11:
Put the components back in place
Step 1/4
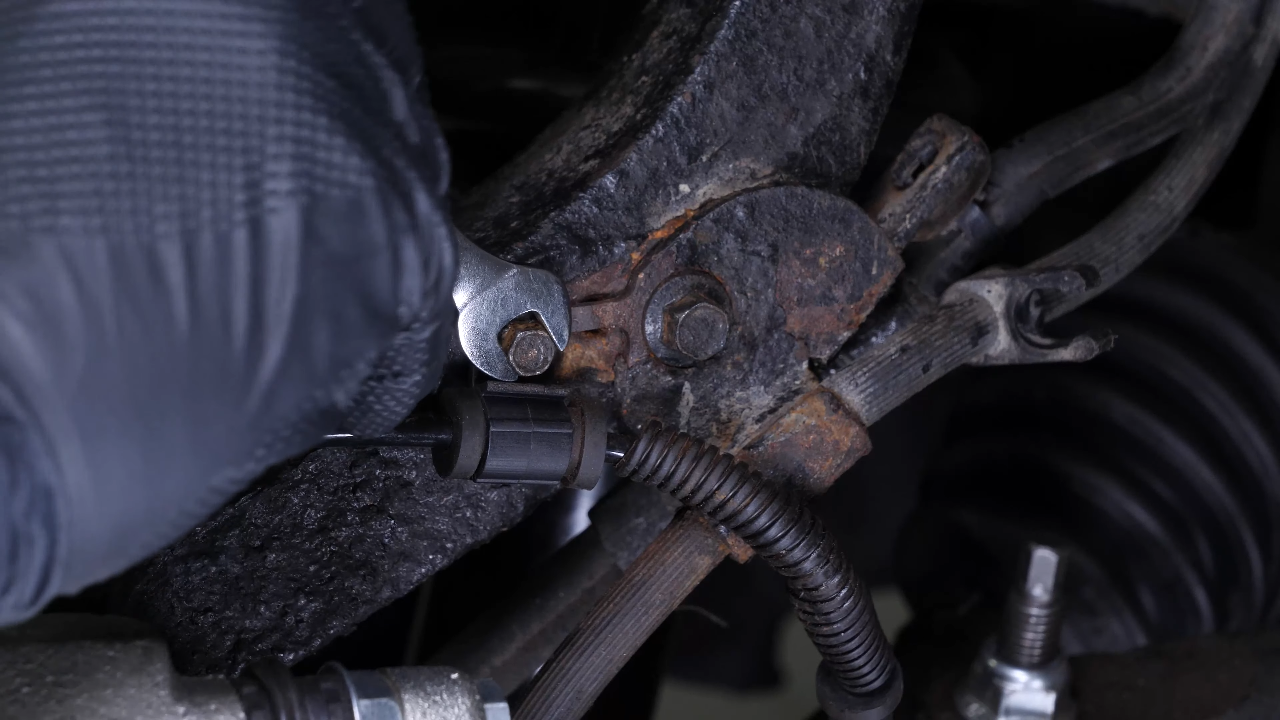
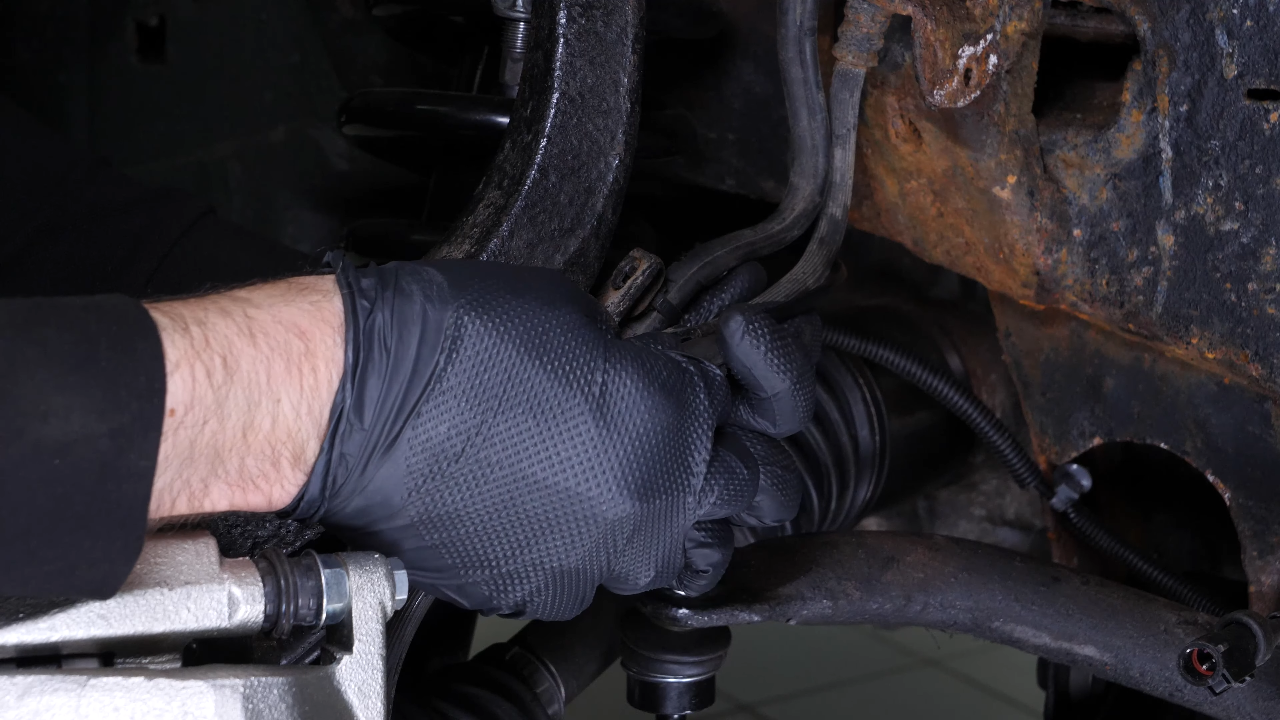
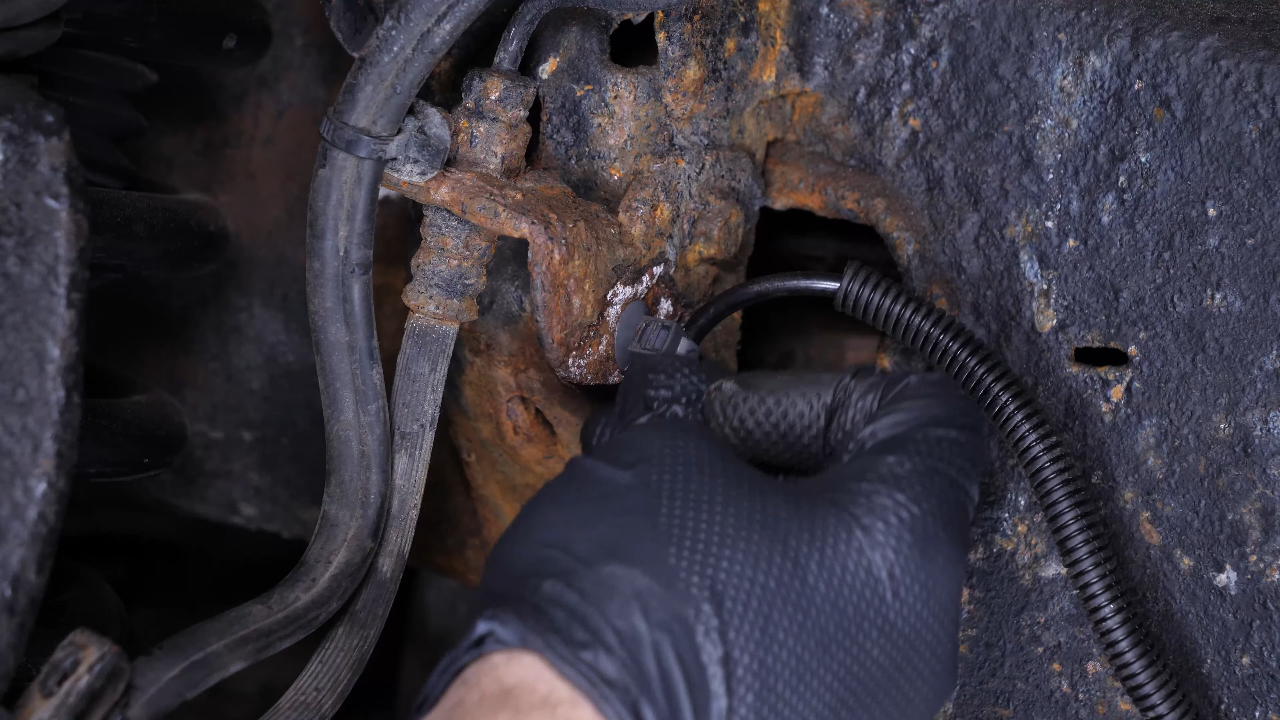
Screw the ABS sensor cable retaining screw back onto the wheel knuckle. Reclip the cable onto the brake hose.
Chapter 11:
Step 2/4
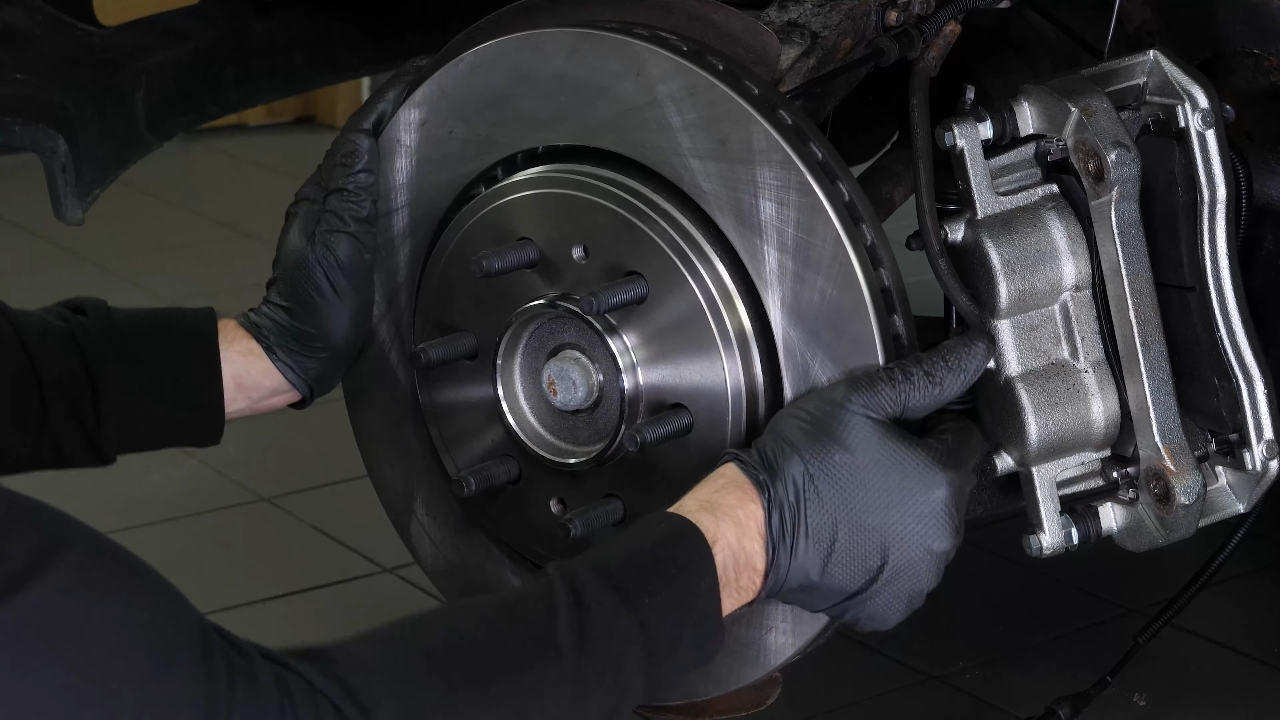
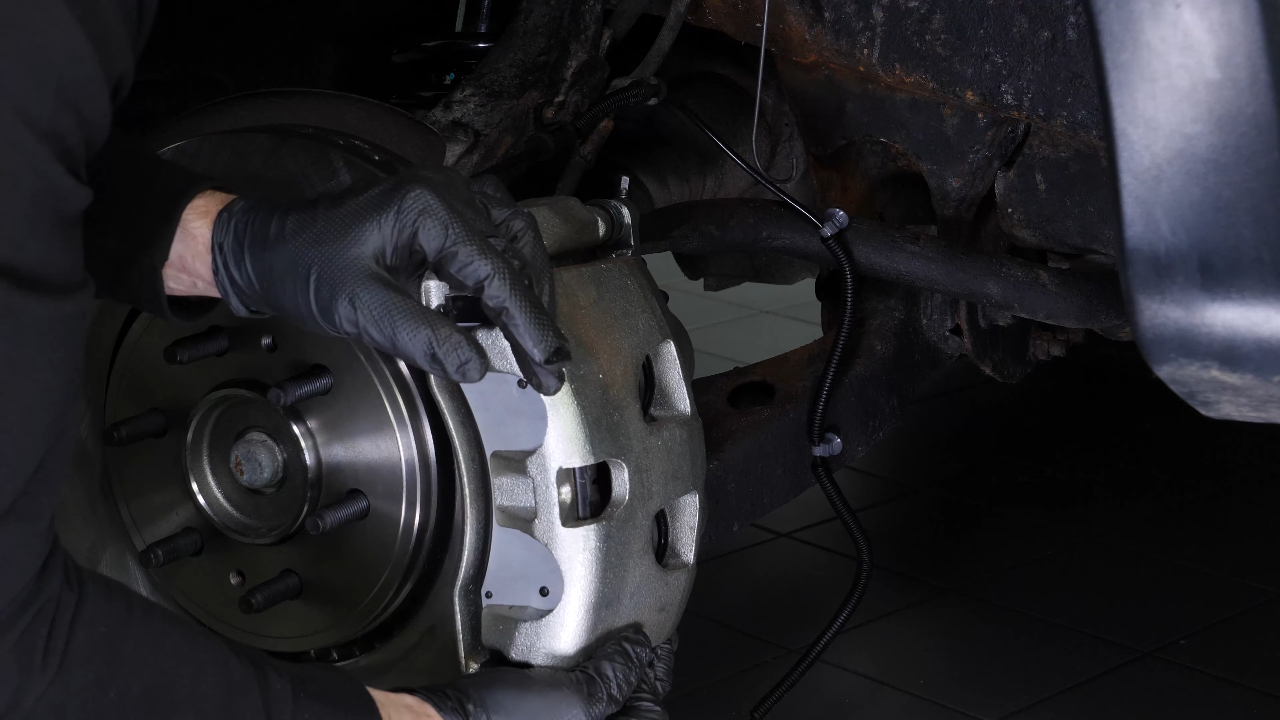
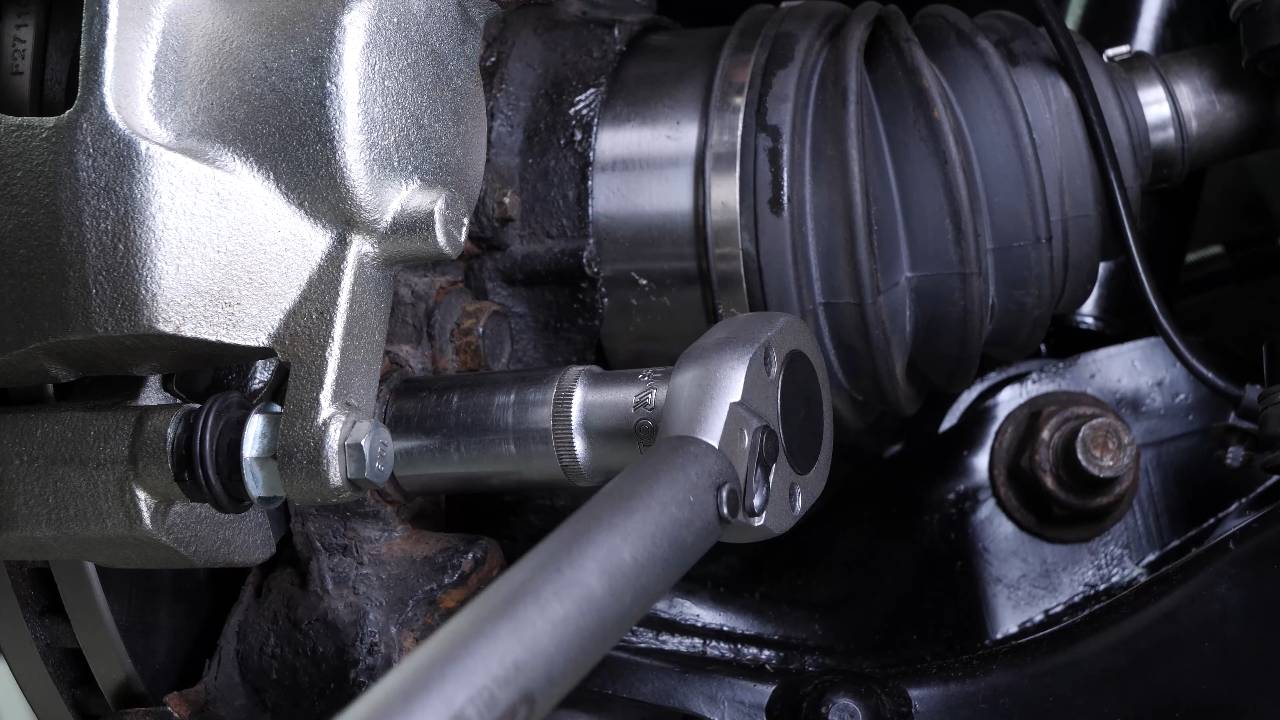
Reinstall the brake disc. You can now re-install the caliper assembly. And screw it back on. Finish tightening using a torque wrench.
Chapter 11:
Step 3/4
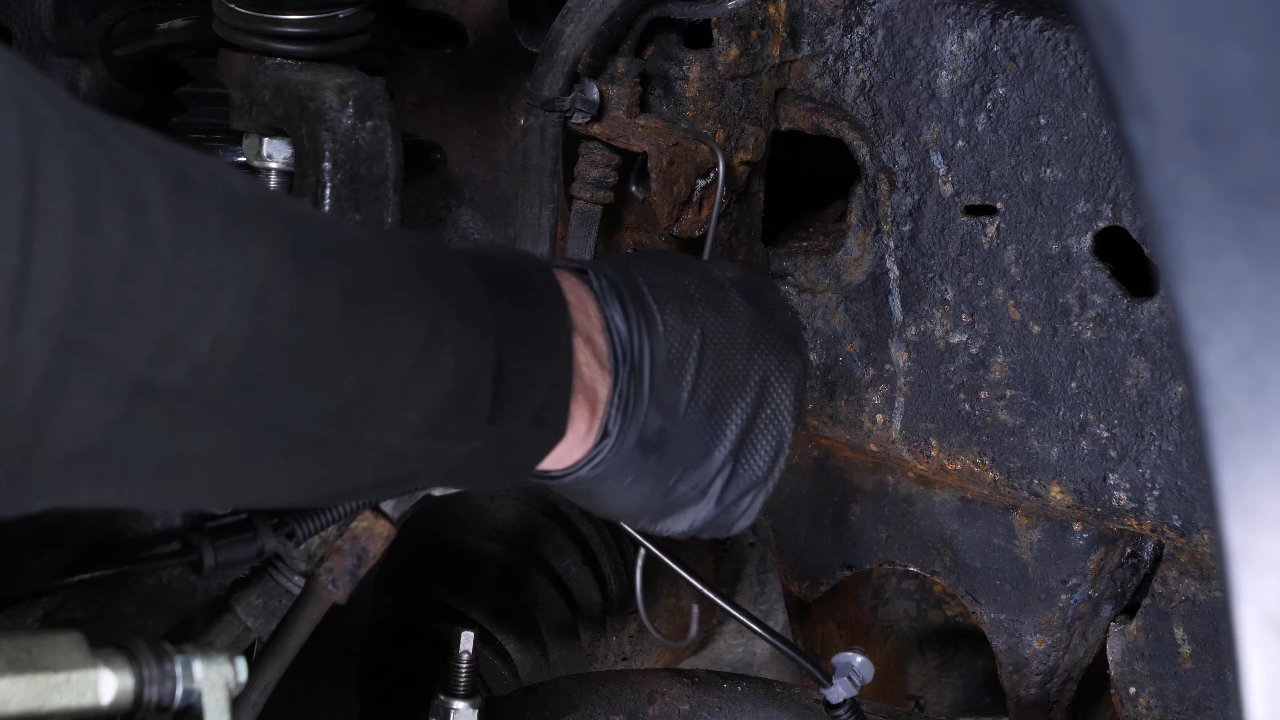
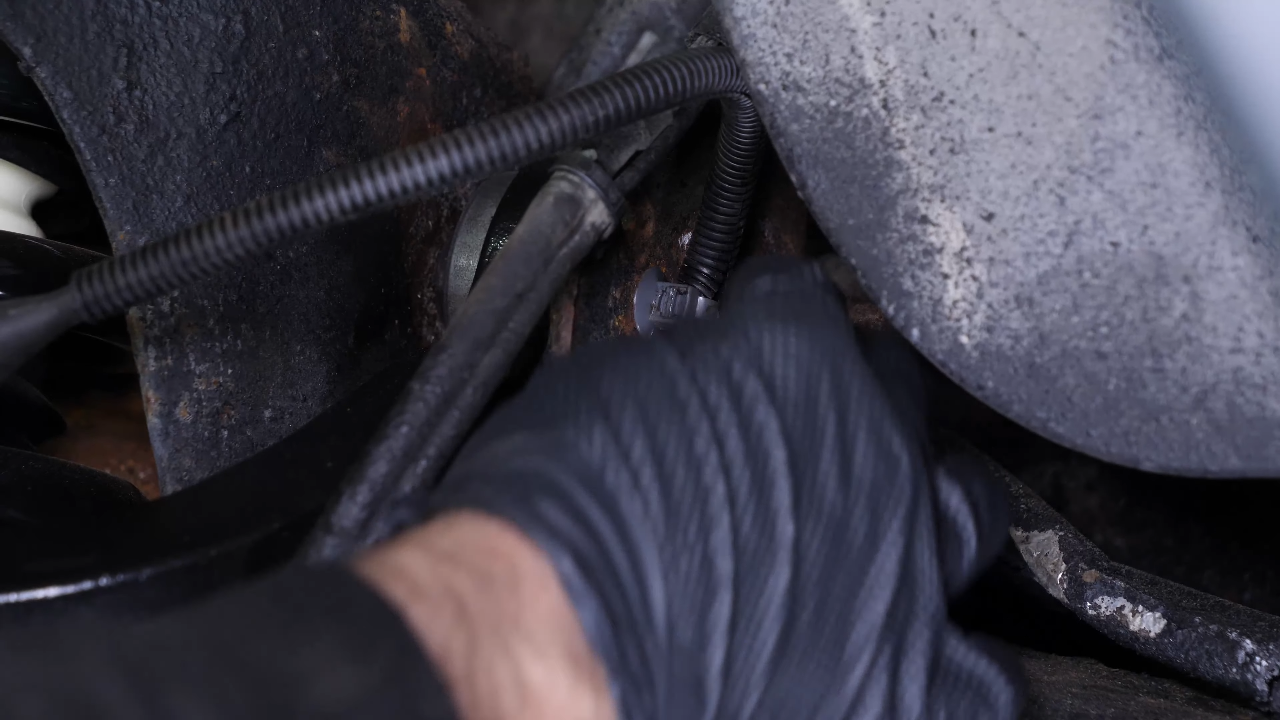
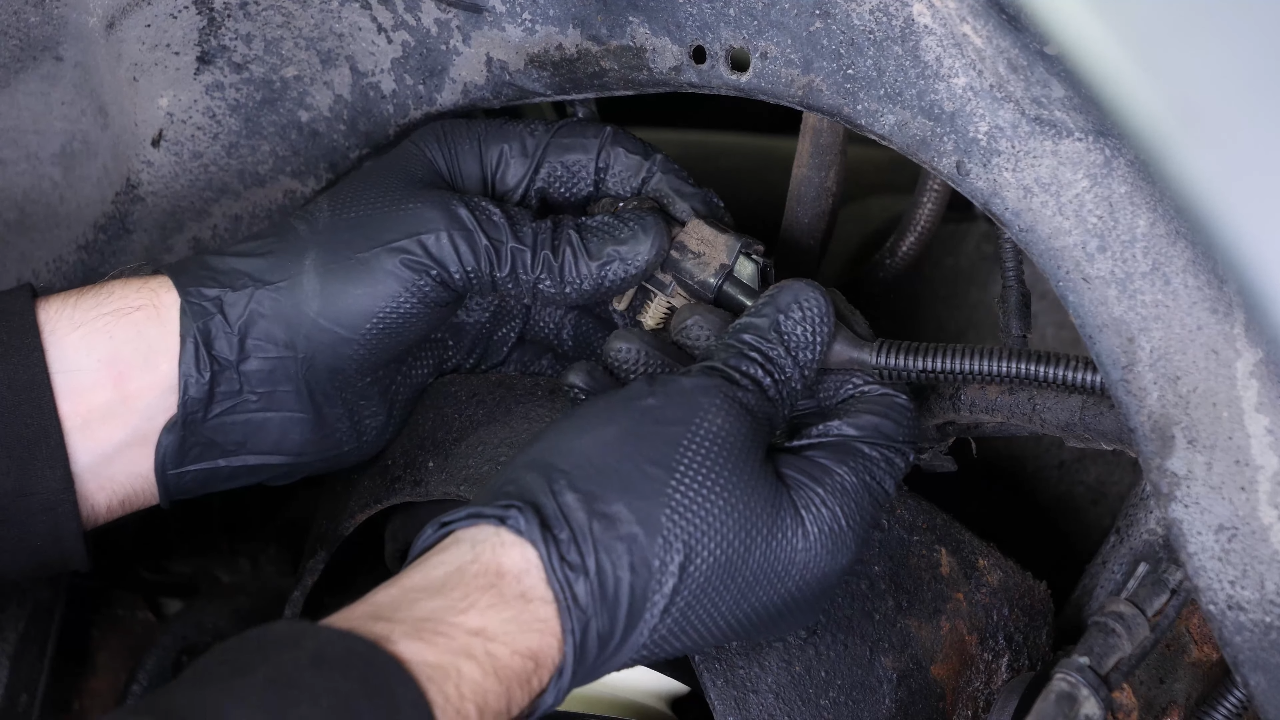
Don’t forget to remove the cable that you used to hold the caliper assembly together. Replace the ABS sensor cable and clip it back into its slots. Then reconnect it.
Chapter 11:
Step 4/4
Reclip it to the mudguard.

Chapter 12:
Put the vehicle back on the ground
Step 1/2
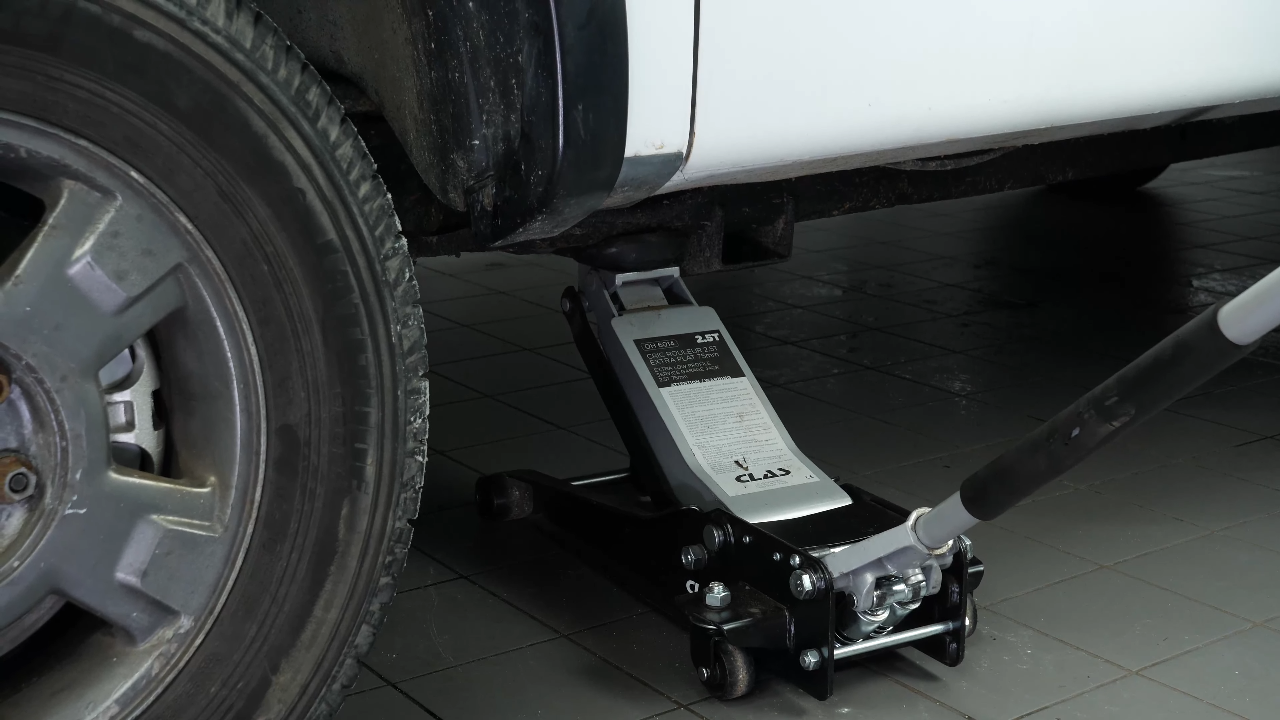
Then, you will be able to put the wheels back on your vehicle. Put the car back on the ground and block the wheels properly. Operation completed!
Chapter 12:
Step 2/2
Operation complete.
