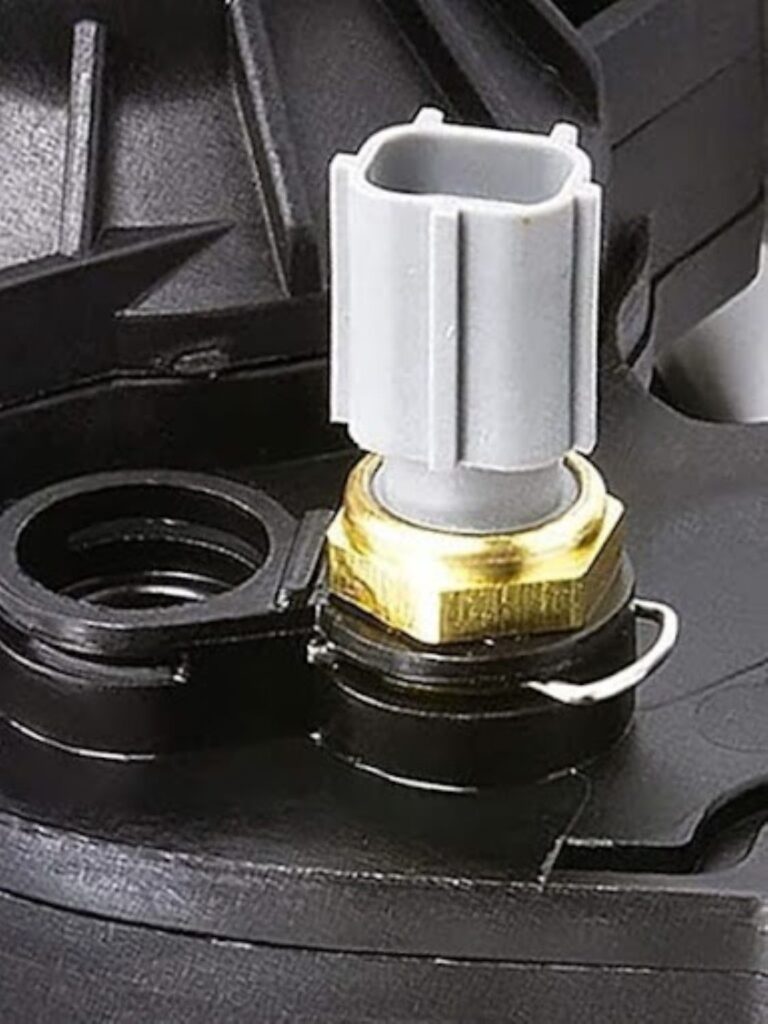
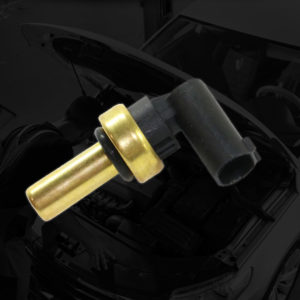
Just like many vehicle sensors, the engine coolant temperature sensor can eventually wear out, which can cause it to send incorrect temperature data or fail. When this happens, your vehicle may or may not show an illuminated check engine light but will most certainly exhibit some symptoms. An “in range” failure of the engine coolant temperature (ECT) sensor won’t set a code.
If you determine that the ECT sensor is giving a skewed reading, replace the sensor so that the powertrain control module (PCM) can monitor coolant temperature properly.
Modern engines have an ideal operating temperature range of 190 to 225 degrees Fahrenheit. Since the engine coolant temperature is essentially a measure of engine temperature, a faulty sensor will prevent the PCM from monitoring engine temperature. An engine operating outside of its ideal temperature range can produce less power, burn more fuel, and create more emissions. Not to mention the fact that, if the sensor fails in range, the electric cooling fan may not come online when it needs to. But if the ECT totally fails, the fan will usually run by default as a fail safe.
If the ECT sensor fails to have an ideal operating temperature range of 190 to 225 degrees Fahrenheit, the electric cooling fan may not come online when it needs to. But if the ECT totally fails, the fan will usually run by default as a fail–safe.
–Richard McCuistian, ASE Certified Master Automobile Technician
Replacing a coolant temperature sensor is a fairly manageable task for a DIY mechanic. Here are some general tips and tricks that you should take note of when it comes to engine coolant temperature (ECT) sensor replacement.
Note: Make sure you know where the sensor is before you start.
ECT Sensor Replacement Tips
Preparing the Right Tools

On some engine platforms, you may need several tools to replace the engine coolant temperature sensor, as you’ll need to remove several engine components to get access to the sensor.
Let the Engine Cool
Never open a hot cooling system or remove the ECT sensor without letting the engine cool first.
Consider Disconnecting the Battery
To safely replace the engine coolant temperature sensor, you can start by disconnecting the negative terminal of the car battery. Note, however, that most mechanics don’t do this when they’re simply replacing a sensor. So if you decide not to disconnect the battery before replacing the ECT, it’s not a big deal.
Wear Safety Equipment
Remember that coolant can stay hot for a couple of hours after use. Since you’ll be working in the area where coolant passes, you might want to wear gloves and goggles. The last thing you want is to get burns because of hot coolant dripping onto your skin or splashing onto your face.
Note: It’s always good to wear eye protection, but if you have let the car cool as you should have, there won’t be any hot coolant.

Locating the Engine Coolant Temperature Sensor
The engine coolant temperature sensor is usually found near the radiator or thermostat housing, which is in front of the engine. Some engines have cylinder head temperature sensors and these may be more difficult to access. If you don’t know where the ECT sensor is, don’t do anything until you find out. Usually you can find that information online somewhere for your vehicle, so keep your phone handy.
If you’re not sure where it is, you can refer to a repair manual, which might have illustrations to help you. You might need to use a flashlight to find this small sensor, as it’s usually located deep inside the engine bay.
Removing the Engine Cover
If your vehicle’s engine has a bulky engine cover, then you might need to remove it. But If the ECT isn’t under the engine cover, you won’t have to remove the cover, so it also depends on the vehicle.
In some cases if the engine cover needs to be removed, you may also need to use a wrench to remove the nuts and bolts that secure it.
Consider Draining Coolant
Some people drain the coolant from the engine’s cooling system to prevent coolant from gushing out once the coolant temperature sensor is removed.
However, if the ECT is high in the system (like on the Explorer mentioned earlier) you should not drain the cooling system. You don’t really need to do this kind of work unless the sensor is mounted in a place that will let coolant gurgle out. If you’re swift, you might be able to yank the old sensor out and pop the new one in before you lose much coolant. Have a drain pan ready and be prepared to refill the system if you bobble the sensor and lots of coolant escapes.
Disconnecting the Sensor Wiring Connector
You need to be careful when disconnecting the wiring connector from the sensor. Sometimes, plastic connectors will break or their retaining clips won’t latch or unlatch properly, so you may need to get a new connector if the vehicle is very old.
Use the Right Tool
Most coolant sensors are installed sort of like spark plugs, which means they’re unscrewed in a counterclockwise direction using a deep socket and ratchet. You can also use a plain old wrench, but make sure you use the right size.
Cleaning the Threads
Before installing the new sensor, clean the threads with a rag or cloth to remove any debris that might affect the sensor’s function. But a two-wire sensor isn’t grounded through the threads like a one-wire sensor. Mainly, you just don’t want coolant leaking after you screw the sensor in.
Installing the New Sensor
Be careful when screwing in a new sensor. Hand-twist the sensor and make sure that the threads are properly aligned. Use a torque wrench to tighten it to the manufacturer’s specified torque specification. This should be indicated in the vehicle’s owner’s manual.
Note, however, that if the sensor has pipe thread (tapered), there won’t be a torque specification, but you don’t need to overtighten it either. With tapered pipe thread, you’ll see some threads still showing when it’s tight enough.
Reconnecting the Wiring Harness
It’s advisable to clean the sensor’s connector before plugging it in. Inspect it to see if it has terminal corrosion or damage and if it does, replace the connector. The connector should snap onto the sensor and latch.
After this is done, it’s all a matter of refilling your cooling system with coolant (if you chose to drain it), reconnecting the battery (if you chose to disconnect it), and checking for leaks around the new sensor. Assuming you’ve done the procedure correctly, your vehicle’s PCM should receive the correct temperature information and run the engine properly.
If you still have the same symptom or problems you’ll need to return to square one. You misfired on your diagnosis and something else is wrong. That’s just the way the ball bounces some days.
How to Get a Quality Replacement Coolant Temperature Sensor
A faulty coolant temperature sensor will prevent your vehicle’s PCM from accurately monitoring the engine temperature. The engine won’t run very well as a result. It’s best to replace the bad coolant temperature sensor as soon as possible. To get your new coolant temperature sensor quickly, order from CarParts.com.
CarParts.com values convenience and customer experience. It takes only a few quick clicks to proceed through our secure and convenient checkout. And if you order from anywhere within the continental US before 12 PM ET, we’ll ship your new parts straight to your door in as fast as two business days. This ensures you’ll have your new temperature sensor on hand and ready for a trusted mechanic to install in no time.
Don’t keep a defective sensor connected to your PCM, or it’ll cost your engine in the long run. Purchase a new coolant temperature sensor today from CarParts.com.
Any information provided on this Website is for informational purposes only and is not intended to replace consultation with a professional mechanic. The accuracy and timeliness of the information may change from the time of publication.


Use the Right Tool
Most coolant sensors are installed sort of like “spark plugs”, which means they’re unscrewed in a counterclockwise direction using a deep socket and ratchet.
You can also use a plain old wrench, but make sure you use the right size.
Why compare the Sensor threads to Spark Plugs. Because it has nothing to do with spark plugs. It simply has “common” threads. The threads are simply one of two types: 1) Machine Threads – like every bolt and nut on the car. Or, 2) Pipe Threads – which should be standard NPT (National Pipe Thread) or sometimes referred to as Iron Pipe Thread, which are measured in inches, such as 7/16″. Just remember, “Righty Tighty, Lefty Loosey”.
Why mention “make sure you use the right size (wrench)”? That is common sense and goes without saying. You don’t need to remind everyone for every repair, to use the “right size” wrench/ socket/ screwdriver – doesn’t that go for all repairs made on a car?