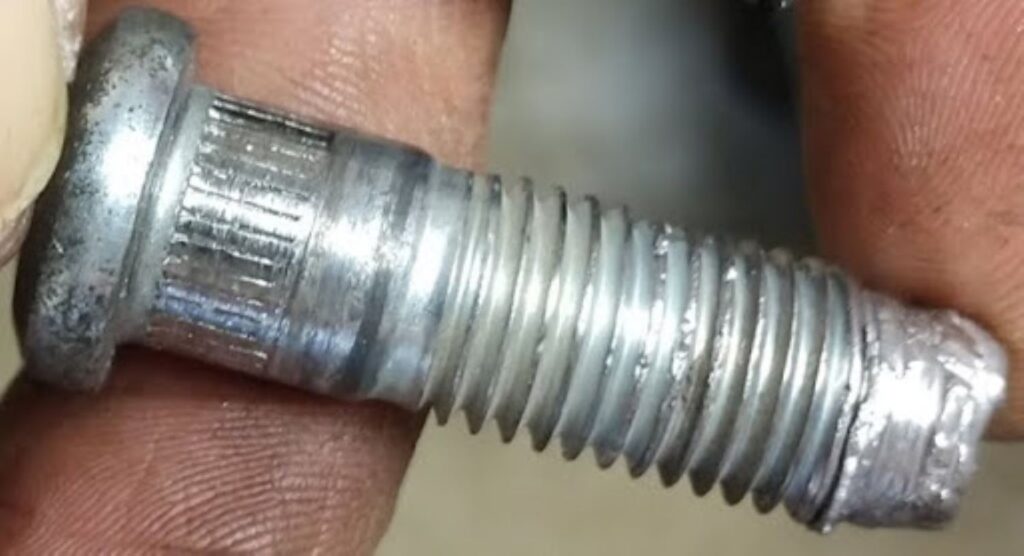
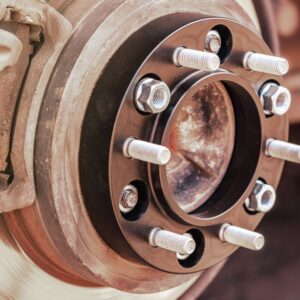
Most cars use wheel studs in combination with lug nuts to keep wheels secured to the axle or wheel hub. Also called lug studs, wheel studs are heavy-duty threaded fasteners. If a wheel stud’s threads are damaged or the stud is bent, broken, or otherwise unserviceable, it needs to be replaced. You might also have to install new studs when you install custom wheels that require longer studs.
If a wheel stud’s threads are damaged or the stud is bent, broken, or otherwise unserviceable, it needs to be replaced.
–Richard McCuistian, ASE Certified Master Automobile Technician
Fortunately, you can save yourself from steep labor costs by personally replacing wheel studs. You can ease the DIY repair job with helpful tips on efficiently replacing studs.

Requirements For Replacing Wheel Studs
If you perform a wheel stud replacement yourself, you’re going to require the parts including:
- The right wheel studs for your vehicle (front may be different from rear)
- Washers
- Open ended lug nuts with proper thread
- Grease for the threads and washers during installation
Additionally, you’ll need tools and equipment including:
- Jack
- Jack stands
- Diagonal cutters
- Hammer
- Lug wrench
- Punch
- Pry bar
- Safety glasses
- Slide hammer

Replacing Wheel Studs
Here are some tips for replacing lug studs. Note that the process may require removing the wheel hub entirely if there isn’t sufficient clearance.
The More Lug Nuts, The Merrier
Installing a new wheel stud takes a physical toll on lug nuts. The installation process wears out the lug nut, rendering it unusable for multiple installations. When you replace a stud, you must also install a new nut.
Get at least two lug nuts for every wheel stud you need to replace. You want to have spares handy in case you need to remove and reinstall the stud again.
Punch Damaged or Stuck Wheel Studs
Wheel stud heads can wear out over time, which makes it more difficult to remove them. Alternatively, the entire head can break off the rest of the stud. Damaged, worn, or missing wheel stud heads prevent wrenches from getting a good grip on them, making their removal more difficult.
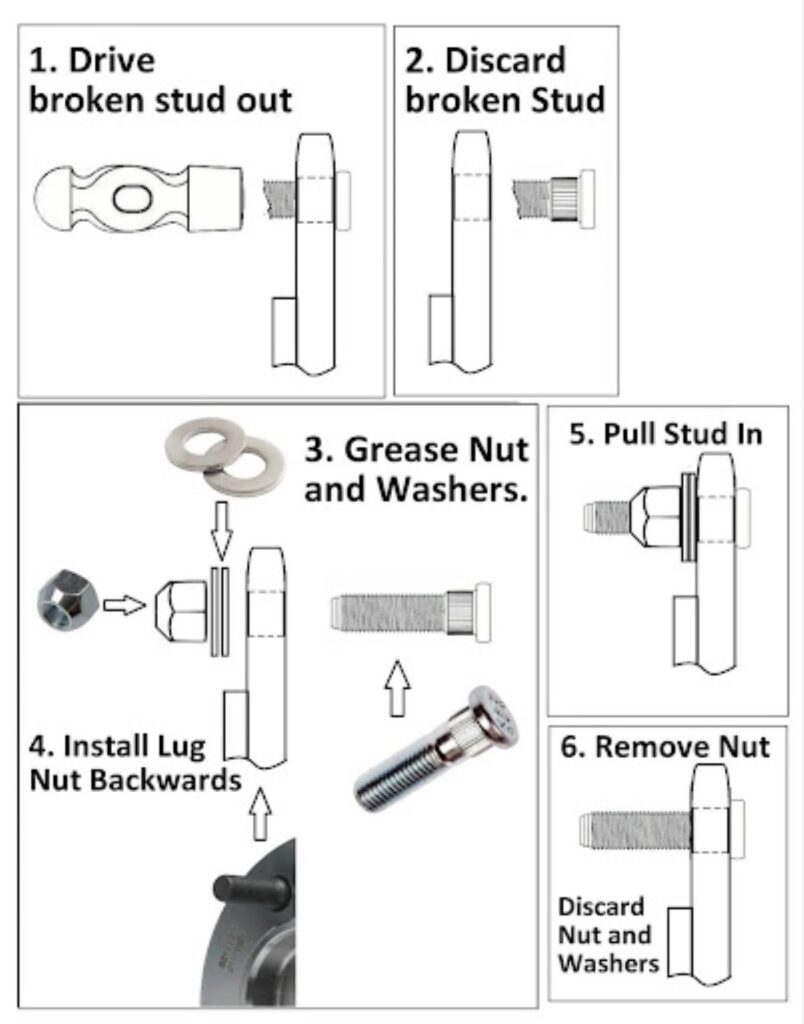
You can often hammer stuck but otherwise intact wheel studs through the wheel hub. Put some penetrating oil on the stud to get it unstuck. In many cases, the lug nut is the only thing keeping the stud in the hub under normal circumstances.
If you have a broken wheel stud, apply the hammer and punch to force it through the flange. Try to drive the stuck stud past the splines in the flange. The splines on the wheel stud and flange stop the stud from rotating in the hole. It becomes easier to remove the stud once you get it past the splines.
Is the wheel stud intact but stuck because of corrosion? Strike the stud with a hammer to dislodge the accumulated rust on its splines. Keep hitting the stud until you clear the splines and loosen the part.
Loosen the Lug Nuts Before Raising Your Vehicle
Are you using a lug wrench to work on the wheel studs? Always loosen the lug nuts before raising your vehicle. Loosened nuts offer less resistance to the lug wrench, reducing the risk of damaging the nuts and their wheel studs.
Raise Your Vehicle
Before removing your old wheel studs, you must raise your vehicle with a car jack before setting up jack stands to keep it elevated. However, exert care when choosing where to set the saddles of the lifting equipment.
The vehicle’s weight will press down on those spots, which might lead to damage if the parts supported by the jack and jack stands aren’t strong enough.
Remove the Wheel and Drum or Rotor

How to Get Your Hands on New Wheel Studs
Since wheel studs are used to fasten wheels to a vehicle, it’s important to make sure yours are on securely. This means replacing worn ones as soon as needed.
When it comes to shopping for high-quality yet affordable parts online, CarParts.com is here to help.
The best part? You don’t even have to take one step outside your door to get your hands on new wheel studs. Start shopping by simply downloading our mobile app or visiting our website. Check for compatible studs with the help of our vehicle selector, and shop according to your preferred brand or price range by toggling our search filters.
We make sure to get our wheel studs from some of the most trusted manufacturers in the industry. Each item is carefully vetted by a team of professionals for guaranteed fit and performance.
Don’t hold off replacing your wheel studs. Enjoy our best deals today!
Any information provided on this Website is for informational purposes only and is not intended to replace consultation with a professional mechanic. The accuracy and timeliness of the information may change from the time of publication.


