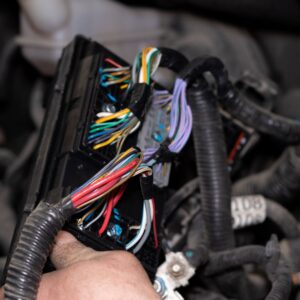
When installing a new wiring harness, you’ll need to figure out how the wires will route through your engine compartment, dashboard, and chassis. There can be up to 5000 feet of wires in a car, so this can be a monumental challenge. However, this task is necessary during a vehicle restoration or if you simply need to replace your vehicle’s old and fraying wiring harness.
Wiring harnesses play a critical role when it comes to connecting key vehicle electronics like sensors to components like the powertrain control module (PCM). Without these electrical connections, your vehicle won’t be drivable. In this article, we’ll discuss a few tips and tricks that can make wiring harness installation easy.
Understand the Wires and Layout
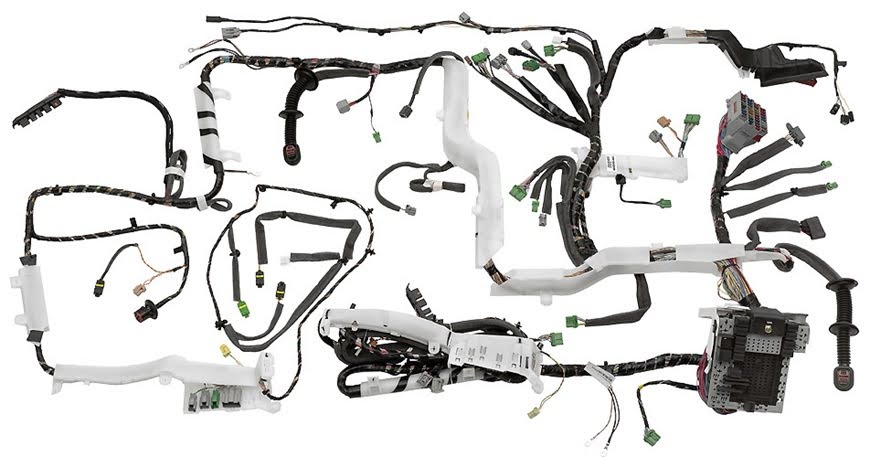
Once you get the wiring harness out of the box, the wires are going to look disorganized. During this phase, attempting to route the wires might seem daunting. To make the task easier, you’ll need to familiarize yourself with the wires first. Once you understand which wires are intended for specific vehicle systems, you’ll be able to imagine how the wires will be laid out.
If your wiring harness comes with a manual, you should thoroughly read through it. But note that most replacement wiring harnesses don’t come with a manual; you have to route the new harness exactly like the old one.
Bundle and Label the Wire Groups
You should also lay the new wiring harness on the floor or a table and see how the wires are bundled. During this process, unravel the wires and ensure that they aren’t tangled.
Some wiring harnesses will have each wire labeled. For example, the wire for the fuel pump can have a label that reads “fuel pump.” But don’t count on this, because it’s not the way wire harnesses are typically made. If you’re installing a new harness that goes with a new accessory, you may see this, but almost never on a replacement harness.
If the wires aren’t already labeled, then you should proceed to label them based on information from the manual. Investing time to do this can pay off because you can end up wasting a lot of time looking for wires. During this process, you should also bundle the sections together so that the wires are organized, if they aren’t bundled already.
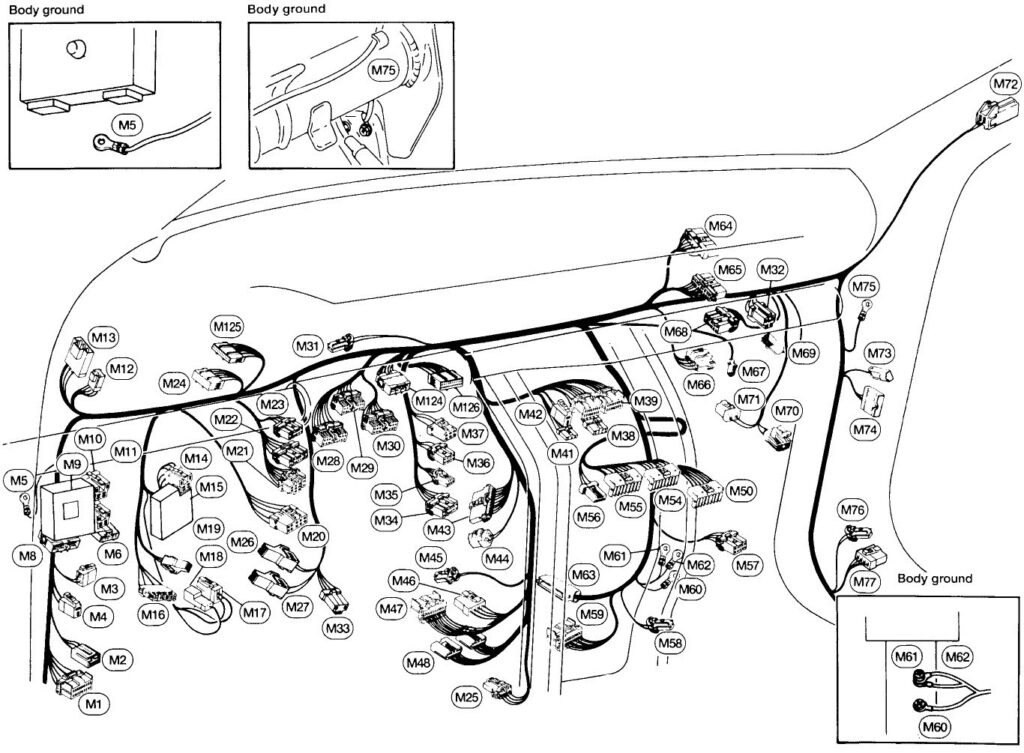
Some wiring harnesses for specific vehicles can also have illustrations on how to route the wiring, which is going to make the job of determining a layout a lot easier.
However, if you’re using a universal-style wiring harness, which is a kind of wiring harness that’s compatible with many cars, then you’ll need to figure out the layout on your own.
Plan the Routing
Once you’ve grouped the wires, it’s time to start routing the wiring harness. Place the wires inside your vehicle’s front driver or passenger area and segregate the wires based on the direction that they’re going to go. Some wires like the ones for the vehicle’s headlights and engine sensors will head toward the front engine compartment. You can group these wires since they’re all going to pass through the engine’s firewall, which is the sheet metal that separates the engine bay from the cabin. Some bundles for the transmission and the tail lights will head towards your vehicle’s undercarriage and rear.
Be Careful When Pushing Wires Through the Firewall
Pushing wire bundles through the firewall can be difficult since you might need to push a lot of cables. To make this task easier, you can twist or braid the wires together so that several wires can be inserted all at once. Once inserted, you can pull the bundle from the other side.
When pulling the bundle through the firewall, you must take your time. It can be tempting to just yank all the wires through the hole. You should be careful since the metal sheet can damage the wire housing. The friction from the metal hole might cut or strip the insulation during this process.
Protect the Wires With Grommets
After routing the wires through the engine’s firewall, you must put rubber grommets around the hole where the wires pass. As the vehicle moves and vibrates, the metal can act like a saw and slowly cut or abrade the wire.
Avoid Routing Wires Near Hot and Moving Parts
The wire’s routing should also avoid hot components like the engine block, headers, or exhaust manifold. Some wires will need to be close to these components, but the rest of the wiring harness or bundle should be at least six inches away from these components.
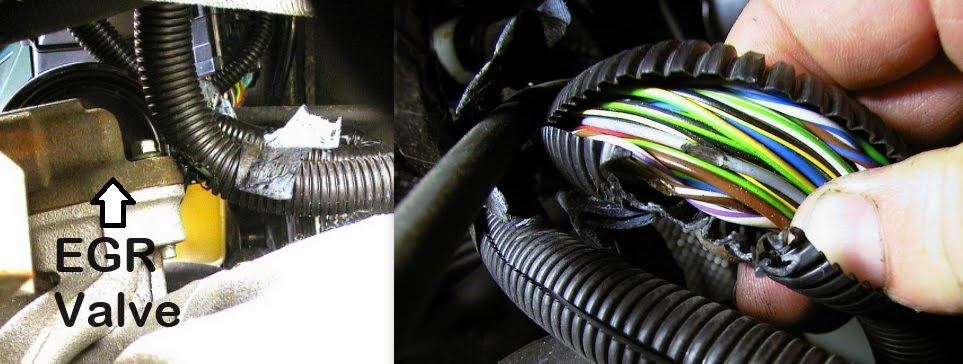
The wires that are routed near hot components need heat-proof shielding to protect the wire’s insulation from melting.
Aside from heat, you should also steer the wires away from any moving components like the steering linkage, fans, and belts. These moving components can easily snag a wire, yank it out, and effectively disable a bunch of electrical components, which can be catastrophic.


When routing wires to your vehicle’s rear, you should be careful you don’t put them under your carpet where they could be stepped on and damaged. As much as possible, try to route the wires in the interior rocker panel edges, or in a way that they won’t be stepped on.
Wrap the Wires
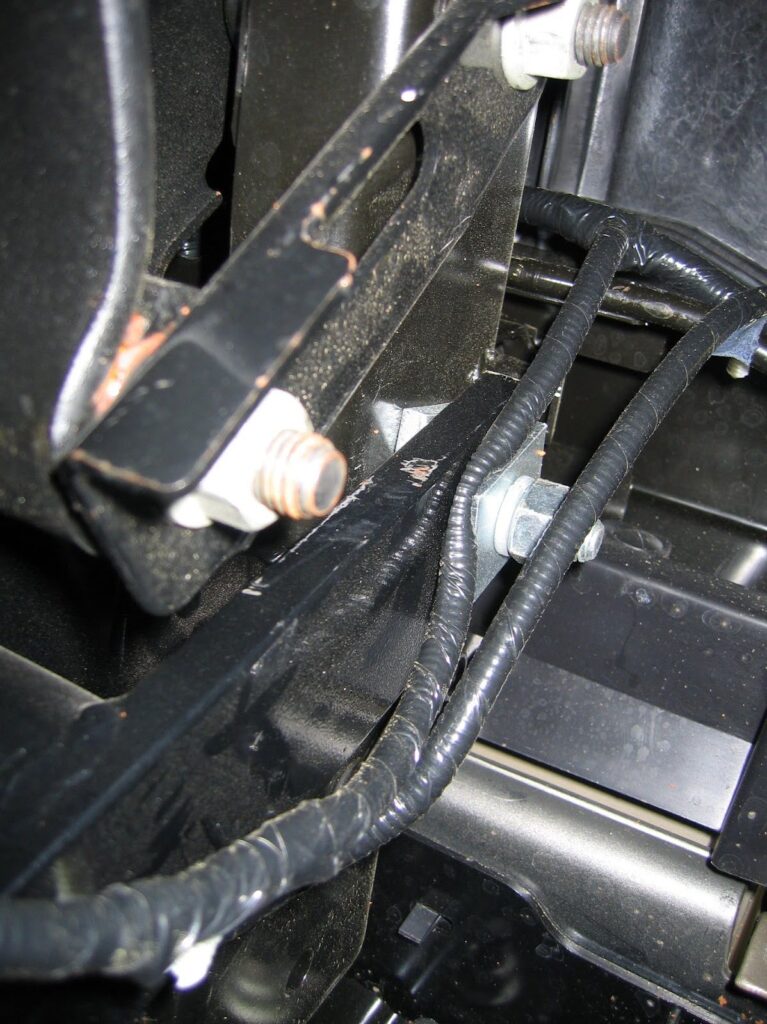
When it comes to wrapping the wire bundles with tape and zip ties, you should try to avoid crisscrossing the cables. This will give the wires a straight and organized look, which can help future mechanics diagnose electrical issues since they’ll be able to trace wires easily. This will also make the wires look tidy, which is always a plus.
Overall, routing a wiring harness might seem like a complicated task because of the number of wires and the details to remember. However, you should be able to finish the task as long as you remember these tips, focus, and take your time.
Any information provided on this Website is for informational purposes only and is not intended to replace consultation with a professional mechanic. The accuracy and timeliness of the information may change from the time of publication.


