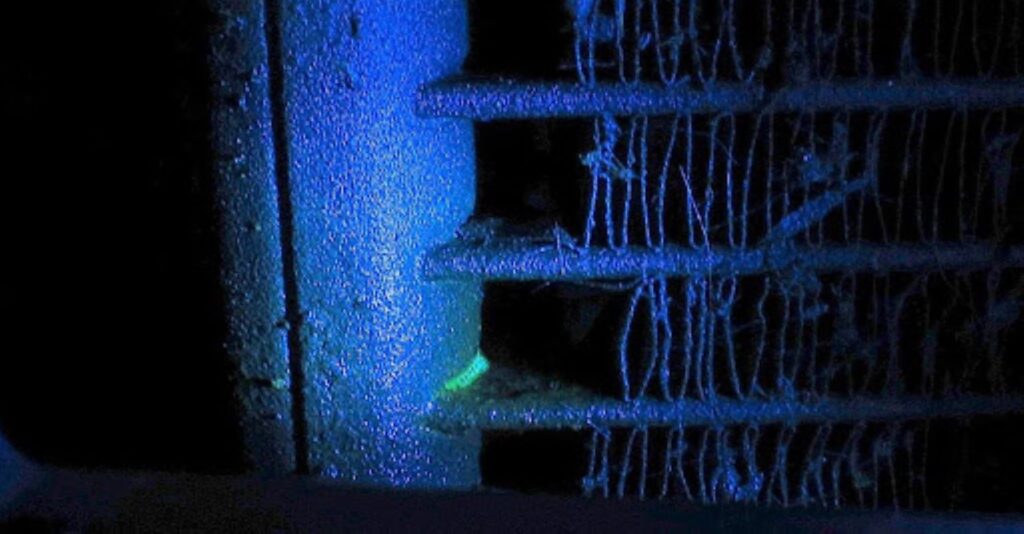
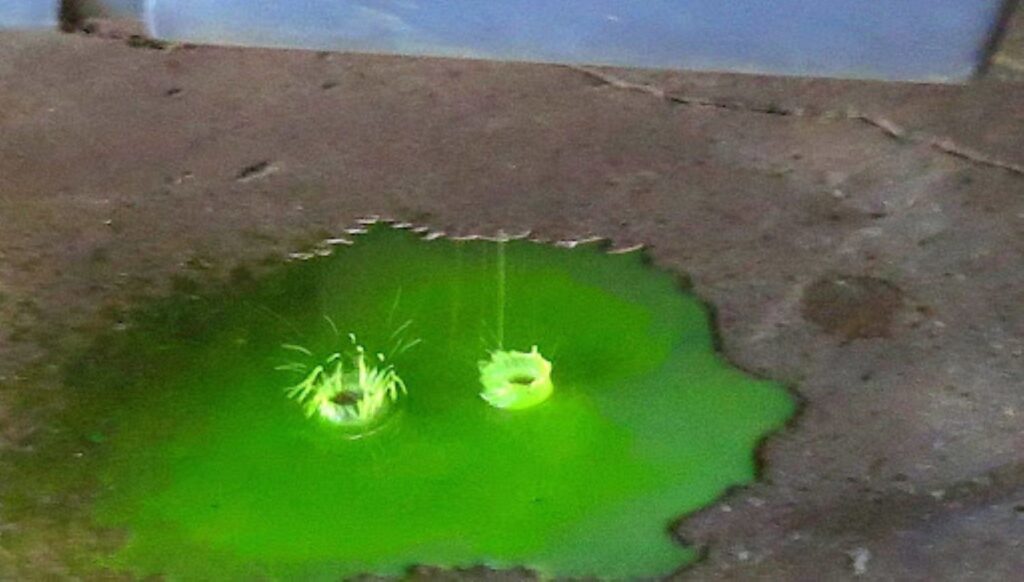
Spotting the symptoms of a refrigerant leak in your car’s A/C is easy enough. Tracking down the hole poses a greater challenge, especially if it’s a small leak. Fortunately, there are several ways to locate refrigerant leaks in the A/C. In ultraviolet (UV) leak detection, you add a special refrigerant dye to the A/C and reveal the leak with a UV light. Alternatively, you can metaphorically sniff out leaks with an electronic leak detector. Both approaches have advantages and disadvantages, so you should choose the one that best fits your situation.
What Is UV Leak Detection?
UV leak detection is a widely used method of finding refrigerant leaks in a vehicle’s A/C. It requires an ultraviolet light source and a refrigerant dye that glows fluorescent under UV lighting.

The technician begins the leak detection by adding a small amount of UV dye to the A/C system, often through the low-pressure service port that enables refrigerant recharging. The dye cycles through the A/C alongside the air and refrigerant. When the UV dye moves through a leak site, it escapes through the hole and leaves residue behind.
After several days of letting the A/C run like usual, the technician uses an ultraviolet flashlight over the A/C system. The refrigerant dye residue glows under UV lighting, revealing where the refrigerant leak is.
Some car manufacturers inject UV refrigerant dye into the A/C system before shipping their vehicles to dealerships. The technician can check the service port connection for dye residue by shining an ultraviolet light on the part. If the oil has parts that glow fluorescent, it contains UV dye.

What Is the Electronic Refrigerant Leak Detector?
The electronic leak detector provides another way to find the refrigerant leak. Alternatively called a sniffer, this tool searches for the telltale signs of refrigerant gas.
Sniffers generally have a flexible probe or wand that protrudes from their body. The wand can reach into tight spaces, and its tip contains sensors that look for refrigerants.
If the electronic leak detector picks up significant refrigerant levels, it issues an audible warning. The technician can narrow down the location of the refrigerant leak by moving the probe while listening for the beeping.
Advantages
Electronic leak detectors can quickly locate refrigerant leaks. You don’t need extensive preparations before you can check the A/C.
Disadvantages
Unfortunately, sniffers aren’t precise. Refrigerant gas can drift away from the leak site. You might spend considerable time finding the exact position of the refrigerant leak.
Furthermore, there’s the chance that the electronic leak detector might deliver false positives. As you gain experience with the sniffer, you’ll learn to discern between real and false signals.
Electronic Leak Detector Tips
If moisture enters the wand’s tip, it can damage the sniffer. If you need to probe parts that get lots of condensation, try to keep the wand away from water.
The electronic leak detector might sometimes detect high refrigerant concentrations in the interior cabin. You might sensibly interpret this reading as a symptom of evaporator issues. Before you replace the evaporator, check the area under the car hood for refrigerant leaks. A sizable leak can release refrigerant into the air intake, and result in a false reading.
Electronic Leak Detection vs. UV Leak Detection
Now you know about the two most common ways to find refrigerant leaks. But which one is best for your particular vehicle and situation? Let’s compare electronic and UV leak detection based on the following categories:
Accuracy
Do you want to know where you can find all the refrigerant leaks? UV leak detection is the accurate option. While electronic leak detectors can get misled by high concentrations of refrigerant from other sources, UV dye will show you the actual leaks.
Speed
Electronic leak detection takes less time. Fire up the A/C long enough for the leaked refrigerant to reach detectable levels.
In contrast, you must wait for the refrigerant dye to cycle through the A/C system. The process lasts for several days.
If pressed for time, use an electronic leak detector. But if you can wait for the best results, use the UV refrigerant dye method.
Ease of Use
UV leak detection is a user-friendly option. If you know how to recharge the refrigerant, you can inject dye into your car’s A/C system. As for the UV flashlight, it’s essentially a fancy light source that’s intuitive to use.
Compare this with the steep learning curve for the electronic leak detector. Differentiating between accurate and false readings requires experienced eyes.
Active Leaks
Some refrigerant leaks show up when the A/C is running. The electronic leak detector can hunt down these actively leaking spots in no time.
Tiny Leaks
Other leaks are so small that they barely release refrigerant, making them very difficult to detect with an electronic leak detector. However, UV dye will seep out of the tiniest leaks, revealing their existence and locations.
Temperature-Dependent Leaks
Some leaks only appear at specific temperature ranges, usually because the part changes when it gets cold or hot enough. If you think your car has one of those, use the dye method to reveal where the leak is.
Tips For Finding A/C Refrigerant Leaks
In many cases, it’s recommended to use both UV dye and electronic leak detection. The two techniques can cover each other’s weaknesses.
Use the sniffer to locate possible leaks. Wait for the refrigerant dye to confirm the initial search. Alternatively, you can use the UV dye to reveal the leaks first before running the electronic leak detector’s wand over the sites. That way, you’ll recognize the readings for those leaks in the future.
Inspect A/C Parts
Certain parts have a higher chance of developing a refrigerant leak. Examples include the drain tube, Schrader high-pressure and low-pressure fittings, hose fittings, HVAC drain, and evaporator. Check them whenever you’re looking for leaks in the A/C system.
Look For Oil Spots
Check the compressor and A/C lines for oil spots. Pay particular attention to the test ports and the caps covering them. If a port lacks its cap, don’t delay getting a replacement.
Work When It’s Dark
Are you using the UV leak detection method? Try looking for the leaks at night or in a dark space. In the absence of visible light, the refrigerant dye will glow brighter, making tiny leaks easier to spot.
Follow-Up Pressure or Vacuum Test
Once you’ve patched up all leaks and replaced faulty parts, put your vehicle through a pressure or vacuum test. The test removes air and moisture from the A/C. It also checks for any leaks you might have missed.
Where to Find Replacement Parts to Fix A/C Refrigerant Leaks
Many issues can cause refrigerant leaks. Be sure to inspect components such as the drain tube, Schrader high-pressure and low-pressure fittings, hose fittings, HVAC drain, and evaporator. When they become inoperative, these are typically responsible for leaks in the A/C system.
If you you need replacement parts to fix the leak, CarParts.com is here to help.
The best part? You don’t even have to take one step outside your door to get your hands on any of your orders. Simply visit our website, search for the part you need, fill out the vehicle selector, and use the search filters to find the parts you need.
All of our auto parts come from the most trusted names in the industry, and each item in our catalog is hand-picked by a team of professionals. All our products are on hand and ready to ship from a distribution center near you. Expect your package to arrive in two business days if you order before 12 PM ET.
Browse our collection of high-quality components now at CarParts.com.
Any information provided on this Website is for informational purposes only and is not intended to replace consultation with a professional mechanic. The accuracy and timeliness of the information may change from the time of publication.


