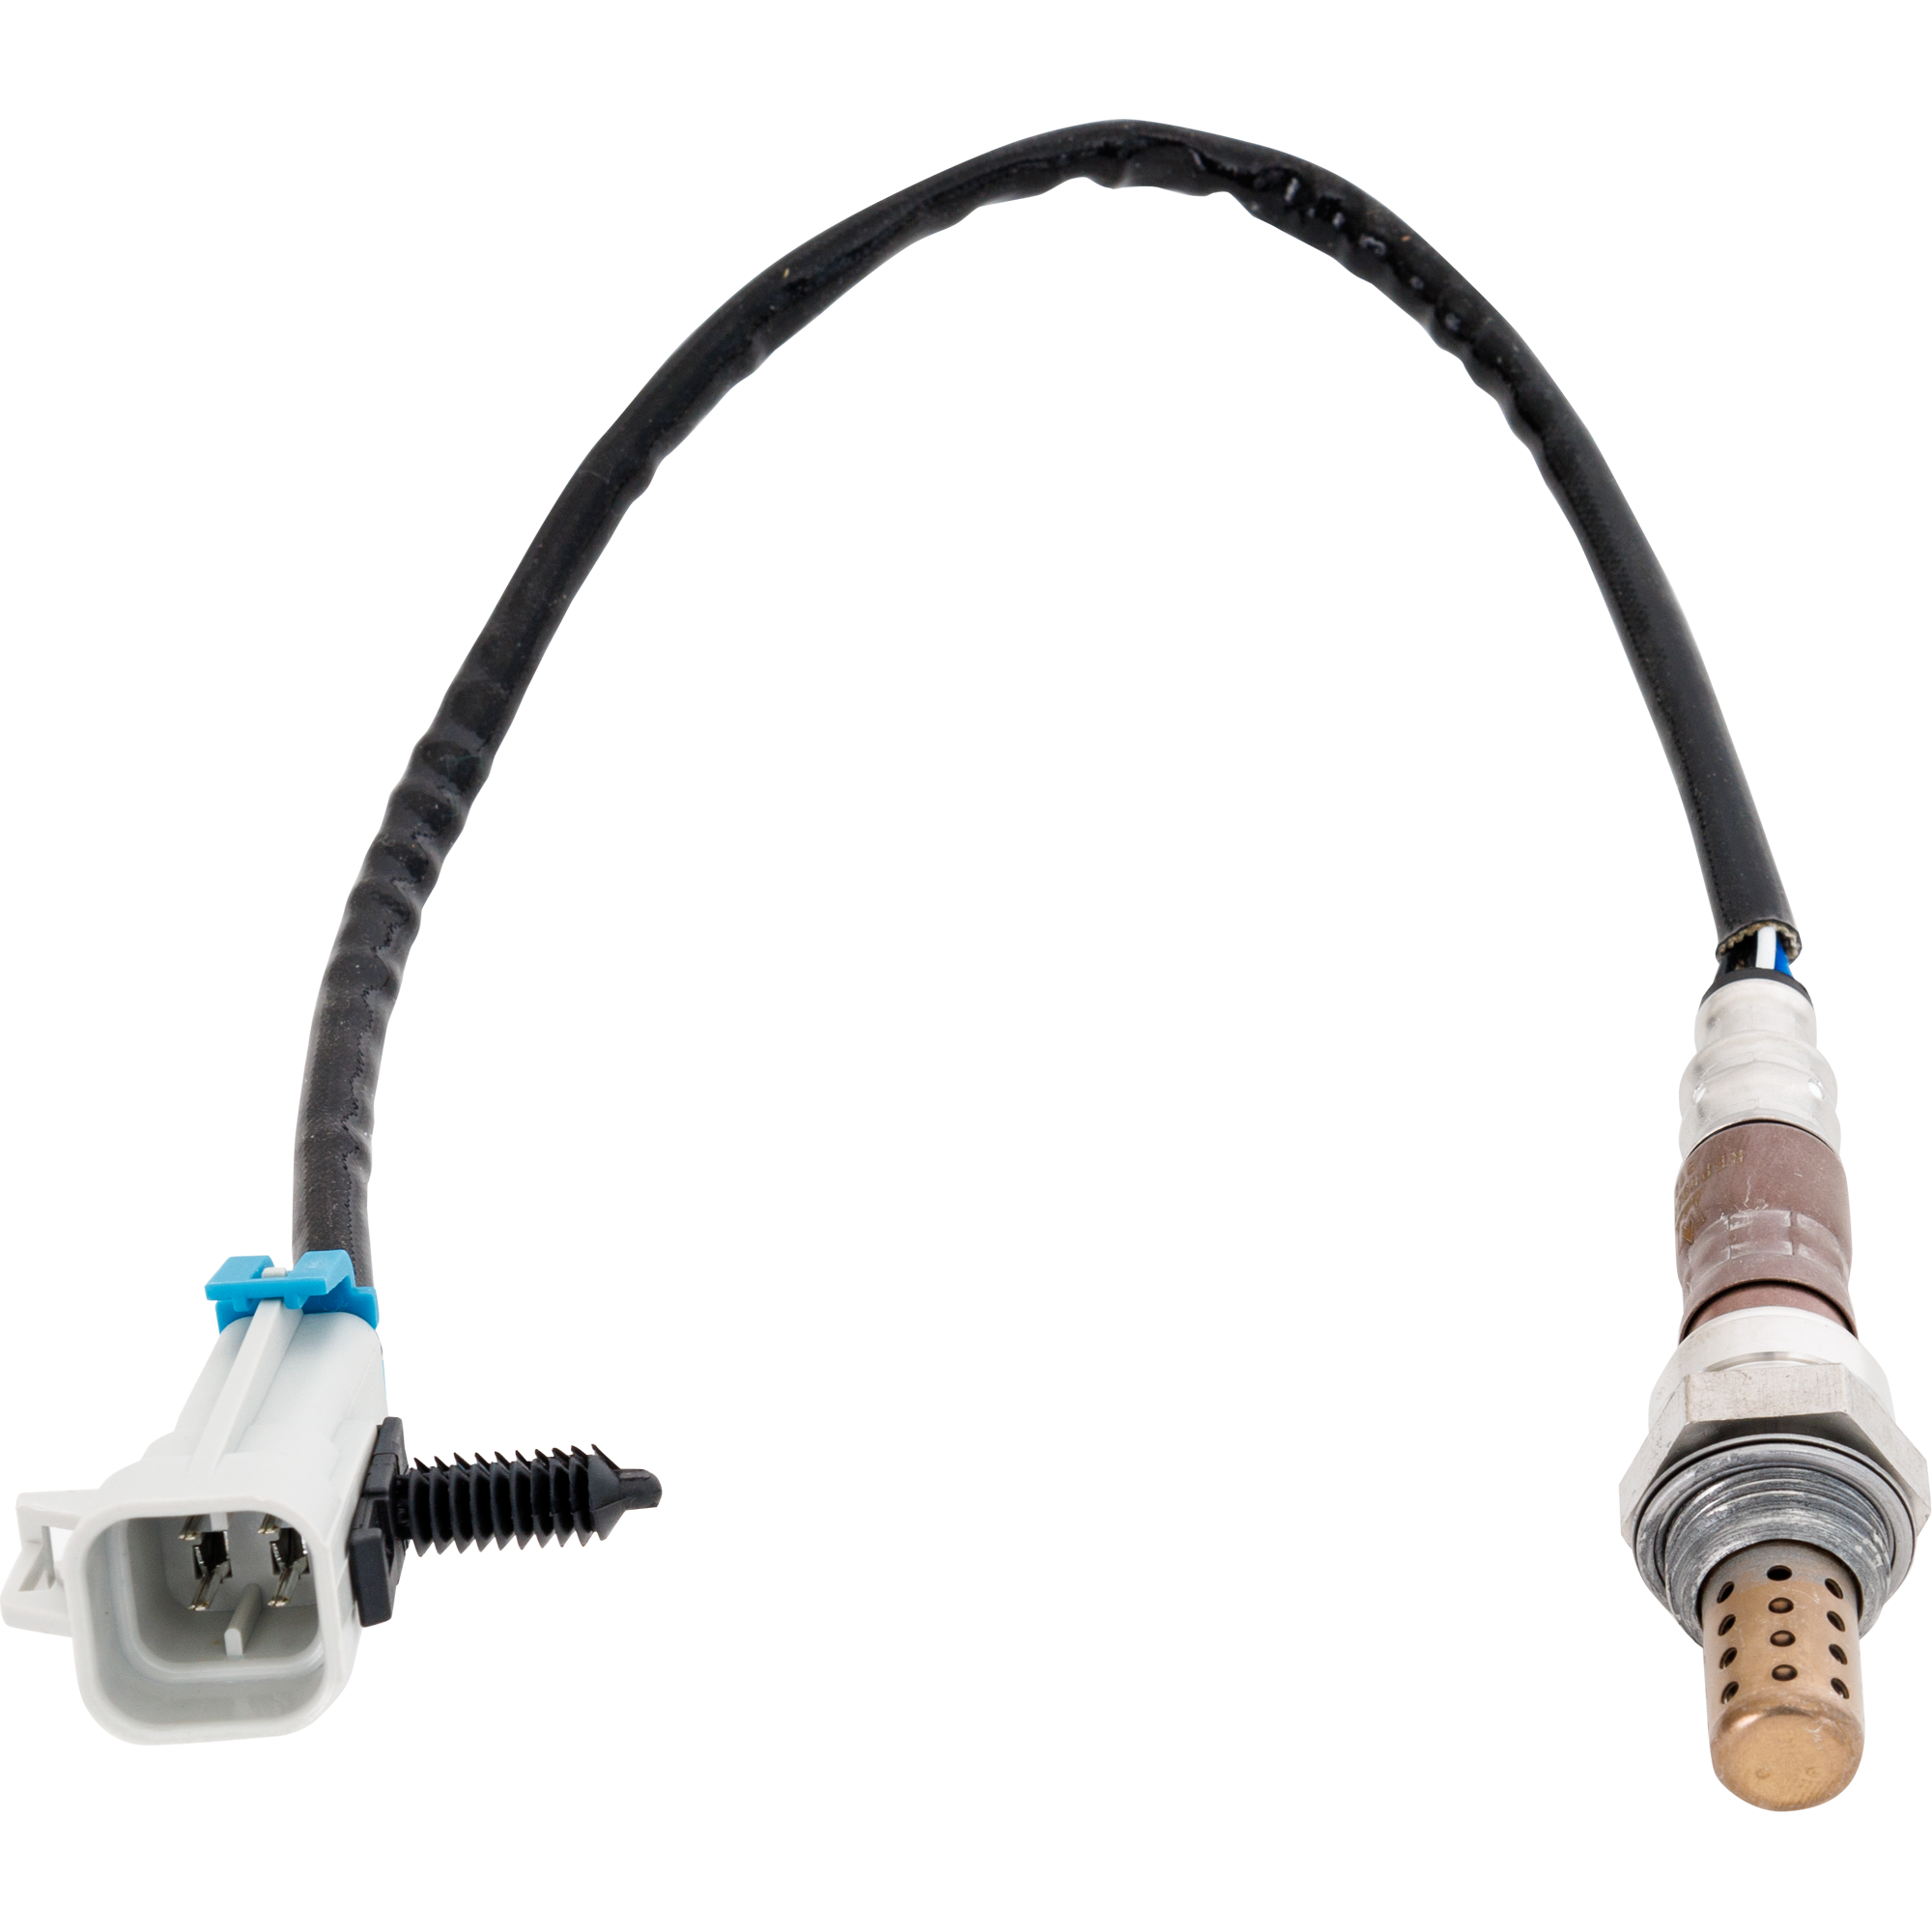
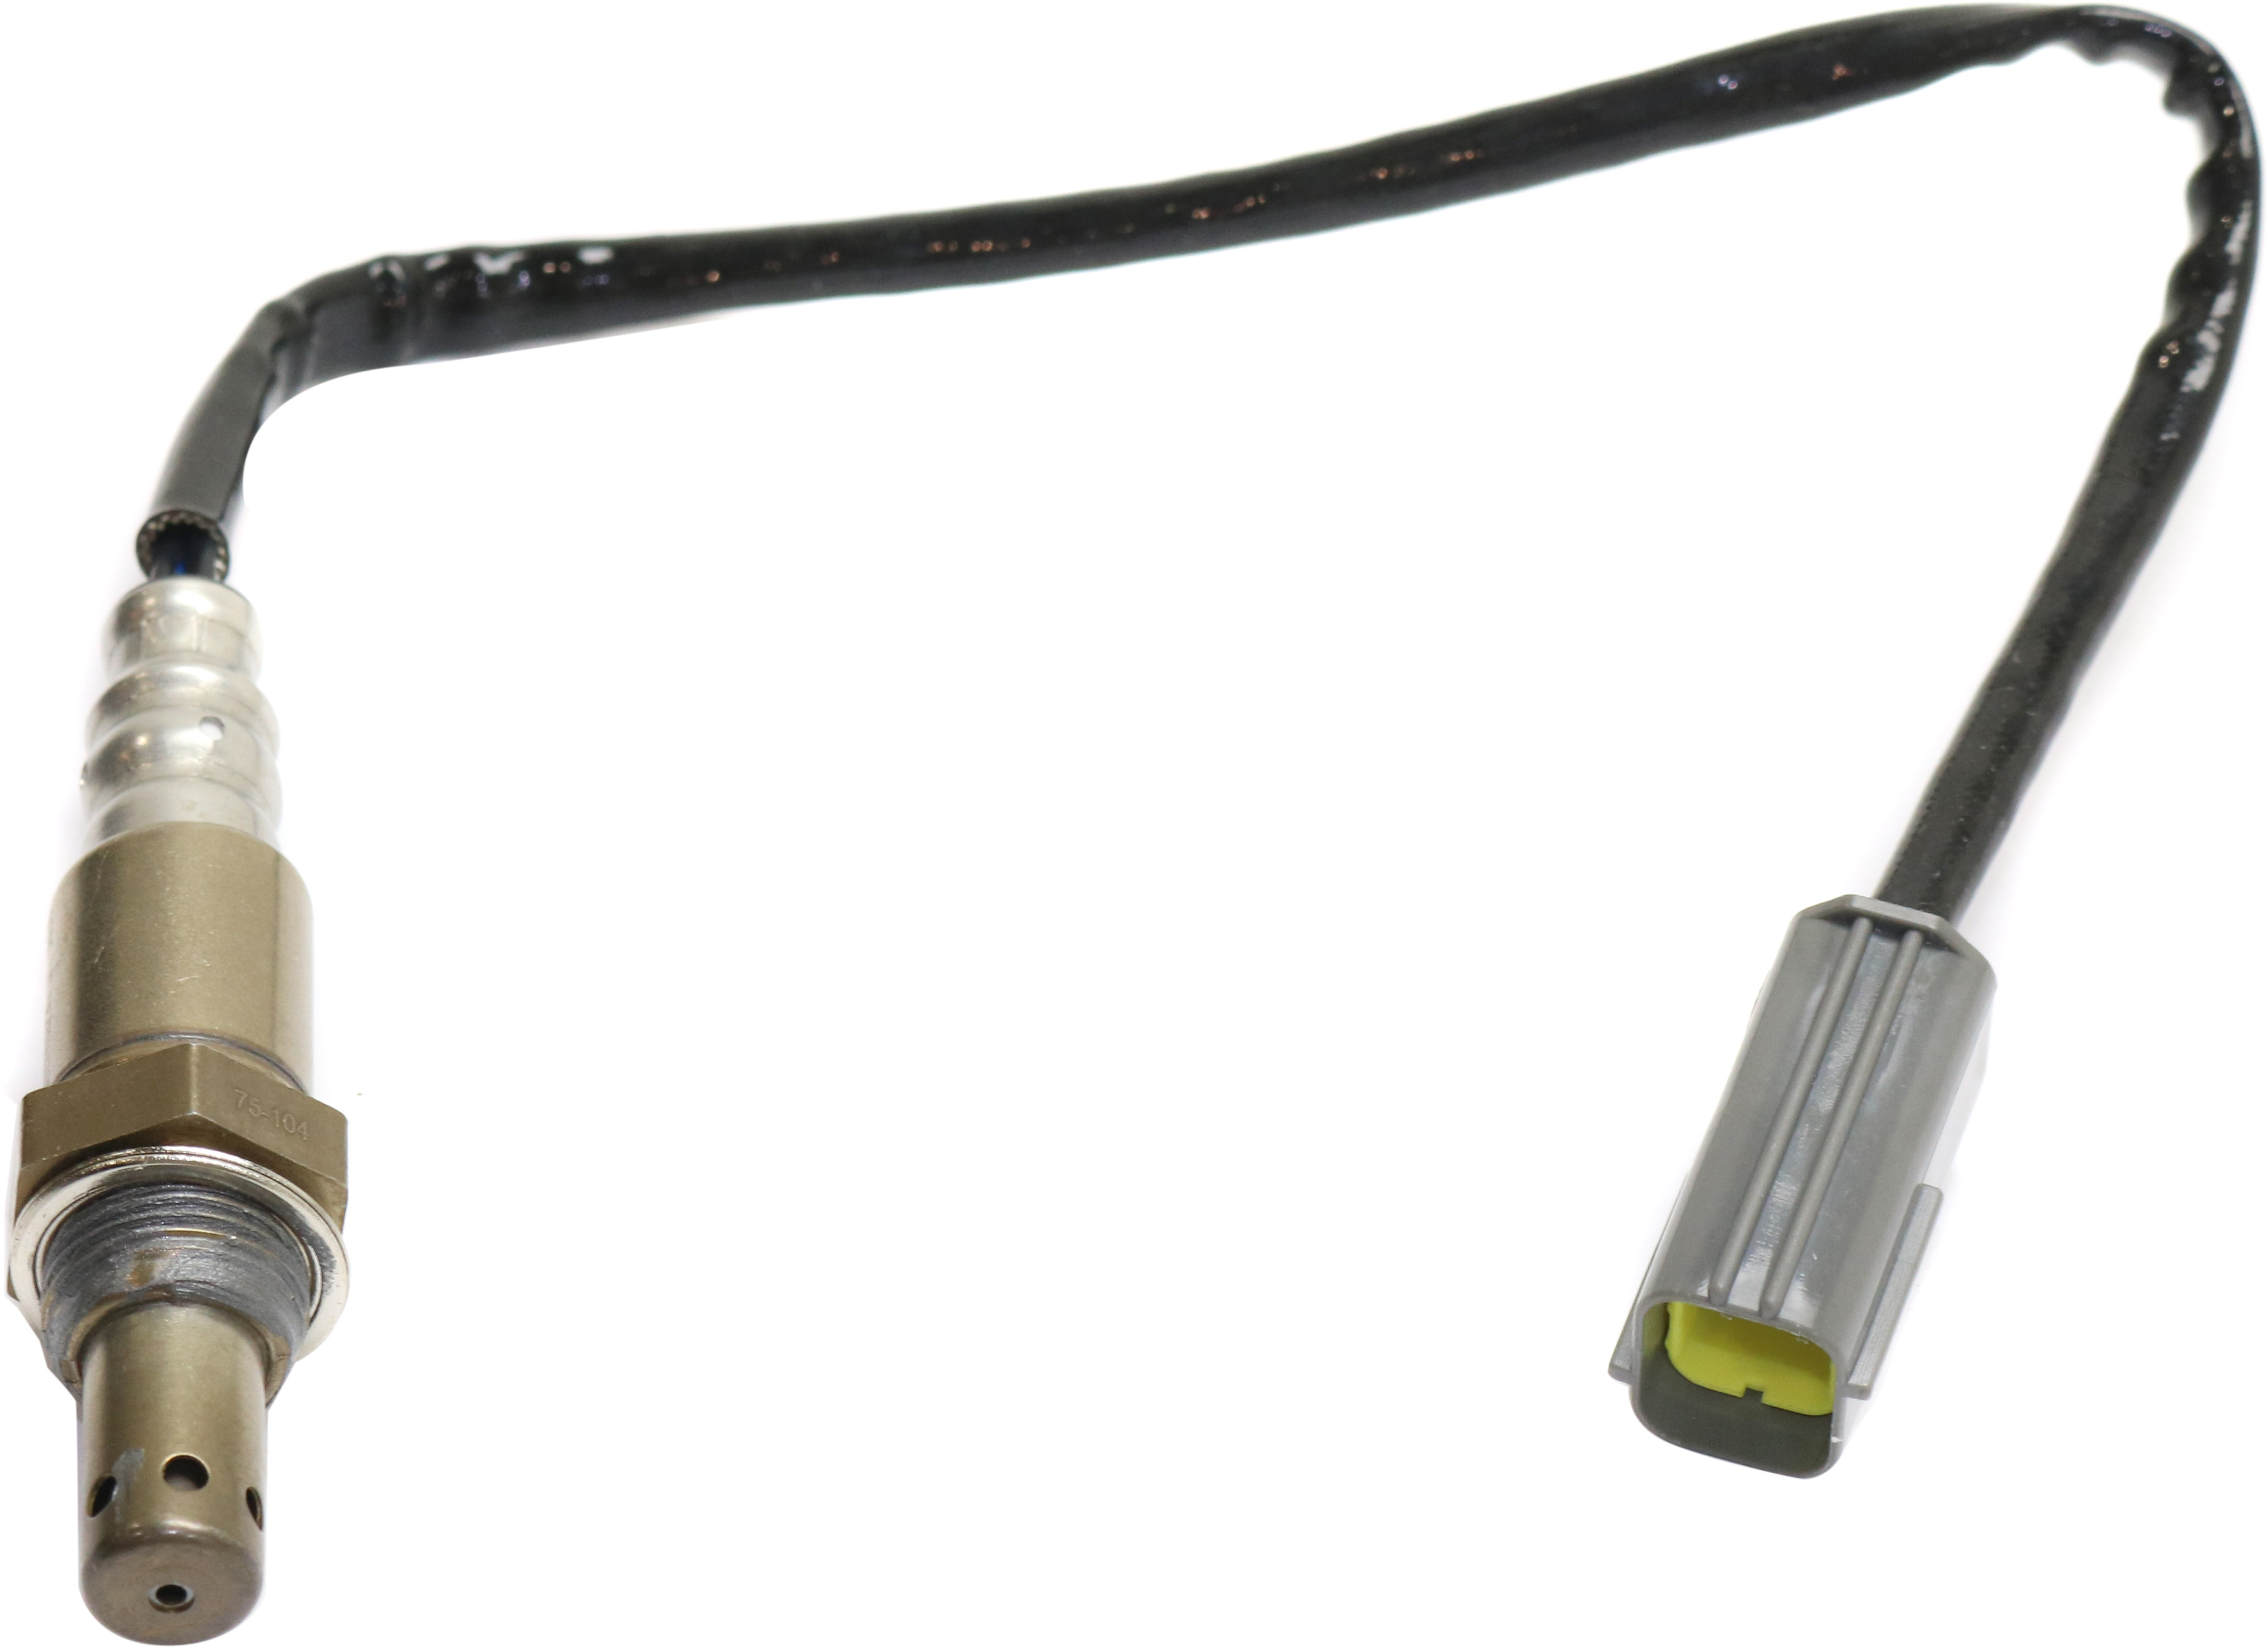
The upstream oxygen sensor measures the amount of oxygen in the engine exhaust that is about to enter the catalytic converter. When this cross-counting voltage activity drops below a minimum level, the powertrain control module (PCM) may set the P0153 trouble code.
What Does the P0153 Code Mean?
Diagnostic trouble code (DTC) P0153 stands for “O2 Sensor Circuit Slow Response (Bank 2, Sensor 1).” This code points to a problem with the upstream O2 sensor on Bank 2, which is the bank opposite of where cylinder number 1 is located regardless of the make of the vehicle.
Oxygen sensors issue high voltage signatures when they detect a rich air mixture and low voltage signatures when they encounter lean mixtures. An upstream oxygen sensor that doesn’t generate different voltage levels fast enough may have an issue that compromises its performance, resulting in this diagnostic trouble code.

If the O2 sensor output is sluggish, the ECM/PCM knows it can’t be trusted to provide real time accurate information. O2 sensors get tired sometimes. That being said, many of them last the life of the vehicle.
The oxygen sensor covered by the P0153 is fitted between the cylinder head and the catalytic converter on bank 2. It checks the oxygen levels of the exhaust leaving the exhaust manifold and the PCM compares its reading with the signals coming from the oxygen sensor 2 behind the converter.
P0153 on Some Ford Vehicles
Code P0153 may appear on some Ford vehicles. On a 1999 Ford F-150 4.2L V6, for example, the DTC can appear because of the following causes:
- Contaminated HO2S sensor
- Exhaust leaks
- Shorted /open wiring
- Improper fueling
- MAF sensor
- Deteriorating HO2S sensor
- Inlet air leaks
The repair process will vary depending on the affected vehicle. For this specific vehicle, it is recommended to perform a diagnostic test using a scan tool to gain a better idea of the underlying cause, as well as to check if related DTCs are present.
Note: Code P0153 is a generic code set by the Society of Automotive Engineers (SAE). The vehicle’s manufacturer may define the code differently. In case of the latter, refer to the repair manual.
What are the Possible Causes of the P0153 Code?
You can trace the reduced cycling rate of an oxygen sensor’s cross-counting voltage activity to problems that affect either the device, engine performance or the exhaust system. The following issues can cause the PCM to set a P0153 code:
- Bad or failing oxygen sensor
- Oxygen sensor circuit problems (e.g., damaged wires or poor connections)
- A rich or lean running engine
- A leak in the exhaust system
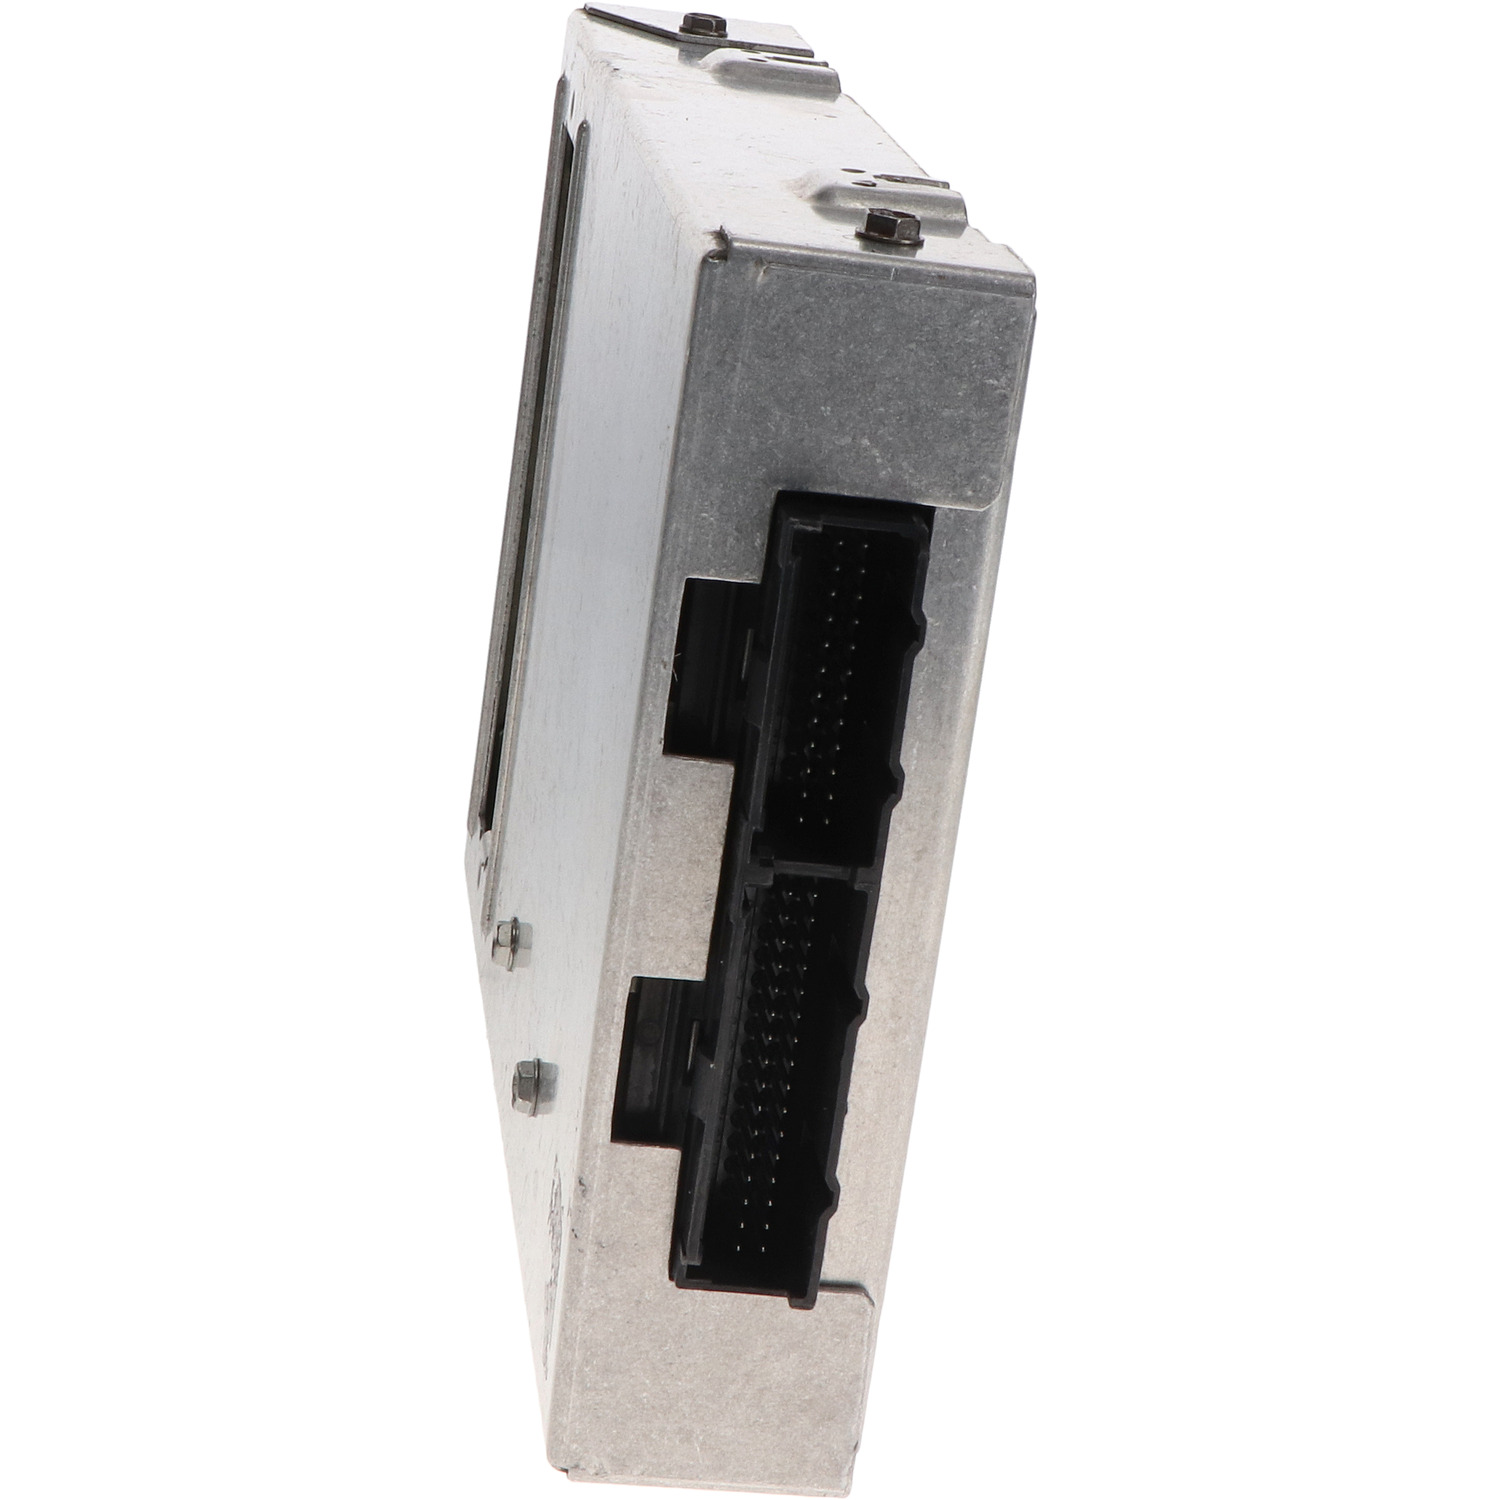
- An issue with the PCM (e.g., software update required)

What are the Common Symptoms of the P0153 Code?
Here are some of the usual symptoms you are likely to observe when the code P0153 is set by the PCM:
- Activated or blinking check engine light
- Increased emission levels in the exhaust released by the catalytic converter
- Engine performance problems (e.g., rough running and lack of acceleration)
How to Diagnose the P0153 Code
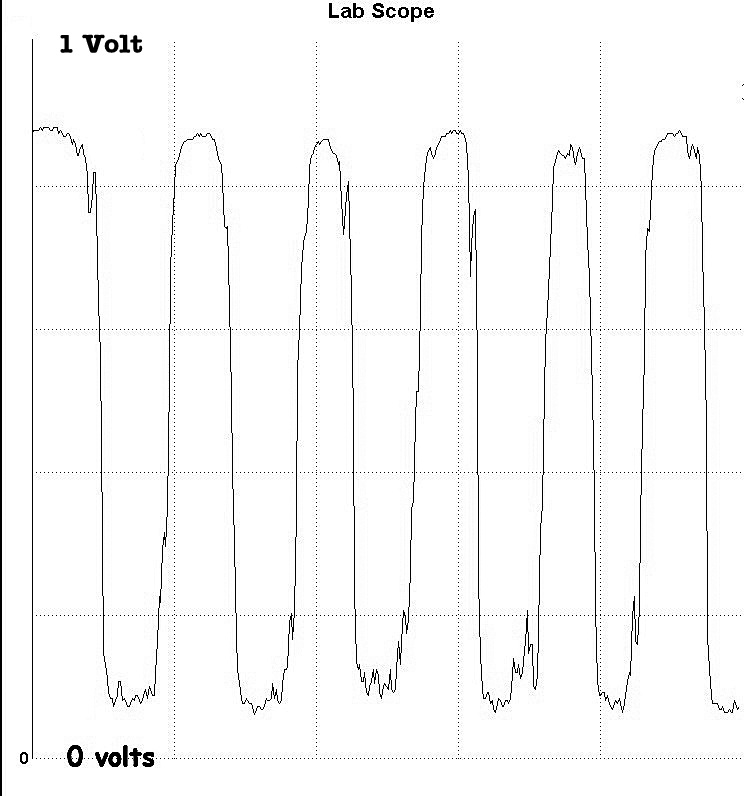
Code P0153 points to a problem with the upstream O2 sensor on Bank 2, which is the bank opposite of where cylinder number 1 is located, regardless of the make of the vehicle.
If you’re dealing with any kind of concern you believe might be related to the upstream O2 sensor performance and you believe the sensor might need replacing, you can watch the sensor on the scan tool data screen with the throttle at about 1200 rpm and you should see about three switches from rich to lean per second, with the voltage range being at least from 0.2 to 0.8 volts or slightly greater. The downstream sensor will switch as well, only not as much and not as quickly, because it’s measuring O2 storage capacity of the catalytic converter nearest the engine on that bank.
The upstream O2 sensor will switch more slowly at idle much of the time, so you’ll need to monitor the sensor with the engine speed elevated and even record it while driving with the engine at highway cruise. Again, either record the pattern while driving using the scan tool record utility or have an assistant driving. Do not watch the scan tool screen while driving the vehicle or you could get into an accident.
The upstream O2 sensor will switch more slowly at idle much of the time, so you’ll need to monitor the sensor with the engine speed elevated and even record it while driving with the engine at highway cruise.
– Richard McCuistian, ASE Certified Master Automobile Technician
How to Fix the P0153 Code
Disclaimer: Due to the wide variability in vehicle makes and models, as well as other factors, the following information must not be construed as complete or the only definitive way to address a particular issue. Instead, the following content merely attempts to give you a better idea of what a do-it-yourself approach to the issue might involve. You are encouraged to find more technical resources regarding the subject or take your vehicle to a professional technician for the best results.
Fixing the P0153 code isn’t easy. You’ll need to confirm if you need to replace the sensor or if there’s a wiring or connection issue that should be repaired. The vehicle should also be tested for leaks in the exhaust system.
If you’re a seasoned automotive DIYer, and you have the skills and tools to get the job done, here is some helpful information about how to fix this error code.
Checking Your Oxygen Sensor
If you’d like to check the condition of your oxygen sensor, you’d need a voltmeter or a multimeter. You can read our step-by-step guide on how to test O2 sensors to get an idea about what the process entails.
Test Heater Circuit for Resistance
You can also check the resistance of your heater circuit. The normal reading for your heater circuit should be anywhere between 10 and 20 ohms.
Replacing an Oxygen Sensor
If you’ve already confirmed that it’s your oxygen sensor that’s faulty, you’ll need to replace it to clear the code. The step on how to replace an oxygen sensor can vary depending on the specific vehicle that you own.
But here’s how it’s generally done:
- Remove the oxygen sensor using a special oxygen sensor socket. The socket is usually 22 mm in size, and it should have a cutout to clear the wires.
- Make sure that your engine is slightly warm when you do it as it will make your job easier. However, don’t wait for it to become too hot.
Research and follow the safety measures that should be done during an O2 sensor replacement to avoid injuring yourself.
- Fix the socket above the sensor and turn it clockwise. Your oxygen sensor should loosen at this point.
- If it doesn’t loosen, you can apply penetrating oil or heat to the base of the oxygen sensor.
Installing a New Oxygen Sensor
The steps for installing a new sensor can vary. For example, a universal oxygen sensor may require some wiring modification depending on your vehicle’s specifications.
Typically, this modification will require installing the existing connector on the universal sensor. The two wires that are the same color are always the heater wires. These wires are most commonly white but can be black or brown. The other two wires will be the sensor ground and the sensor signal.
Read the instructions that come with the universal sensor to make sure you get the wires connected properly. Solder and heat shrink work best for splicing the new connector onto the universal sensor. Some sensors have a flange and a couple of bolts and are easier to replace.
The colors of the wires on a universal sensor can also be different from those of direct-fit sensors. There’s a chart that shows the color of wires used by different brands, so if you’re planning to buy a universal sensor, make sure to check it out.
Finding Exhaust Leaks
Aside from a bad O2 sensor, one of the common causes of code P0153 is a leak in the exhaust system. But take careful note here. If the exhaust leak is downstream of the sensor rather than right at the sensor or between the sensor and the engine, that leak won’t be the cause of the sensor’s sluggish reading. Usually, the problem is that the sensor is just tired and needs replacing.
If you have an exhaust leak, it’s best to get it fixed because of the CO gas that can make its way into the cab. CO is poisonous, CO2 is not but an exhaust leak upstream of the catalytic converter will produce some CO2.
Normally, you can just inspect the area around your flex joints for black soot. However, some of these leaks can be hard to find.
Here’s how to find a hidden leak in the exhaust system:
- Jack the vehicle up to get a good view of the exhaust system.
- Get a friend to start the vehicle.
- Take a rag and push it into the exhaust. It’ll make the leak more apparent.
- Let your friend look around. Make sure that no one is inside the vehicle when you do that.
- Listen for a popping, hissing, or rumbling noise.
- Once you find the leak, you’ll know what component to replace.
These steps are specifically for a 1997 Honda Accord. If you’d like to confirm if it also works for your vehicle, we suggest consulting repair guides that have vehicle-specific information.
Where to Get a New Oxygen Sensor for Your Vehicle
Replacing a faulty oxygen sensor is one of the ways to clear the P0153 code. Doing so can also help prevent engine performance problems in the long run. When it’s time to shop for a replacement O2 sensor, CarParts.com has high-quality products for you to choose from.
Shopping for replacement parts is easy with our website’s user-friendly interface. You don’t even have to get up from the comfort of your couch, as you can browse the site on your mobile devices! Simply look for our vehicle selector and input your ride’s year, make, and model to browse the oxygen sensors that match your vehicle’s specifications.
Shop at CarParts.com to get the best deals today!
Products Mentioned in this Guide
Shop this Project


Any information provided on this Website is for informational purposes only and is not intended to replace consultation with a professional mechanic. The accuracy and timeliness of the information may change from the time of publication.


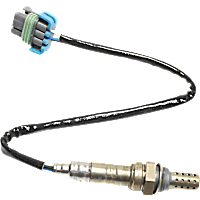 Oxygen Sensor
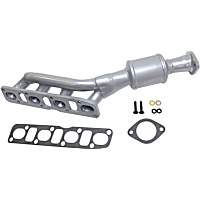 Catalytic Converter
 Engine Control Module
