What Does the P0113 Code Mean?
Diagnostic trouble code P0113 stands for “Intake Air Temperature (IAT) Sensor Circuit High Input.” If your OBD-II scanner reports this code, it means your car’s computer has determined that there’s a problem with the IAT sensor 1 or its circuit.
A working IAT sensor sends its readings to the PCM. Guided by this data, the computer adjusts the fuel injectors and other components that control the internal combustion chamber. Accurate readings help the engine burn fuel efficiently.
When the PCM gets a signal voltage reading above the maximum value, it realizes that the IAT sensor circuit has malfunctioned, either because the sensor is unplugged, the terminals are damaged, one of the sensor wires has been cut, or some other open circuit issue. The computer knows -40 is not the correct reading, so it switches on the Check Engine Light and logs the error code P0113.
P0113 on Some Honda Vehicles
The code appears in a 1998 Honda Civic EX 1.6L because of the following conditions:
- IAT sensor signal circuit is open or shorted to voltage
- Damaged IAT sensor connector (check pins for damage, and for moisture)
- IAT sensor return circuit is open
- Failed IAT sensor has failed
What is an Intake Air Temperature (IAT) Sensor and How Can It Cause P0113?
The Intake Air Temperature (IAT) sensor isn’t present on all engines, thus the P0113 code isn’t on some vehicle code lists; some platforms use the Mass Airflow (MAF) sensor to measure incoming air temperature. But no matter how the air temperature is measured, the ECM/PCM needs to know the temperature of the incoming air because cold air has more oxygen molecules per cubic centimeter of air than hot air, and that difference must be factored in for proper air fuel mixture.
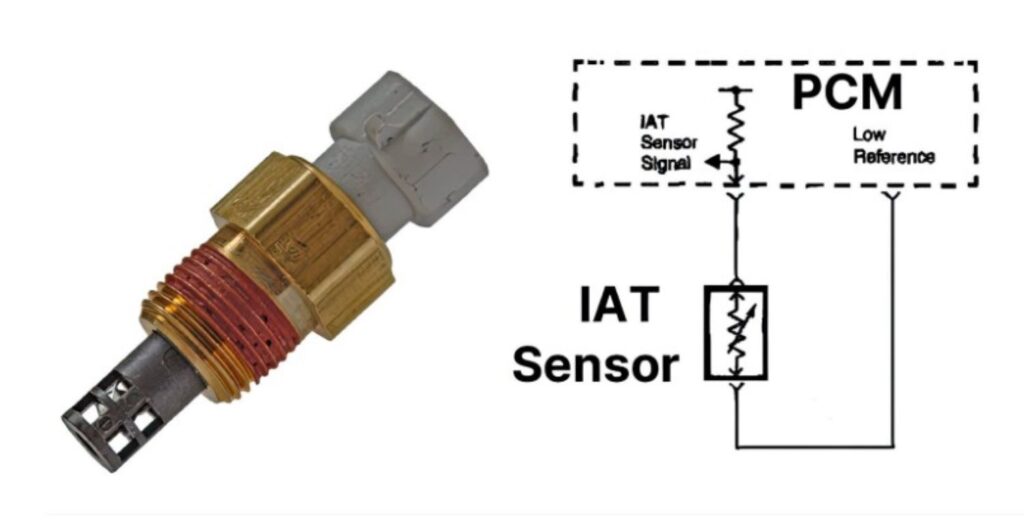
The IAT sensor is a two-wire sensor with a negative temperature coefficient resistor positioned so that it reads the air entering the engine. It can be located on the air cleaner, in the air inlet tube, or in the intake manifold.

One of the two wires receives about 4.6 volts from the ECM/PCM and the other wire is a reference ground, also from the ECM/PCM. The reason it’s slightly less than the 5 volts delivered to three wire sensors is that there is a resistor inside the ECM/PCM on each two-wire sensor feed. Because the sensing resistor is negative temperature coefficient, the resistance of the sensor is reduced as it gets warmer. As the resistance goes down, so does the voltage measured at the ECM/PCM. Lower voltage means hotter air.
If the sensor is disconnected or if a wire is chewed or cut leading to the sensor, the voltage registered by the ECM/PCM tops out at 4.6 volts, which is equal to -40 degrees (-40 Fahrenheit is exactly the same as -40 Celsius). This is what you’ll see on the basic OBD2 generic scan tool live datastream. But depending on the manufacturer, the OEM Enhanced datastream can show an entirely different temperature. More about that in a minute.
What Can Happen if I Ignore P0113?
The reason an open IAT sensor won’t usually do anything except illuminating the Check Engine (MIL) light and storing a code is because most ECM/PCM algorithms will substitute a value that usually works. For example, if you unplug the IAT sensor on a 2000s Dodge Truck while looking at the OEM live data, the ECM/PCM won’t show -40 degrees – it’ll show 101 degrees Fahrenheit, which is a reading that will usually enable the vehicle to be driven without damage.
Older vehicles (pre OBD2 and depending on the manufacturer) would sometimes run horrible, with black smoke and no power if the IAT failed. This led the ECM/PCM software engineers to create the fail safe strategy described above.
The problem is that if you ignore the MIL light with a P0113 code and keep driving, and then there’s a sudden cold snap (like a crisp 40 degree morning), the Engine Coolant Temperature (ECT) sensor will be reading 40 degrees F and the IAT will still be reading 101 degrees F. This disparity in air and coolant temperature will typically fool the ECM/PCM into drastically over-fueling the engine during a cold start – meaning it can foul the spark plugs, resulting in an unexpected no-start.
If you ignore the MIL light with a P0113 code and keep driving, and then there’s a sudden cold snap (like a crisp 40 degree morning), the ECT sensor will be reading 40 degrees F and the IAT will still be reading 101 degrees F. This disparity in air and coolant temperature will typically fool the ECM/PCM into drastically over-fueling the engine during a cold start – meaning it can foul the spark plugs, resulting in an unexpected no-start.
–Richard McCuistian, ASE Certified Master Automobile Technician
Thus, on the spectrum of OBD-II codes, a P0113 ranges from moderately severe to barely an issue. Again, it all depends on how the ECM/PCM algorithms are set up.
What are the Possible Causes of the P0113 Code?
There are several possible issues that can trigger the P0113 code. Common culprits include the following:
- Intake air temperature sensor 1 experienced an internal problem
- Bad connection between the IAT sensor 1 and its circuit due to problems like dirt, rust, and looseness
- Damaged IAT circuit wiring
- Problem with the mass air flow sensor (if the IAT is integrated into the mass air flow sensor)
- PCM issues (such as software in need of an update, but this is very VERY rare.)
What are the Common Symptoms of the P0113 Code?
The most likely symptoms of the code P0113 include:
- No symptoms at all except a Check Engine Light
- No-start with a gas smell on a cold snap morning.
Again, when code P0113 is set, the engine can also display other symptoms such as difficulties in cold starts. The exact symptoms can vary depending on the manufacturer, so a P0113 in a Ford vehicle may present slightly differently in a Nissan with a P0113.

How to Test the IAT Sensor
You have to be able to access the sensor first.
With the sensor disconnected and the key switched on (engine off), measure the voltage at the sensor – be careful not to damage the terminals. You should see 4.6 volts with the sensor disconnected. If you do, use a digital volt-ohmmeter to measure sensor resistance at the sensor itself (key on or off, it doesn’t matter). If the sensor is wide open (no continuity in any range), the sensor is bad.
If you don’t get the 4.6 volts, there could be a wiring problem – do a visual inspection and if you don’t see anything, hire a mechanic to find and fix the problem.
How to Diagnose the P0113 Code
Finding the root cause of an OBD-II trouble code can be difficult as there are a lot of factors to take into account, as well as several possible causes. The engine code P0113 alone has a handful of possible culprits, as listed above.
The video below can help you get an idea of how to troubleshoot this particular code:
How to Fix the P0113 Code
Disclaimer: Due to the wide variability in vehicle makes and models, as well as other factors, the following information must not be construed as complete or the only definitive way to address a particular issue. Instead, the following content merely attempts to give you a better idea of what a do-it-yourself approach to the issue might involve. You are encouraged to find more technical resources regarding the subject or take your vehicle to a professional technician for the best results.
Fixing the P0113 code can be tricky because you need to verify what’s triggering it. For example, you’ll need to check the condition of your intake air temperature sensor 1 to confirm whether it caused the error code to be logged. If not, you’ll also have to inspect the wiring and circuits related to the sensor.
Check for Other Error Codes
Before proceeding with diagnosing and repairing your vehicle, you’ll want to check for additional trouble codes. Once you’re able to retrieve other DTCs, make sure that you resolve them too. Most of the time, these error codes are related to each other.
Most mechanics will disconnect the IAT sensor, either watching the scan tool datastream (best way) or checking the code again. They’ll use a single strand of copper wire (a small strand that won’t damage the terminals in the connector) to jump the two wires together and then check the datastream or see if the PCM stores the opposite code. This is how you can tell if the problem is the sensor itself or the wiring between the sensor and the PCM.
Inspect Your IAT Sensor Wirings and Connectors
If you’re a seasoned DIYer, and you have the tools needed, you can check your IAT wiring for signs of damage or corrosion. Inspecting the wires carefully is important. It’s a common mistake to replace the IAT sensor when the problem lies in the wiring and/or connectors connected to it.
Checking the Resistance of Your IAT Sensor
One way to check if your IAT sensor is faulty is to check its resistance. You can do this using a multimeter.
- Consult the owner’s manual to verify the location of your IAT sensor.
- Unplug the IAT sensor electrical connector.
- Set your multimeter to over 50k ohms. You can also set it to auto range.
- Make sure the engine is off before you measure the resistance of the sensor across its terminals.
You should have a reading of around 37k ohms at 20 C. A reading of around 24k ohms is normal at about 30 C.
- Plug in the electric connector again.
- Start your vehicle and let it idle for around 20 minutes–enough to allow the cooling fan to come on.
- Turn off the engine.
- Unplug the electrical connector again.
- Measure the sensor resistance again using the multimeter.
At 194 F, you should get around 2.8k ohms. Meanwhile, you should get a reading of around 2k ohms when the temperature is around 212 F.
You can look at your ride’s repair manual for the normal temperature and resistance values set by your vehicle’s manufacturer.
Replacing the IAT Sensor on Your Vehicle
Once you’ve confirmed that your IAT sensor is faulty, you’ll need to replace it. The exact steps in replacing an IAT sensor can vary depending on your specific vehicle.
Here’s what the process typically entails:
- Locate the IAT sensor. It is usually located in the inlet to the air filter housing.
- Unplug all electrical connectors and release the locks to remove the IAT sensor from its housing.
- Gently lubricate the tip of your new IAT sensor before installing it.
If you’re a seasoned DIYer, following vehicle-specific repair steps should be easy. However, if you don’t have the tools to get the job done, we suggest taking your ride to the nearest auto repair shop. A mechanic would know how to diagnose and fix the issue.
Other Notes About Code P0113
There are other diagnostic trouble codes that cover the IAT sensors and their attendant circuitry. For example, an intermittent IAT sensor signal falls under P0114. Meanwhile, a sensor that produces a low voltage input merits the trouble code P0112.
P0098 is the mirror image of P0113 since it reports the same issue of low temperature, higher electrical resistance, and high signal voltage in sensor 2, the second IAT sensor in the engine.
What Are the Common Ways an Electrical Circuit Can Fail?
There are several reasons why an electrical circuit can fail, but here are the most common ones:
Open Circuit
If the sensor or electric device isn’t working at all, then you’re likely dealing with an open circuit. Also known as a noncontinuous circuit, an open circuit occurs when there’s a broken connection stopping the electric current from flowing through the circuitry.
High Resistance
If the sensor is working inconsistently, then there’s likely high resistance in the circuitry. A poor connection increases the resistance in the circuit, which means insufficient voltage is powering the device.
Short-to-Ground
A device that refuses to work and a melted fuse both point to one thing: a short-to-ground. A short-to-ground means there’s low resistance path to ground, which is usually caused by an internal failure or a worn wire.
Short-to-Power
A drained car battery is often caused by a device in the car that won’t turn off. This can happen due to a short-to-power failure as a result of a bypassed switch. In most cases, this is because the switch has an internal short circuit or one of its wires is making unnecessary contact with a wire from another circuit.
What Causes High Resistance in a Car?
Unintended high resistance reduces the amount of current that flows through the circuit. Because there isn’t enough current flowing through the load device, the circuit is likely to malfunction. This usually happens due to corrosion in the electrical connections or mating surface. In some cases, an old terminal can also come loose, causing the circuit to work intermittently.
If you notice your power windows sometimes don’t respond, then the switches might be corroded, causing unintended high resistance in the circuit.
Where to Get a New Intake Air Temperature Sensor for Your Vehicle
Your daily driver is built for the road. Unfortunately, failure to replace a bad intake air temperature sensor could keep it cooped up in the garage, gathering dust and unable to see the light of day.
The good news is that here at CarParts.com, you can get an OE-grade intake air temperature sensor delivered straight to your doorstep in as fast as two business days.
Our selection of intake air temperature sensors includes accurate and detailed fitment information, so you’re sure to get exactly what your car needs to get back on the road. Take your pick from only the best aftermarket brands offering intake air temperatures that passed strict quality checks from industry professionals.
Online shopping for auto parts has never been this easy with CarParts.com. All you need is to input your car’s year, make, and model into our vehicle selector to see all the compatible parts for your ride. You can also place your order using our toll-free hotline with some help from our team of customer service representatives.
Don’t miss out on the best deals on the market, and shop for an intake air temperature sensor today!
Products Mentioned in this Guide
Shop this Project


Any information provided on this Website is for informational purposes only and is not intended to replace consultation with a professional mechanic. The accuracy and timeliness of the information may change from the time of publication.


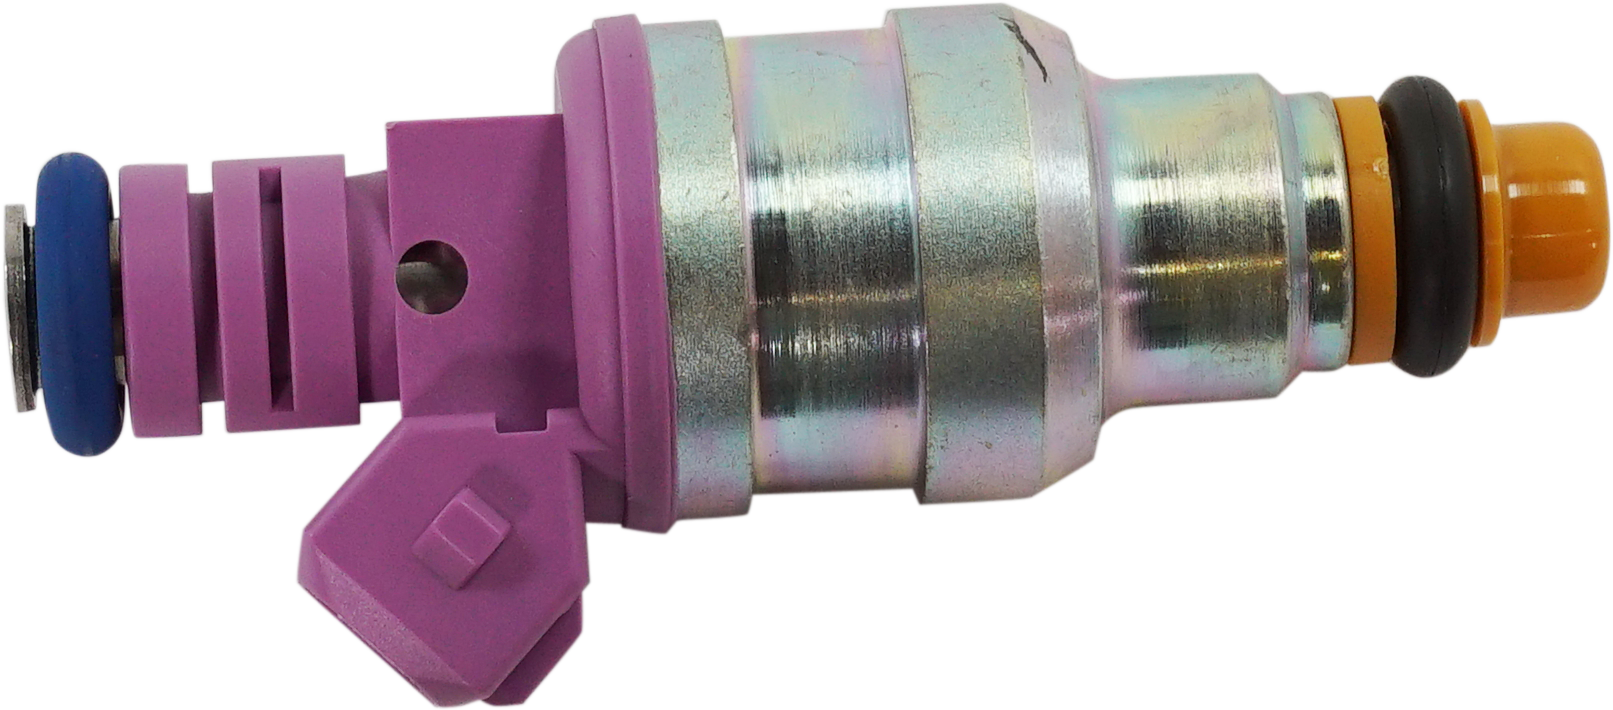
 Fuel Injector
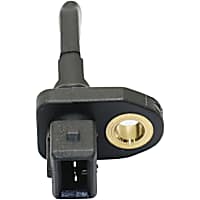 IAT Sensor
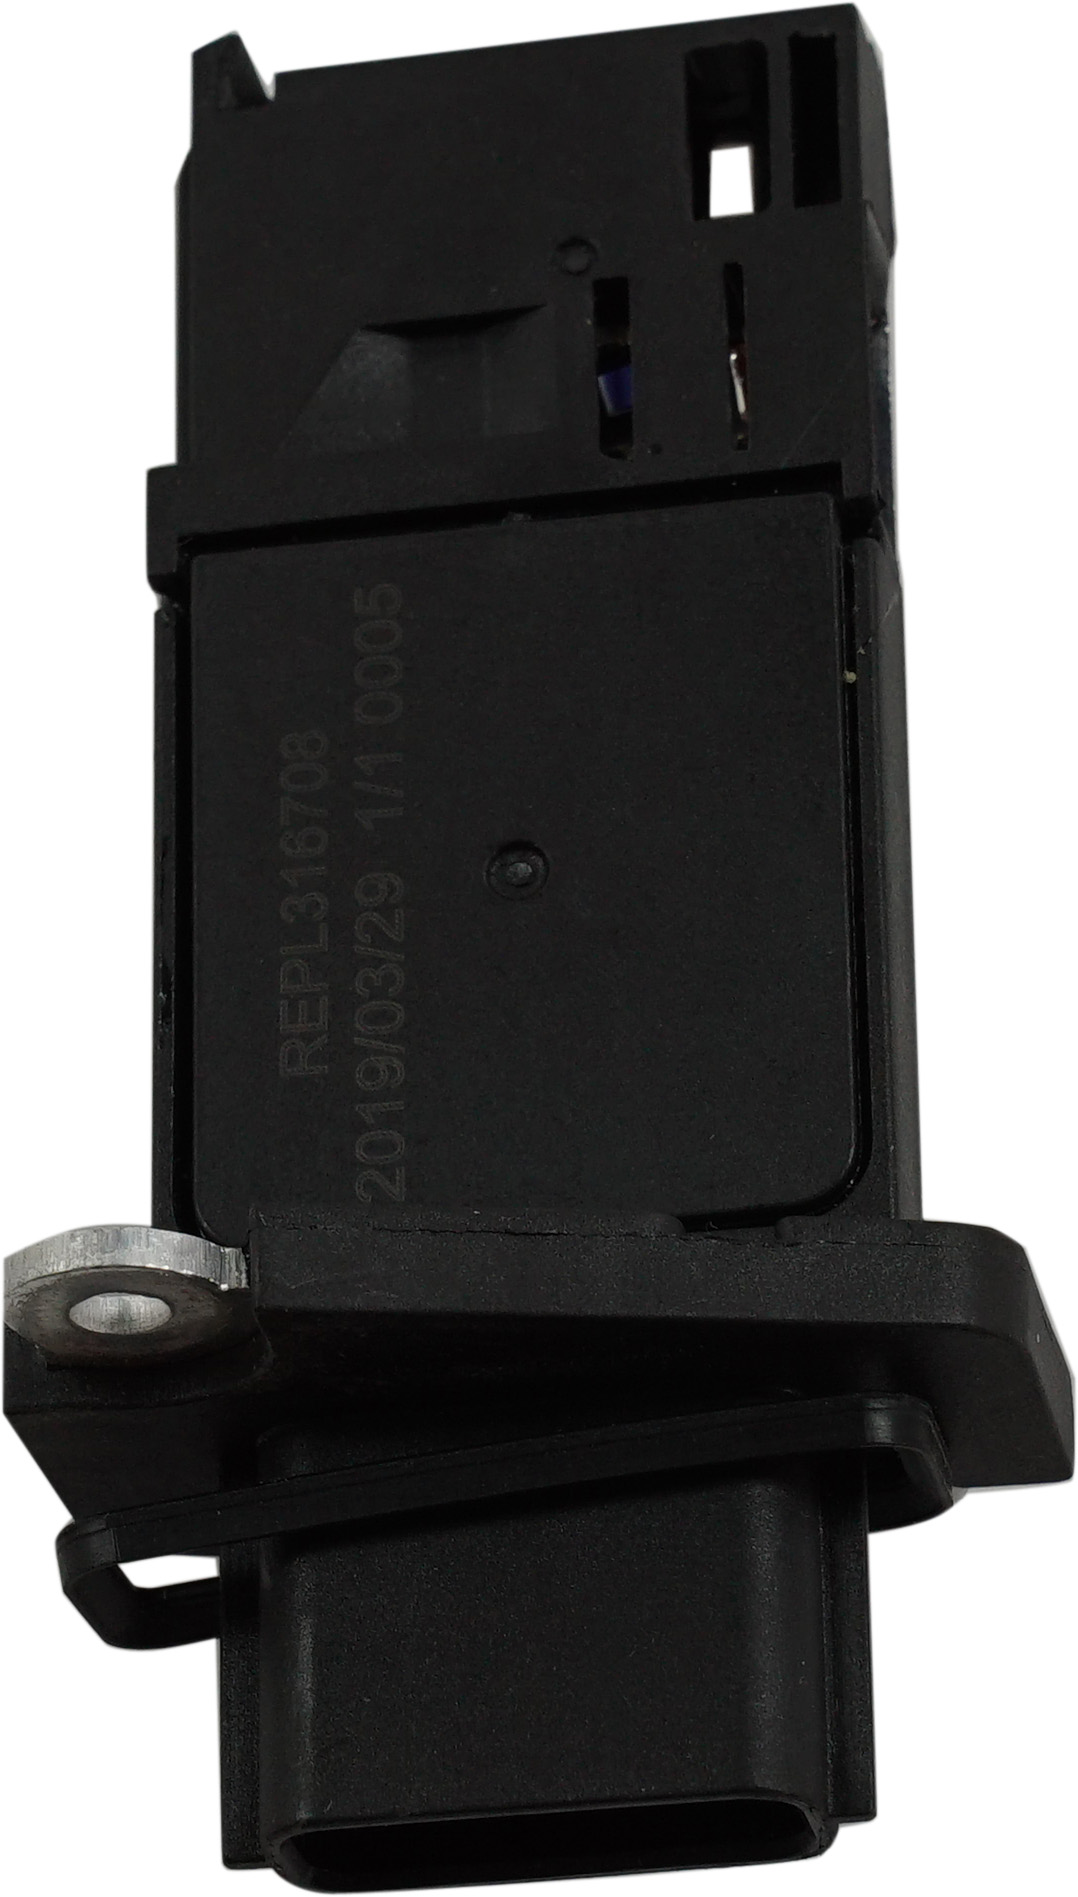
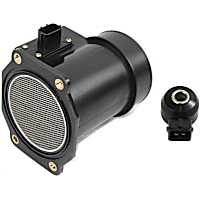 Mass Air Flow Sensor


Thank you for this information, where I can find a book about this information (codes and diagnostic)
Thanks very much again
Hi Jaser,
Your best bet is to purchase a single-vehicle subscription to a repair database. There, you’ll find information regarding the codes supported by your vehicle. You can find links to suggested resources in this article:
https://www.carparts.com/blog/why-you-should-always-consult-a-repair-manual/