So, you’re stranded in a strip mall parking lot with a dead battery. Thankfully, there’s a kind passerby who’s willing to give you a jump start, and you’ve got jumper cables in the trunk.
But there’s just one problem—you don’t know how to hook them up.
Why? Because you can’t remember which battery terminal is positive and which is negative. Hopefully, you’ve got your smartphone handy, so you can view this article and get clarification. Then you can get a jumpstart and (hopefully) be back on the road.

How to Tell Which Side of the Battery is Positive and Negative
Determining which battery terminal is positive and which is negative is a relatively straightforward affair. Because mixing up a set of jumper cables can damage your vehicle, most automakers make it easy to tell the positive and negative terminals apart.

What Color is Positive on a Car Battery?
Some people wonder: Is red positive on a car battery? And the answer is: Yes—at least most of the time.
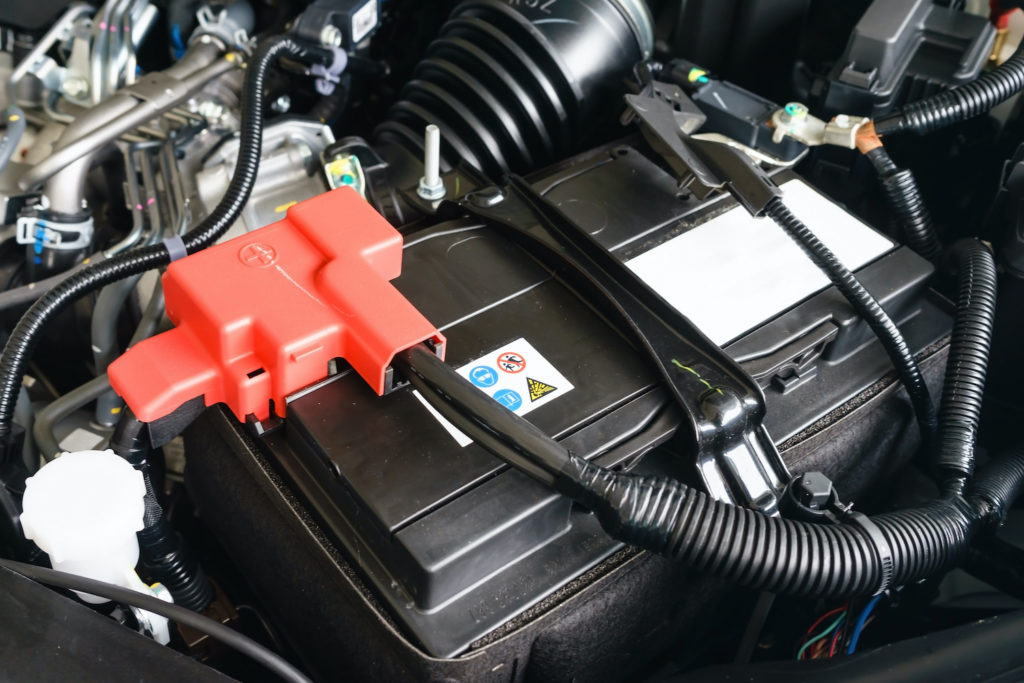
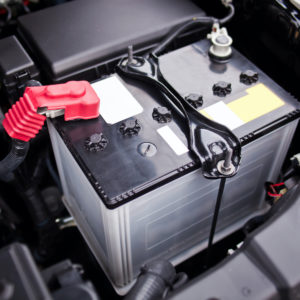
Typically, there is a red protective cover (or a black cover featuring a red plus (+) sign) over the positive battery terminal. The cover is there to prevent accidental shorting.
Of course, sometimes that cover is missing, and you have to look for other clues. Fortunately, most batteries also have a plus (+) and minus (-) sign stamped into the case.
As you might guess, the plus sign indicates the positive battery terminal, while the minus sign indicates the negative battery terminal.

In many cases, the battery cable itself will also be red in color. Though sometimes it’s black (or just really dirty), so you can’t always go by color alone.
What Color is Negative on a Car Battery?
The negative battery cable is almost always black in color. But, as was mentioned, the positive cable may also appear to be black. That’s why you should always look for the plus (+) and minus (-) signs stamped into the battery case.
How to Hook Up Jumper Cables

Jump starting a vehicle with a set of jumper cables is pretty easy. Here’s how it’s done:
Warning: Mixing up the jumper cables or touching the cable ends together can damage the vehicle and potentially cause personal injury.
- Put on your safety glasses and protective gloves.
- Attach one end of the positive (red) jumper cable to the positive terminal of the dead battery.
- Attach the other end of the positive (red) jumper cable to the positive terminal of the good battery.
- Attach one end of the negative (black) jumper cable to the negative terminal of the good battery.
- Attach the other end of the negative (black) jumper cable to a ground location on the vehicle with the dead battery. Heavy-duty, bare metal parts of the engine or chassis make good points for a ground connection.
Warning: Do not connect the negative (black) jumper cable to the negative battery terminal of the dead battery. Doing so can create sparks that ignite the hydrogen fumes from the battery.
- Double-check that the connections are secure.
- Start the vehicle with the good battery and bring engine speed up to around 1,500 – 2,000 RPMs. Maintain that engine speed for a couple of minutes
- Start the vehicle with the dead battery.
- Once the engine begins running, disconnect the negative jumper cable that’s attached to ground.
- Remove the negative and positive jumper cables from the vehicle with the known good battery.
- Remove the positive jumper cable from the vehicle that needed a jumpstart.
- Allow the engine to run for approximately 30 minutes so that the alternator can charge the battery.

The video below demonstrates the steps listed above:
When in Doubt, Consult Your Owner’s Manual
Still confused about battery terminals, jumper cables, and jumpstarting? No problem! The owner’s manual for your car lists detailed instructions on jumpstarting and battery care.
What’s more, if you’ve misplaced the print copy of your owner’s manual, digital versions are often available online. You can get them through the vehicle manufacturer’s website (e.g., Toyota.com).
Getting Your Hands on a Replacement Car Battery
If there’s something wrong with your car battery’s terminals, you might be better off getting a new one. Fortunately, finding a new car battery is easy with the help of CarParts.com.
You won’t have to worry about your new car battery dying on you any time soon — we make sure our products are just as good as your stock parts. Our car batteries are carefully vetted by a team of professionals to guarantee their quality and longevity.
The best part? You don’t even have to leave your home to order a new car battery. Simply use your mobile device or computer to visit our website. Then, fill out our vehicle selector and use the search filters to find direct-fit batteries that match your preferred brand, price, type, and more.
On top of that, our warehouses are strategically located all over the US, so you’ll be able to receive your order within a matter of days. We’ll also help you get the most value for your money with our unbeatable deals and competitive prices.
Check out our catalog and order your new battery today!
Any information provided on this Website is for informational purposes only and is not intended to replace consultation with a professional mechanic. The accuracy and timeliness of the information may change from the time of publication.


