When your air conditioning isn’t working right, things get pretty heated. Okay, it was corny, but we had to make light of the situation – mainly because we understand that having a broken A/C system is the worst. The good news is, once you determine that a faulty A/C condenser is to blame, replacing it isn’t a big deal.
Let’s evaluate a few options and determine what the best course is for you.
Cost of Replacing a Car A/C Condenser
When it comes time to replace your condenser, the price depends on the type of vehicle you have. It’s typical to spend between $200 and $600 for the parts, including refrigerant. If you can’t perform the repair yourself, you are also looking at between $200 and $300 for a mechanic to fix it.
Many times, the car might end up needing more than just a condenser. Don’t be surprised if you find out it needs lines and seals as well.
DIY A/C Condenser Replacement

You are required to use proper recovery and evacuation equipment when working on a car air conditioning system. Releasing refrigerant in the atmosphere is bad for the environment and can lead to chemical burns. For that reason, most A/C repair jobs aren’t meant for DIY projects but rather left for certified professionals to handle.

If you are going to pay attention to anything I say – listen closely to this! Your A/C system is under extremely high pressure. When operating, it runs at several hundred PSI and can cause serious injuries and blindness if the refrigerant gas isn’t contained properly. Not only that, but it is illegal to vent refrigerant gas into the atmosphere. Anyone working on A/C systems must have a license, specialized training and certification.
Replacing the A/C Condenser
If you choose to do the task yourself, here are the tools you need and the steps to take.
Tools required to tackle this task
- Manifold gauge set
- Recovery machine & tank
- A/C line o-rings
- Socket set
- Eye protection
- Condenser
- Refrigerant
- Wrench set

Steps to replace the A/C condenser
Step 1: Discharge and recover the A/C refrigerant. Connect the manifold gauge set. Make sure there are no leaks and all of the connections are tight. You must connect the yellow hose into the recovery machine. Then, attach your blue hose to the low side while the red hose connects to the high side. Make sure that all pressures are checked while the engine runs. Give the machine time to recover all of the refrigerant. When both gauges read zero, the process is complete.
Step 2: Remove any parts in the way of the condenser. This might require removal of the headlights, radiator, mounting brackets, grill or condenser fan. Leave the condenser in place for now.

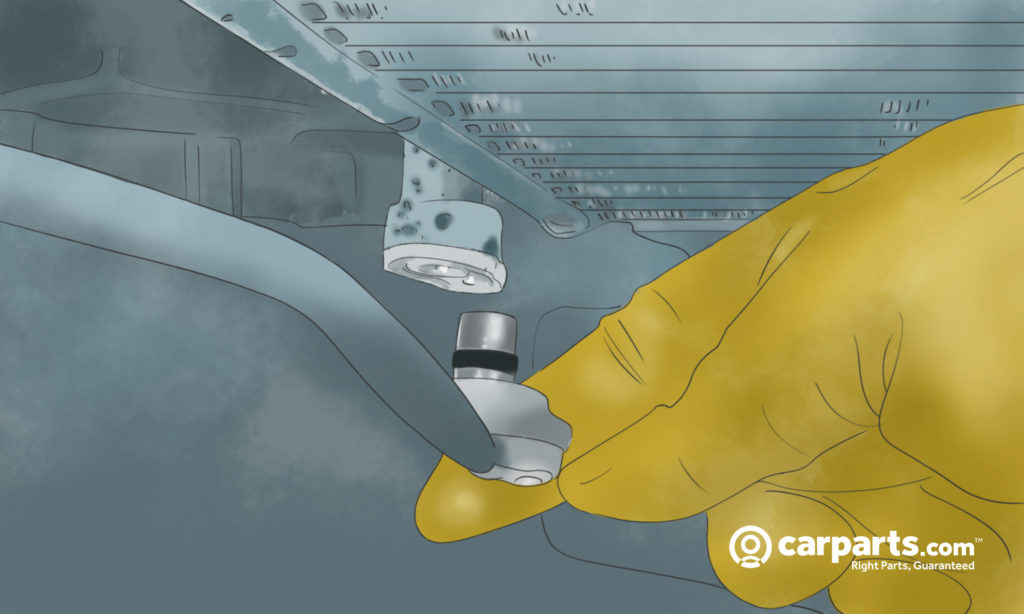
Step 3: Take off the A/C lines that run to the condenser. Make sure you have your eye protection on in case there is any pressure remaining. Remove the o-rings as well.
Step 4: Take off the condenser. Watch that it doesn’t get caught on any hoses or wiring.

Step 5: Install your new condenser. Match up the parts to ensure you have the correct model. The mounting locations should all remain the same. Pour new refrigerant oil into the condenser. Consult your Factory Service Manual for the appropriate amount.
Step 6: Install the A/C lines and replace the o-rings. Make sure your o-rings are coated with oil to ensure a proper seal.

Step 7: Reinstall the remaining parts.
Step 8: Place your A/C system in a vacuum for at least 30 minutes. Once you ensure there are no leaks, you can recharge the system.

Step 9: Recharge the A/C. You must use the right amount of refrigerant for everything to operate correctly. It’s wise to charge your system while running the engine at 1500RPM or more.
Step 10: Check the job. Once the repairs are complete, you want to test the A/C system. Give it at least five minutes to stabilize.

Why A/C Condenser Flush is Almost Always a Bad Idea
Everyone is looking to save money; we get it. There are plenty of places where saving money on your car is a good thing. Any job you can do yourself is a way to avoid paying costly repair bills. BUT, there is one area that I simply can’t recommend saving money – A/C condenser flushes.
Time and time again at the dealership, I listened to customers tell me that their vehicle didn’t need a condenser, but simply a flush. Surely, I didn’t argue with them but gently warned them against the practice.
I won’t lie, there were times when nothing went wrong and the customer drove away happy with their repaired air conditioners. Other times, customers weren’t quite as lucky.
If you need an A/C condenser, take the leap and get one. You don’t want to deal with the cost of what could happen after a flush.

It can’t possibly be that bad, you say. Let me tell you the worst case scenario.
Your A/C system (particularly the condenser) contains debris, solid contaminants and sludge. It’s like the bottom of the barrel of your cooling system. All this trash collects in the low part of the system. When the contaminants are flushed and end up back flowing to other components, you end up with repeat compressor failure or worse.
Just ask Ford how they fared with the FX-15 compressors. They referred to the problems after a flush as “Black Death.” Once the black goo ended up in the entire system, customers had no choice but to replace the condenser along with the orifice tube, compressor, hose assembly and accumulator. Oh by the way, when customers insisted on flushes, it also voided their warranty.
Trying to save a few bucks in this case simply isn’t worth it.
Changing the Condenser Yourself?
With the right tools, a little expertise and plenty of patience, you will have no trouble tackling the condenser replacement yourself. Just do us all a favor and ensure that you are taking steps to protect the environment in the process. A little air conditioning isn’t worth destroying our future for.
Getting a Replacement A/C Condenser
A faulty A/C condenser might not seem like a big deal at first, but it can actually lead to refrigerant leaks, which can cause your entire A/C system to malfunction. Unless you want to deal with a bigger repair bill, you should replace this malfunctioning part as soon as possible. Luckily, getting a new A/C condenser is fast and easy with CarParts.com.
CarParts.com offers a wide selection of high-quality A/C condensers sourced from only the most trusted manufacturers in the industry. Thanks to our vehicle selector and search filters, you can place an order with just a few clicks. If you need any help with your order, don’t be afraid to reach out to our customer service team, who offer 24/7 support.
Don’t wait until your faulty A/C condenser hampers your entire A/C system before replacing it. Check out our catalog of high-quality A/C condensers at CarParts.com and get one today!
Products Mentioned in this Guide
Any information provided on this Website is for informational purposes only and is not intended to replace consultation with a professional mechanic. The accuracy and timeliness of the information may change from the time of publication.


 A/C Condenser
 A/C O-Ring


