Changing a set of brake discs is usually one of the easier automotive repairs. Many people attempt a brake job shortly after learning how to perform other basic tasks, such as changing engine oil.
But that’s not to say brake disc replacement should be taken lightly. Your vehicle will be unsafe if the job is done incorrectly. Don’t take any chances unless you’re 100% sure you know what you’re doing.
Front Brake Disc Replacement Costs
If you decide to have a professional replace your brake discs, which is a smart move if you’re uncertain of your mechanical prowess, expect to pay anywhere from $200-$500. The job can be even more costly if you have a high-end luxury or performance car.
Should you decide to tackle the job yourself, expect to pay anywhere from approximately $20 to $100 for each rotor. Keep in mind: Most professionals recommend replacing the brake pads at the same time you replace your rotors. Check out our brake pad replacement article for related information.
What Tools Do You Need to Replace Your Front Brake Discs?
The tools needed to replace a set of front brake rotors vary, depending on what type of car you have. But, in general, you’ll need:
- Brake fluid
- Breaker bar
- C-clamp or disc brake spreader
- Dead-blow hammer
- Fluid extractor or oil suction gun
- Impact driver (only needed on some vehicles)
- Jack and jack stands
- Large screwdriver or pry bar
- Ratchet and appropriate size sockets (some calipers may require a Torx or Allen head-style socket)
- Safety glasses
- Torque wrench
- Wheel chocks
Should You Do the Job Yourself?
We’re talking about your brakes here. If you have any doubts about tackling the job—don’t do it yourself. Let a professional complete the work instead.
On the other hand, if you’re savvy with a wrench, brake disc replacement is usually a fairly simple task.
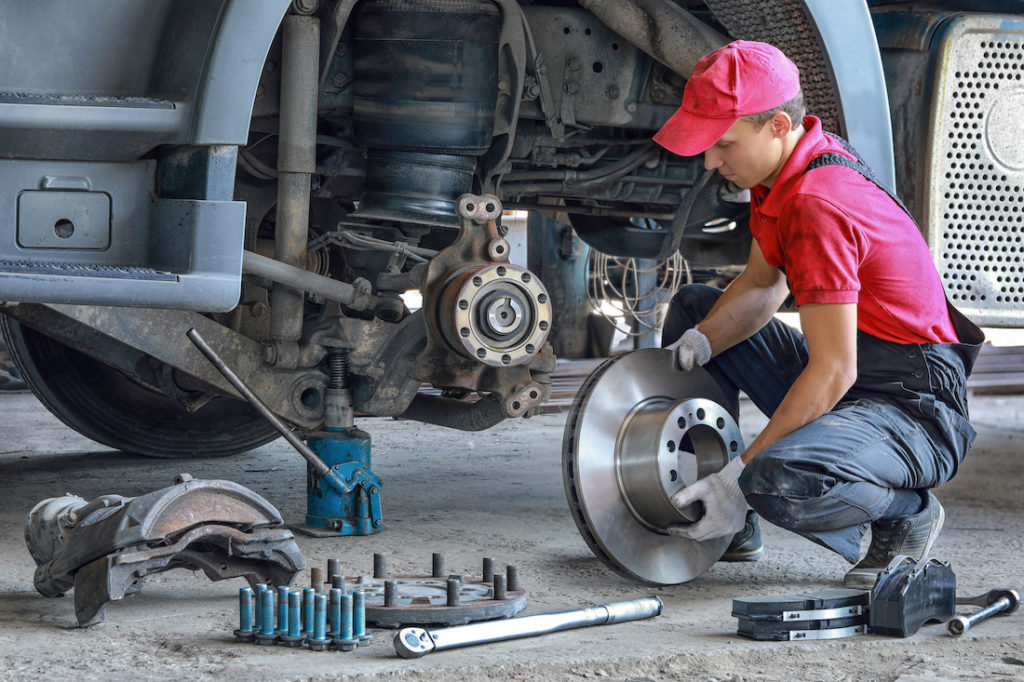
Front Brake Disc Replacement
Now we get to the fun part: brake disc replacement. Are you ready to grab a wrench and get dirty? Good.
Before we start, however, keep in mind that all vehicles are different. Be sure to follow the repair information for your specific application. Repair manuals, such as those from Chilton, are useful but an ALLDATA subscription is even better. ALLDATA has single-vehicle subscriptions for DIYers that provide detailed factory repair information.
Note: The following are general guidelines for educational and entertainment purposes only. Consult your vehicle’s factory information for specific repair instructions and recommended safety procedures.
How to Remove Front Brake Discs
- Put on your safety glasses.
- Use a breaker bar to loosen the wheel lug nuts. Do not remove the nuts completely at this time.
- Safely raise and support the vehicle using a jack and jack stands. Chock the rear wheels and set the parking brake.
- Remove the lug nuts by hand. Then remove the wheel and tire assembly.
- Remove the caliper mounting bolts. Do NOT unbolt the brake hose going to the caliper. You’ll let air into the hydraulic system if you do.
- Free the caliper by pulling it up and away from the rotor. If the caliper is stubborn, you may need to use a large screwdriver or pry bar to help free it.
- Use either a zip tie or a bungee cord to secure the caliper to the steering knuckle or another sturdy suspension component. Do not allow the caliper to dangle from the brake hose—damage may result.
- Remove the brake caliper mounting bracket (if so equipped).
- Remove the brake rotor by pulling it straight out and away from the wheel hub. If the rotor is stubborn, hit it from behind with a dead-blow hammer.
Some rotors also have a hole that accepts a bolt. Inserting a bolt of the right size and pitch, and then tightening it down, will help push the rotor away from the wheel hub.
Note: Some vehicles have screws securing the rotor in place. The screws must be removed before the rotor can be pulled away from the hub. Using an impact driver is the best way to do this—the screws are difficult to remove with a regular screwdriver.
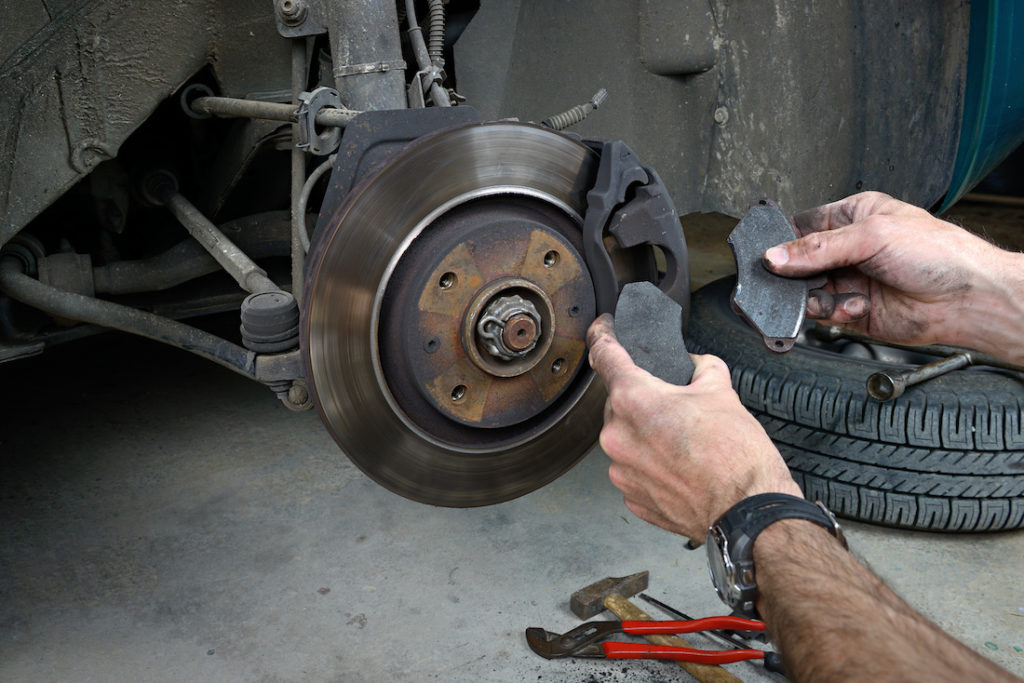
How to Install Front Brake Discs
- Compare the new brake rotors to the old brake rotors to be sure both are the same design.
- Remove the brake pads from the caliper and use a C-clamp or disc brake spreader to push the caliper piston back in its bore. While doing this, keep an eye on the master cylinder to ensure the fluid doesn’t get pushed out of the reservoir. If necessary, remove a small amount of fluid from the reservoir using a suction gun or fluid extractor. Do not remove all of the fluid from the master cylinder—that will allow air to enter the hydraulic system.
- Install the new brake pads into the caliper or reinstall your old pads if you’re reusing them.
- Install the new brake rotor on the wheel hub.
- Reinstall the caliper mounting bracket (if so equipped). Use a torque wrench to tighten the mounting bracket bolts to the manufacturer’s specification.
- Position the caliper over the rotor.
- Use a torque wrench to tighten the caliper mounting bolts to the manufacturer’s specification.
- Top off the master cylinder reservoir if you extracted fluid during step #2.
- Reinstall the wheel/tire assembly on the lug nuts.
- Using a ratchet and socket, tighten the lug nuts until they’re snug.
- Safely remove the jack stands and lower the vehicle.
- Use a torque wrench to tighten the lug nuts to the manufacturer’s specification.
- Warning: Before driving the vehicle or taking the transmission out of park, pump the brakes several times to ensure they feel firm. Your car will have little to no braking ability until the brakes are pumped, allowing the caliper piston to return to its original position.
First, pump the brakes with the engine off. Then start the engine (transmission in park and the emergency brake set) and pump the brakes again. DO NOT drive the car until the brakes feel solid.
Watch this video to understand how to replace your brake disc:
Front Brake Disc Replacement Tips
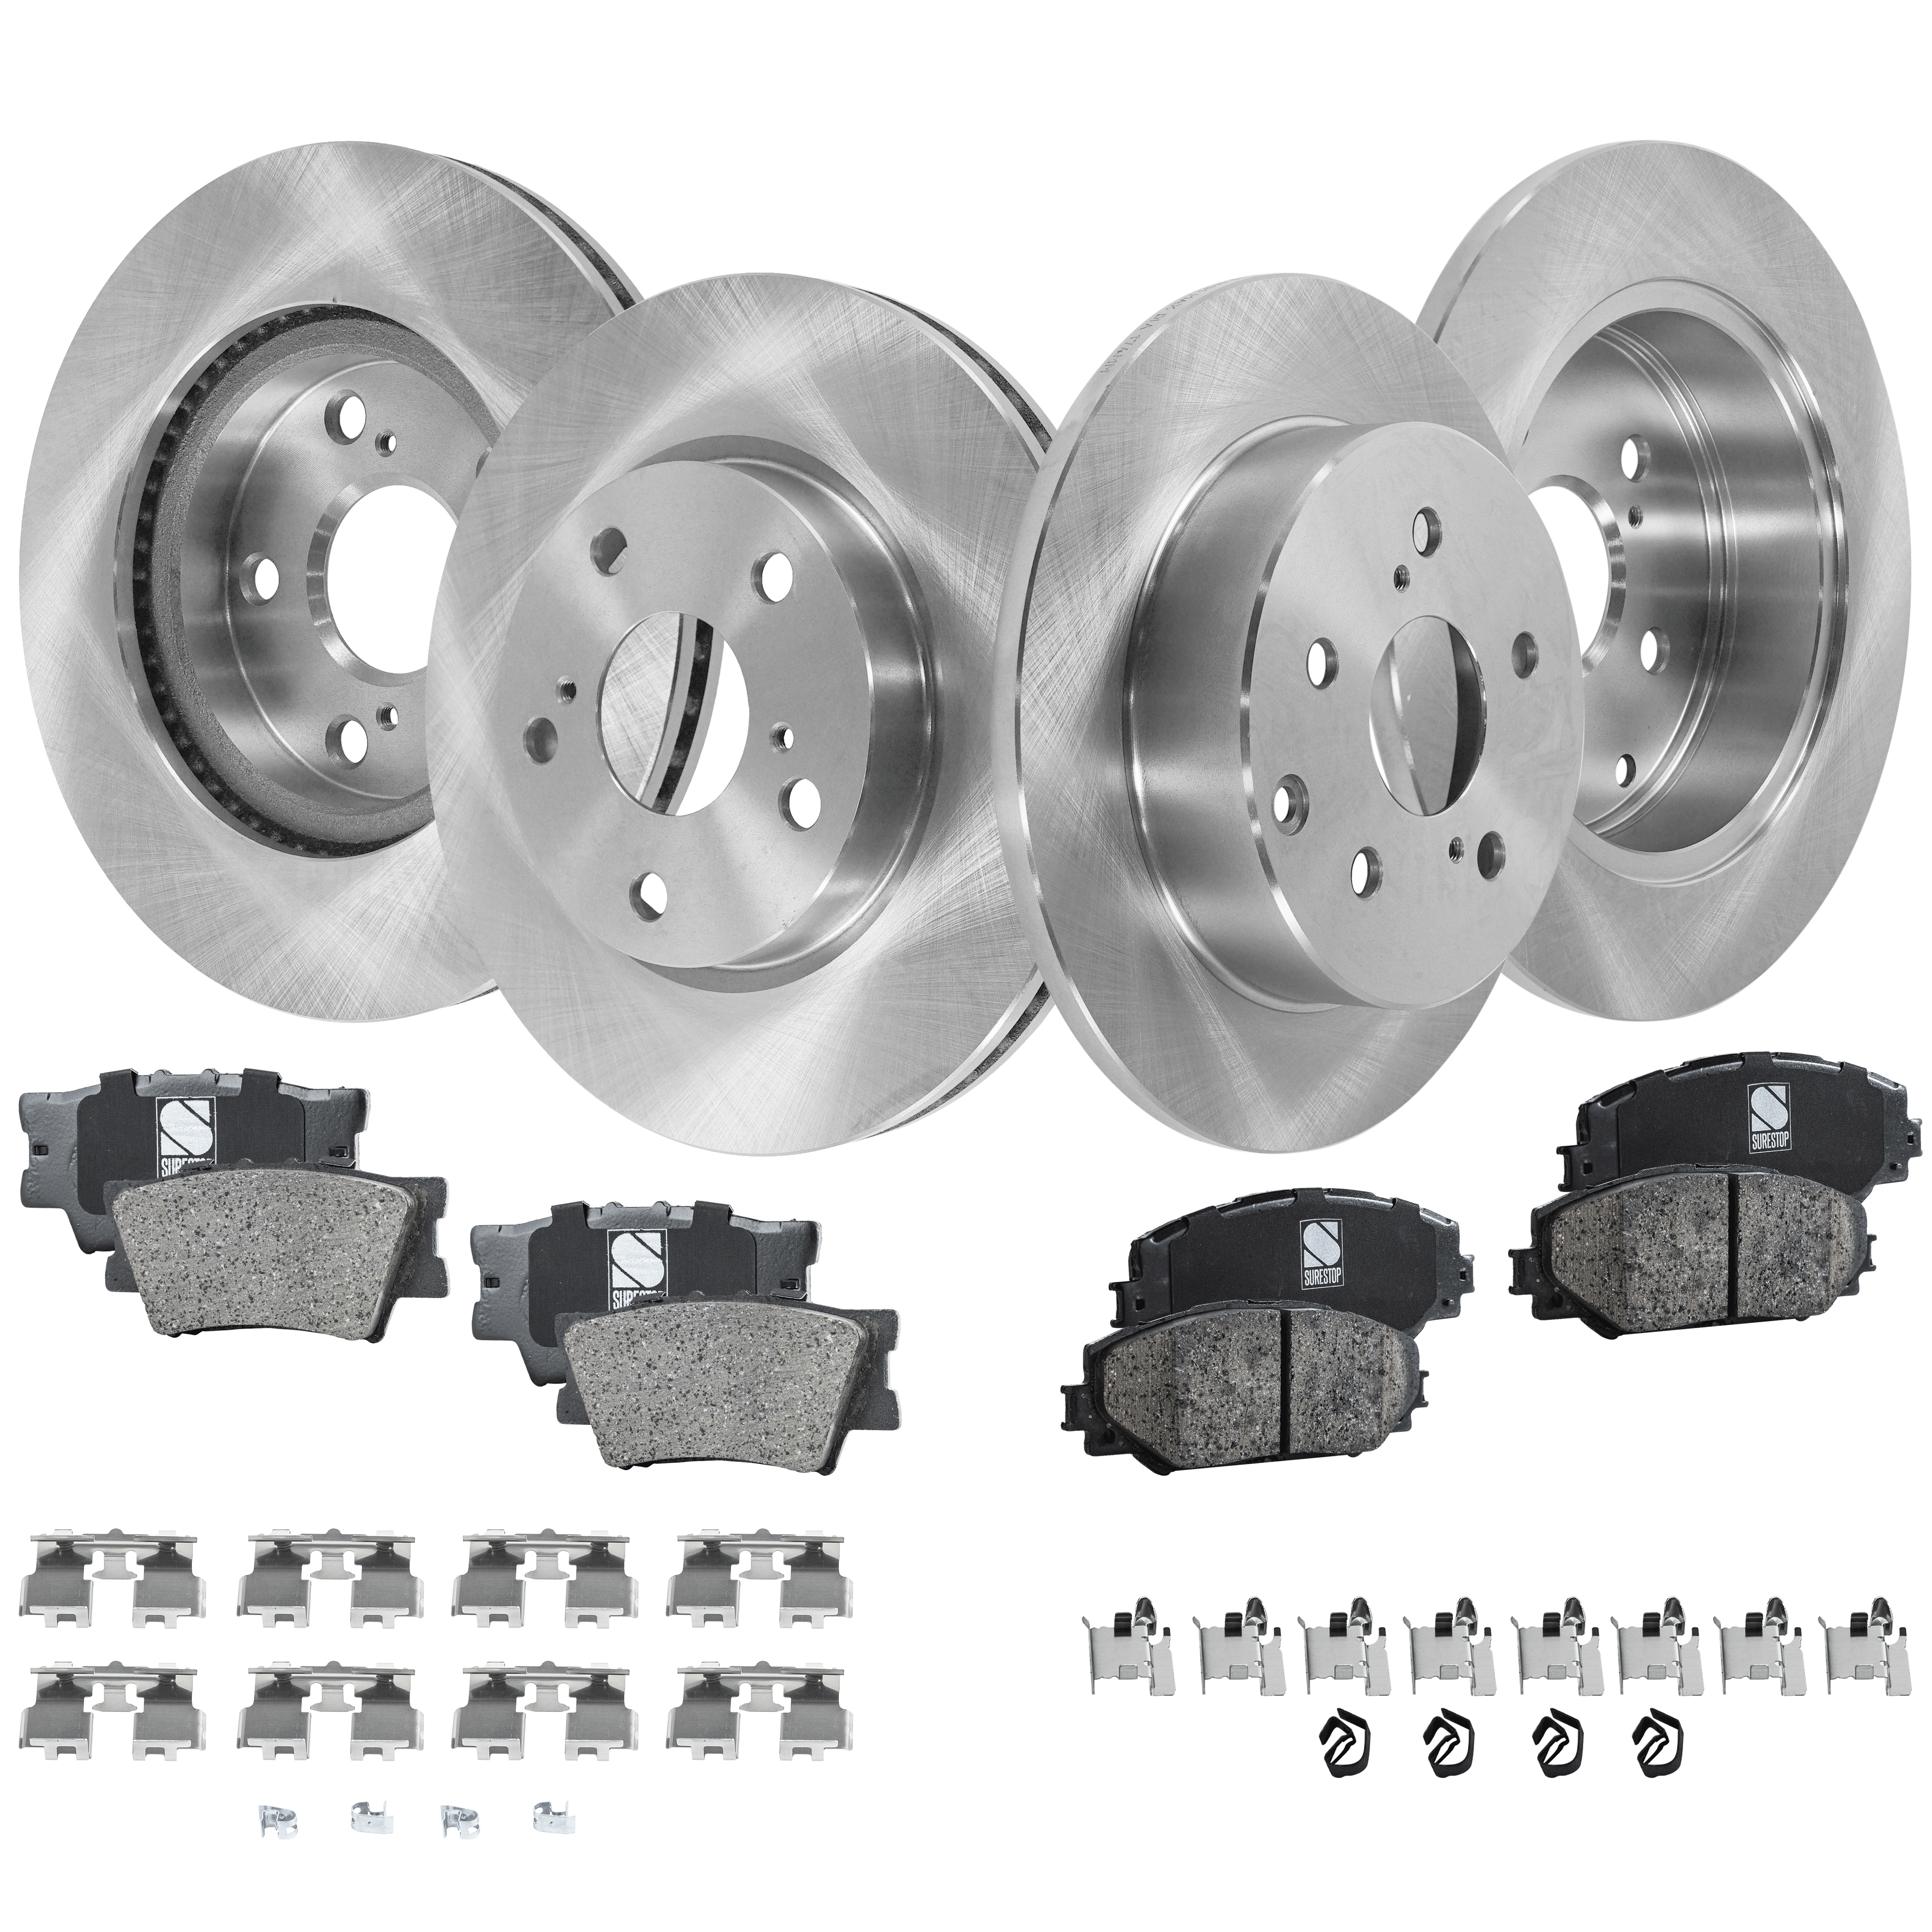
It’s highly recommended to replace both your brake discs and brake pads at the same time. The brake discs should always be replaced as a pair, as well.
Getting a Replacement Brake Disc
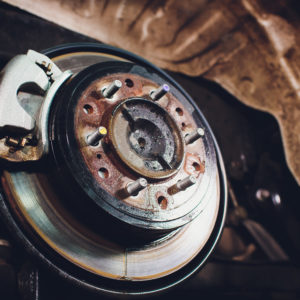
Driving around with worn brake discs is a recipe for disaster. Brake discs help stop and slow down your car. If they’re damaged, your vehicle will probably take longer to stop, increasing your stopping distance. This makes your brakes unpredictable and places you at greater risk of getting into an accident. Replacing them should be your top priority. Luckily, getting new brake discs is fast and easy with CarParts.com.
CarParts.com offers a wide selection of brake discs, sourced from only the most trusted manufacturers in the industry. Thanks to our accurate and detailed fitment information, you can easily find brake discs that fit your vehicle. Our customer service team also offers round-the-clock support, so don’t hesitate to reach out if you need any help.
Replace damaged brake discs right away. Check out our catalog of high-quality brake discs at CarParts.com and buy yours today!
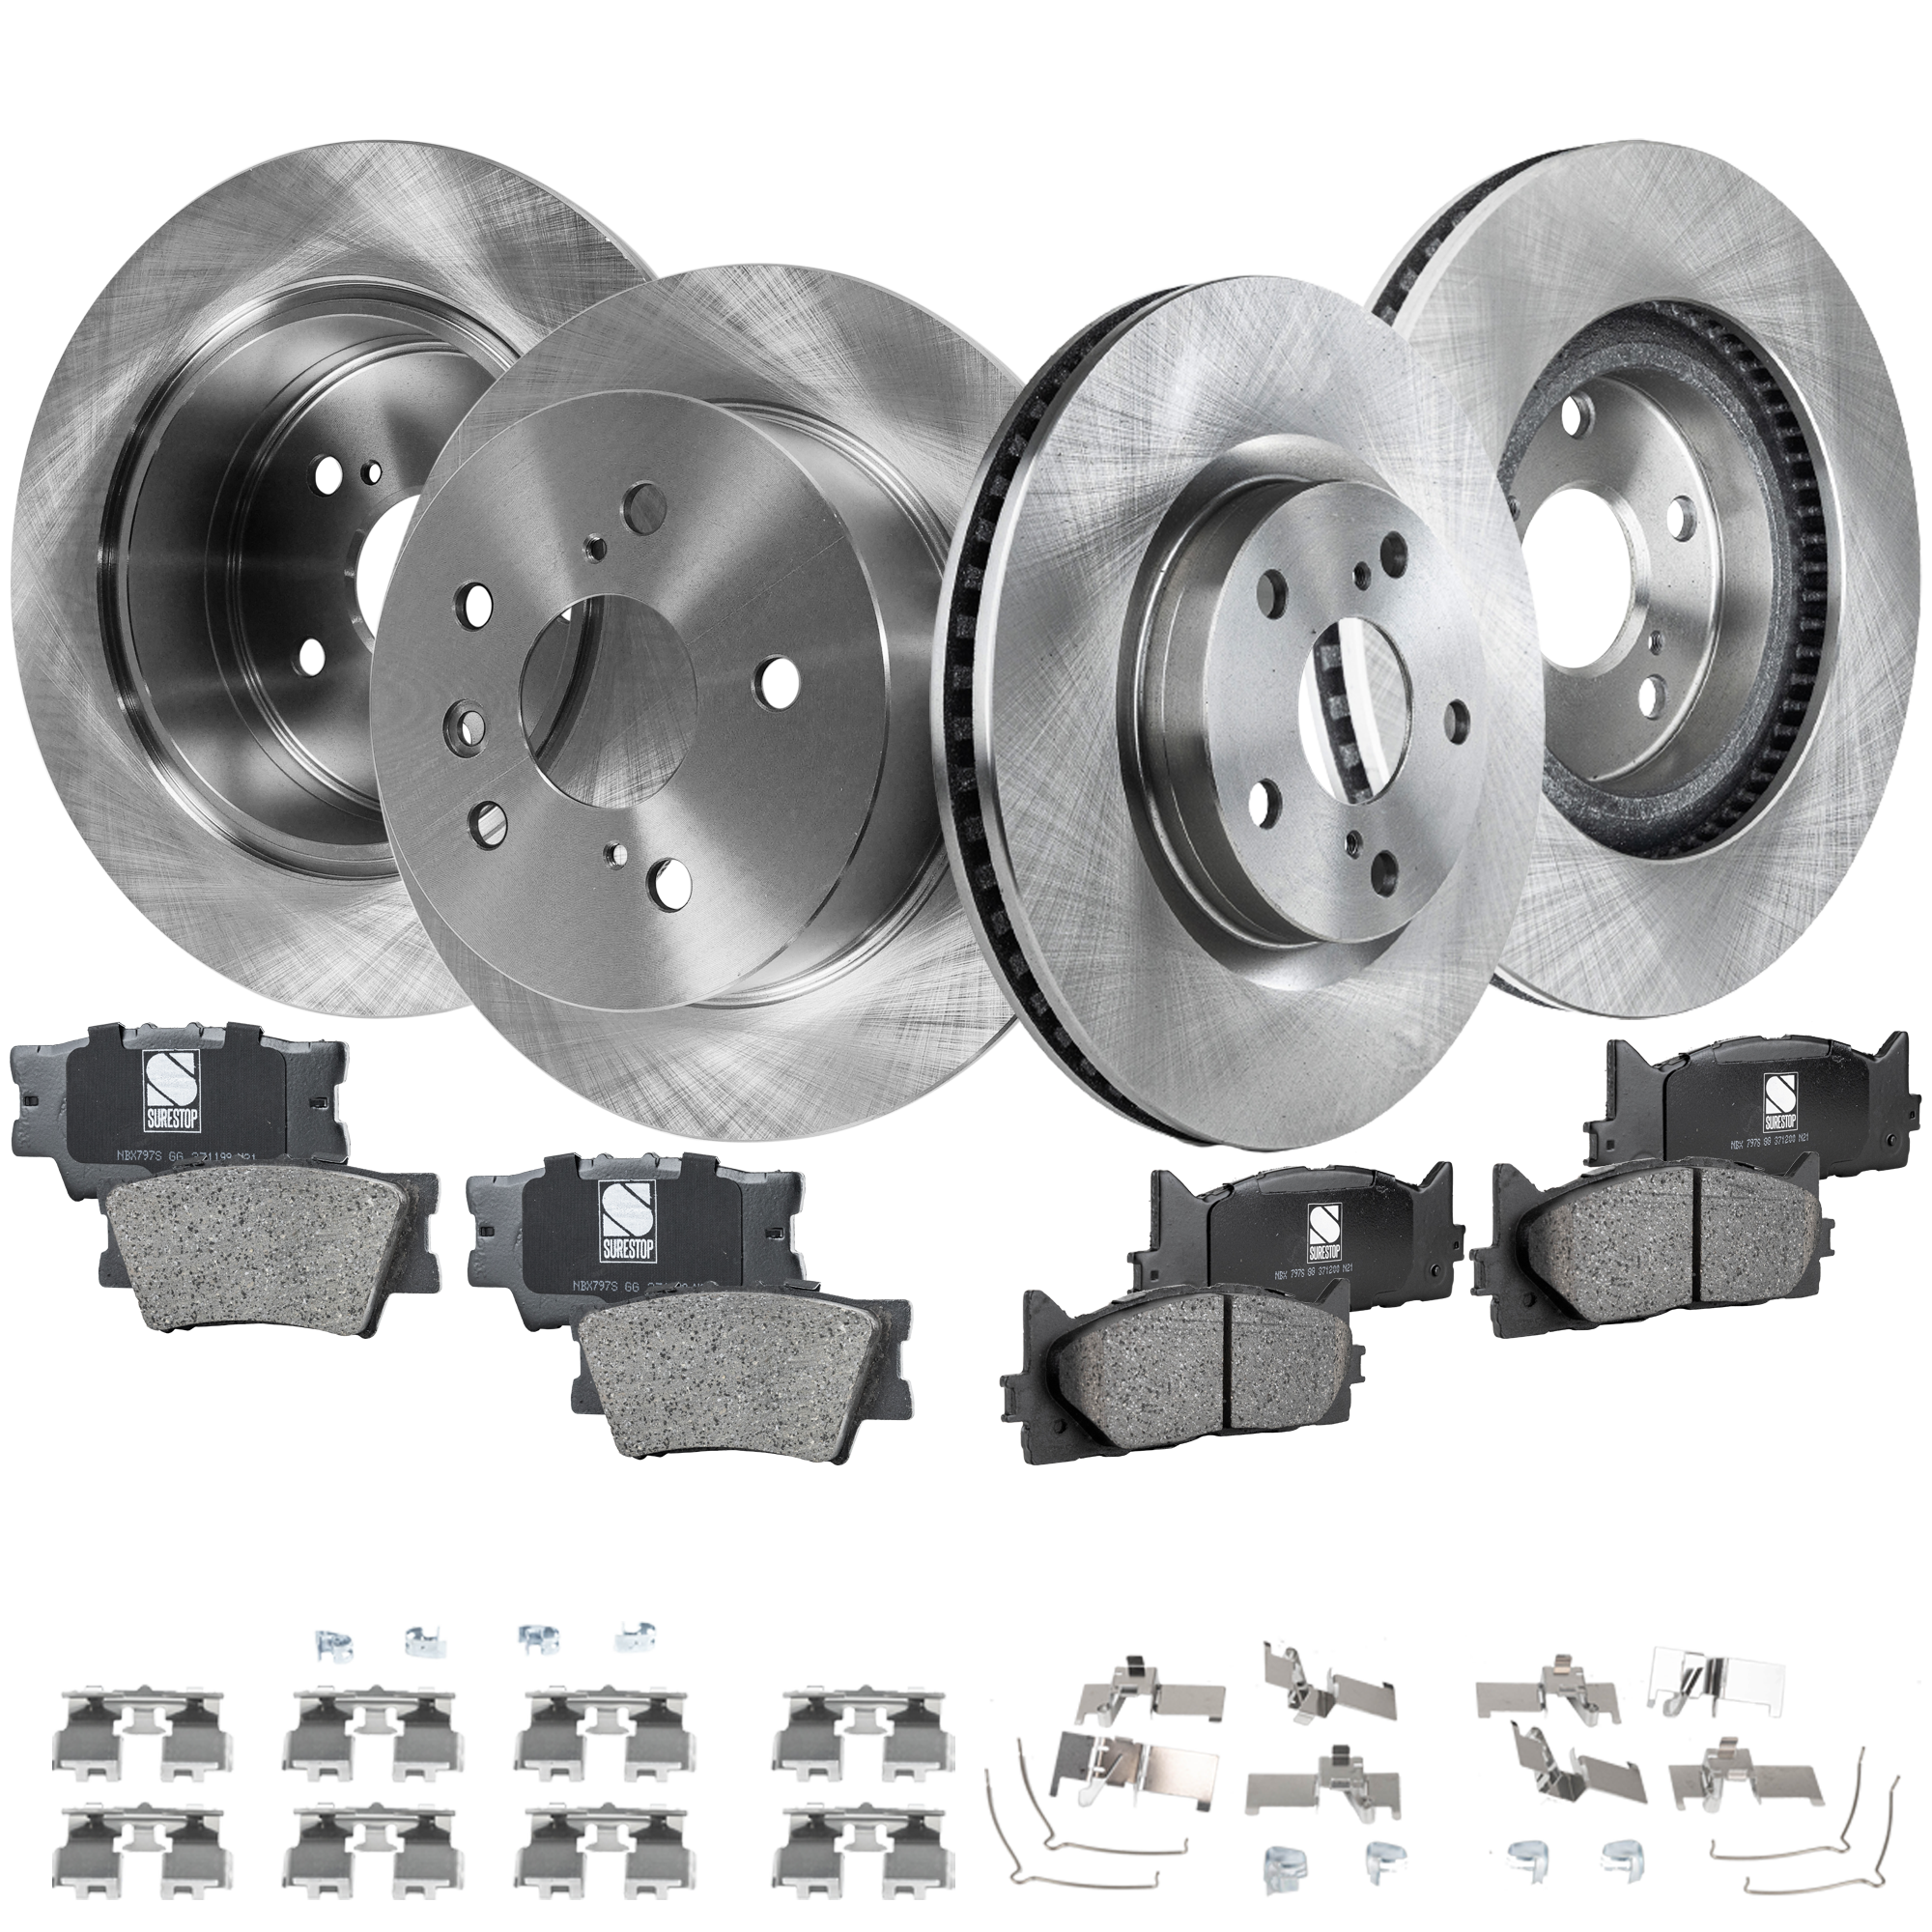
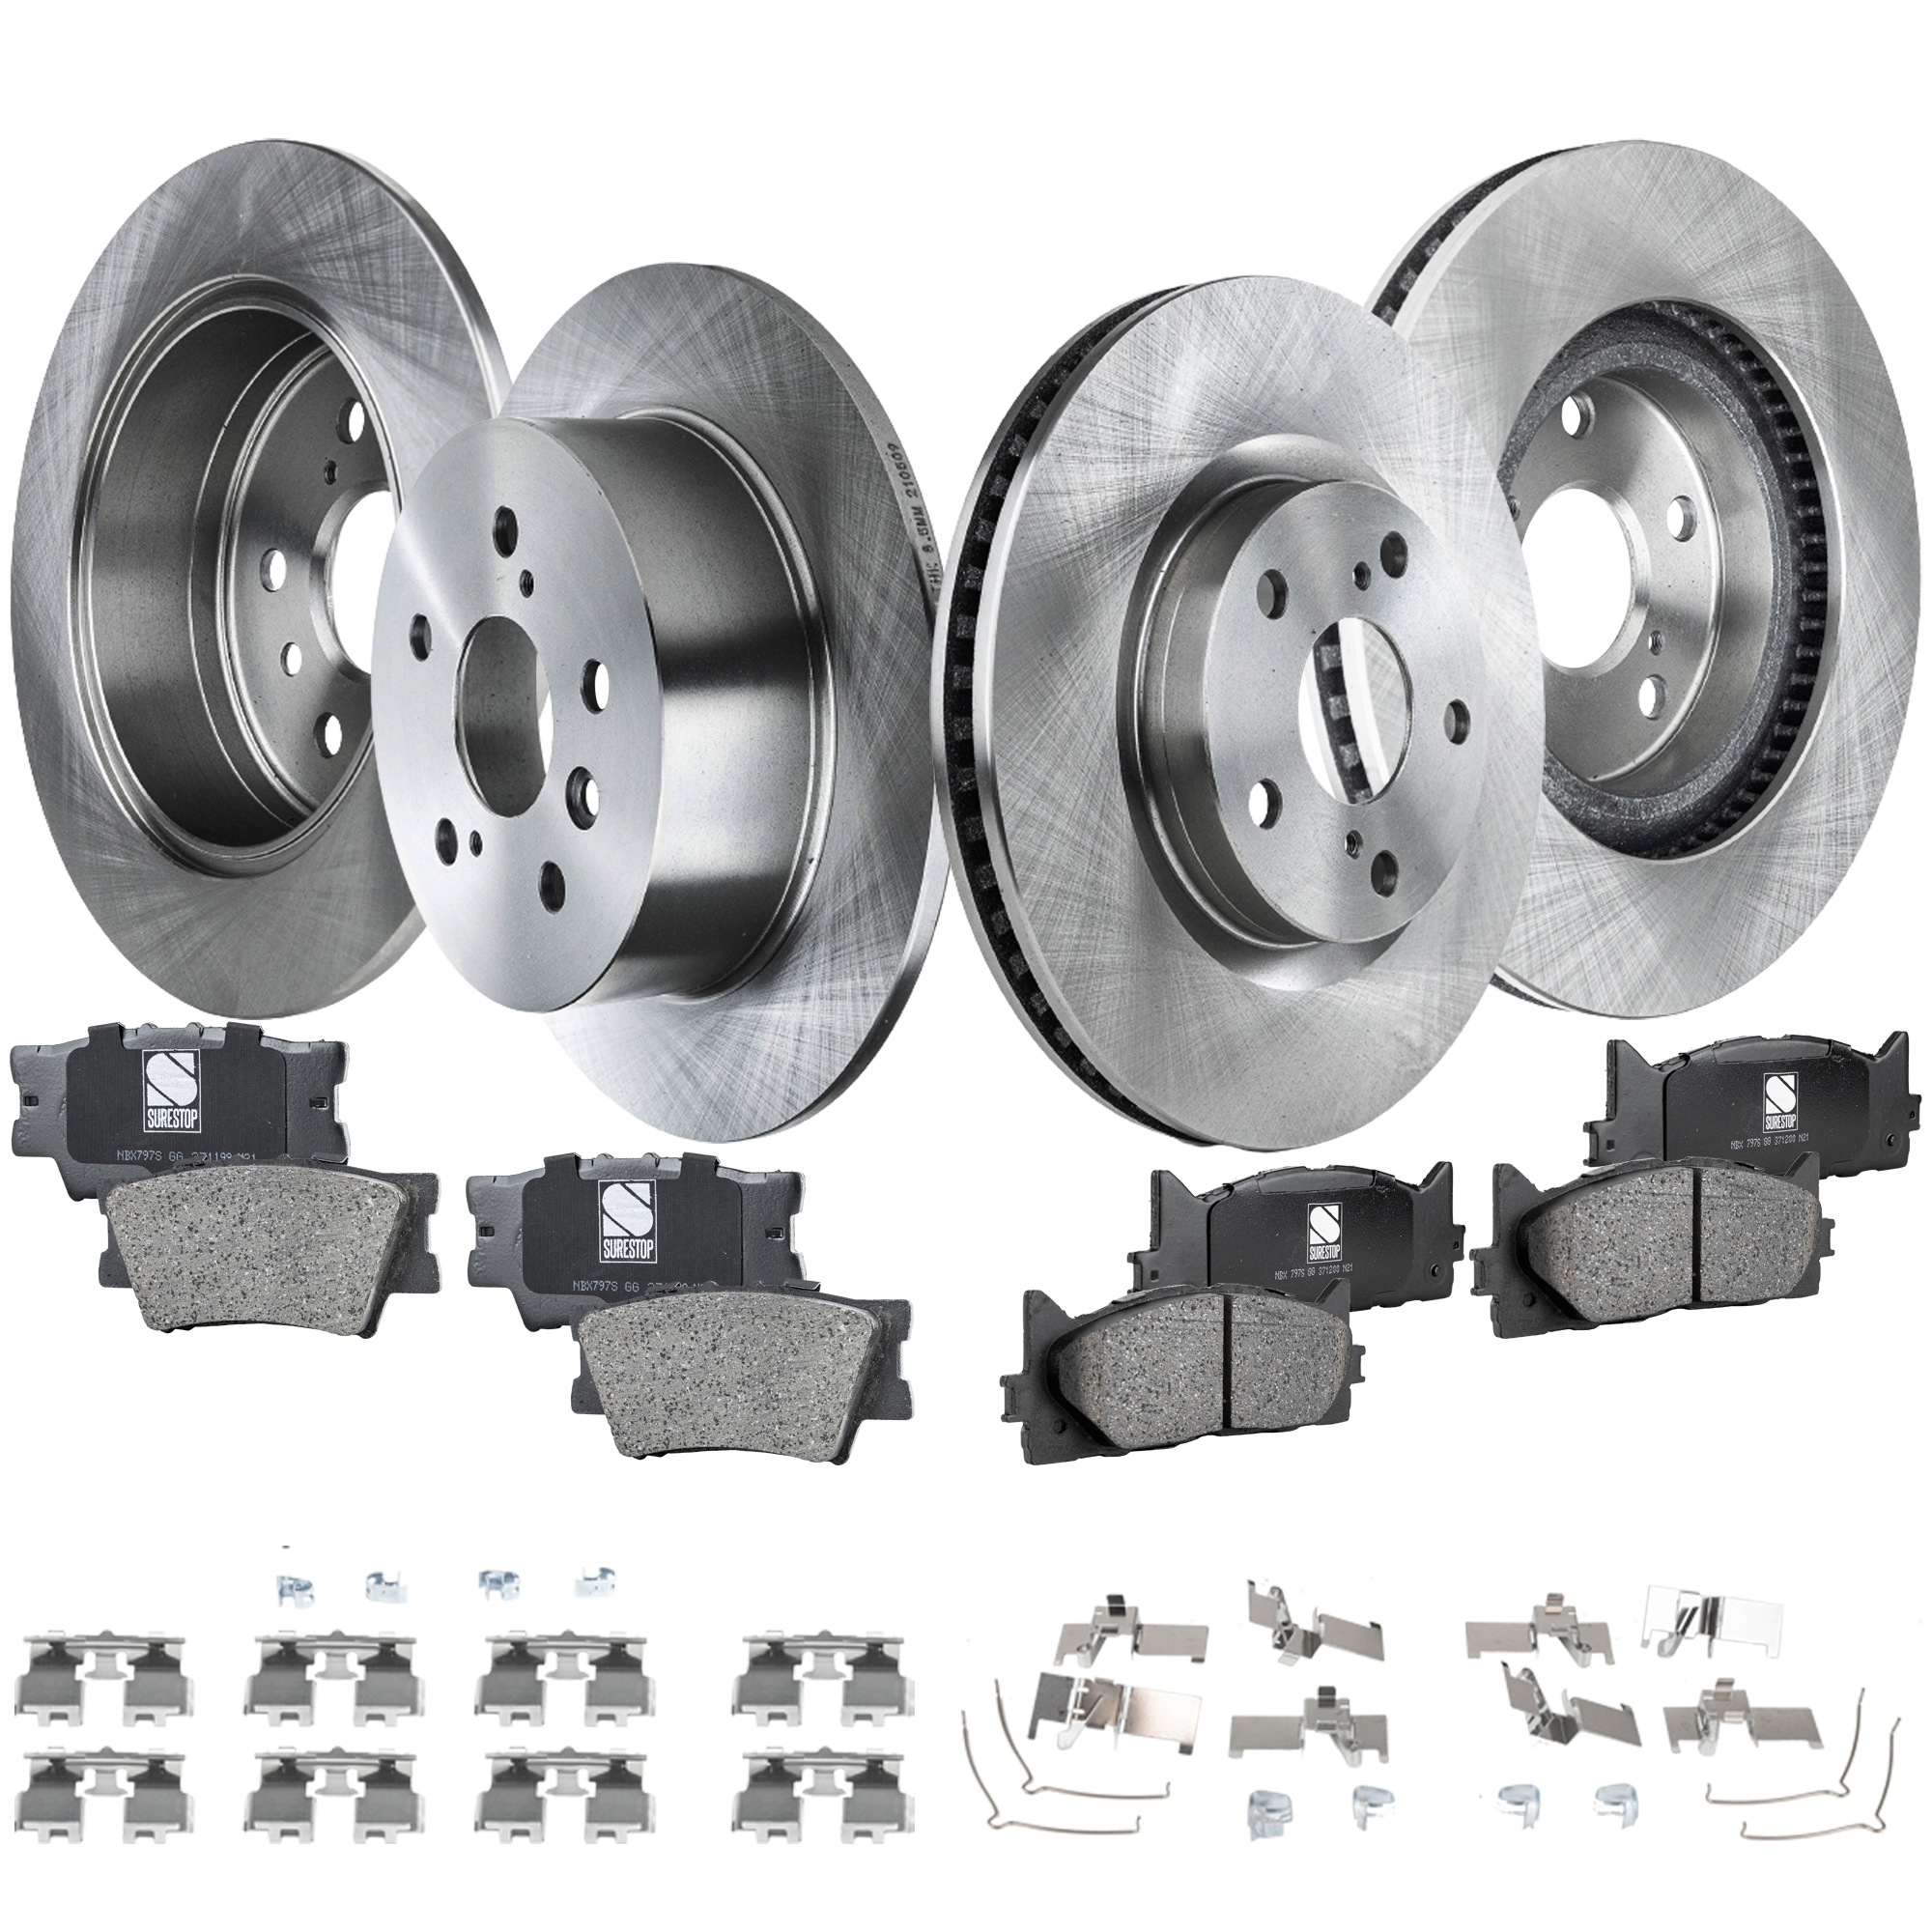
Shop this Project


Keep Reading: Related Posts


Any information provided on this Website is for informational purposes only and is not intended to replace consultation with a professional mechanic. The accuracy and timeliness of the information may change from the time of publication.