Has one of your car’s windows fallen down inside the door? Or maybe the window binds when you try to roll it up and down? If so, then you, my friend, may have a bad window regulator.
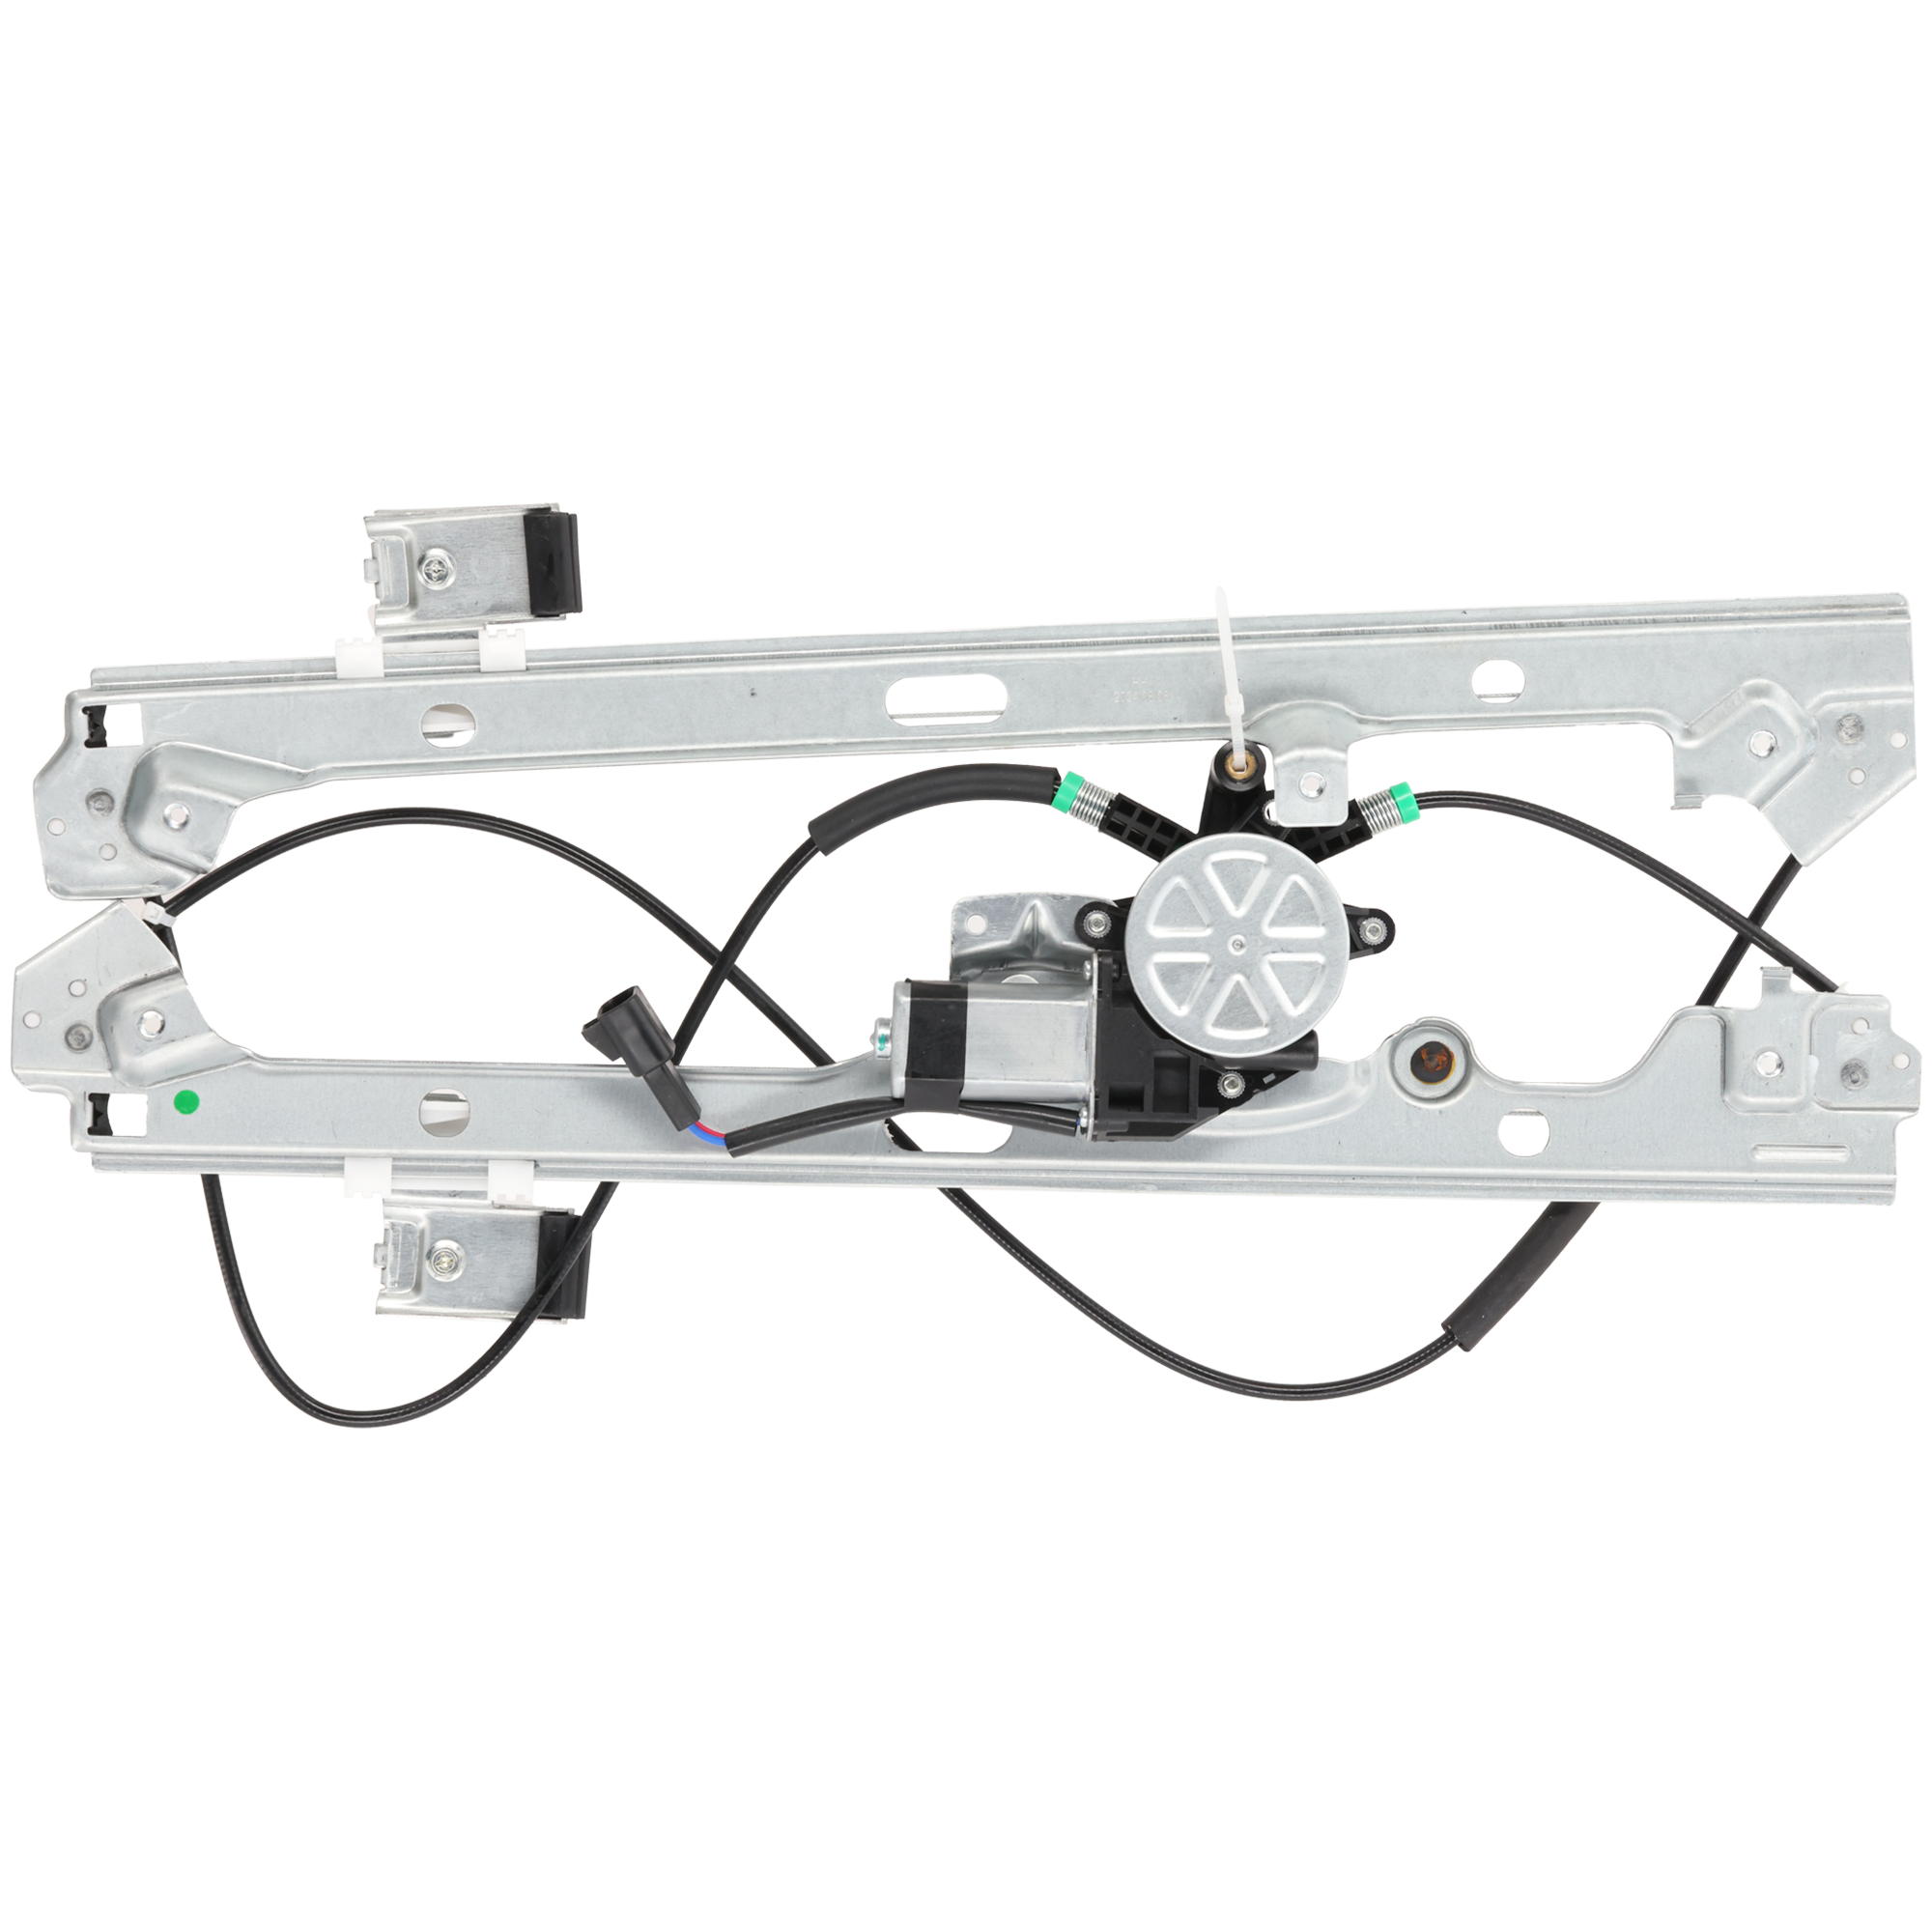
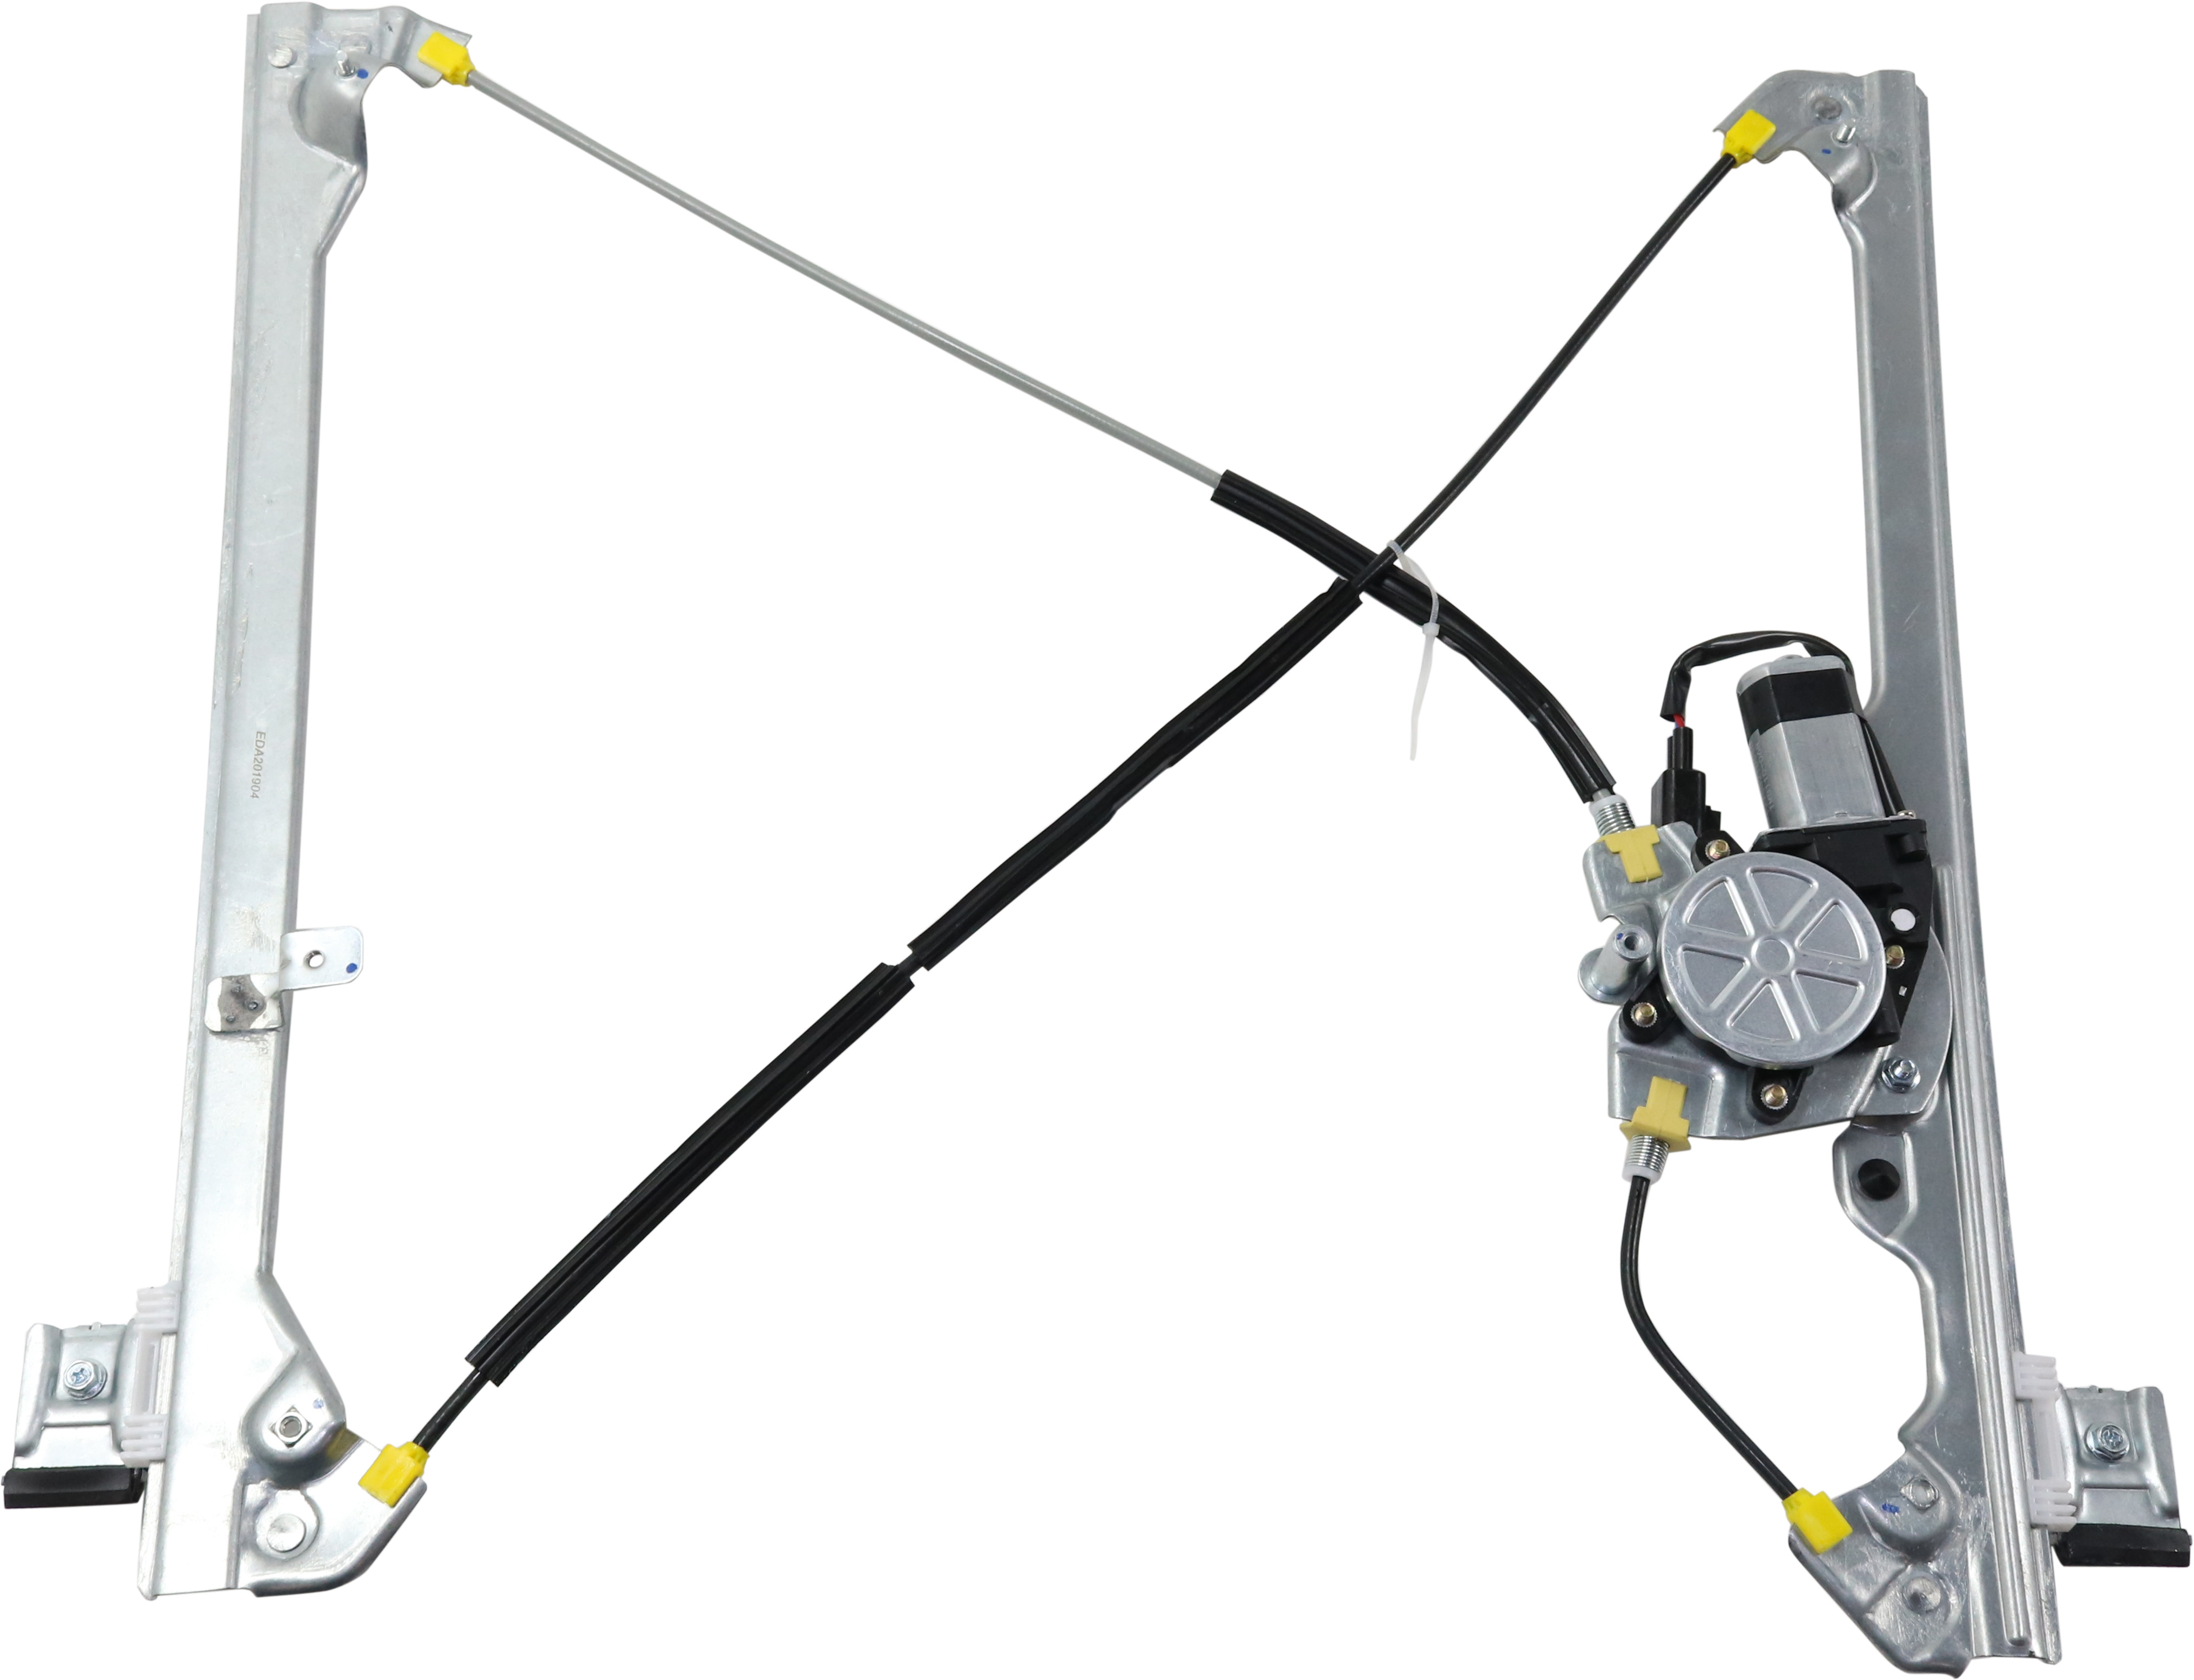
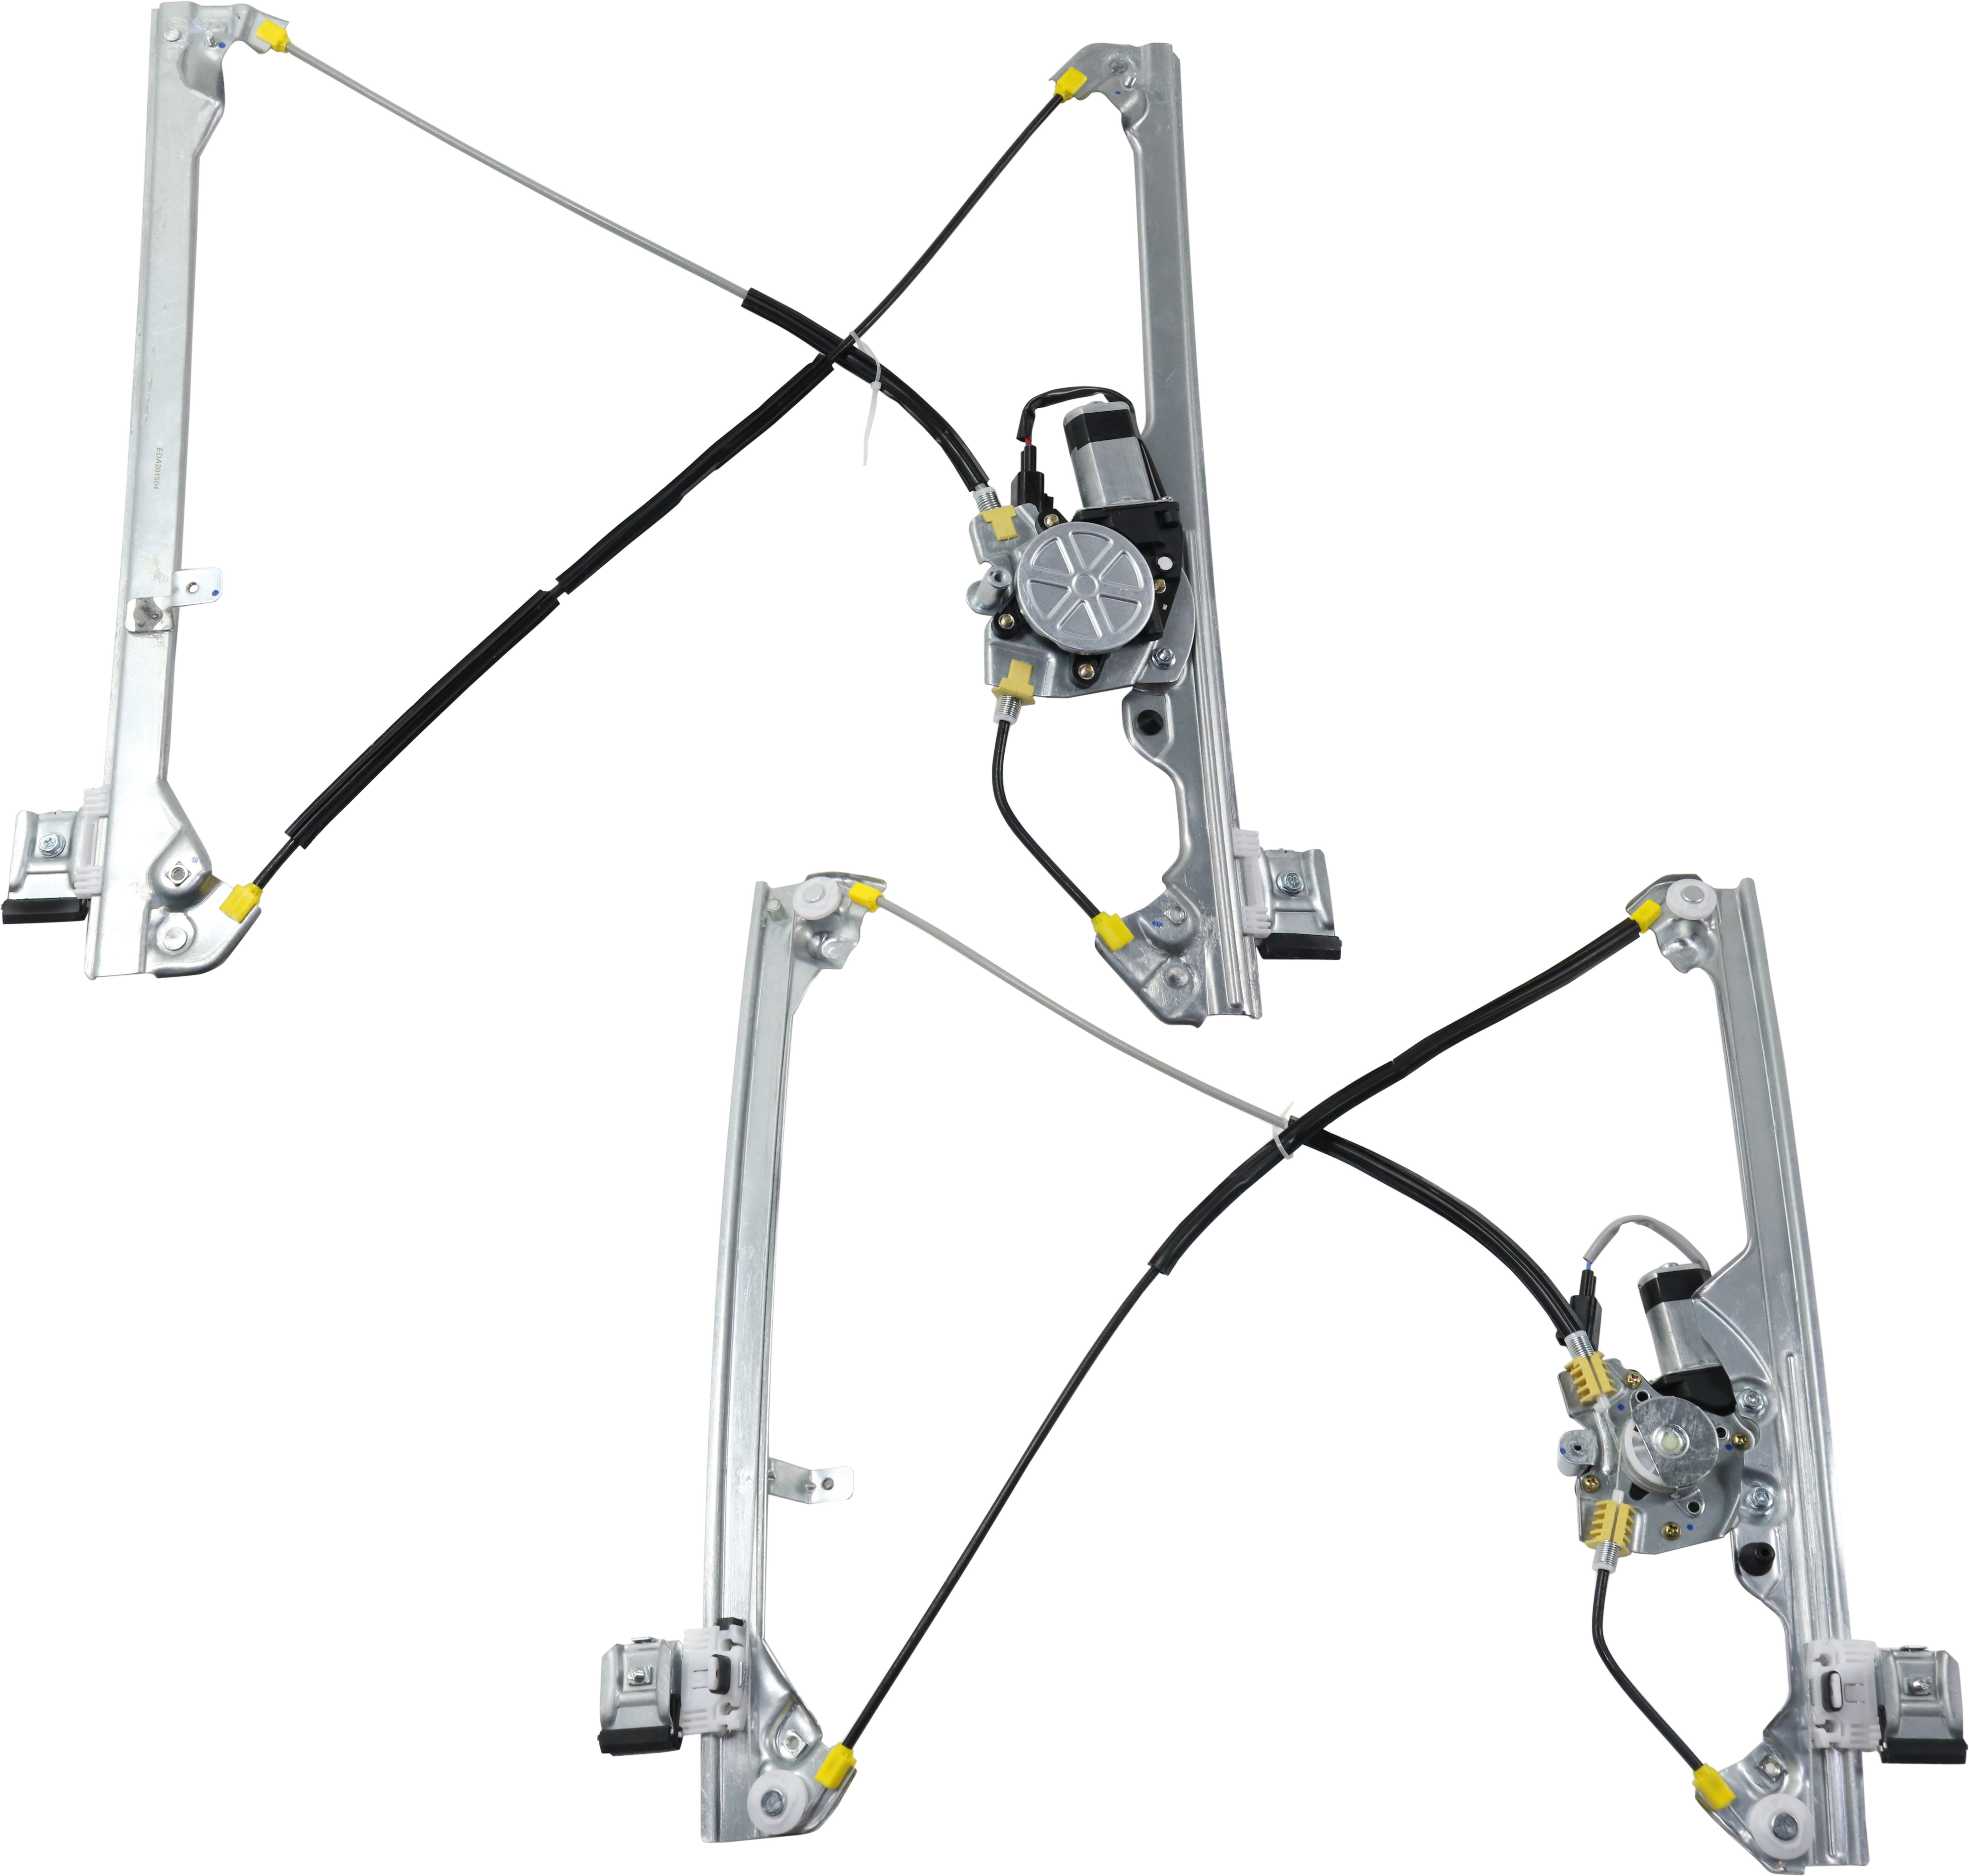
A window regulator is the device that raises and lowers the window glass. Some regulators have a scissor-type design, while many others consist of a cable and a sliding bar. In most instances, the regulator is directly attached to the power window motor, and the two components form a single assembly.
When your vehicle’s regulator fails, the window will either be difficult to operate or will stop working altogether. So, you’ll want to fix the problem right away—with the help of this window regulator replacement guide.

Window Regulator Replacement: How-To
Replacing a window regulator was once a relatively easy task. Nowadays, however, the job can leave you frustrated—especially if you don’t consult the factory repair information before jumping in.
Many modern vehicles require a window initialization after the regulator is replaced. Failing to perform the initialization procedure, which varies by vehicle, may result in a power window that doesn’t work properly.

The initialization process usually involves moving the window completely up, then moving it completely down, and holding it in position for a certain amount of time. The exact steps will vary depending on the type of vehicle you have. You’ll need to consult a repair manual or repair database to determine the correct procedure (if there is one) for your application.
Manuals, such as those from Chilton, are good, but a subscription to a repair database (e.g., ALLDATA or Mitchell 1 DIY) is even better. You can find more information on accessing quality repair information in our article on repair manuals.
In the information below, we’re going to discuss what window regulator replacement typically involves.
Note: The following are general guidelines for educational and entertainment purposes only. Consult your vehicle’s factory information for specific repair instructions and recommended safety procedures.
Tools Needed to Replace a Window Regulator
Before we get to the list of tools that you should have on hand, you will of course need a new window regulator to replace the faulty one. We recommend that you check out our wide variety of Replacement window regulators to find the right one for your needs.

The tools needed to replace a window regulator will vary, depending on what type of car you have.
In general, however, you’ll need:
- Drill (some vehicles)
- Fabric tape
- Interior trim removal tools (optional)
- Piece of wood or something similar (to use as a window support)
- Ratchet and socket set
- Repair manual or access to a repair database
- Rivet gun and rivets (some vehicles)
- Safety glasses
- Screwdrivers
- Torque wrench
- Window crank handle removal tool (cars with manual windows only)
- Wrenches
Window Regulator Replacement Instructions
Now we get to the fun part—replacing the window regulator. Usually, the motor and regulator are connected together to form a single assembly. The following steps will give you an idea of what removing that assembly typically entails.

Window Regulator Removal:
- Put on your safety glasses.
- Raise the window to the closed position and use fabric tape to secure the window to the door.
- Remove the door panel. Usually, to remove the panel, you’ll need to do the following:
-Remove the mirror mount cover.
-Remove the inner door handle cap and the door handle.
-Remove the power window and door lock switch assembly.
Note: If your car has manual windows, use a window crank handle removal tool to remove the crank.
-Remove the armrest.
-Remove the door panel itself. Start by detaching the retaining clips, then pull the door panel up and away from the door. It helps to use an interior trim removal tool when performing this step. - Remove the water deflector from the door panel. Usually, the deflector is held in place by adhesive, and all you need to do is pull it away from the door.
- Have an assistant temporarily hold the window in place. Then, use a wrench to remove the window guide-to-regulator mounting bolts.
- Place a piece of wood (or something similar) under the window to act as a support.
- Disconnect the window motor’s electrical connector.
- Use a ratchet to remove the window regulator assembly mounting bolts.
Note: On some vehicles, the window regulator and motor are held in place by rivets, rather than bolts. You must use a drill to drill out the rivets. - Remove the window regulator by sliding it out through one of the openings in the door.
- If the new regulator does not come with the power window motor, you’ll need to separate the two components, then set the motor aside.

Window Regulator Installation:
- Compare the new window regulator to the old window regulator to ensure that they share the same design.
- If necessary, transfer the old window motor over to the new regulator assembly. Use a torque wrench to tighten the motor’s mounting fasteners to the manufacturer’s specification.
- Slide the regulator assembly through the opening in the door.
- Have an assistant temporarily hold the window in place. Then, remove the wooden block and the fabric tape. Lower the window onto the guide portion of the regulator.
- Use a torque wrench to tighten the regulator-to-guide mounting bolts to the manufacturer’s specification.
- Reconnect the power window motor’s electrical connector.
- Use a torque wrench to tighten the window regulator assembly mounting bolts to the manufacturer’s specification.
Note: On vehicles where the original regulator was held in place by rivets, you can either secure the new assembly with rivets, or you can use small nuts and bolts instead.
- Temporarily reinstall the power window switch assembly. Operate the window to verify that it now works as it should. Once you’re done, disconnect and remove the switch assembly.
- Reinstall the water deflector.
- Reinstall the door panel.
- If the window requires initialization, follow the procedure outlined in the manufacturer’s repair information.
Here’s a video demonstrating what window regulator replacement typically involves. The vehicle in the video does not require a window initialization, but many newer vehicles do.
How To Get a Quality Window Regulator for Your Vehicle
Ignoring a faulty window regulator is never a good idea. Malfunctioning window regulators can damage the motor and glass panel, which can lead to costly repairs. Your power windows might get stuck too, leaving your window wide open and allowing thieves and intruders to access your vehicle. For your own safety, you should replace bad window regulators as soon as possible. Luckily, you can easily get replacement window regulators at CarParts.com.
With strategically located warehouses around the US, CarParts.com guarantees fast shipping. You can even expect your new window regulators to arrive in as fast as two business days if you order by 12 p.m. ET. Placing an order takes just a few clicks, so you can skip the hassle of confusing interfaces, thanks to our easy-to-navigate website.
Don’t wait for intruders to realize your window regulators are faulty before replacing them. Check out our wide selection of quality window regulators at CarParts.com today.
Shop this Project


Any information provided on this Website is for informational purposes only and is not intended to replace consultation with a professional mechanic. The accuracy and timeliness of the information may change from the time of publication.


