Is your heater blowing cold air? There are several potential causes for this concern, one of which is a clogged heater core. In some instances, you may be able to back-flush the heater core to restore the heater’s performance.
Back-flushing the heater core is much easier than replacing it. Also, back-flushing is relatively inexpensive, as long as you have the necessary tools and equipment on hand.
How to Back-Flush a Heater Core
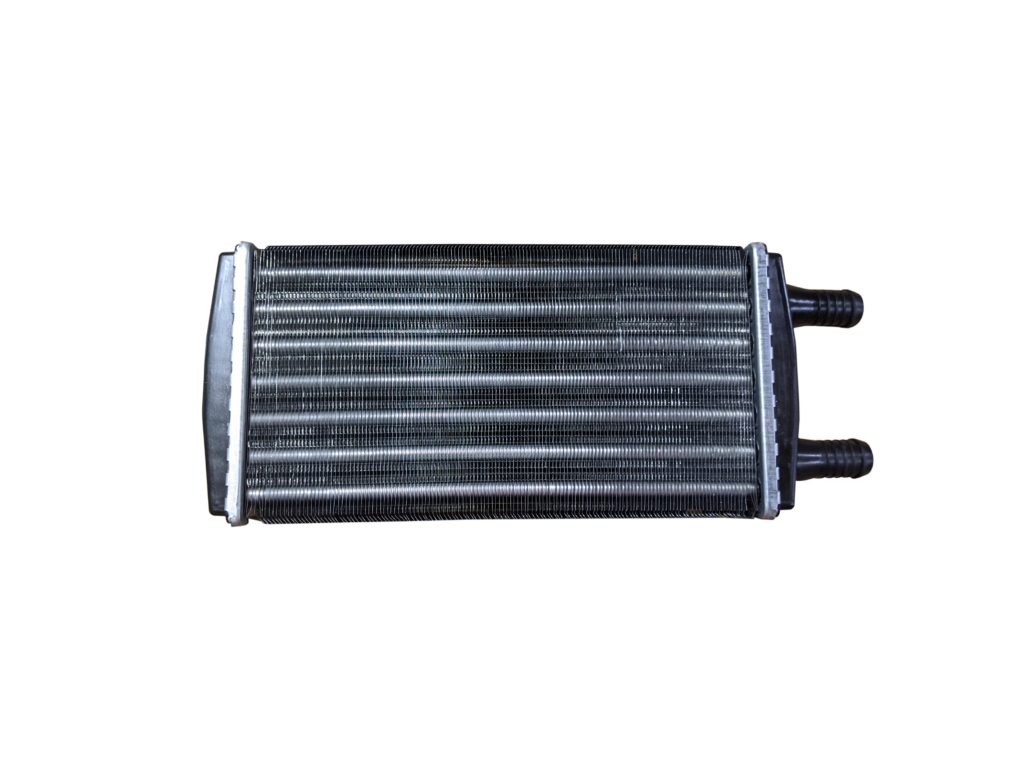
The heater core is a small, radiator-type device that’s located behind your car’s dashboard. Hot engine coolant flows through the heater core. As the coolant passes through, a blower motor forces air across the heater core to transfer heat into the cabin.
Lack of upkeep is one of the leading causes of heater core failure. If the coolant is not changed at the interval suggested by the vehicle manufacturer, it will eventually break down and become corrosive. When that happens, the coolant begins to eat away at the various metal components found throughout the cooling system—and sediment begins to build up and clog the heater core.
In some cases, you can unclog the heater core by performing a back-flush. Back-flushing means you run water through the heater core in the direction opposite of normal coolant flow. In other words: You allow water to flow into the heater core’s outlet and exit through the inlet.
Keep in mind, however, that flushing doesn’t always work. You may ultimately end up having to replace the heater core if the procedure is unsuccessful.
Another thing to remember is that an obstructed heater core isn’t the only possible cause of an inoperative heater. Many other problems—ranging from a low coolant level to a faulty water pump—can prevent the heater from blowing warm air.
So, before you attempt to perform a back-flush, be sure that the heater core is indeed clogged. You can learn more about heater core symptoms and testing by reading our article on Bad Heater Core Symptoms.
Now, with that out of the way, are you ready to flush your heater core? Good! Let’s get started!
Tools Needed for Back-Flushing a Heater Core
The tools needed to do a heater core back-flush will vary, depending on what type of car you have. In general, however, you’ll need:

- 50/50 pre-mixed coolant (consult your owner’s manual to determine the correct type of coolant for your vehicle)
- Air compressor (recommended)
- Bucket
- Clear tubing that’s the same diameter as the heater hoses
- Cooling system vacuum fill tool (recommended)
- Fluid catch pan
- Fluid container
- Garden hose adapter fitting
- Infrared thermometer (optional)
- Jack and jack stands
- Pliers
- Screwdrivers
- Repair manual or access to a repair database (recommended)
- Safety glasses
- Wheel chocks
Heater Core Back-Flush Instructions:
Before we begin, remember that all vehicles are different. The information below is generic and for entertainment and educational purposes only. It’s a good idea to consult a repair manual or repair database for your specific application before proceeding.
The following steps will give you an idea of what the job typically entails.
Part 1: Prepare the Vehicle

- Put on your safety glasses.
- Make sure the engine is off and cool.
- Safely raise and support the vehicle using a jack and jack stands. Set the parking brake and chock the rear wheels.
- Place a fluid catch pan under the vehicle.
- Remove the radiator cap.
- Drain the old coolant. You can do this by either disconnecting the lower radiator hose (recommended) or by opening the radiator drain petcock. Disconnecting the lower radiator hose is the safest route since petcocks can become brittle and break.
To disconnect the lower radiator hose:
- Make sure the fluid catch pan is under the lower radiator hose.
- Use a pair of pliers or a screwdriver (depending on the clamp design) to loosen the hose clamp.
- Wiggle the lower radiator hose while pulling it toward you to disconnect it from the radiator.
- Allow the coolant to drain into the fluid catch pan.
- Reinstall the lower radiator hose and tighten down its clamp.
- Connect an adapter fitting to your garden hose.
- Cut a length of clear tubing and attach it to the adapter fitting on the garden hose.
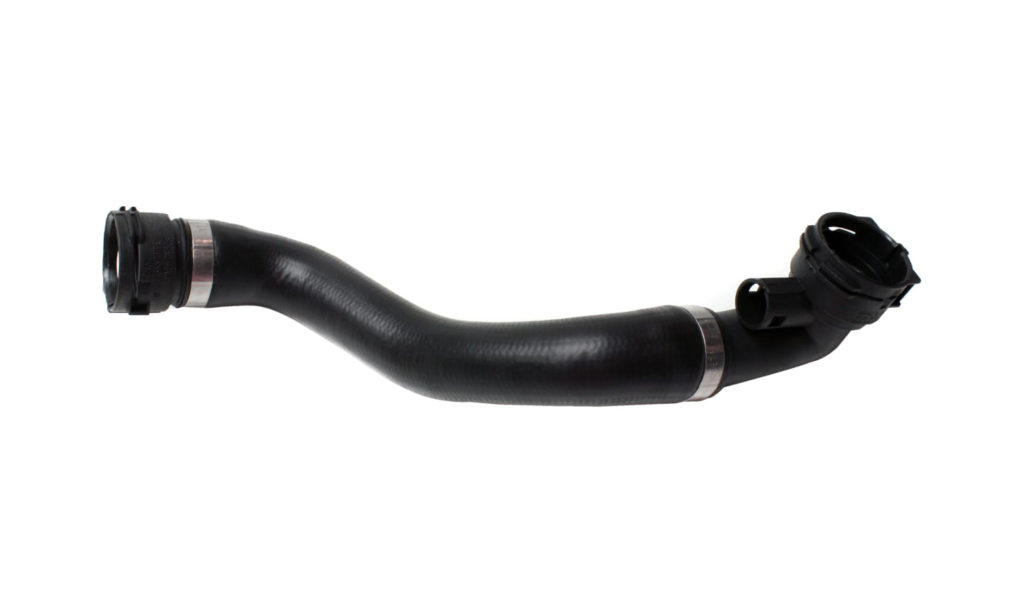
- Locate the heater hoses going into the firewall. Determine which hose is the inlet and which is the outlet.
- Place a fluid catch pan under the heater core.
Part 2: Back-Flush the Heater Core

- Use a pair of pliers or a screwdriver (depending on the clamp design) to loosen the hose clamps on both heater hoses.
- Wiggle the heater hoses off one at a time to disconnect them from the heater core. Allow any remaining coolant to drain from the heater core into the fluid catch pan.
- Connect the clear tubing (with the garden hose attached) to the heater core’s outlet.
- Connect another length of clear tubing to the heater core’s inlet. Place the other end of the clear tubing into a bucket.
- Turn on the garden hose.
- Run the garden hose until you see clean water flowing into the bucket.
- Remove the clear tubing from the heater core’s inlet and outlet connections.
- Reinstall the heater hoses and clamps.
- Remove the fluid catch pan.
Part 3: Refill the Cooling System

- Safely remove the jack stands and lower the vehicle.
- Bleed the cooling system of air. To do this, first, follow the instructions that come with the cooling system vacuum fill tool to connect the tool to your air compressor. The tool bleeds the cooling system of air while simultaneously refilling the coolant.
- Follow the instructions that come with the tool to refill the cooling system with a 50/50 mix of fresh coolant.
- If you do not have access to an air compressor and vacuum fill tool, consult a repair manual or repair database for the cooling system bleeding instructions for your vehicle.

- Top off the coolant as needed and reinstall the radiator cap.
- Make sure the vehicle doesn’t overheat by starting the engine and monitoring the temperature gauge. Do this until the engine reaches operating temperature, and the cooling fan kicks in.
- Pour the old coolant and flush from the catch pan into a large fluid container.
- Make sure to clean up any fluid spills with a rag. Coolant is deadly if consumed, and animals are attracted to it.
- Check online to find out where you can recycle your old coolant (pouring it down the drain is illegal). Usually, you can get rid of it at a landfill that accepts hazardous waste.
After driving the vehicle for a day or two, re-check the coolant level and top off as needed.
The videos below demonstrate how to flush a heater core. In the first video, the host uses a garden hose and adapter fitting to get the job done. The second video demonstrates an alternate method that relies on a garden hose, a Blast-Vac Multipurpose Cleaning Gun, and compressed air.
How Much Does a Heater Core Flush Cost?
If you don’t feel like flushing the heater core yourself, you can choose to let a professional tackle the job for you. Usually, repair shops will use a dedicated flush machine to flush the entire cooling system, rather than flushing just the heater core with a garden hose. You can expect to pay somewhere between $100 and $250 for this service. Of course, the exact price will depend on various factors, such as the year, make, and model of your vehicle.
Where to Get New Heating Components for Your Vehicle
A heater core flush can only do so much. If your heater core and its surrounding components are faulty or broken beyond repair, they might leave you with troublesome ventilation issues.
When it’s time to get top-notch heating components for your ride, look no further than CarParts.com. We have everything you need to get your vehicle back into shape.
Our OE-grade heating components are made from the finest materials available, so you can rest assured that they’re built to last. Choose from products that were carefully handpicked by industry professionals when you shop from us.
Enter your vehicle’s year, make, and model into our vehicle selector to start browsing our catalog. You can also use the search filters to find a product according to your preferred brand, price range, quantity, and more.
All our products come with a lifetime replacement and low-price guarantee, so you never have to worry about going over budget for your repairs. Shop now, and we’ll deliver the parts you need straight to your doorstep in as fast as two business days.
Don’t miss out on the best deals on the market, and shop for heating components today!
Keep Reading: Related Posts


Any information provided on this Website is for informational purposes only and is not intended to replace consultation with a professional mechanic. The accuracy and timeliness of the information may change from the time of publication.