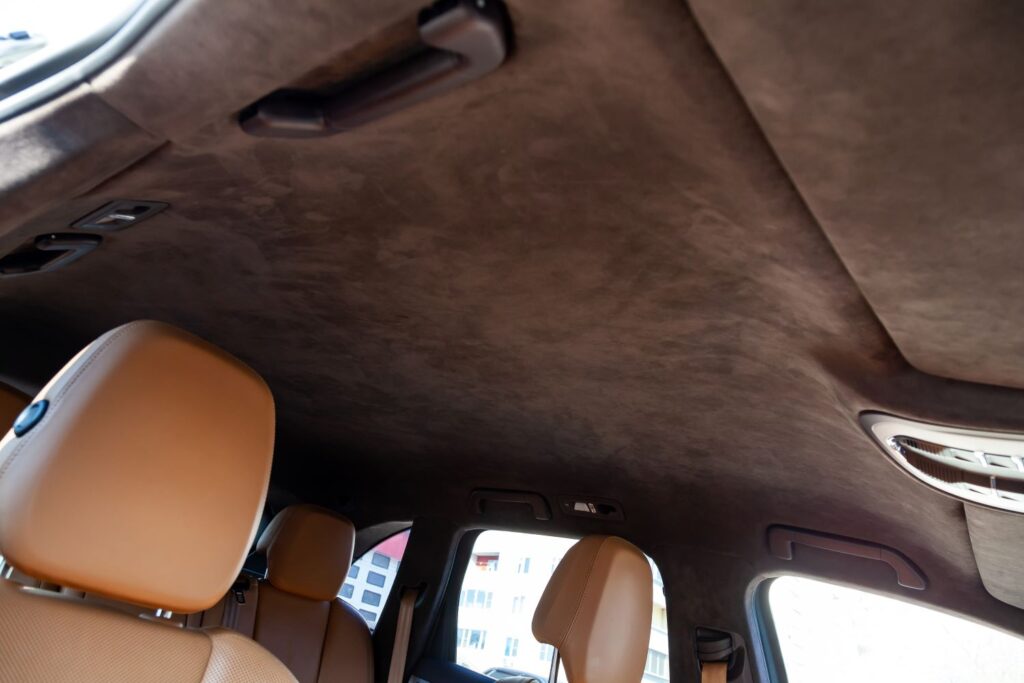
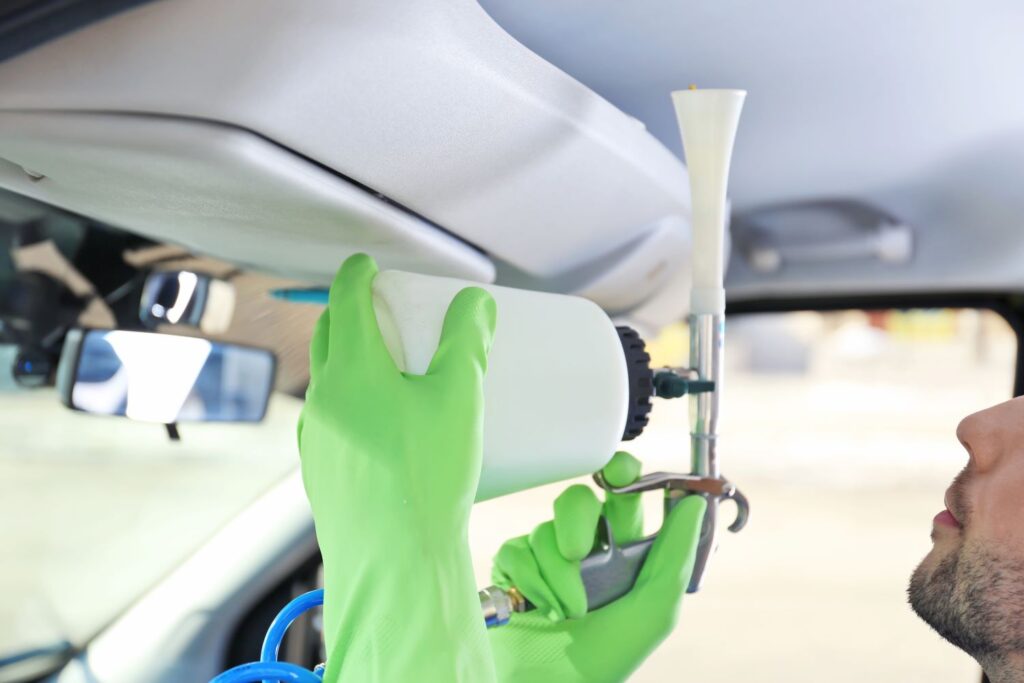
Over time, your car’s interior roof can get dirty from dust, smoke, and other debris. It can start to smell, attract pests, and even cause health issues. Learn how to clean your car’s interior roof to ensure a safe and comfortable ride for you and your passengers.
How To Clean the Roof of Your Car
There are three different methods you can use to keep your car headliner nice and clean.
Spot Cleaning
If only a small area of your headliner is dirty, then spot cleaning is ideal.
Step 1: Prepare Cleaning Materials.
First, you’ll need to prepare the following materials:
- Upholstery cleaner
- Microfiber towels
- Latex or nitrile gloves
If you don’t have any commercial cleaners, you can also make your own. Mix a quarter cup of white vinegar and half a tablespoon of liquid soap in a cup of warm water. Transfer the mixture into a spray bottle.

Step 2: Clean Dirty Areas With a Microfiber Towel
Once you’ve gathered the materials, you can start cleaning. Take your microfiber towel and wipe down your headliner. This will remove any dust or loose debris stuck on the ceiling. Make sure to be thorough, but be careful not to rub the dirt into the fabric.
Step 3: Apply Cleaner on Stains
Next, apply a small amount of your upholstery cleaner on another microfiber towel. Gently wipe the dirty areas with the microfiber towel. Your headliner is a delicate part of your car, so it’s important not to use too much force.
Step 4: Dry the Surface With a Microfiber Towel
Wipe the surface with a dry microfiber towel to remove excess moisture. Hold the towel against the surface, and rub it in circular motions. Leave it to dry completely, and repeat steps two to four if there are still stains.

Steam Cleaning
If spot cleaning doesn’t work, you can try steam cleaning for any big or stubborn stains.
Step 1: Prepare Cleaning Materials
For this method, you’ll need the following materials:
- Upholstery cleaner
- Stiff-bristled brush
- Steam cleaner
- Latex or nitrile gloves
- Microfiber towel
If you don’t have a steam cleaner, you can buy or rent one online. A steam cleaner efficiently removes stains from upholstery by creating pressurized vapor. This penetrates the stains and breaks down the dirt into smaller pieces that it can easily suck in. If you have a spot cleaner, you can use that instead.
Step 2: Agitate Stains With Stiff-Bristled Brush
Take your upholstery cleaner, and spray a good amount on your stiff-bristled brush. Make sure not to spray the cleaner directly on your car ceiling. Doing so can remove the glue keeping the fabric stuck to your roof.
Scrub the stains in small circular motions to get rid of as much dirt as possible. Then, wipe away the lather using your microfiber towel.
Step 3: Steam Clean the Surface
Heat your steam cleaner according to the product’s instructions. Use a narrow nozzle or brush attachment for your steam cleaner. If necessary, load it with water or a cleaning solution.
Hold it two inches away from the stain, and leave it on for a few seconds. Steaming your headliner for too long can melt the upholstery’s glue, which can lead to a sagging headliner.
Step 4: Dry Area With a Microfiber Cloth
After steaming the dirty areas, blot the moisture away with a dry microfiber towel. Let it air dry, and repeat steps two to four if there are still some stains left.
Deep Cleaning
Stains from smoke and nicotine can be hard to remove. In most cases, you’ll have to deep clean your car’s headliner. Deep cleaning is one of the best ways to clean the fabric of your car roof. However, it can damage the fabric adhesive if not done properly.

Step 1: Prepare Cleaning Materials
To work efficiently, prepare all the necessary materials before you start cleaning. You’ll need the following:
- Stiff-bristled brush
- Upholstery cleaner
- Wet vacuum or spot cleaner
- Latex or nitrile gloves
The commercial cleaner might irritate your skin, so make sure to wear gloves the entire time. As much as possible, work in an open area or a well-ventilated place. Open all your car doors for better ventilation too.
Step 2: Scrub With a Stiff-Bristled Brush
Apply the cleaner on your stiff-bristled brush. Gently scrub your headliner by using back-and-forth movements until it lathers. Keep going until there are no more bubbles, and then add more product to the brush. Repeat this step until you go over all stains.
Step 3: Use a Wet Vacuum on the Stains
Now it’s time to deep clean your headliner with your wet vacuum. Place your vacuum close to the ceiling and work in long sections. Start from the front of the car to the back, and hold the nozzle close to the fabric for a few seconds until it sucks away all the dirt.
Step 4: Leave to Dry for 24 Hours
Leave your headliner to dry for at least 24 hours. If you parked your car in an indoor garage, you can also leave your windows open for better ventilation. After your ceiling dries completely, check for any remaining stains, and repeat steps two to four to remove them.
What Is a Headliner?
A headliner refers to the fabric material that covers the ceiling of your car. With multiple layers, it provides insulation against heat and wind noise. It also improves the acoustics of your vehicle’s audio system.
In most vehicles, the headliner has a foam layer made of polyurethane. It sticks to the headliner board mounted on the inside of the roof. There are different types of headliner fabric, but most vehicles use automotive headliner fabric. It’s a lightweight, durable, and moisture-resistant type of polyester. Other car ceiling fabrics include vinyl, leather, and suede.
Why You Should Clean Your Headliner
A dirty headliner can be distracting for you and your passengers, especially if it starts to smell. However, cleaning your car roof upholstery isn’t just about comfort. Cleaning your car interior, including your headliner, also prevents wear and tear. A dirty interior can also attract pests, which can distract you while driving. Dusty upholstery can also lead to poor air quality and health issues, so it’s best to clean your car regularly.
Where to Get a Replacement Headliner for Your Vehicle
Cleaning your headliner can only do so much. As time passes, the adhesive that holds the headliner in place deteriorates, causing it to hang loose. It could fall off if left unresolved. On the bright side, finding a new headliner only takes a few minutes when you shop online at CarParts.com.
We source our headliners from top manufacturers and ensure they passed stringed quality control tests, so you’re sure to get one that’s built to last. Choose from our wide array of on-hand and ready-to-ship headliners, and place your order today.
To start shopping, enter your ride’s year, make, and model into our vehicle selector to view compatible headliners. Then, use the search filters to customize the catalog based on your needs. If you have any questions, our customer service team is ready round-the-clock to assist you. Feel free to contact us via our toll-free hotline anytime.
On top of that, our warehouses are strategically located all over the US. This means you can expect to receive your order in a matter of days.
Don’t wait for your headliner to fall on you before replacing it. Order a new one today!
Any information provided on this Website is for informational purposes only and is not intended to replace consultation with a professional mechanic. The accuracy and timeliness of the information may change from the time of publication.


