As a driver, you’re responsible for your vehicle’s maintenance. Some of the chores you’ll need to do include getting a car wash, replacing brittle windshield wipers, and replacing worn-out tires.
These are maintenance tasks that keep your vehicle looking like it just rolled out of the lot. But what about the parts under the hood?
To keep your engine performing at peak efficiency, you’ll need to stay on top of oil and transmission fluid changes, among others. Aside from these, one of the most crucial things you need to keep an eye out for is replacing contaminated brake fluid.
Brake Fluid Basics
When the driver steps on the brake pedal, the brake fluid transmits this force to each wheel brake to stop the vehicle from moving.
Brake fluid is a combination of various types of glycol, specifically a mix of polyalkylene, glycol, and ether.

Brake fluid is generally classified into four types: DOT 3, DOT 4, DOT 5, and DOT 5.1.
DOT 3
DOT 3 brake fluid is the most common type used in passenger vehicles. This type can absorb 2% of its volume in water per year.
DOT 3 brake fluid is a glycol-based fluid that must be used from a sealed container to prevent moisture absorption from the surrounding air.
DOT 4
DOT 4 is a polyglycol-based brake fluid that can be used on vehicles that consume DOT 3 brake fluid. This type has borate esters that make the fluid more resistant to acids compared to DOT 3.
DOT 4 is more expensive than DOT 3. Although the two types are compatible, experts don’t recommend mixing them together in one braking system.
DOT 5
DOT 5 brake fluid is silicone-based. This means that this type is incompatible with any other version of brake fluid.
DOT 5 brake fluid is purple in color, unlike the other types that come in an amber hue. Unlike the other types, DOT 5 brake fluid doesn’t absorb moisture.
DOT 5.1
DOT 5.1 is a non-silicone-based polyglycol brake fluid. Although it has the same boiling point as DOT 5, this type can be mixed with either DOT 3 or DOT 4, depending on the manufacturer’s recommendations.
Why You May Want to Upgrade to DOT 5.1
The “kinematic viscosity” of the brake fluid you decide to use determines how effectively anti-lock brakes (ABS), stability control system (ESC), and advanced driver assist (ADAS) systems can engage–and this is important. If you drive a loaded or high performance vehicle on sloping, hilly roads that tend to ice up in the winter, it’s important to consider using DOT 5.1 fluid.
Check the manufacturer’s service information to be sure. Some will list a more specific “Material Standard.” Some sources say that 99% of the DOT 4 labeled brake fluids will compromise the vehicle dynamics of a late model vehicle during intense situations that require a lot of ABS/Stability activation.
Until a series of situations arises during an intense driving event calling for the vehicle dynamics systems to engage the brakes for stability and accident avoidance, you won’t perceive any problem at all.
Characteristics of DOT 5.1:
- DOT 5.1 is, like DOT 4, a glycol-based fluid that has a higher boiling point than DOT 3 and DOT 4 fluids, making it more suitable for high-performance and severe-duty applications. This is important because when brake fluid boils, hydraulics will fail to work.
- DOT 5.1 lubricates the ABS pumps and other components of the brake system, reducing wear.
- DOT 5.1 has a minimum dry boiling point of 270°C (518°F) and a minimum wet boiling point of 190°C (374°F), exceeding the DOT standards.
- Like DOT 4, it is “hygroscopic,” meaning it absorbs water over time, which lowers its boiling point and increases the risk of corrosion. Therefore, it should be changed as recommended by the vehicle manufacturer.
- DOT 5.1 does not damage paint, unlike some other brake fluids.
When Should You Replace the Brake Fluid?
Experts recommend checking the brake fluid whenever your vehicle is due for an oil change or every six months, whichever comes first. Make sure to check your owner’s manual for more information about brake fluid replacement intervals.
Also, keep in mind that it’s normal for brake fluid levels to drop if the brake pads are worn out. But if you have new brake pads and the brake fluid is dropping, you could be looking at a leak somewhere in the system.
Brake Fluid Inspection
Brake fluid inspection is crucial to keeping your vehicle safe for everyday driving. Here are some things to keep in mind when checking your brake fluid.
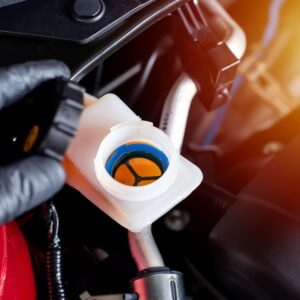
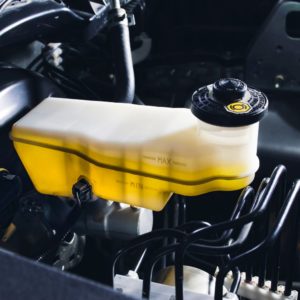
First, check whether or not the amount of brake fluid is at the proper level. Ideally, the brake fluid level should be sitting somewhere between the minimum and maximum labels on the side of the master cylinder reservoir.
The next thing you should inspect is the color of the brake fluid. Ideally, brake fluid should be clear or amber in color. Black or discolored brake fluid should be replaced immediately.
In some cases, brake fluid can look like it hasn’t been contaminated yet because it has the same clear or amber color. However, it’s possible that the fluid has absorbed enough moisture to reduce its effectiveness. To check, you can try using test strips to see how much copper is in the fluid.
A swollen or distorted rubber diaphragm on the master cylinder can also indicate brake fluid contamination from engine oil, power steering fluid, or transmission fluid.

What Causes Brake Fluid to Go Bad?
Moisture (water) and copper are the two main reasons why brake fluid can go bad. Aside from causing brake components to develop rust, water can also reduce brake fluid efficiency, which can result in greater stopping distances.
Meanwhile, brake linings can chip away after some time, shedding copper that can contaminate the brake fluid.
How Much Brake Fluid Do I Need?
Most vehicles need about 32 ounces or one quart of brake fluid, but keep in mind that the exact amount largely depends on the vehicle’s year, make, and model.
How Often Do You Need to Flush the Brake Fluid?
Experts recommend flushing the brake fluid every two years or 30,000 miles, whichever comes first.
How Much Brake Fluid Do I Need for a Flush?
In most cases, a quart of brake fluid is enough to flush the entire system.
What’s the Cost of a Brake Fluid Flush?
You can spend anywhere between $10 and $20 for a good brake fluid flush, provided that you’re going to do it in your own garage. But if you need professional help to perform this task, you can expect to pay around $50 to $100 for labor fees in addition to buying the new brake fluid.
How to Flush Brake Fluid
Flushing brake fluid from your own garage typically requires a few things:
- An assistant to pump the brake pedal
- Bleeder screw wrench
- Plastic hose that can fit over the bleeder screw
- Clean brake fluid
Brake Fluid Flushing Procedure
Method 1
Many shops don’t use a fluid flush or exchange machine. They simply raise the vehicle. If you decide to do this yourself, make sure to raise the vehicle safely and support it on jack stands.
Shops then install a tightly fitting rubber hose on the bleeder at each wheel, and run the hose into a bottle at each wheel so that the end of the hose is submerged in a small amount of fluid already in the bottle. This prevents air ingestion during the flushing process. Then they loosen all four bleeder screws and add fluid while having an assistant pumping the brake pedal.
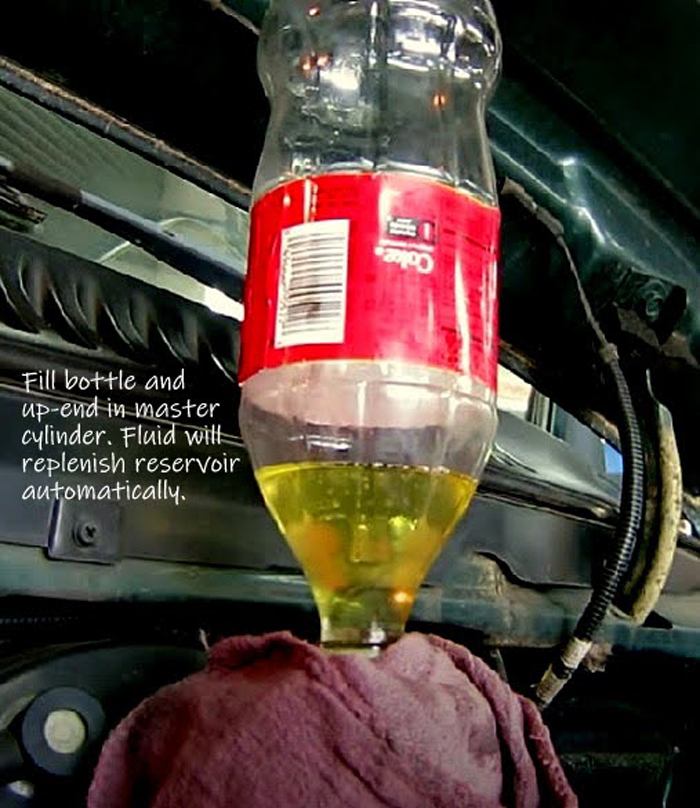
Keeping the reservoir full during this process is of paramount importance to prevent air from getting into the brakes.

This method replaces all the old brake fluid with new brake fluid. Don’t use brake fluid flush chemicals because the ABS hydraulic control unit can be damaged this way. When the fluid entering the bottles is clear, the brake fluid flush is complete.
Don’t use brake fluid flush chemicals because the ABS hydraulic control unit can be damaged this way.
– Richard McCuistian, ASE Certified Master Automobile Technician
Method 2
Step 1: Remove the old brake fluid from the master cylinder reservoir. A turkey baster or a similar tool usually works when performing this step.
Step 2: Fill the master cylinder reservoir with new brake fluid, and fit the plastic hose over the bleeder screw of the wheel cylinder or caliper that will be bled. Submerge the other end of the plastic hose in a jar of brake fluid.
Step 3: Open the bleeder screw by one-half of a turn and have your assistant depress the brake pedal slowly.
Step 4: Close the bleeder screw with the brake pedal down.
Step 5: Continue to bleed each wheel until the fluid that comes out of the bleeder screw runs clear.
Step 6: Check the brakes for proper operation, and re-bleed the system if needed.
Where to Get Brake Fluid for Your Vehicle
Always make sure to have enough brake fluid stored in your garage for top-ups and fluid flushes. As soon as you’re due for a brake flush, don’t hesitate to check out CarParts.com’s selection of brake fluids designed for various makes and models.
Place your order in just a few clicks when you shop from our mobile app or website. All you have to do is enter your car’s year, make, and model into our vehicle selector to start browsing compatible products for your ride.
You can also use the search filters to narrow down the catalog according to your preferred brand, price range, quantity, and more. We carry brake fluids from brands like Brembo, Pentosin, ATE, and more.
Thanks to our strategically located distribution centers, we’ll get your order delivered straight to your doorstep in as fast as two business days.
Need help shopping online? Don’t worry! Call us anytime using our toll-free hotline, and our team will be ready to assist you.
Shop and order now!
Any information provided on this Website is for informational purposes only and is not intended to replace consultation with a professional mechanic. The accuracy and timeliness of the information may change from the time of publication.


