Level of Difficulty: Easy
Tools Required: Hand tools and an assistant, a lift would be helpful
Installed By: OC Motorsports
Install Time: Approximately 3 hours

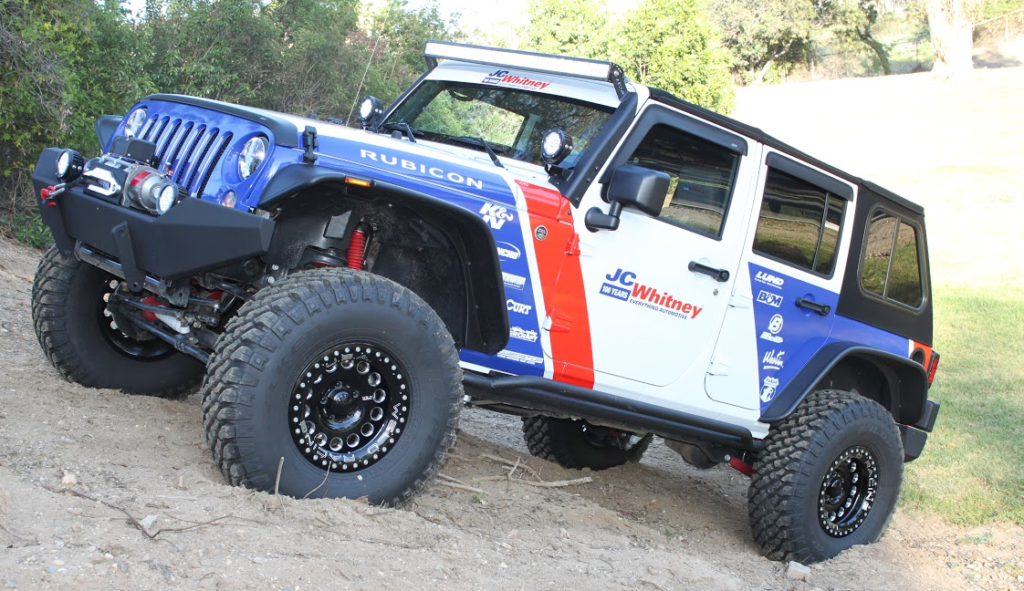
Few aftermarket accessories are as useful while making a statement as off-road bumpers. Out on the trail with our Centennial JK out we have seen a wide range of bumpers on new and old Jeeps that have given us a few ideas on what would look good on our Jeep. Turns out that Bestop had exactly what we were looking for in their HighRock series bumpers. Clean, simple and functional have been guidelines for our Jeep build and the Bestop bumpers echo that theme.
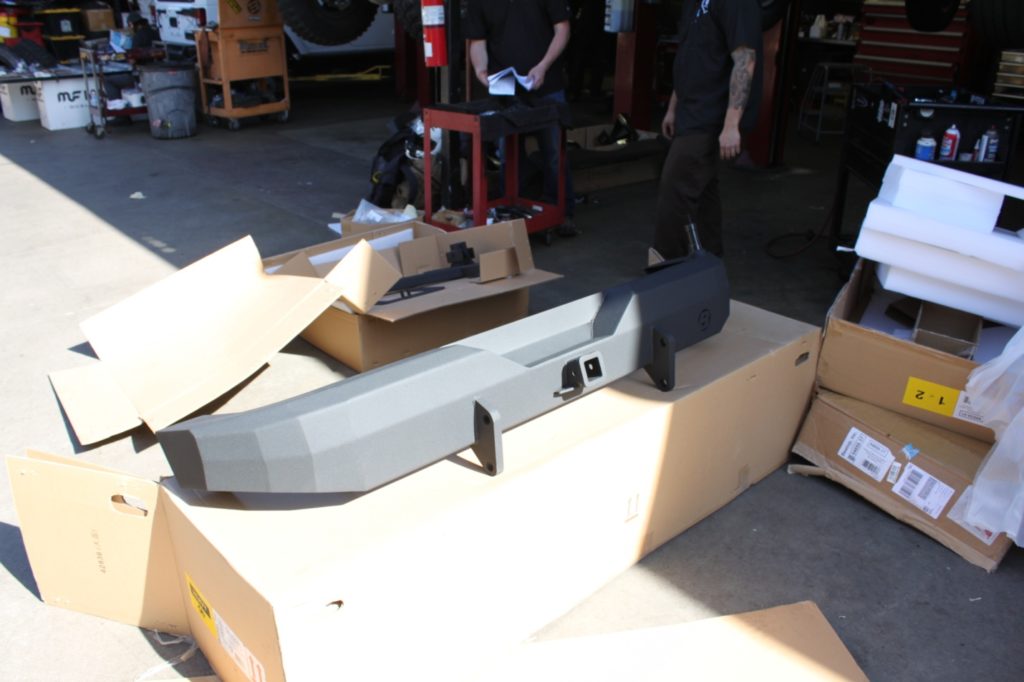

Once again the crew at OC Motorsports was instrumental in putting this all together and Daniel led the install of the front and rear bumpers with assistance from Bill at Bestop and we started at the rear with the removal of the stock bumper, which came off very easily yielding some trapped rocks and mud from our OC Motorsports trail rides to Cleghorn and Lucerne Valley. The new bumper is carefully packaged and arrived in perfect condition. The HighRock bumper picks up the factory mounting points and uses high quality hardware to attach to the frame of our JK. Daniel and Bill located the bumper and hand tightened the hardware for final alignment prior to final tightening.
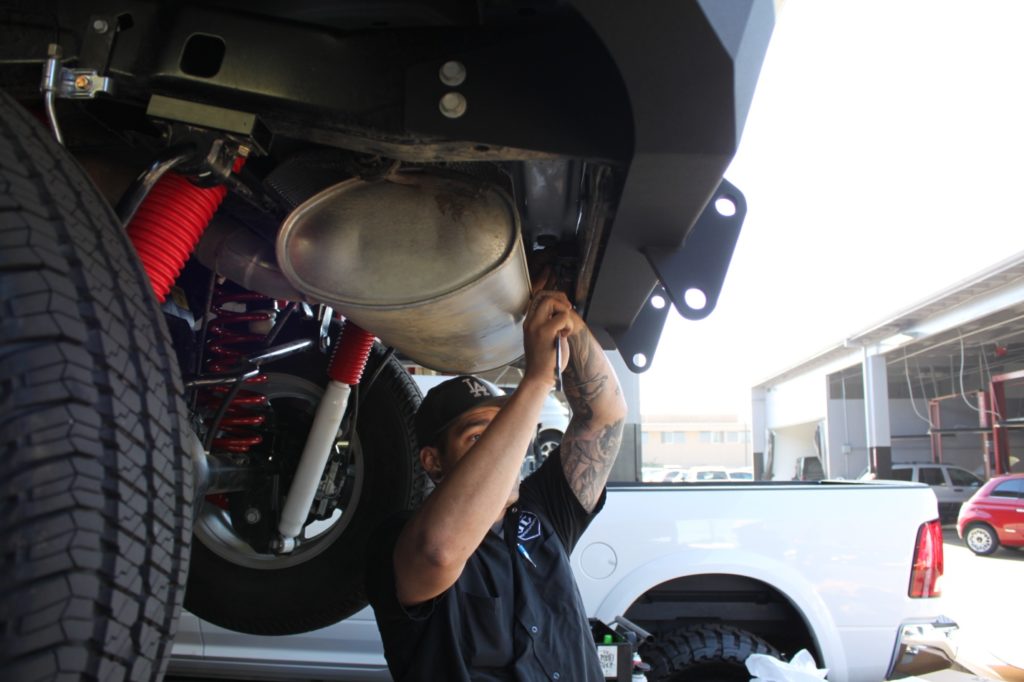

Next up was the spare tire carrier; Daniel removed the stock mount to make room for the Bestop components that would locate and support the spare.

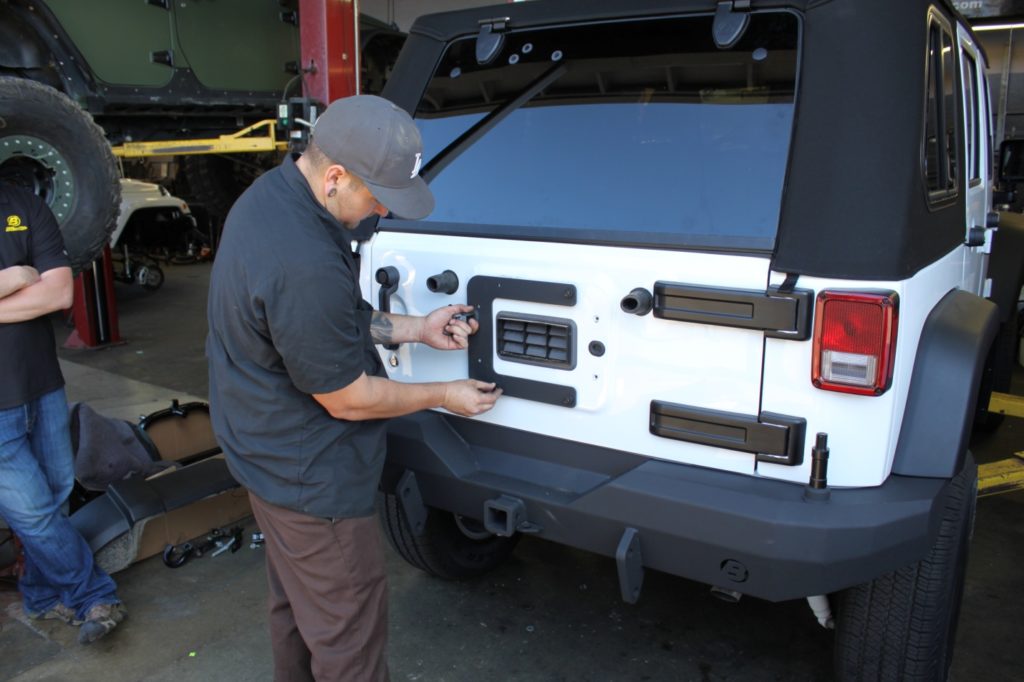
The tire carrier is supported by a sturdy post on the bumper and two large bearing races are housed in the tire swing arm. Daniel greased the bearings and inserted them into the races and located the swing arm on the post.
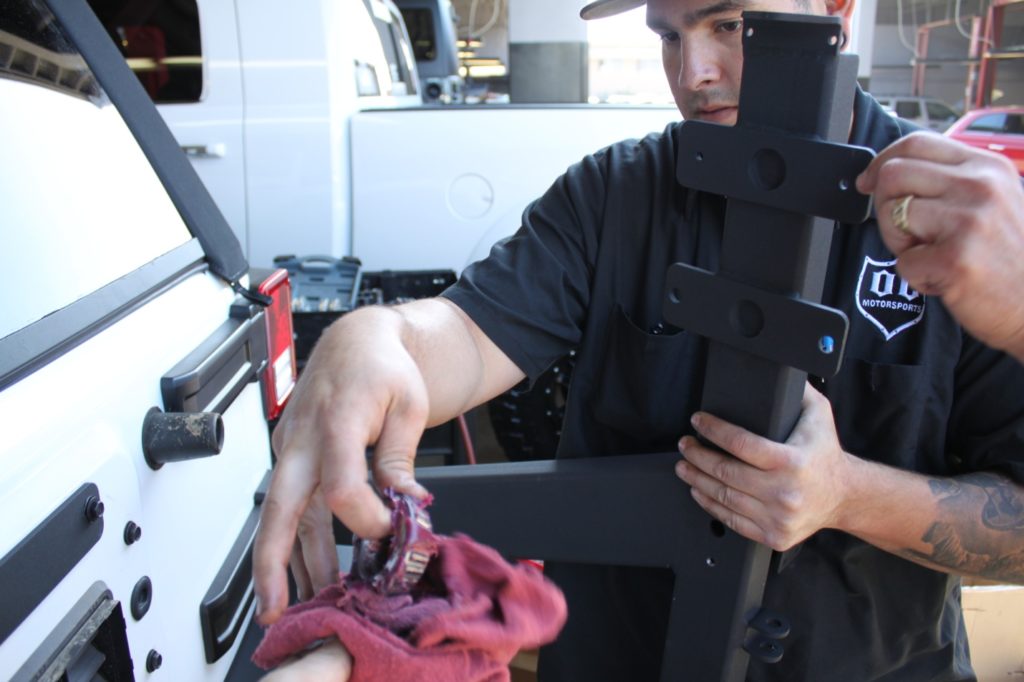
Bestop has included a zerk fitting on the carrier so that the grease can be periodically renewed to ensure the swing moves freely for the life of the bumper. With the tire carrier located Daniel adjusts the heim joint connecting the swing arm to the tailgate so that the two parts move together smoothly. The next step is to update the stock third brake light from the original tire carrier to the Bestop provided brake light. Daniel cuts the line to the light and crimp connects the wires to the new center mounted light.

The last part of the rear bumper is to locate the spare tire mount point, it’s adjustable to accommodate a broad range of tire sizes, we have already had three different tire sizes on the Jeep and the Bestop bumper has handled them all.

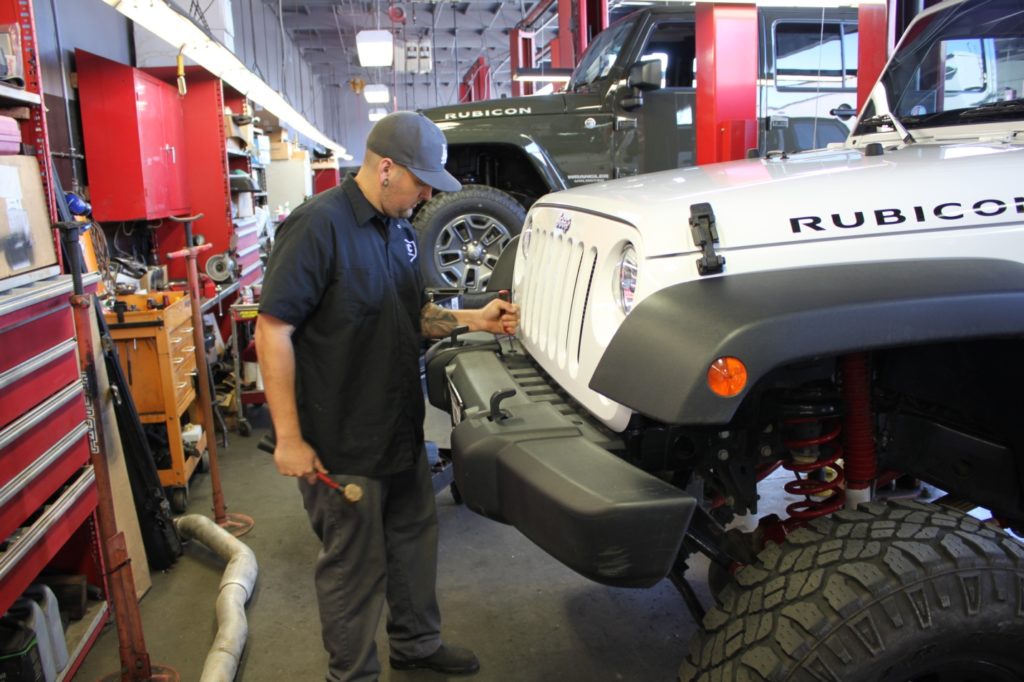
Moving to the front of the Jeep the installation process is similar with the removal of the stock bumper.
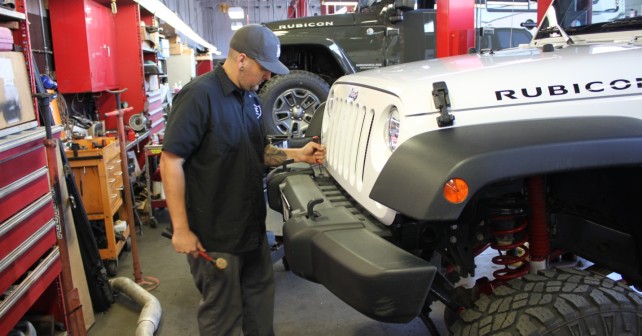
Eight bolts secure the factory bumper to the frame and the HighRock bumper uses the same mounting arrangement.

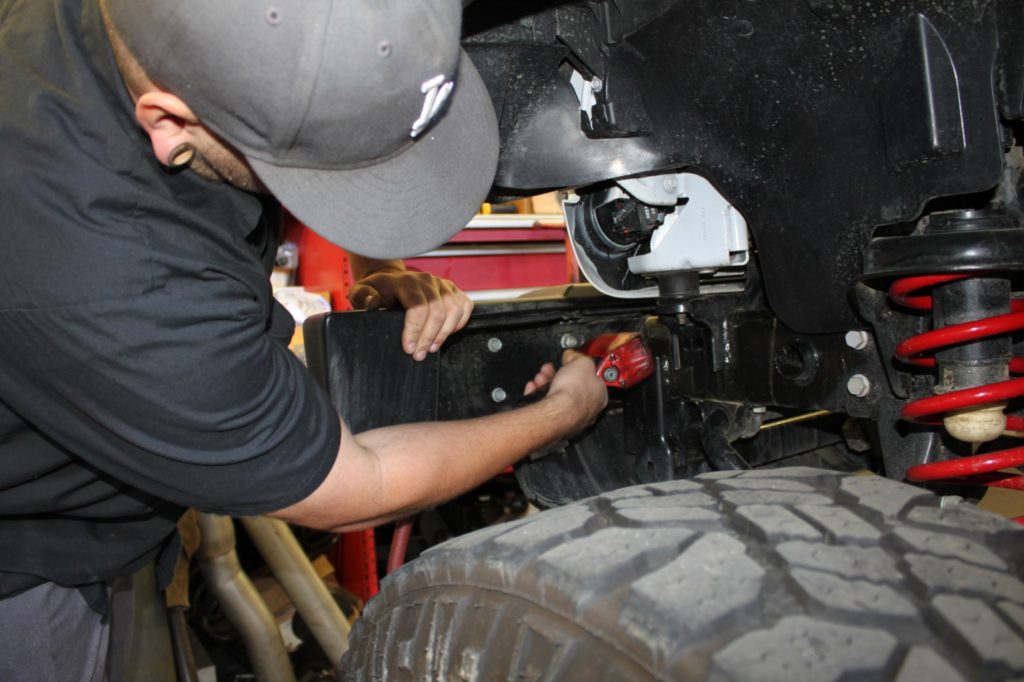

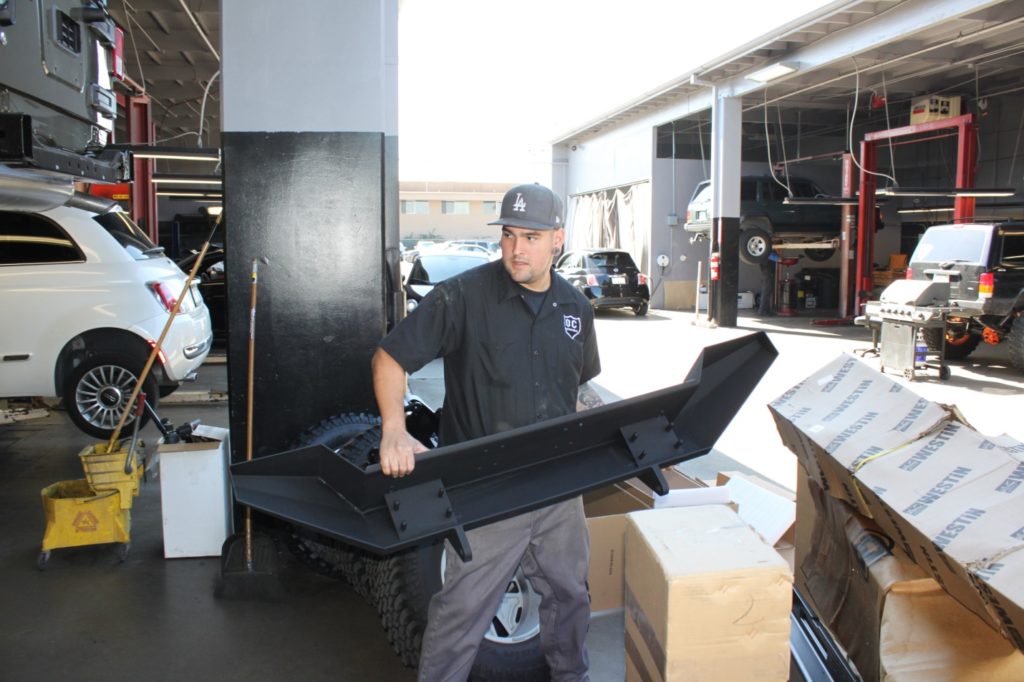
Daniel gets the new bumper ready to go onto the frame.
Here’s the HighRock bumper in place, looks sturdy and ready for the trails. As you notice the front bumper has mounting points for accessories like a winch and auxiliary lighting that we will be using on our next episode.
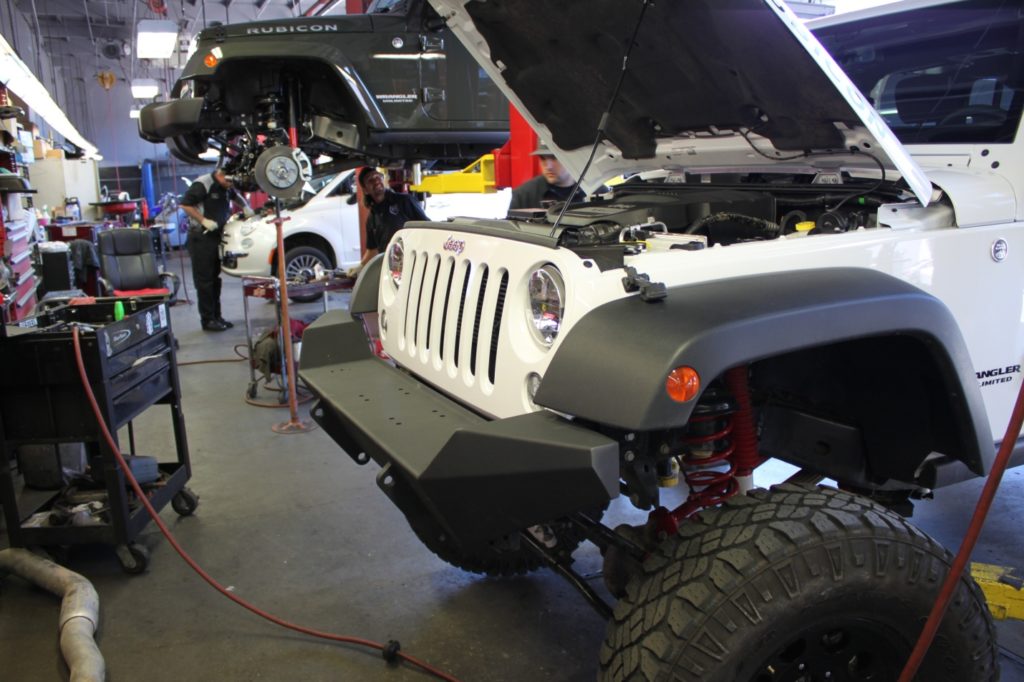
We are excited with how our Jeep looks wearing the Bestop HighRock bumpers and their installation was quick and easy.
Here’s a tutorial video on how to replace a rear bumper for additional information:
Any information provided on this Website is for informational purposes only and is not intended to replace consultation with a professional mechanic. The accuracy and timeliness of the information may change from the time of publication.


