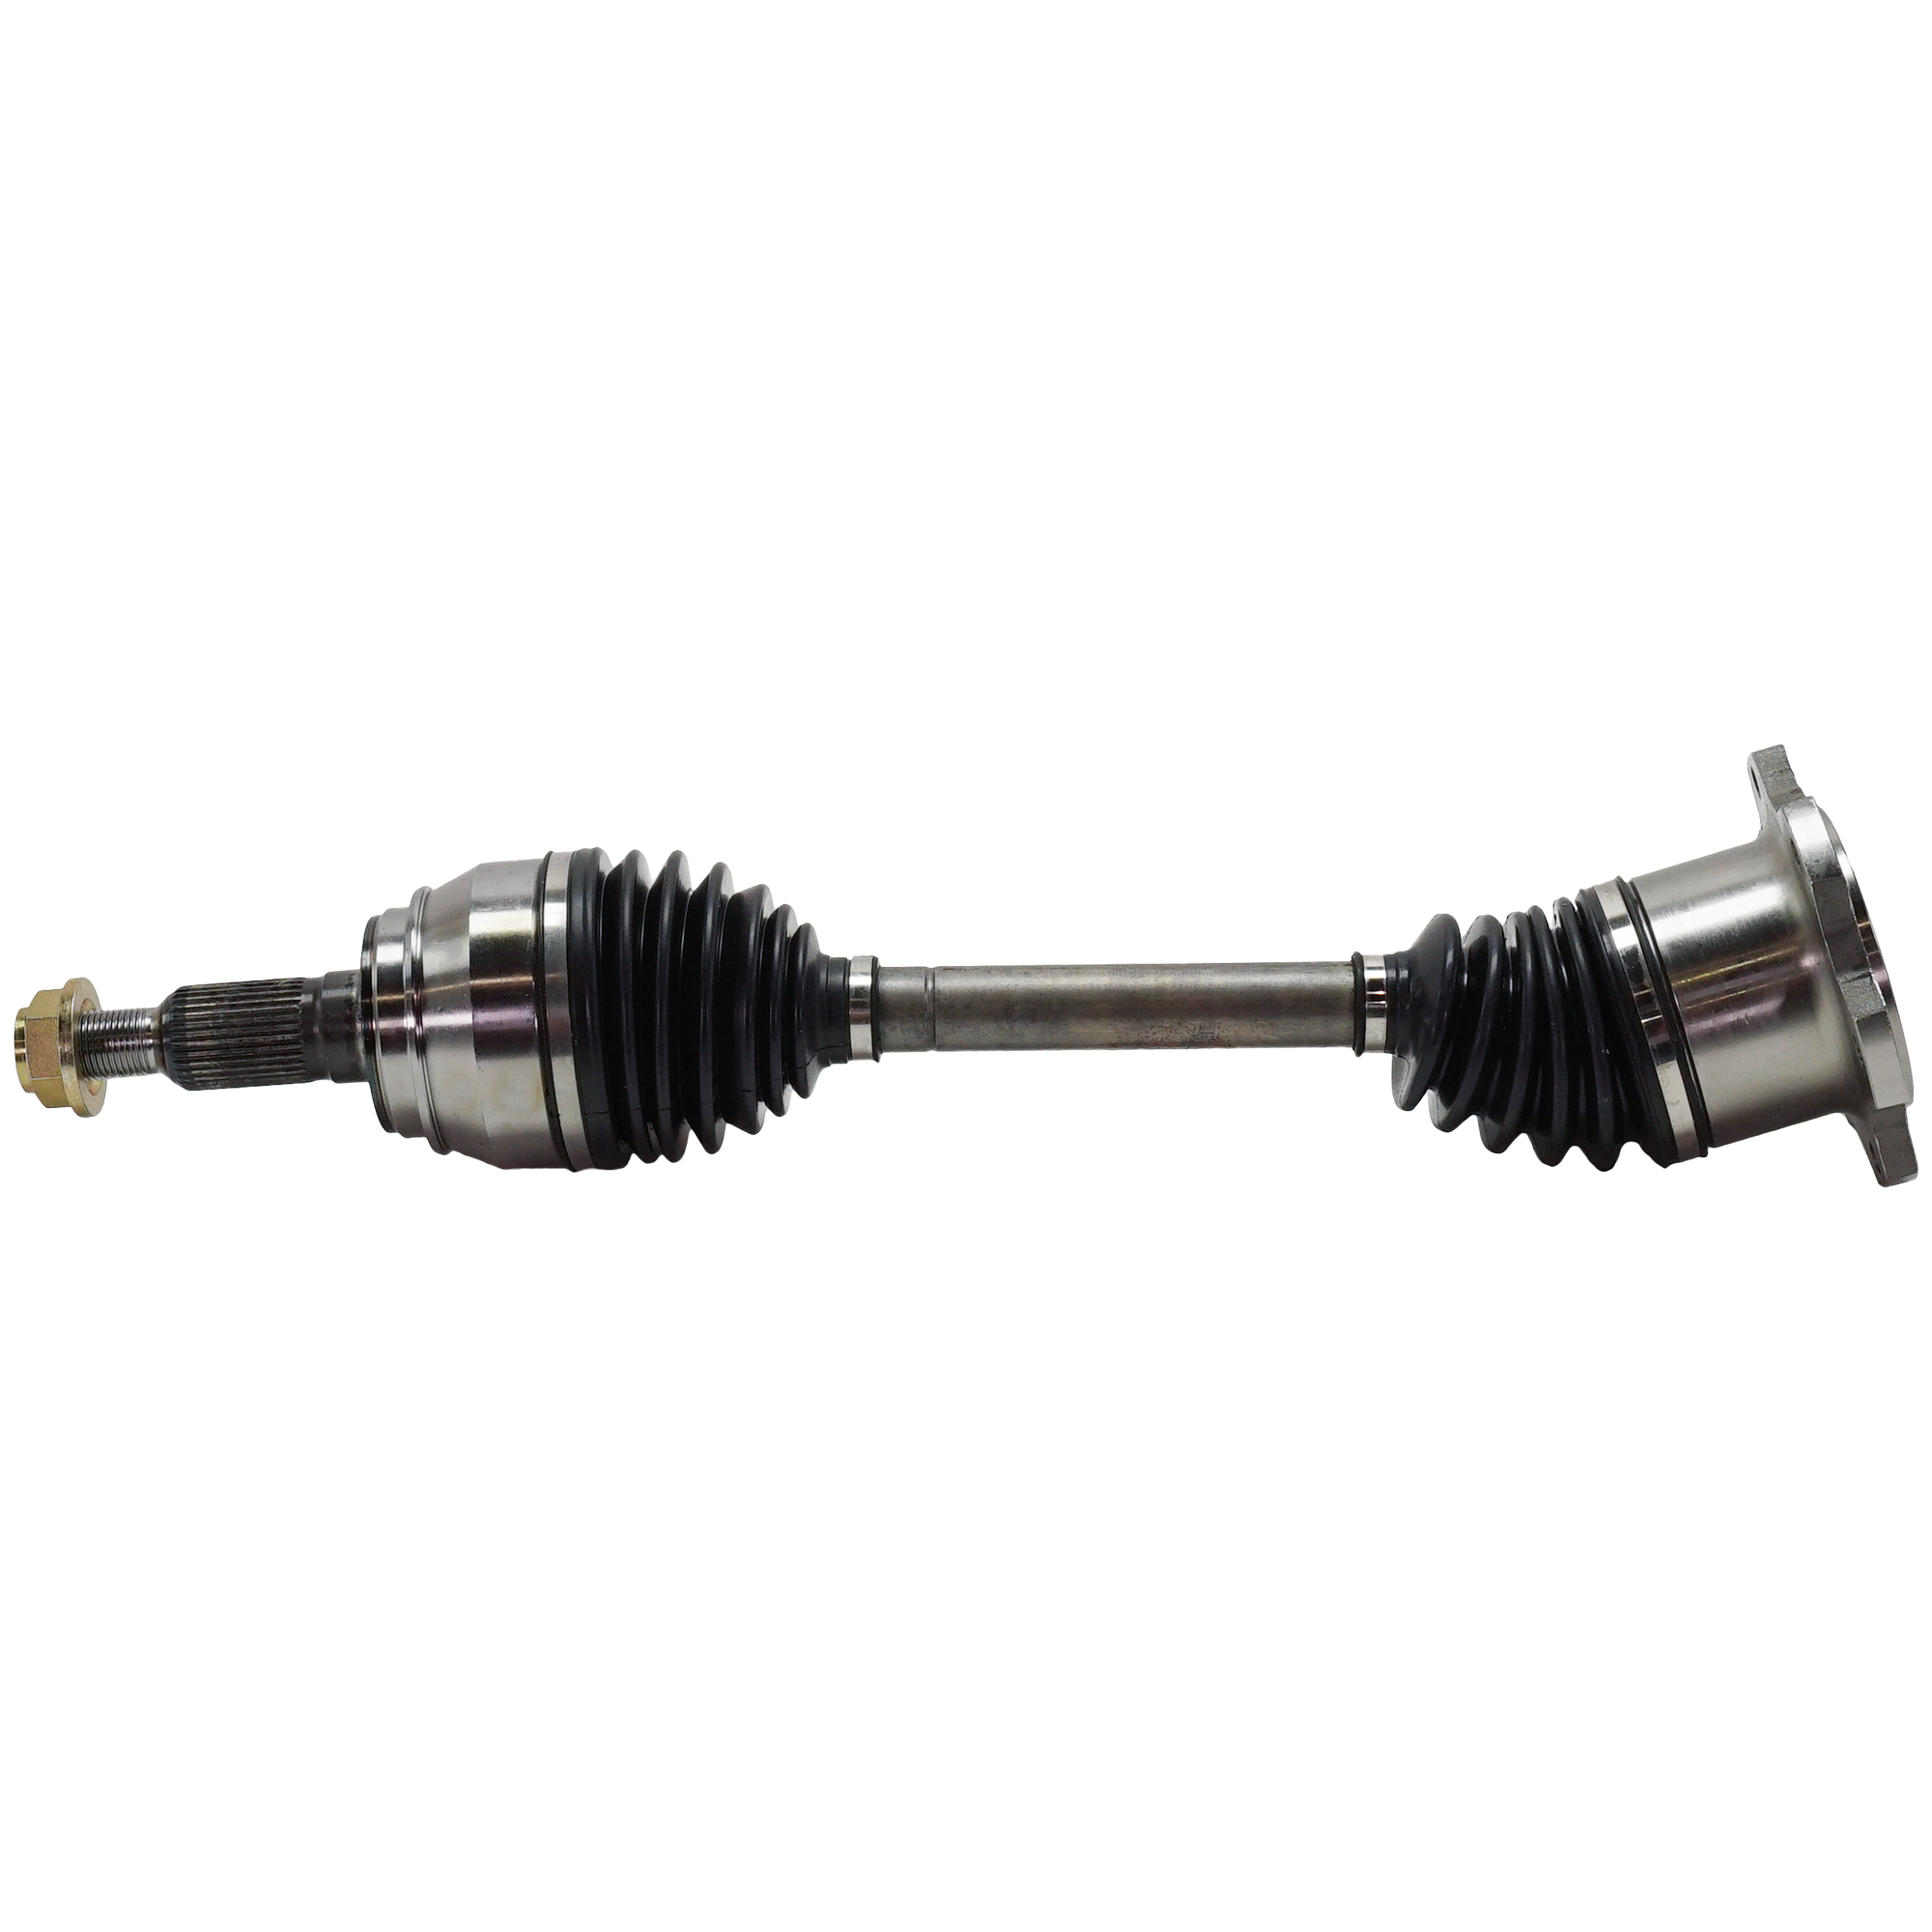
Many vehicles use a pair of CV axles to transfer rotational force to the front drive wheels. The axles often require replacement due to issues, such as torn boots and worn joints.
There’s a good chance you’ll experience CV axle problems at some point during your driving career. The good news is, if you’re handy and have the proper tools, you can save a substantial amount of money by replacing a faulty CV axle yourself.
What is a CV Axle?

Front-wheel drive cars—as well as many four-wheel drive and all-wheel drive vehicles—use a pair of CV axles to transfer power to the front drive wheels.
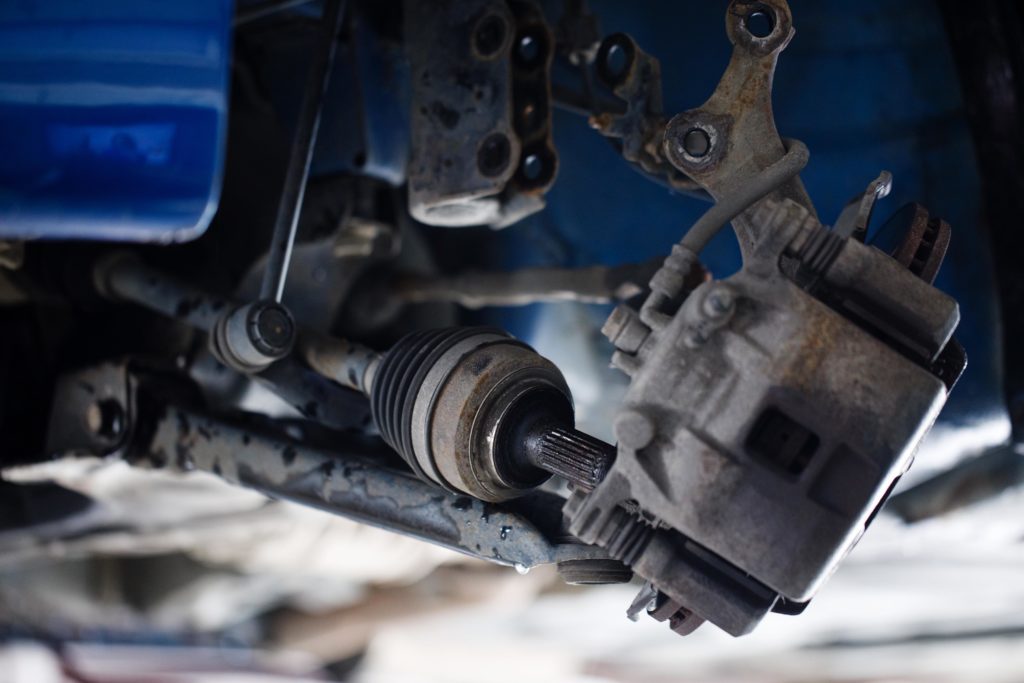
In a front-wheel drive layout, the CV axles connect the transaxle to the wheel hubs. Rotational force from the engine is transferred to the transaxle, which, in turn, transfers that force to the CV axles. The CV axles then turn the wheel hubs, which serve as a mounting point for the wheel and tire assemblies.
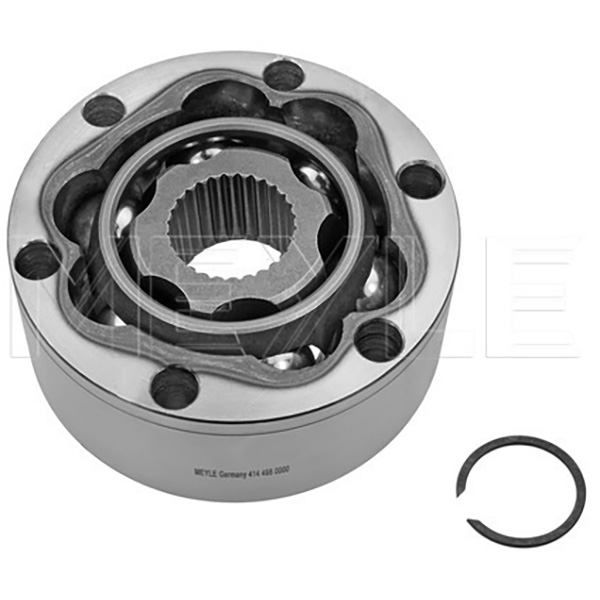
Each CV axle has an inner and outer CV joint. The joints allow the CV axle shaft to move up and down as the vehicle travels over bumps. Also, the outer joints pivot to allow the front wheels to turn. Grease-filled boots cover the inner and outer joints.
How to Replace a CV Axle
The procedure for replacing a CV axle will vary, depending on the year, make, and model of the vehicle. So, it’s important to consult the replacement instructions for your application in a repair manual or repair database.
But for a general overview of what replacing a CV axle typically involves, check out the information below.
Tools and Equipment Needed to Replace a CV Axle
The tools needed to perform a front axle replacement will vary, depending on the type of car you have.
In general, however, you’ll need:
- Breaker bar
- Dead-blow hammer
- Drain pan
- Jack and jack stands
- Large hammer or mallet
- Long-handled diagonal cutting pliers
- Pry bar or CV axle puller
- Ratchet and socket set
- Repair manual or access to a repair database
- Safety glasses
- Screwdrivers
- Torque wrench
- Wheel chocks
- Wrench set
CV Axle Replacement Instructions
Now, let’s get started replacing your CV axle assembly. The following steps will give you an idea of what the job typically entails
Note: The following are general guidelines for educational and entertainment purposes only. Consult your vehicle’s factory information for specific repair instructions and recommended safety procedures.
CV Axle Removal
- Put on your safety glasses.
- Chock the rear wheels and set the parking brake.
- Carefully use a screwdriver to remove the hub cap or center cap from the wheel.
- Use a breaker bar and socket to loosen the hub nut. Once you break the hub nut loose, you can use a ratchet and socket to remove it.
- Use a breaker bar to loosen the wheel lug nuts. Do not remove the nuts completely at this time.
- Safely raise and support the vehicle using a jack and jack stands.
- Remove the lug nuts by hand. Then remove the wheel and tire assembly.
- Remove the cotter pin from the ball joint’s castle nut. There are many ways to do this; one of which is to use a pair of long-handled diagonal cutting pliers. Grip the circular (closed) end of the cotter pin with the pliers. Then pull the pin outward, while pushing the pliers against the steering knuckle to gain leverage.
- Use a ratchet or wrench to remove the castle nut from the ball joint.
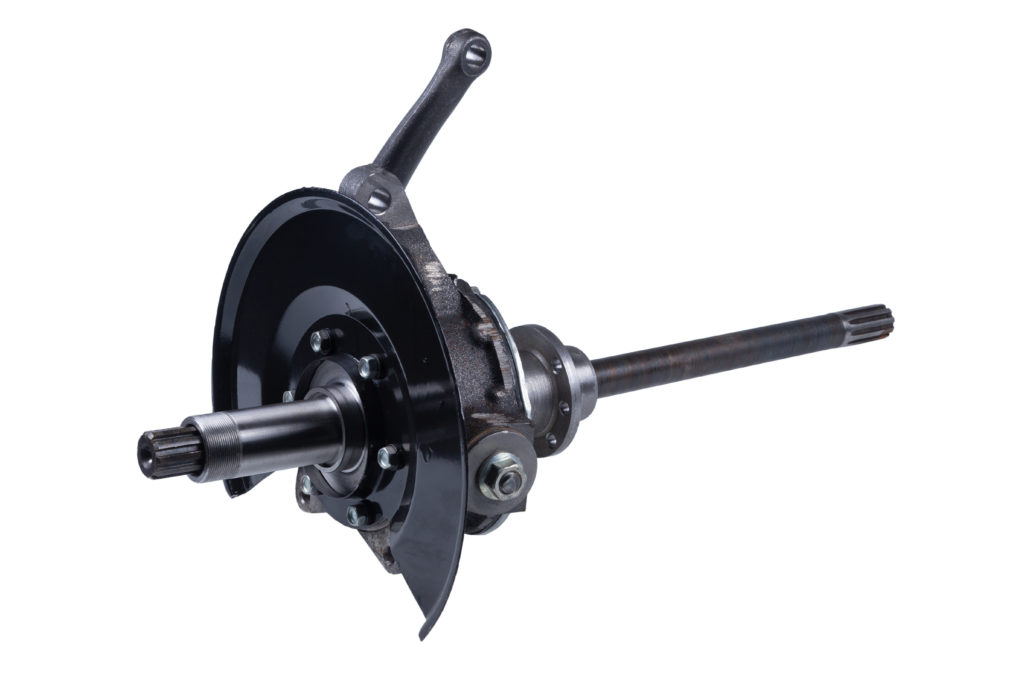
- Separate the ball joint from the steering knuckle (the joint has a taper fit and will not come out by hand). There are multiple ways to separate the two components:
- Strike the steering knuckle near the ball joint with a large hammer. The ball joint’s stud should eventually pop out if the knuckle is hit hard enough.
- You can also use a ball joint separator to separate the ball joint from the knuckle. But be forewarned: most separators don’t fit all vehicles.
- Using a pickle fork and a hammer is also an option. Keep in mind, however, that if you use a pickle fork, the ball joint boot will likely be ruined in the process. So, it’s best to skip this approach when you plan on re-using the ball joint.
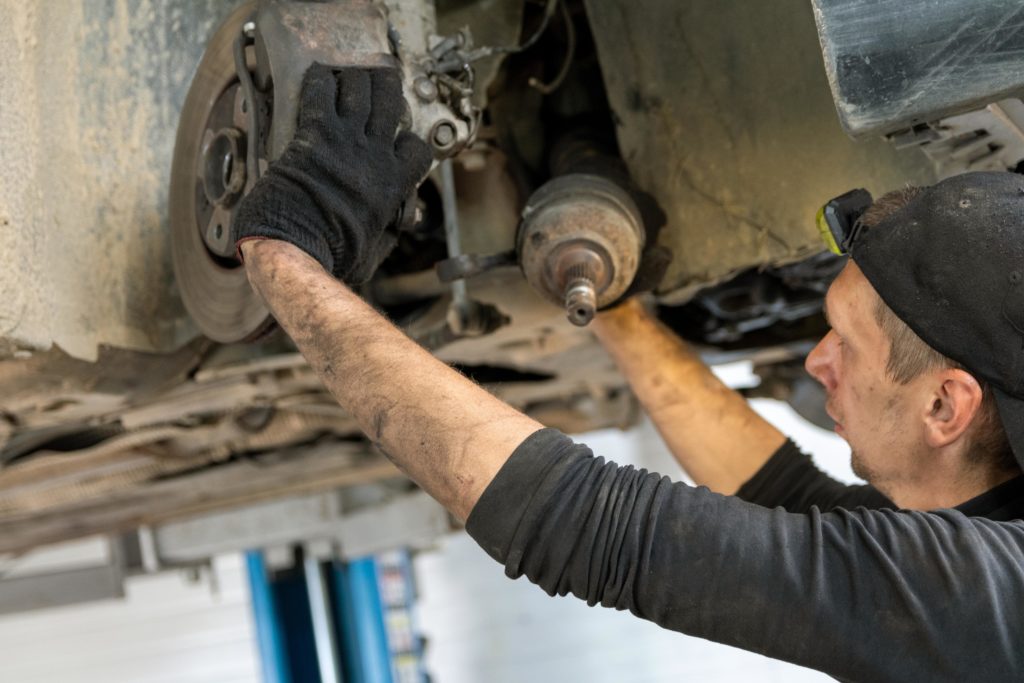
- Use a punch and hammer to tap on the dimpled center of the axle shaft tip, freeing the shaft splines from the hub splines.
- Push the outboard end of the axle out of the hub and move the hub out of the way.
- Place a drain pan under the transaxle’s output seal. Some fluid will leak out of the seal area when you remove the axle.
- Place a pry bar between the transaxle and inboard end of the CV axle. Then use the pry bar to pry the axle from the transaxle. When you do this, you’re unseating the CV axle’s retaining ring so that the axle can be freed.
- Remove the CV axle from the vehicle.
CV Axle Installation
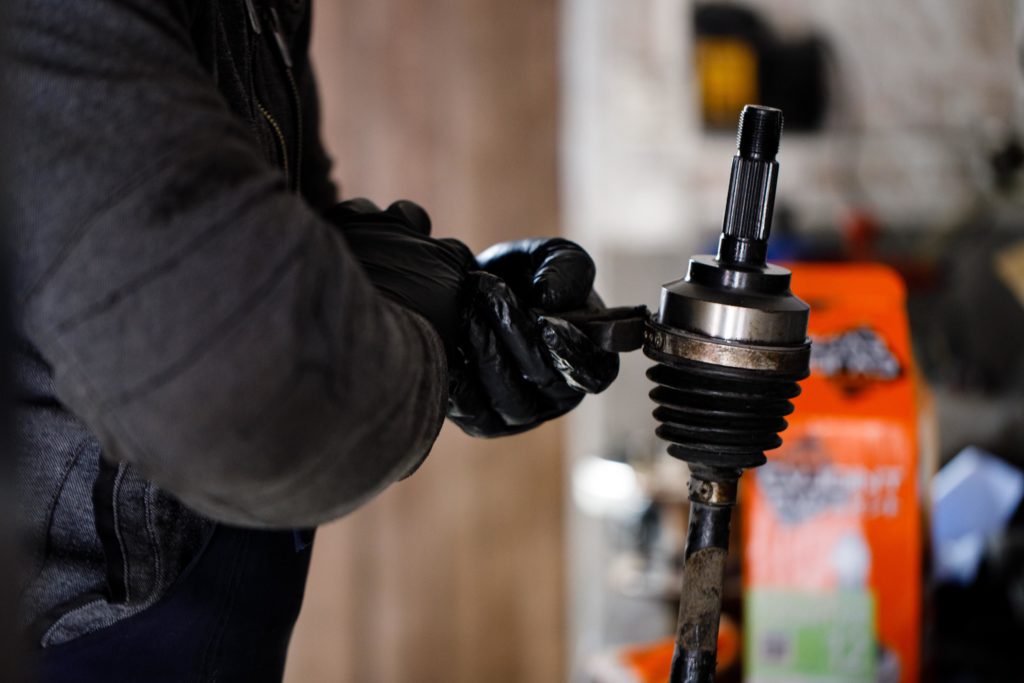
- Compare the new CV axle to the old CV axle to ensure both are the same design.
- Slide the inboard end of the axle into position inside the transaxle. Be careful not to damage the output seal in the process.
- Push the inboard end of the axle into the transaxle until the retaining ring snaps into place. If you can’t push the axle into place by hand, you may need to use a dead blow hammer on the outboard end of the axle to tap the axle into position.
- Make sure the axle is fully seated and flush with the transaxle. Double-check that the axle is seated properly by grasping the portion closest to the transaxle and pulling it outward. The CV axle should remain firmly in place.
- Slide the outboard end of the axle into the hub.
- Slide the ball joint stud into the steering knuckle.
- Reinstall the hub nut loosely by hand. Do not tighten the hub nut down at this time.
- Install the castle nut on the ball joint stud. Use a torque wrench to tighten the castle nut to the manufacturer’s specification.
- Install a new cotter pin into the castle nut.

- Reinstall the wheel/tire assembly on the lug nuts.
- Tighten the lug nuts until they’re snug using a ratchet and socket.
- Safely remove the jack stands and lower the vehicle.
- Use a torque wrench to tighten the lug nuts to the manufacturer’s specification.
- Use a torque wrench to tighten the hub nut to the manufacturer’s specification.
- Reinstall the hub cap or center cap onto the wheel.
- Check the transmission fluid level and top it off as needed.
These videos demonstrate what replacing a CV axle typically involves:
How Long Can You Drive on a Bad CV Axle?
Even though you may be able to get away with driving a vehicle with a bad CV axle for some time, you don’t want to take any chances. A broken CV joint can cause the front steering and suspension system to collapse, resulting in a dangerous loss of steering control.
Get the Right CV Axle Assembly to Restore Your Vehicle
CV axle assemblies are critical transmission components because they transfer rotational force to the drive wheels. When they wear out, your vehicle will create ticking noises, excessive vibrations, and knocking sounds. You need to replace this component because it can cause other problems that can result in more expensive repairs. Good thing CarParts.com makes it easy to get a new axle assembly.
Here at CarParts.com, we have a wide selection of CV axles from the leading aftermarket brands that have high-quality standards. You can be confident in the fit and performance of our axles, as they’re made with the original specifications of your vehicle. You can enjoy our efficient and swift delivery process that’s made possible by our strategically located warehouses across the country.
So don’t wait around and get your vehicle back on the road as soon as possible. Order a replacement axle assembly or axle shaft at CarParts.com today.
Shop this Project


Any information provided on this Website is for informational purposes only and is not intended to replace consultation with a professional mechanic. The accuracy and timeliness of the information may change from the time of publication.


