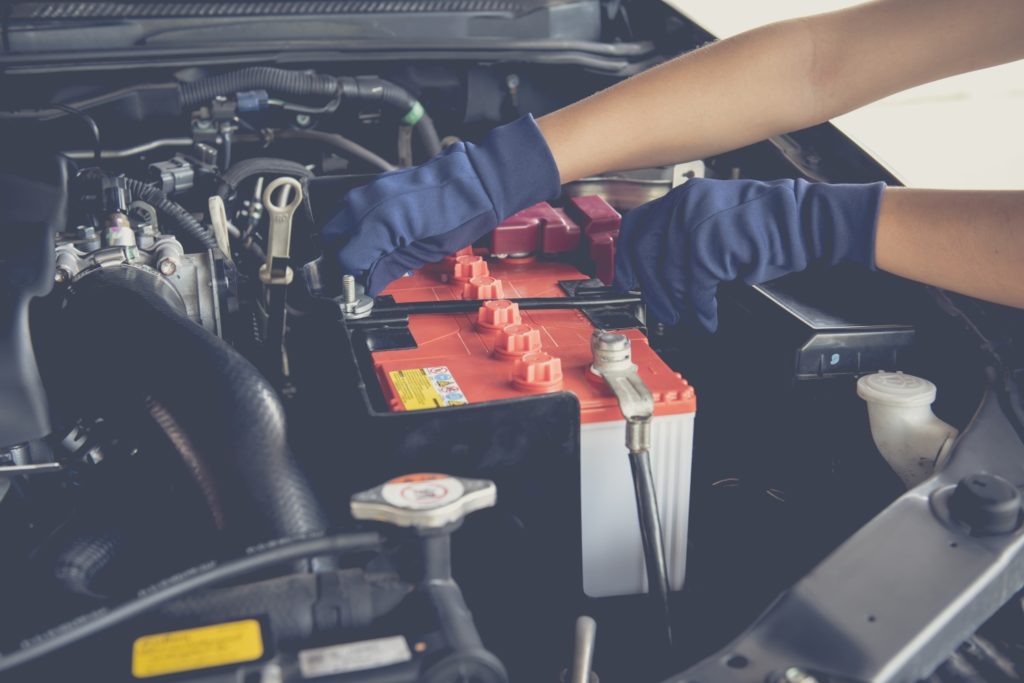
Battery cables are essential because they connect the battery to the vehicle. Even though the battery cables are made from thick-gauge copper wire, they can eventually become damaged or corroded to the point of requiring replacement.
The good news is, If you have the knowledge and proper tools, battery cable replacement is usually a job that you can tackle yourself.

How to Test the Battery Cables
There are two cables—a positive and a negative—attached to the battery. The positive cable connects the battery to the starter motor and the car’s electrical system, while the negative cable connects the battery to a grounding point. Each cable attaches to the battery with a terminal end.
Damaged or corroded battery cables can cause the engine to crank sluggishly or refuse to crank/start.

If you suspect that one (or both) of your car’s battery cables may be faulty, the first step in proving (or disproving) this theory is to perform a visual inspection. Check the cables for obvious signs of damage, such as breakage or excessive corrosion. Replace the cables as necessary if any problems are found.
There are also instances where the cables may have damage or corrosion that’s not visible. In such a scenario, the best way to detect a faulty cable is to perform a voltage drop test on the starting circuit. A voltage drop test is an excellent way to pinpoint a high resistance issue (e.g., excessive corrosion) that’s inhibiting current flow through the cable.
Before you perform a voltage drop test, however, you need to make sure that the battery is fully charged. You can test a battery’s state of charge using a digital multimeter (DMM). To do so, follow these steps:
Note: The following are general guidelines for educational and entertainment purposes only. Consult your vehicle’s factory information for specific repair instructions and recommended safety procedures.
- Put on your safety glasses.
- Set the DMM to the 20 volts DC setting.
- Connect the black meter lead to the negative battery terminal and the red meter lead to the positive battery terminal.
- A battery that’s sufficiently charged should have at least 12.2 volts.

Once you ensure the battery is fully charged, you can perform voltage drop tests on the battery cables. To test the positive battery cable:
- Set the DMM to the 2 volts DC setting.
- Disable the ignition system or the fuel system to prevent the engine from starting.
Note: You can usually do this by disconnecting the electrical connectors from the ignition coils at each cylinder (if the vehicle is so equipped) or by removing the fuel injection relay or fuse. Do NOT disconnect the spark plug wires.
- Connect the red meter lead to the cable’s positive terminal at the battery and the black meter lead to the cable’s other end at the starter’s battery terminal.
- Have an assistant turn the ignition key to the “START” position and note the reading on the meter.
Note: If the engine cranks, do not allow it to crank for more than 15 seconds while it’s disabled.
- Typically, the reading should be less than 0.2 volts. Anything more usually indicates the cable has a high resistance condition and should be replaced.
Next, you’ll want to perform a voltage drop test on the negative battery cable. The process is very similar to testing the positive side of the circuit.
- Connect the red meter lead to the cable’s negative terminal at the battery and the black meter lead to the cable’s other end at the engine.
- Have an assistant turn the ignition key to the “START” position and note the reading on the meter. Typically, the reading should be less than 0.2 volts. Anything more usually indicates the cable has a high resistance condition and should be replaced.
Below, you’ll find a video that demonstrates testing voltage drop across the battery cables of a heavy-duty truck. The concept is the same for light-duty vehicles.
How to Replace Battery Cables
Once you’ve determined one of the battery cables is faulty, you can move forward and replace it.
What’s involved with replacing battery cables will vary, depending on the year, make, and model of the vehicle. So, before you jump right in, it’s a good idea to consult the instructions for your application in a repair manual or repair database.
Below, you’ll find a general overview of what’s typically involved with replacing the battery cables.
Tools and Equipment Needed to Replace a Battery Cable
The tools needed to replace a battery cable will vary, depending on the type of car you have.
In general, however, you’ll need:
- Jack and jack stands
- Repair manual or access to a repair database
- Safety glasses
- Wheel chocks
- Wrench set
Battery Cable Replacement Instructions
Replacing a battery cable is usually a fairly straightforward task. The following steps will give you an idea of what the job usually involves.

Note: The following are general guidelines for educational and entertainment purposes only. Consult your vehicle’s factory information for specific repair instructions and recommended safety procedures.
Battery Cable Removal:
- Put on your safety glasses.
- Safely raise and support the vehicle using a jack and jack stands. Set the parking brake and chock the rear wheels.
- Disconnect the negative battery cable from the battery. Isolate the cable so that it cannot make contact with the battery.
- Disconnect the positive battery cable from the battery.
- Remove the fastener (s) securing the battery’s hold-down device in place.
- Remove the hold-down device from the vehicle.
- Carefully remove the battery from the vehicle.
- With the battery out of the way, trace both battery cables back to where they connect to the vehicle.
Tip: The positive battery cable attaches to the starter motor and usually the power distribution block. Meanwhile, the negative battery cable typically attaches to grounding points on the chassis, engine, and body. - Remove whatever fasteners are securing the cables to the vehicle, then remove the cables from the engine compartment.

Battery Cable Installation:
- Compare the new battery cables to the old battery cables to ensure that both are the same design.
Note: If the cables are universal fit, they may need to be trimmed to length and/or have the terminal ends replaced. - Make sure the battery cable connection points at the vehicle are free of any rust or corrosion. The battery terminals must also be free of any corrosion build-up. Clean these locations if necessary.
- Connect the new battery cables to the vehicle with the appropriate fasteners.
- Reinstall the battery and its hold-down device.
- Reconnect the positive battery cable to the battery.
- Reconnect the negative battery cable to the battery.
- Safely remove the jack stands and lower the vehicle.
- Start the vehicle to check that everything is working as it should.
Best Battery Cable Brands
Once you know the type of battery cable you need, you’ll need to pick a brand.
There are a lot of options on the market, so it might be a little overwhelming at first. Some brands focus on being budget-friendly, while others specialize in offering a wide selection to their customers. To find the right brand for you, it’s important to familiarize yourself with what the different brands offer and what you need.
Here are three of our favorite battery cable brands:
Replacement
Replacement-brand battery cables are an excellent choice if you’re looking for a good, durable part that won’t break the bank. Replacement’s battery cables are built using quality components, and the brand aims to keep its parts inexpensive all the while. It’s one of the most affordable professional brand names out there.
Replacement also offers a one-year, unlimited-mileage warranty with its products, so you can rest assured that you can turn to the brand for help should anything go wrong with your new battery cable. If you need a new battery cable for rebuilding, repairing, or simple car maintenance, Replacement has you covered.
Standard
Standard’s strength lies in the wide selection of battery cables in its catalog. Thanks to the sheer number of battery cables under the Standard brand name, it will be easy for you to find one that fits your vehicle perfectly. Standard’s OEM-grade parts also go through strict quality assurance procedures, systematic inspections, and standard-setting performance tests to ensure excellent quality and good performance.
The Standard brand belongs to Standard Motor Products, which has been in the automotive parts industry since 1919. The company knows how to engineer good, durable parts, and it does so in TS 16949-certified facilities for a broad range of imported and domestic vehicle models.
ACDelco
ACDelco is a popular automotive parts brand, providing factory-original fit, sturdy build quality, and reasonable pricing. If you’re looking for a replacement battery cable, you’ll find that many ACDelco products are backed by tons of positive reviews.
ACDelco parts use high-quality materials and are designed to have extended lifespans and excellent performance results. The company follows strict OE standards, so its parts both fit perfectly and perform well once installed. ACDelco manufactures both original GM parts and premium OE replacement parts, which gives the company an edge when it comes to creating a replacement battery cable perfectly suited to your vehicle.
When it comes to choosing the best battery cable brand for your vehicle, knowing what they offer goes a long way. ACDelco might be one of the top-rated brands, but if it doesn’t have a battery cable for your vehicle, you might want to go for a Standard-brand part instead. Meanwhile, Replacement has your back if you’re looking to avoid breaking the bank. The best battery cable for you will be the one that’s within your budget, fits your vehicle, and meets your expectations. So see what each brand offers, and decide for yourself which one suits your needs the best.
Find The Right Car Battery Cable For Your Vehicle Online
Corroded battery cables shouldn’t be ignored, because they can compromise your vehicle’s safety. A corroded battery can cause the battery to drain and other electrical problems. While this might not sound catastrophic, it results in your vehicle going flat, which is very inconvenient. Good thing CarParts.com is a one-stop shop for all sorts of vehicle parts including battery cables.
Here at CarParts.com, we’re dedicated to giving you a wide range of high-quality battery cables to choose from. We have a great selection of different battery cables that are made by a range of brands for specific vehicle models. You can be confident that our battery cables can handle harsh operating conditions inside your hood, as they’ve passed stringent quality control standards.
Don’t let your corroded battery cable cause problems in the future. Get a replacement battery cable here at CarParts.com today!
Products Mentioned in this Guide
Any information provided on this Website is for informational purposes only and is not intended to replace consultation with a professional mechanic. The accuracy and timeliness of the information may change from the time of publication.


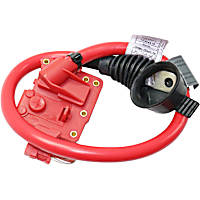
 Battery Cable
 Battery


I have a 2012 Chevy Malibu engine light comes on gives you low power in the engine and then it’s got into the transmission to where it won’t hardly pull to get to the Chevrolet dealer they wanted $235 diagnostic and there’s three computers on the car whenever the hood one beside the transmission and one in a truck and it’s 235 each to do a diagnostic then they said they would reset it $235 each on each computer I told him I said well I just want you to reset the one computer it’s all I got money for I’ll pay $235 got it back same thing was wrong with it that I took it in there that didn’t do nothing to it and they put on their cars and save the drive I started searching on the internet and it told me to change the throttle body I put a brand new throttle body on it still does the same thing and that was 200 and something dollars more so now the car now because the Chevrolet dealer won’t do nothing for it and I like to get in on the class action lawsuit also!
I have a 2006 Impala can anyone tell me where the negative cable connects to car
Hi Eunice,
The negative battery cable connects the battery to the vehicle in more than one ground location. What engine does your car have?
Everything that I read was so understandable, Thank you so much , I will do this myself, I am 63 year’s young and I have a 1996 Ford Windstar 3.8 Van I’ve had it parked cuz no one would help me. Now with your video, I’m doing it myself
Hi Berta,
Thank you for the positive feedback! We’re glad you found this article to be helpful. It’s great that you’re going to tackle the job yourself!