This article is broken down into four sections:
- What is a cooling system?
- How does a cooling system work?
- The components of a cooling system
- Cooling system maintenance & Repair
What is a Cooling System?
A typical 4 cylinder vehicle cruising along the highway at around 50 miles per hour will produce 4,000 controlled explosions per minute inside the engine as the spark plugs ignite the fuel in each cylinder to propel the vehicle down the road. Obviously, these explosions produce an enormous amount of heat and, if not controlled, will destroy an engine in a matter of minutes. Controlling these high temperatures is the job of the cooling system.
The modern cooling system has not changed much from the cooling systems in the model T back in the ’20s. Oh sure, it has become infinitely more reliable and efficient at doing its job, but the basic cooling system still consists of liquid coolant being circulated through the engine, then out to the radiator to be cooled by the air stream coming through the front grill of the vehicle.
Today’s cooling system must maintain the engine at a constant temperature whether the outside air temperature is 110 degrees Fahrenheit or 10 below zero. If the engine temperature is too low, fuel economy will suffer and emissions will rise. If the temperature is allowed to get too hot for too long, the engine will self destruct.

How Does a Cooling System Work?
Actually, there are two types of cooling systems found on motor vehicles: liquid cooled and air cooled.
Air cooled engines are found on a few older cars, like the original Volkswagen Beetle, the Chevrolet Corvair, and a few others. Many modern motorcycles still use air cooling, but for the most part, automobiles and trucks use liquid cooled systems and that is what this article will concentrate on.
The cooling system is made up of:
- passages inside the engine block and heads
- a water pump to circulate the coolant
- a thermostat to control the temperature of the coolant
- a radiator to cool the coolant
- a radiator cap to control the pressure in the system
- interconnecting hoses to transfer the coolant from engine to radiator (and also to the car’s heater system where hot coolant is used to warm up the vehicle’s interior)
A cooling system works by sending a liquid coolant through passages in the engine block and heads. As the coolant flows through these passages, it picks up heat from the engine. The heated fluid then makes its way through a rubber hose to the radiator in the front of the car. As it flows through the thin tubes in the radiator, the hot liquid is cooled by the air stream entering the engine compartment from the grill in front of the car.
Once the fluid is cooled, it returns to the engine to absorb more heat. The water pump has the job of keeping the fluid moving through this system of plumbing and hidden passages.

A thermostat is placed between the engine and the radiator to make sure that the coolant stays above a certain preset temperature. If the coolant temperature falls below this temperature, the thermostat blocks the coolant flow to the radiator, forcing the fluid instead through a bypass directly back to the engine.
The coolant will continue to circulate like this until it reaches the design temperature, at which point, the thermostat will open a valve and allow the coolant back through the radiator.
In order to prevent the coolant from boiling, the cooling system is designed to be pressurized. Under pressure, the boiling point of the coolant is raised considerably. However, too much pressure will cause hoses and other parts to burst, so a system is needed to relieve pressure if it exceeds a certain point.
The job of maintaining the pressure in the cooling system belongs to the radiator cap. It is designed to release pressure if it reaches the specified upper limit that the system was designed to handle. Prior to the ’70s, the cap would release this extra pressure to the pavement. Since then, a system was added to capture any released fluid and store it temporarily in a reserve tank. This fluid would then return to the cooling system after the engine cooled down.
This is what is called a closed cooling system.

Circulation
The coolant follows a path that takes it from the water pump through passages inside the engine block, where it collects the heat produced by the cylinders. It then flows up to the cylinder head (or heads in the case of a V-type engine) where it collects more heat from the combustion chambers. It then flows out past the thermostat (if the thermostat is opened to allow the fluid to pass), then through the upper radiator hose and into the radiator.
The coolant flows through the thin, flattened tubes that make up the core of the radiator and is cooled by the air flow through the radiator. From there, it flows out of the radiator, through the lower radiator hose, and back to the water pump.
By this time, the coolant has cooled off and is ready to collect more heat from the engine.
The capacity of the system is engineered for the type and size of the engine and the work load that it is expected to undergo. Obviously, the cooling system for a larger, more powerful V8 engine in a heavy vehicle will need considerably more capacity than a compact car with a small 4-cylinder engine. On a large vehicle, the radiator is larger, with many more tubes for the coolant to flow through. The radiator is also wider and taller to capture more air flow entering the vehicle from the grill in front.
Antifreeze
The coolant that courses through the engine and associated plumbing must be able to withstand temperatures well below zero without freezing. It must also be able to handle engine temperatures in excess of 250 degrees without boiling. It’s a tall order for any fluid, but that’s not all—the fluid must also contain rust inhibitors and a lubricant.
The coolant in today’s vehicles is a mixture of ethylene glycol (antifreeze) and water, with a recommended ratio of 1:1. In other words, one part antifreeze and one part water. This is the minimum recommended for use in automobile engines. Less antifreeze and the boiling point would be too low. In certain climates where the temperatures can go well below zero, it is permissible to have as much as 75% antifreeze and 25% water, but no more than that. Pure antifreeze will not work properly and can cause a boil-over.
Antifreeze is poisonous and should be kept away from people and animals, especially dogs and cats, who are attracted by the sweet taste. Ethylene glycol, if ingested, will form calcium oxalate crystals in the kidneys, which can cause acute renal failure and death.

The Components of a Cooling System
The Radiator
Radiator Cooling Fans
Pressure Cap & Reserve Tank
Water Pump
Thermostat
Bypass System
Freeze Plugs
Head Gaskets & Intake Manifold Gaskets
Heater Core
Hoses
Radiator
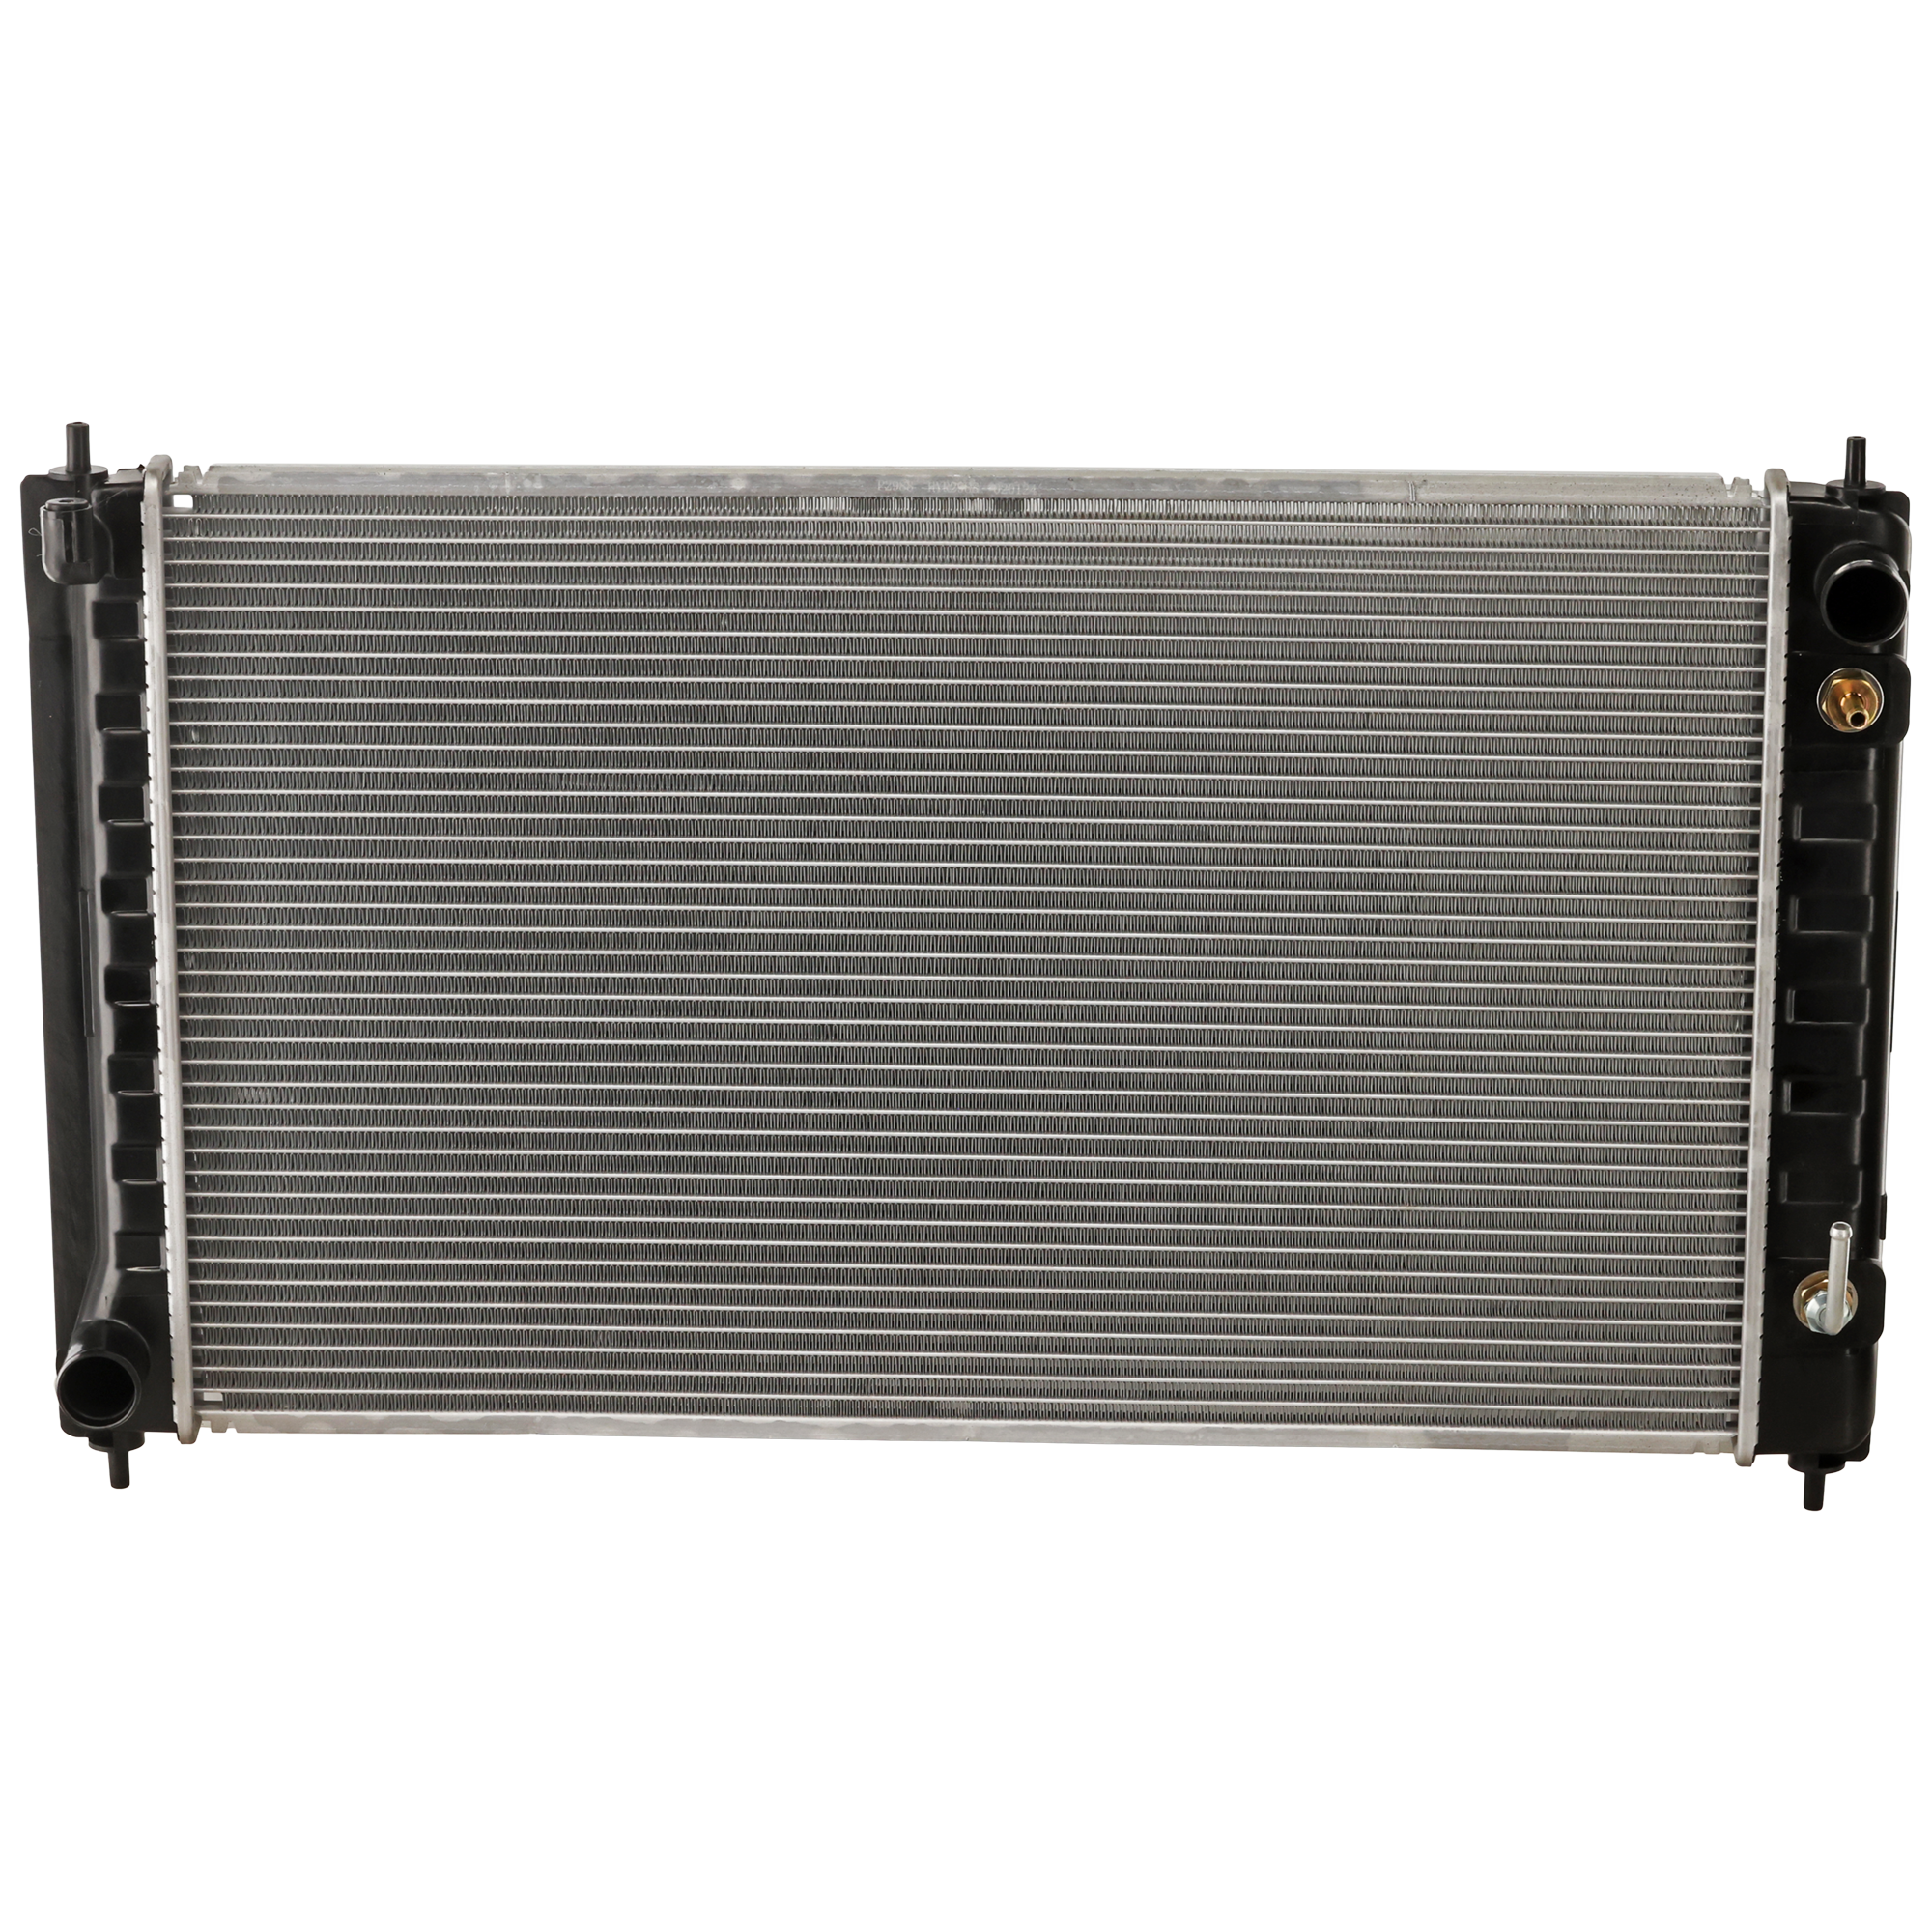
The radiator core is usually made up of flattened aluminum tubes with aluminum strips that zigzag between the tubes. These fins transfer the heat in the tubes to the air stream, to be carried away from the vehicle. On each end of the radiator core is a tank, usually made of plastic, that covers the ends of the radiator.

On most modern radiators, the tubes run horizontally with the plastic tank on either side. On other cars, the tubes run vertically with the tank on the top and bottom.
On older vehicles, the core was made of copper and the tanks were brass. The new aluminum-plastic system is much more efficient, not to mention cheaper to produce.
On radiators with plastic end caps, there are gaskets between the aluminum core and the plastic tanks to seal the system and keep the fluid from leaking out. On older copper and brass radiators, the tanks were brazed (a form of welding) in order to seal the radiator.
The tanks, whether plastic or brass, each have a large hose connection. One is mounted towards the top of the radiator to let the coolant in while the other is mounted at the bottom of the radiator on the other tank to let the coolant back out.
On top of the radiator is an additional opening that is capped off by the radiator cap (more on this later).
Another component in the radiator for vehicles with an automatic transmission is a separate tank mounted inside one of the tanks. Fittings connect this inner tank through steel tubes to the automatic transmission. Transmission fluid is piped through this tank inside a tank to be cooled by the coolant flowing past it before returning the the transmission.
Radiator Fans

Mounted on the back of the radiator, on the side closest to the engine, is one or two electric fans inside a housing that is designed to protect fingers and to direct air flow. These fans are there to keep the air flow going through the radiator while the vehicle is slowing down or when it’s stopped with the engine running. If these fans stopped working, every time you came to a stop, the engine temperature would begin rising.
On older systems, the fan was connected to the front of the water pump and would spin whenever the engine was running because it was driven by a fan belt instead of an electric motor. In these cases, if a driver would notice the engine begin to run hot in stop and go driving, the driver might put the car in neutral and rev the engine to turn the fan faster which helped cool the engine. Racing the engine on a car with a malfunctioning electric fan would only make things worse because you are producing more heat in the radiator with no fan to cool it off.
The electric fans are controlled by the vehicle’s computer. A temperature sensor monitors engine temperature and sends this information to the computer. The latter determines if the fan should be turned on and actuates the fan relay if additional air flow through the radiator is necessary.
If the car has air conditioning, there is an additional radiator mounted in front of the normal radiator. This “radiator” is called the air conditioner condenser, which also needs to be cooled by the air flow entering the engine compartment. You can find out more about the air conditioning condenser by going to our article on Automotive Air Conditioning.
As long as the air conditioning is turned on, the system will keep the fan running, even if the engine is not running hot. This is because if there is no air flow through the air conditioning condenser, the air conditioner will not be able to cool the air entering the interior.
Having a bad condenser will usually result in your air conditioning not being as cold as it should be, or it won’t even work at all.
Pressure Cap and Reserve Tank

As coolant gets hot, it expands. Since the cooling system is sealed, this expansion causes an increase in pressure in the cooling system, which is normal and part of the design. When coolant is under pressure, the temperature where the liquid begins to boil is considerably higher. This pressure, coupled with the higher boiling point of ethylene glycol, allows the coolant to safely reach temperatures in excess of 250 degrees.
The radiator pressure cap is a simple device that will maintain pressure in the cooling system up to a certain point. If the pressure builds up higher than the set pressure point, there is a spring loaded valve, calibrated to the correct pounds per square Inch (psi), to release the pressure.

When the cooling system pressure reaches the point where the cap needs to release this excess pressure, a small amount of coolant is bled off. It could happen during stop-and-go traffic on an extremely hot day, or if the cooling system is malfunctioning. If it does release pressure under these conditions, there is a system in place to capture the released coolant and store it in a plastic tank that is usually not pressurized.
Since there is now less coolant in the system, as the engine cools down, a partial vacuum is formed. The radiator cap on these closed systems has a secondary valve to allow the vacuum in the cooling system to draw the coolant back into the radiator from the reserve tank (like pulling the plunger back on a hypodermic needle).
There are usually markings on the side of the plastic tank marked Full-Cold and Full-Hot. When the engine is at normal operating temperature, the coolant in the translucent reserve tank should be up to the Full-Hot line. After the engine has been sitting for several hours and is cool to the touch, the coolant should be at the Full-Cold line.
Water Pump

A water pump is a simple device that will keep the coolant moving as long as the engine is running. It is usually mounted on the front of the engine and turns whenever the engine is running. The water pump is driven by the engine through one of the following:
- A fan belt that will also be responsible for driving an additional component like an alternator or power steering pump
- A serpentine belt, which also drives the alternator, power steering pump, and AC compressor among other things
- The timing belt, which is also responsible for driving one or more camshafts
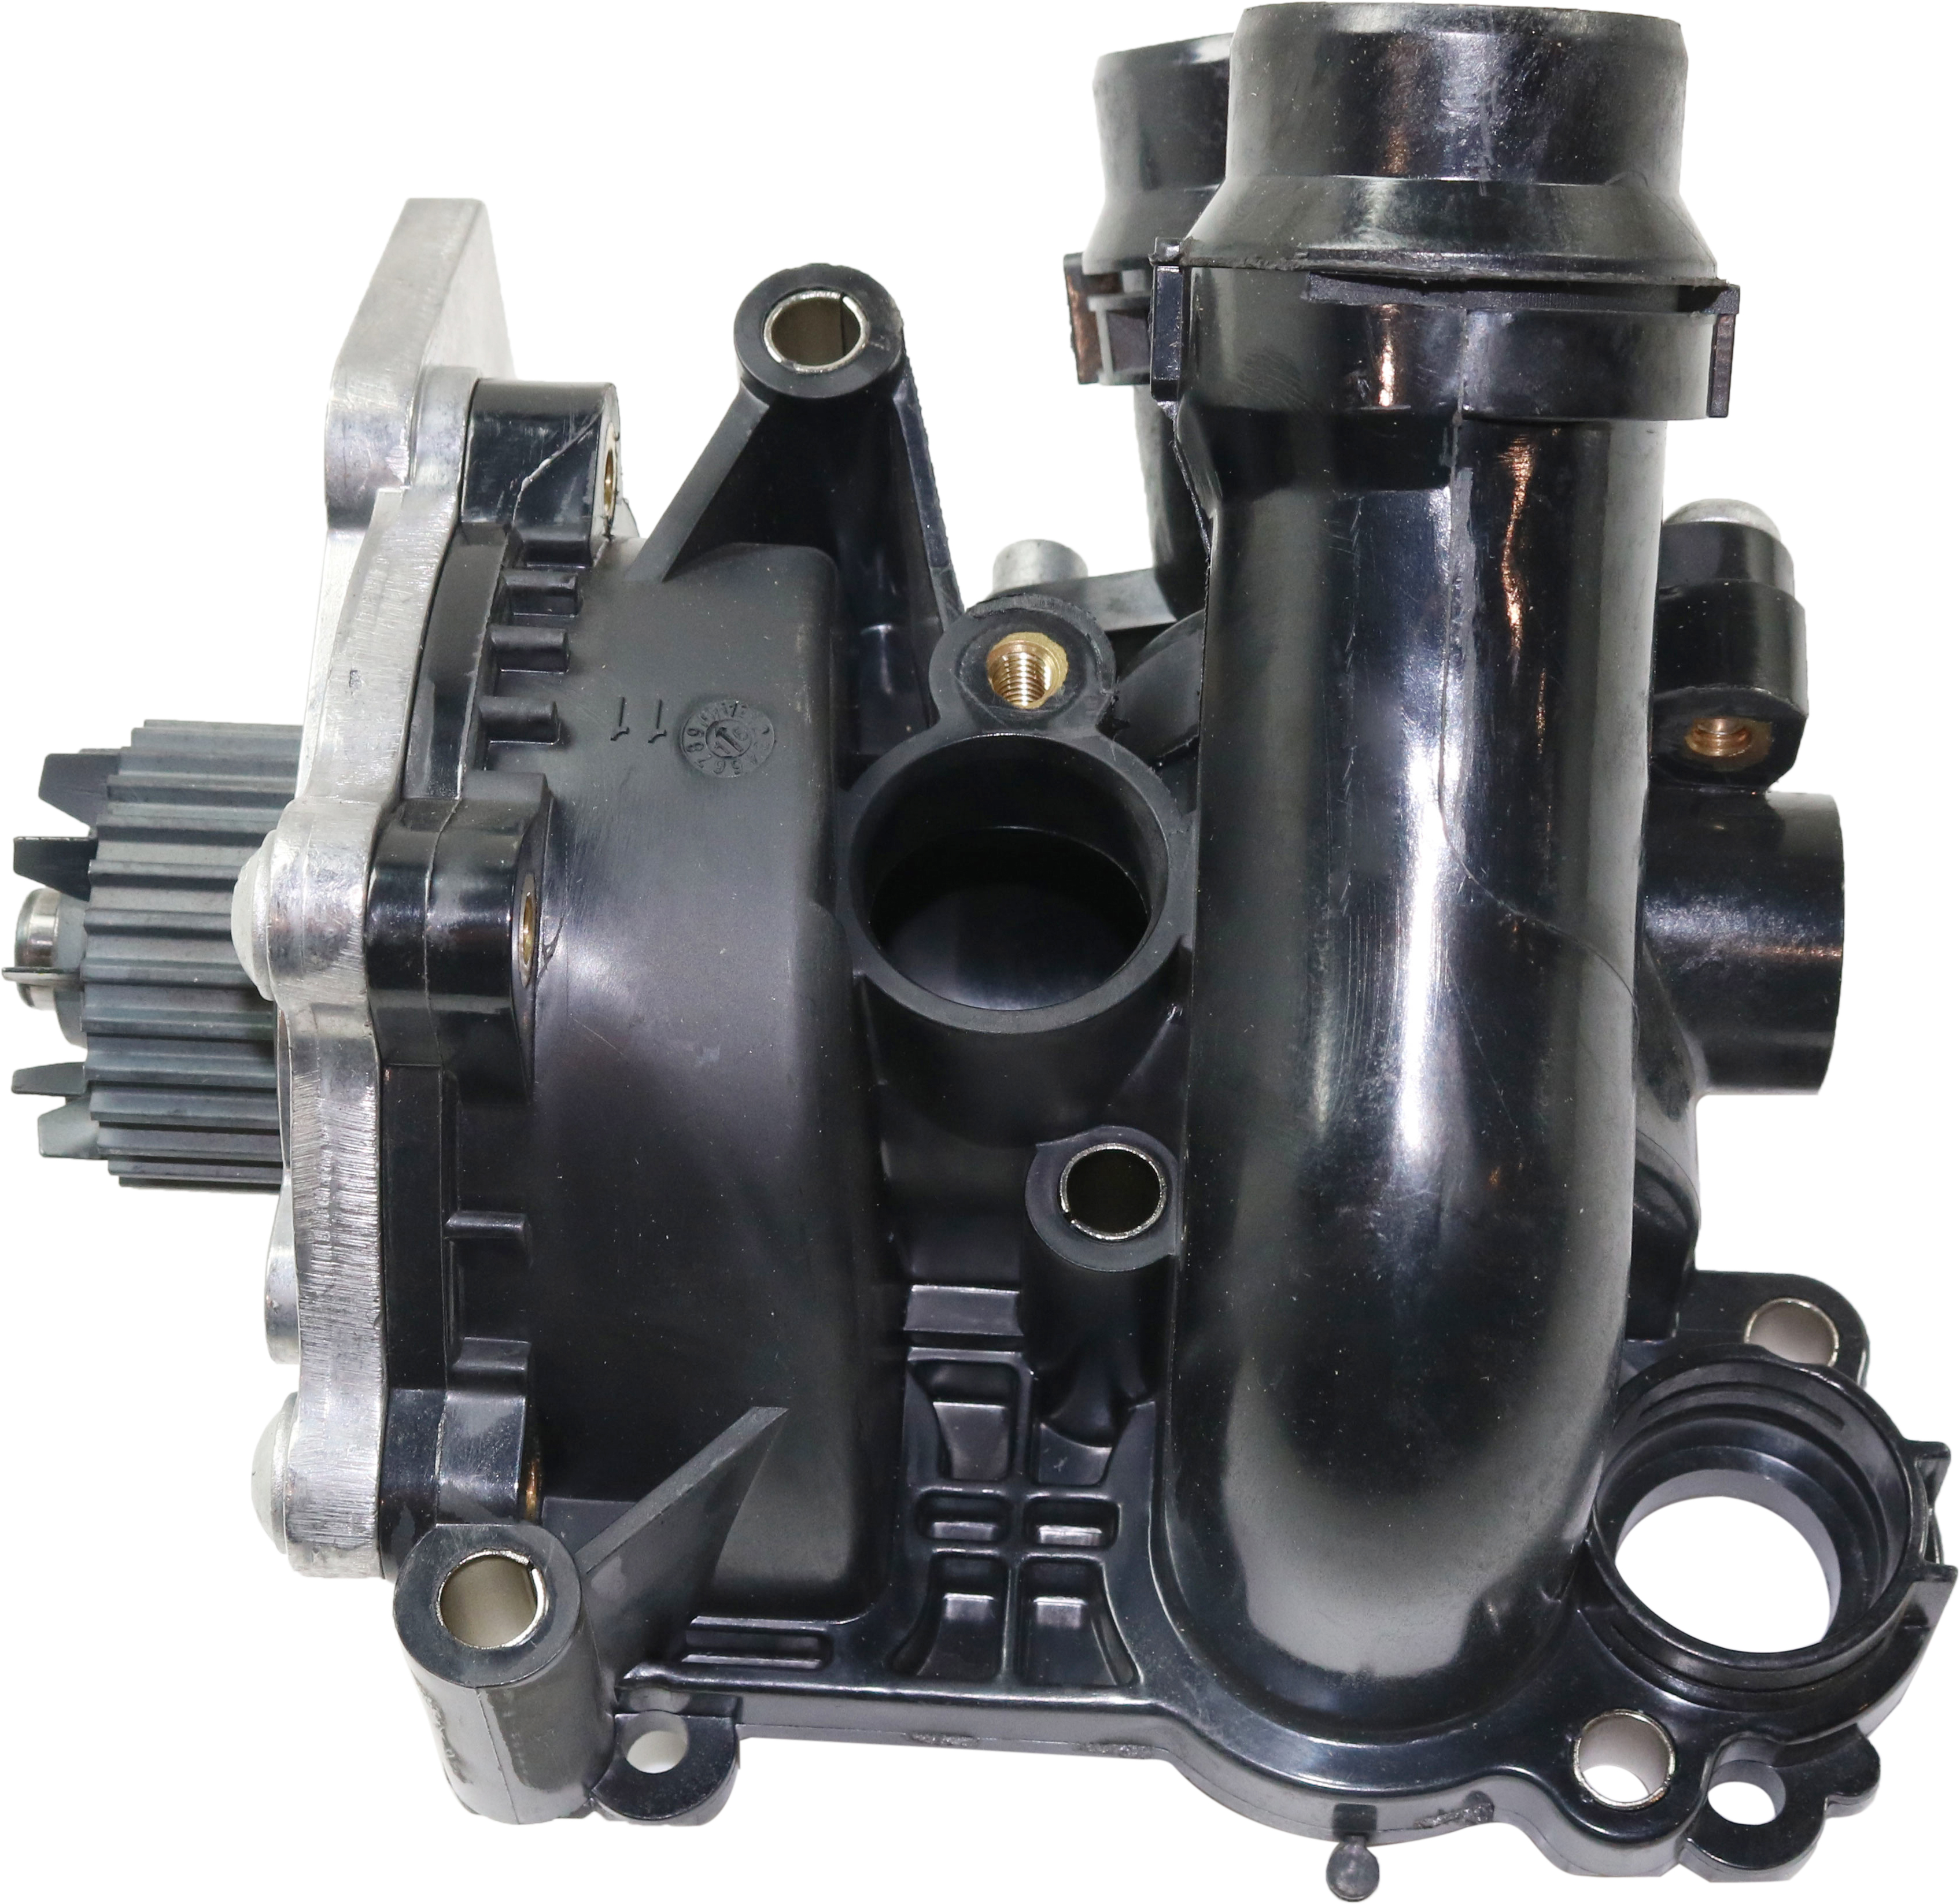
The water pump is made up of a housing, usually made of cast iron or cast aluminum and an impeller mounted on a spinning shaft with a pulley attached to the shaft on the outside of the pump body.
A seal keeps fluid from leaking out of the pump housing past the spinning shaft. The impeller uses centrifugal force to draw the coolant in from the lower radiator hose and send it under pressure into the engine block. There is a gasket to seal the water pump to the engine block and prevent the flowing coolant from leaking out where the pump is attached to the block.
Thermostat
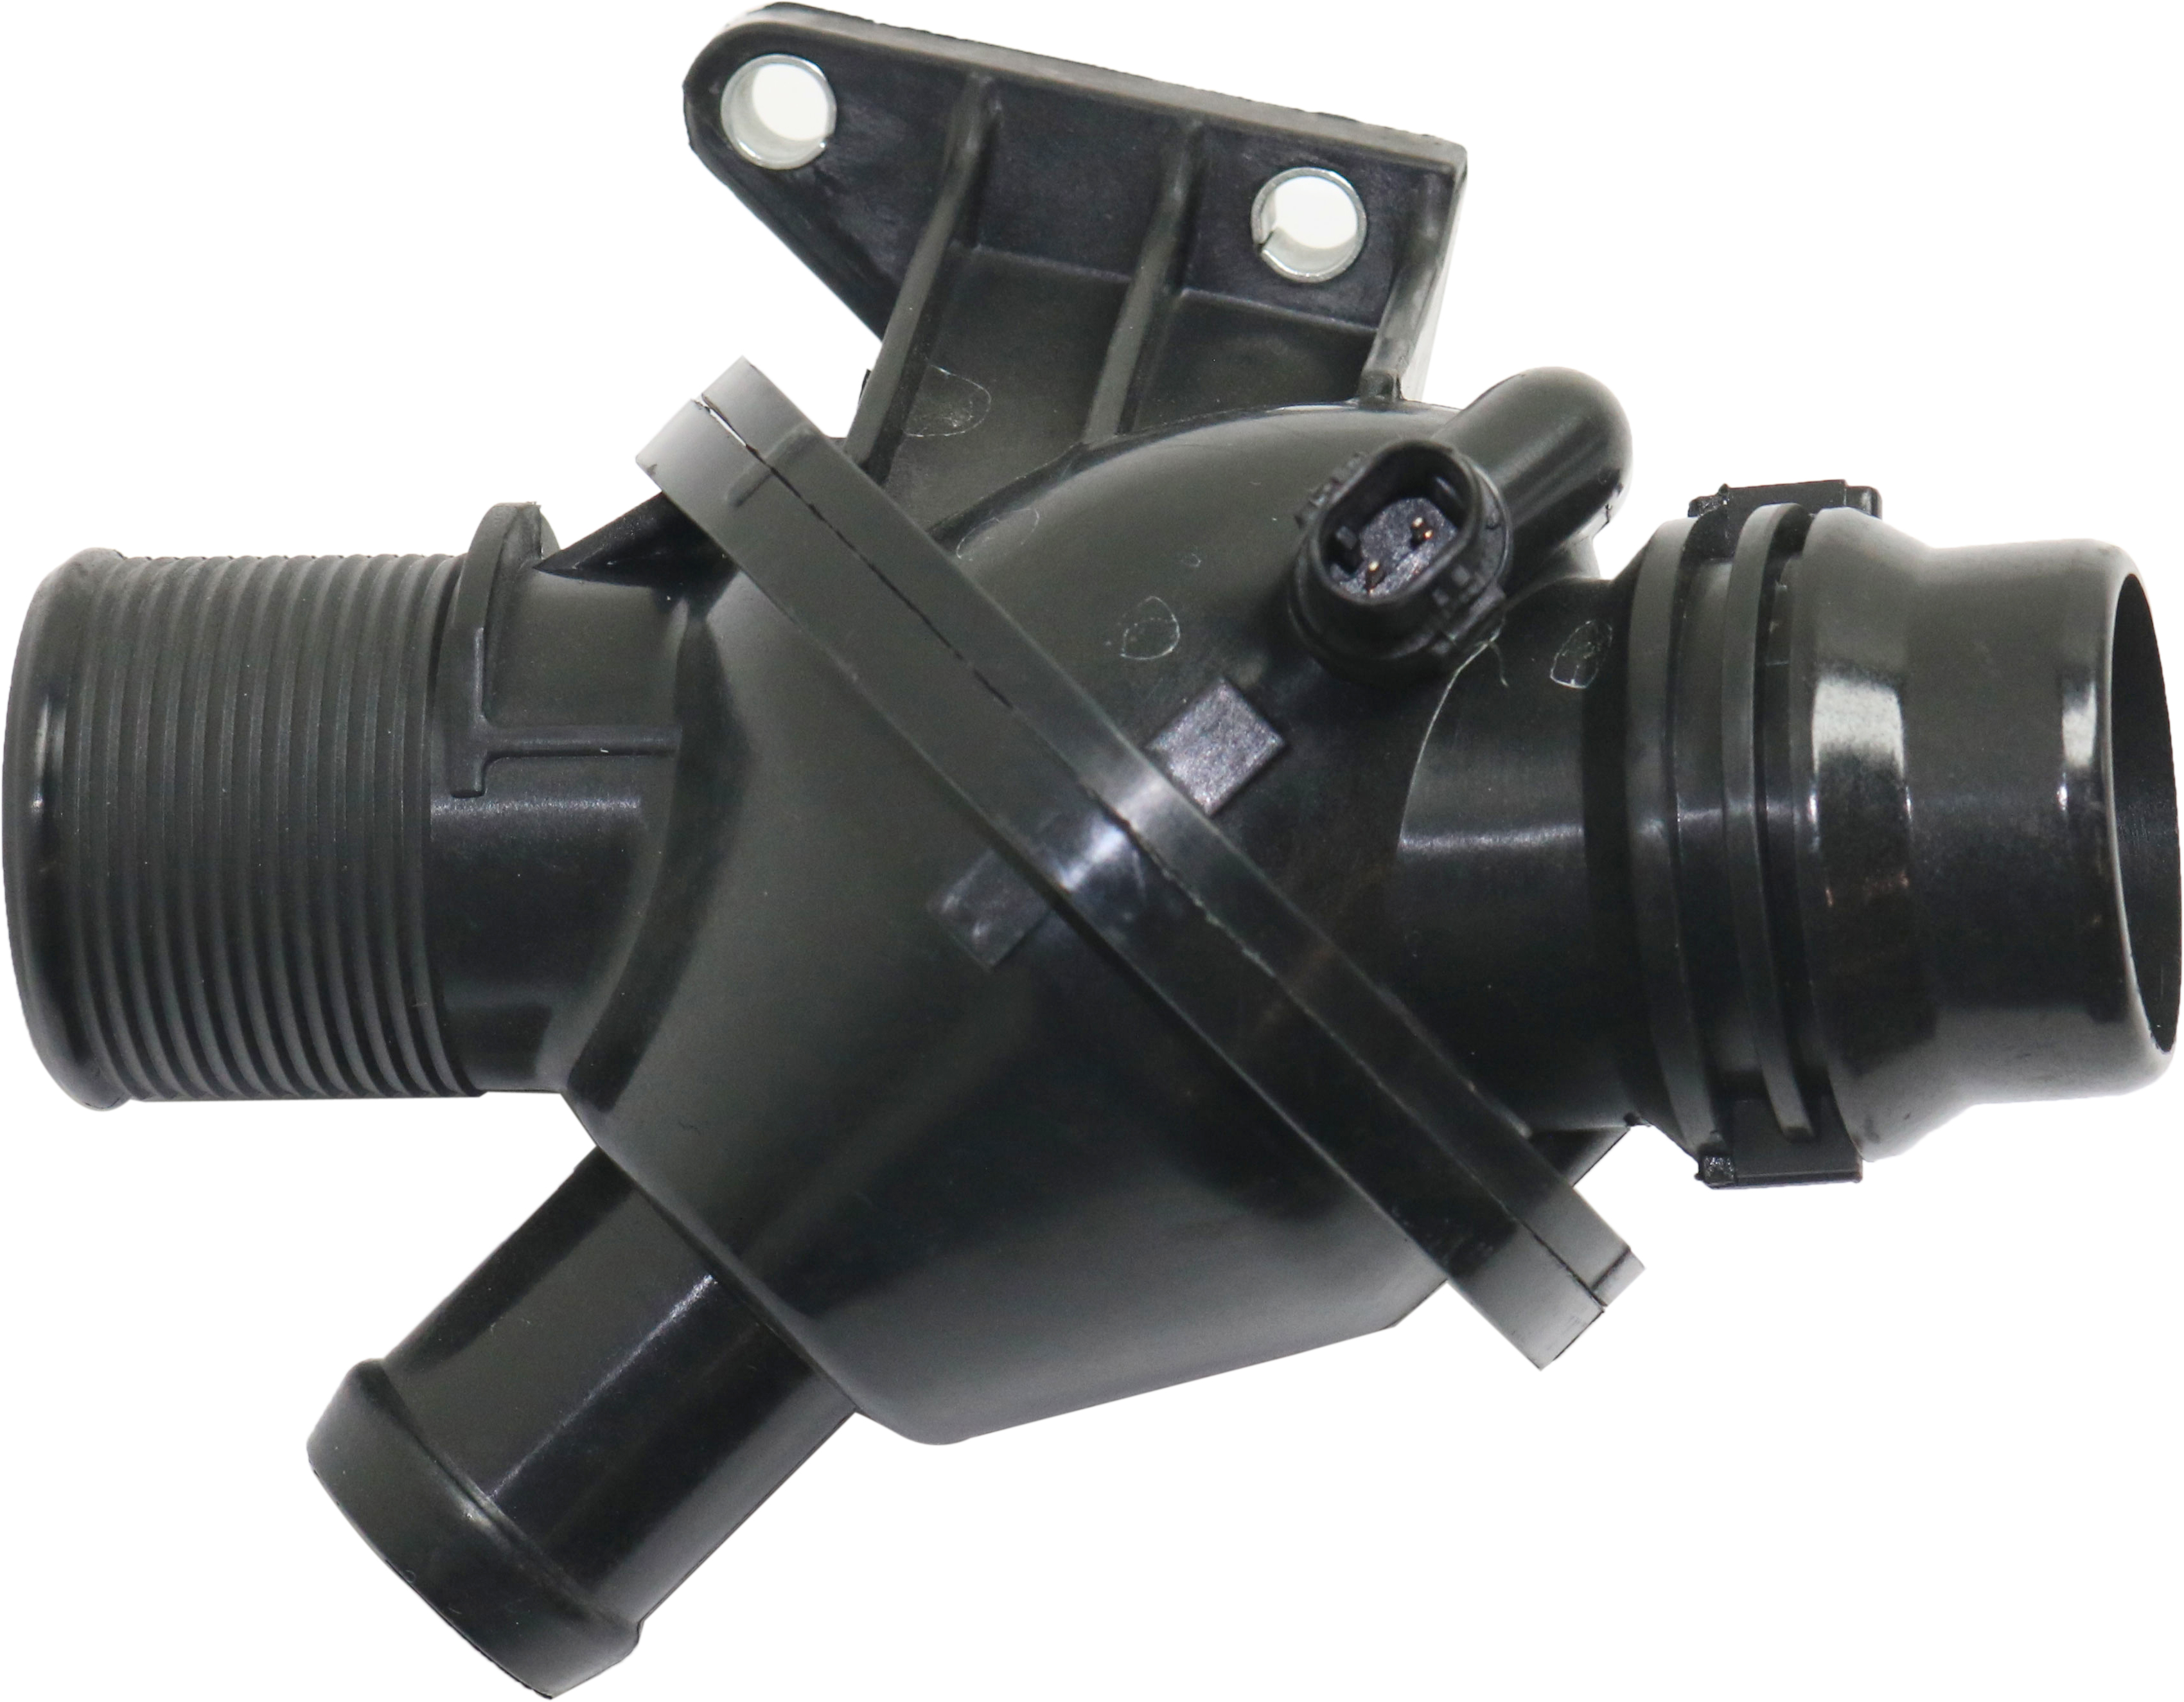
The thermostat is simply a valve that measures the temperature of the coolant and, if it is hot enough, opens to allow the coolant to flow through the radiator. If the coolant is not hot enough, the flow to the radiator is blocked and fluid is directed to a bypass system that allows the coolant to return to the engine. This bypass system allows the coolant to keep moving through the engine to balance the temperature and avoid hot spots. Because flow to the radiator is blocked, the engine will reach operating temperature sooner and, on a cold day, will allow the heater to begin supplying hot air to the interior more quickly.

Since the ’70s, thermostats have been calibrated to keep the temperature of the coolant above 192 to 195 degrees. Prior to that, 180 degree thermostats were the norm. It was found that if the engine is allowed to run at these hotter temperatures, emissions are reduced, moisture condensation inside the engine is quickly burned off, which extends engine life, and combustion is more complete, which improves fuel economy.
The heart of a thermostat is a sealed copper cup that contains wax and a metal pellet. As the thermostat heats up, the hot wax expands, pushing a piston against spring pressure to open the valve and allow coolant to circulate.
The thermostat is usually located in the front, top part of the engine in a water outlet housing that also serves as the connection point for the upper radiator hose. Its housing attaches to the engine, usually with two bolts and a gasket to seal it against leaks. This gasket is usually made of a heavy paper, or uses a rubber O-ring. In some applications, there is no gasket or rubber seal. Instead, a thin bead of special silicone sealer is squeezed from a tube to form a seal.
There is a mistaken belief by some people that if they remove the thermostat, they will be able to solve hard to find overheating problems—but this couldn’t be further from the truth. Removing the thermostat will allow uncontrolled circulation of the coolant throughout the system. It is possible for the coolant to move so fast that it will not be properly cooled as it races through the radiator, so the engine can run even hotter than before under certain conditions.
Other times, the engine will never reach its operating temperature. On computer controlled vehicles, the computer monitors engine temperatures and regulates fuel usage based on that temperature. If the engine never reaches operating temperatures, fuel economy and performance will suffer considerably.
Bypass System
This is a passage that allows the coolant to bypass the radiator and return directly back to the engine. Some engines use a rubber hose, or a fixed steel tube. In other engines, there is a cast in passage built into the water pump or front housing. In any case, when the thermostat is closed, coolant is directed to this bypass and channeled back to the water pump, which sends the coolant back into the engine without being cooled by the radiator.
Freeze Plugs

When an engine block is manufactured, a special sand is molded to the shape of the coolant passages in the engine block. This sand sculpture is positioned inside a mold and molten iron or aluminum is poured to form the engine block. When the casting is cooled, the sand is loosened and removed through holes in the engine block casting, leaving the passages that the coolant flows through. Obviously, if we don’t plug up these holes, the coolant will pour right out.
Plugging these holes is the job of the freeze-out plug. These plugs are steel discs or cups that are press fit in the holes in the side of the engine block. They normally last the life of the engine with no problems. But there is a reason they are called freeze-out plugs. In the early days, many people used plain water in their engines, usually after replacing a burst hose or other cooling system repair—“It is summer and I will replace the water with antifreeze when the weather starts turning”.
Needless to say, people are forgetful and many a motor suffered the fate of the water freezing inside the block. Often, when this happened, the pressure of the water freezing and expanding forced the freeze-out plugs to pop out, relieving the pressure and saving the engine block from cracking (although, just as often, the engine cracked anyway).
Another reason for these plugs to fail was the fact that they were made of steel and would easily rust through if the vehicle owner was careless about maintaining the cooling system. Antifreeze has rust inhibitors in the formula to prevent this from happening, but those chemicals would lose their effect after 3 years, which is why antifreeze needs to be changed periodically. The fact that some people left plain water in their engines greatly accelerated the rusting of these freeze plugs.
When a freeze plug becomes so rusty that it perforates, you’ll have a coolant leak that must be repaired by replacing the rusted out freeze plug with a new one. This job ranges from fairly easy to extremely difficult depending on the location of the affected freeze plug. These components are located on the sides of the engine, usually 3 or 4 per side. There are also freeze plugs on the back of the engine on some models and also on the heads.
As long as you are good about maintaining the cooling system, you need never worry about these plugs failing on modern vehicles.
Head Gaskets and Intake Manifold Gaskets
All internal combustion engines have an engine block and one or two cylinder heads. The mating surfaces where the block and head meet are machined flat for a close, precise fit, but no amount of careful machining will allow them to be completely water-tight or be able to hold back combustion gases from escaping past the mating surfaces.
In order to seal the block to the heads, we use a head gasket, which has several things it needs to seal against. The main thing is the combustion pressure on each cylinder. Oil and coolant must easily flow between block and head, and it is the job of the head gasket to keep these fluids from leaking out or into the combustion chamber, or into each other for that matter.
A typical head gasket is usually made of a soft sheet metal that is stamped with ridges that surround all leak points. When the head is placed on the block, the head gasket is sandwiched between them. Many bolts, called head bolts, are screwed in and tightened down, causing the head gasket to crush and form a tight seal between the block and head.

Head gaskets usually fail if the engine overheats for a sustained period of time causing the cylinder head to warp and release pressure on the head gasket. This is most common on engines with cast aluminum heads, which are now on just about all modern engines.
Once coolant or combustion gases leak past the head gasket, the gasket material is usually damaged to a point where it will no longer hold the seal. This causes leaks in several possible areas.
For example:
- Combustion gases could leak into the coolant passages causing excessive pressure in the cooling system
- Coolant could leak into the combustion chamber causing it to escape through the exhaust system, often causing a white cloud of smoke from the tailpipe
- Other problems such as oil mixing with the coolant or being burned out of the exhaust are also possible
Some engines are more susceptible to head gasket failure than others. I have seen blown head gaskets on engines that just started to overheat and were running hot for less than five minutes. The best advice is, if the engine shows signs of overheating, find a place to pull over and shut the engine off as quickly as possible.
Head gaskets themselves are relatively cheap, but it is the labor that’s the killer. A typical head gasket replacement is a several hour job where the top part of the engine must be completely disassembled. These jobs can easily reach $1,000 or more.
On V-type engines, there are two heads, meaning two head gaskets. While the labor won’t double if both head gaskets need to be replaced, it will probably add a good 30% more labor to replace both. If only one head gasket has failed, it is usually not necessary to replace both, but it could be added insurance to get them both done at once.
A head gasket replacement begins with the diagnosis that the head gasket has failed. There is no way for a technician to know for certain whether there is additional damage to the cylinder head or other components without first disassembling the engine. All they know is that fluid and/or combustion is not being contained.
One way to tell if a head gasket has failed is through a combustion leak test on the radiator. This is a chemical test that determines if there are combustion gases in the engine coolant. Another way is to remove the spark plugs and crank the engine while watching for water spray from one or more spark plug holes.
Once the technician has determined that a head gasket must be replaced, an estimate is given for parts and labor. The technician will then explain that there may be additional charges after the engine is opened if more damage is found.
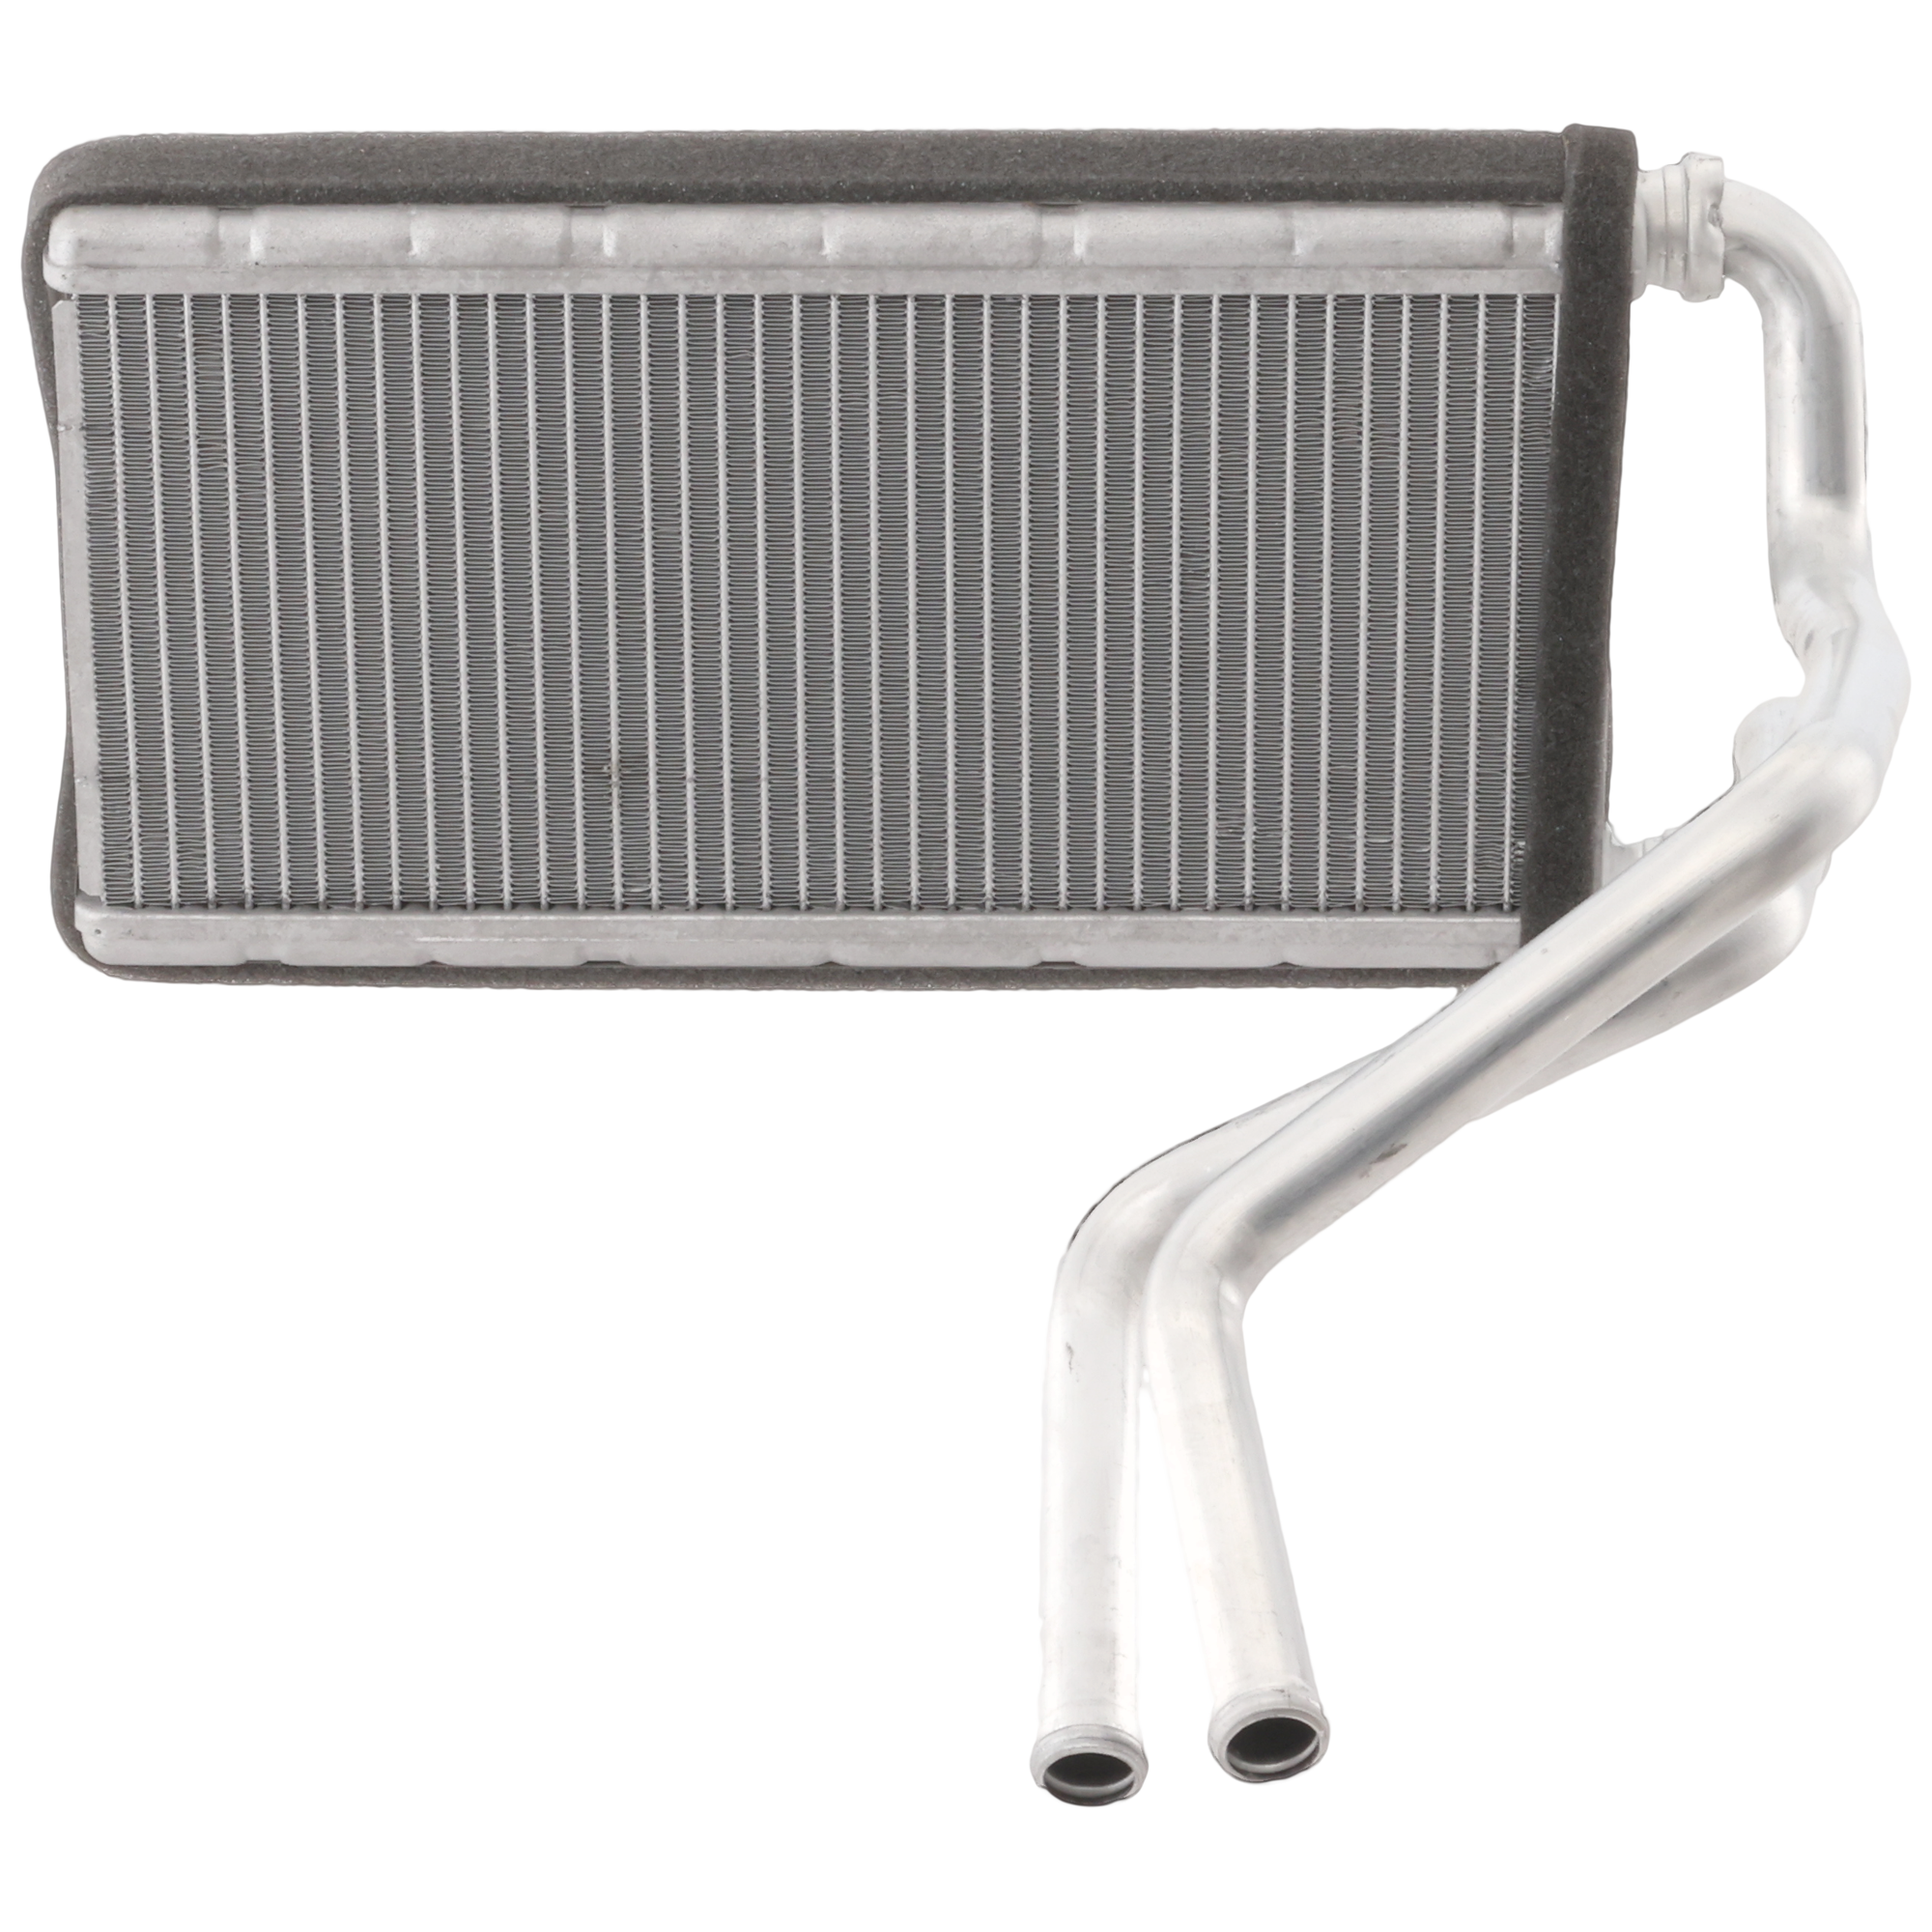
Heater Core

The hot coolant is also used to provide heat to the interior of the vehicle when needed. This is a simple and straight forward system that includes a heater core (which looks like a small version of a radiator) that is connected to the cooling system with a pair of rubber hoses. One hose brings hot coolant from the water pump to the heater core and the other hose returns the coolant to the top of the engine. There is usually a heater control valve in one of the hoses to block the flow of coolant into the heater core when maximum air conditioning is called for.
A fan, called a blower, draws air through the heater core and directs it through the heater ducts to the interior of the car. Temperature of the heat is regulated by a blend door that mixes cool outside air, or sometimes air conditioned air with the heated air coming through the heater core. This blend door allows you to control the temperature of the air coming into the interior.
Other doors allow you to direct the warm air through the ducts on the floor, the defroster ducts at the base of the windshield, and the air conditioning ducts located in the instrument panel.
Hoses

There are several rubber hoses that make up the plumbing to connect the components of the cooling system. The main hoses are called the upper and lower radiator hoses. These two hoses are approximately two inches in diameter and direct coolant between the engine and the radiator. Two additional hoses, called heater hoses, supply hot coolant from the engine to the heater core. These hoses are approximately one inch in diameter.
One of these hoses may have a heater control valve mounted in-line to block the hot coolant from entering the heater core when the air conditioner is set to max-cool.
A fifth hose, called the bypass hose, is used to circulate the coolant through the engine, bypassing the radiator, when the thermostat is closed. Some engines do not use a rubber hose. Instead, they might use a metal tube or have a built-in passage in the front housing.
These hoses are designed to withstand the pressure inside the cooling system. Because of this, they are subject to wear and tear and eventually may require replacing as part of routine maintenance. If the rubber is beginning to look dry and cracked, or becomes soft and spongy, or you notice some ballooning at the ends, it is time to replace them.
The main radiator hoses are usually molded to a shape that is designed to route the hose around obstacles without kinking. When purchasing replacements, make sure that they are designed to fit the vehicle.
There is a small rubber hose that runs from the radiator neck to the reserve bottle. This allows coolant that is released by the pressure cap to be sent to the reserve tank. This rubber hose is about a quarter inch in diameter and is normally not part of the pressurized system. Once the engine is cool, the coolant is drawn back to the radiator by the same hose.
Cooling System Maintenance and Repair
An engine that is overheating will quickly self destruct, so proper maintenance of the cooling system is very important to the life of the engine and the trouble free operation of the cooling system in general.
The most important maintenance item is to flush and refill the coolant periodically. The reason for this important service is that antifreeze has a number of additives that are designed to prevent corrosion in the cooling system. This corrosion tends to accelerate when several different types of metal interact with each other, which causes scale that eventually builds up and begins to clog the thin flat tubes in the radiator and heater core—causing the engine to eventually overheat.
The anti-corrosion chemicals in the antifreeze prevents this, but they have a limited lifespan.
Newer antifreeze formulations will last for 5 years or 150,000 miles before requiring replacement. These are usually red in color and are referred to as “Extended Life” or “Long Life” antifreeze.
GM has been using this type of coolant in all their vehicles since 1996. The GM product is called “Dex-Cool”.
Most antifreeze used in vehicles, however, is green in color and should be replaced every two years or 30,000 miles, whichever comes first. You can convert to the new long life coolant, but only if you completely flush out all of the old antifreeze. If any green coolant is allowed to mix with the red coolant, you must revert to the shorter replacement cycle.

Look for a shop that can reverse-flush the cooling system. This requires special equipment and the removal of the thermostat in order to do the job properly. This type of flush is especially important if the old coolant looks brown or has scale or debris floating around in it.
If you remove the thermostat for a reverse flush, always replace it with a new thermostat of the proper temperature. It is cheap insurance.
The National Automotive Radiator Service Association (NARSA) recommends that motorists have a seven-point preventative cooling system maintenance check at least once every two years. The seven-point program is designed to identify any areas that need attention.
It consists of the following:
- A visual inspection of all cooling system components, including belts and hoses
- A radiator pressure cap test to check for the recommended system pressure level
- A thermostat check for proper opening and closing
- A pressure test to identify any external leaks to the cooling system parts; including the radiator, water pump, engine coolant
passages, radiator and heater hoses, and heater core - An internal leak test to check for combustion gas leakage into the cooling system
- An engine fan test for proper operation
- A system power flush and refill with car manufacturer’s recommended concentration of coolant
Let’s take these items one at a time.
Visual Inspection
What you are looking for is the condition of the belts and hoses. The radiator hoses and heater hoses are easily inspected just by opening the hood and looking. You want to be sure that the hoses have no cracking or splitting and that there is no bulging or swelling at the ends. If there is any sign of problems, the hose should be replaced with the correct part number for the year, make, and model of the vehicle. Never use a universal hose unless it is an emergency and a proper molded hose is not available.
Heater hoses are usually straight runs and are not molded, so a universal hose is fine to use and often is all that is available. Make sure that you use the proper inside diameter for the hose being replaced. For either the radiator hoses or the heater hoses, make sure that you route the replacement hose in the same way that the original hose was running. Position the hose away from any obstruction that can possibly damage it and always use new hose clamps. After you refill the cooling system with coolant, do a pressure test to make sure that there are no leaks.
On most older vehicles, the water pump is driven by a V belt or serpentine belt on the front of the engine that is also responsible for driving the alternator, power steering pump and air conditioner compressor. These types of belts are easy to inspect and replace if they are worn. You are looking for dry cracking on the inside surface of the belt.
On later vehicles, the water pump is often driven by the timing belt. This belt usually has a specific life expectancy at which time it must be replaced to insure that it does not fail. Since the timing belt is inside the engine and will require partial engine disassembly to inspect, it is very important to replace it at the correct interval. Since the labor to replace this belt can be significant, it is a good idea to replace the water pump at the same time that the belt is replaced. This is because 90 percent of the labor to replace a water pump has already been done to replace the timing belt. It is simply good insurance to replace the pump while everything is apart.
Radiator pressure cap test
A radiator pressure cap is designed to maintain pressure in the cooling system at a certain maximum pressure. If the cooling system exceeds that pressure, a valve in the cap opens to bleed the excessive pressure into the reserve tank. Once the engine has cooled off, a negative pressure begins to develop in the cooling system. When this happens, a second valve in the cap allows the coolant to be siphoned back into the radiator from the reserve tank. If the cap should fail, the engine can easily overheat. A pressure test of the radiator cap is a quick way to tell if the cap is doing its job. It should be able to hold its rated pressure for two minutes. Since radiator caps are quite inexpensive, I would recommend replacing it every 3 years or 36,000 miles, just for added insurance. Make absolutely sure that you replace it with one that is designed for your vehicle.

Thermostat check for proper opening and closing
This step is only necessary if you are having problems with the cooling system.
A thermostat is designed to open at a certain coolant temperature. To test a thermostat while it is still in the engine, start the engine and let it come to normal operating temperature (do not let it overheat). If it takes an unusually long time for the engine to warm up or for the heater to begin delivering hot air, the thermostat may be stuck in the open position. If the engine does warm up, shut it off and look for the two radiator hoses. These are the two large hoses that go from the engine to the radiator. Feel them carefully (they could be very hot). If one hose is hot and the other is cold, the thermostat may be stuck closed.
If you are having problems and suspect the thermostat, remove it and place it in a pot of water. Bring the water to a boil and watch the thermostat. You should see it open when the water reaches a boil. Most thermostats open at about 195 degrees Fahrenheit. An oven thermometer in the water should confirm that the thermostat is working properly.
Pressure test to identify any external leaks

Pressure testing the cooling system is a simple process to determine where a leak is located. This test is only performed after the cooling system has cooled sufficiently to allow you to safely remove the pressure cap. Once you are sure that the cooling system is full of coolant, a cooling system pressure tester is attached in place of the radiator cap. The tester is than pumped to build up pressure in the system. There is a gauge on the tester indicating how much pressure is being pumped. You should pump it to the pressure indicated on the pressure cap or to manufacturer’s specs.
Once pressure is applied, you can begin to look for leaks. Also watch the gauge on the tester to see if it loses pressure. If the pressure drops more than a couple of pounds in two minutes, there is likely a leak somewhere that may be hidden. It is not always easy to see where a leak is originating from. It is best to have the vehicle up on a lift so you can look over everything with a shop light or flashlight. If the heater core in leaking, it may not be visible since the core is enclosed and not visible without major disassembly, but one sure sign is the unmistakable odor of antifreeze inside the car. You may also notice the windshield steaming up with an oily residue.
Internal leak test
If you are losing coolant, but there are no signs of leaks, you could have a blown head gasket. The best way to test for this problem is with a combustion leak test on the radiator. This is accomplished using a block tester. This is a kit that performs a chemical test on the vapors in the radiator. Blue tester fluid is added to the plastic container on the tester. If the fluid turns yellow during the test, then exhaust gasses are present in the radiator.
The most common causes for exhaust gasses to be present in the radiator is a blown head gasket. Replacing a bad head gasket requires a major disassembly of the engine and can be quite expensive. Other causes include a cracked head or a cracked block, both are even more undesirable than having to replace a head gasket.
When a head gasket goes bad
The process of replacing a head gasket begins with completely draining the coolant from the engine. The top part of the engine is then disassembled along with much of the front of the engine in order to gain access to the cylinder heads. The head or heads are then removed and a thorough inspection for additional damage is done.

Before the engine can be reassembled, the mating surfaces of the head and block are first cleaned to make sure that nothing will interfere with the sealing properties of the gasket. The surface of the cylinder head is also checked for flatness and, in some cases, the block is checked as well. The head gasket is then positioned on the block and aligned using locator pegs that are built into the block. The head is then placed on top of the gasket and a number of bolts, called head-bolts are coated with oil and loosely threaded into the assembly. The bolts are then tightened in a specific order to a specified initial torque using a special wrench called a torque wrench. This is to insure that the head gasket is crushed evenly in order to insure a tight seal. This process is then repeated to a second, tighter torque setting, then finally a third torque setting. At this point, the rest of the engine is reassembled and the cooling system is filled with a mixture of antifreeze and water. Once the engine is filled, the technician will pressure test the cooling system to make sure there are no leaks.
In many engines, coolant also passes between the heads and the intake manifold. There are also gaskets for the intake manifold to keep the coolant from leaking out at that point. Replacing an intake manifold gasket is a much easier job than a head gasket, but can still take a couple of hours or more for that job.
Engine Fan Test
The radiator cooling fan is an important part of the cooling system operation. While a fan is not really needed while a vehicle is traveling down the highway, it is extremely important when driving slowly or stopped with the engine running. In the past, the fan was attached to the engine and was driven by the fan belt. The speed of the fan was directly proportional to the speed of the engine. This type of system sometimes caused excessive noise as the car accelerated through the gears. As the engine sped up, a rushing fan noise could be heard. To quiet things down and place less of a drag in the engine, a viscous fan drive was developed in order to disengage the fan when it was not needed.

When computer controls came into being, these engine driven fans gave way to electric fans that were mounted directly on the radiator. A temperature sensor determined when the engine was beginning to run too hot and turned on the fan to draw air through the radiator to cool the engine. On many cars, there were two fans mounted side by side to make sure that the radiator had a uniform air flow for the width of the unit.
When the car was in motion, the speed of the air entering the grill was sufficient to keep the coolant at the proper temperature, so the fans were shut off. When the vehicle came to a stop, there was no natural air flow, so the fan would come on as soon as the engine reached a certain temperature.
If the air conditioner was turned on, a different circuit would come into play. The reason for this is the air conditioning system always requires a good air flow through the condenser mounted in front of the radiator. If the air flow stopped, the air conditioned air coming through the dash outlets would immediately start warming up. For this reason, when the air conditioner is turned on, the fan circuit would power the fans regardless of engine temperature.
If you notice that the engine temperature begins rising soon after the vehicle comes to a stop, the first thing to check is fan operation. If the fan is not turning when the engine is hot, a simple test is to turn the AC on. If the fan begins to work, suspect the temperature sensor in the fan circuit (you will need a wiring diagram for your vehicle to find it). In order to test the fan motor itself, unplug the two wire connector to the fan and connect a 12 volt source to one terminal and ground the other. (it doesn’t matter which is which for this test) If the fan motor begins to turn, the motor is good. If it doesn’t turn, the motor is bad and must be replaced.
In order to test the system further, you will need a repair manual for the year, make and model vehicle and follow the troubleshooting charts and diagnostic procedures for your vehicle. On most systems, there will be a fan relay or fan control module that can be a trouble spot. There are a number of different control systems, each requiring a different test procedure. Without the proper repair information, you can easily do more harm than good.
Cooling system power flush and refill
While you can replace old coolant by draining it out and replacing it with fresh coolant, the best way to properly maintain your cooling system is to have the system power flushed. Power flushing will remove all the old coolant and pull out any sediment and scale along with it.
Power flushing requires a special machine that many auto repair shops have for the purpose. The procedure requires that the thermostat is removed, the lower radiator hose is disconnected, and the flush machine is connected in line. The lower hose is connected to the machine and the other hose from the machine is connected to the radiator where the lower hose was disconnected from.
Water, and sometimes, a cleaning agent is pumped through the cooling system in a reverse path from the normal coolant flow. This allows any scale to be loosened and flow out. Once clear water is coming out of the system, the hose is reconnected and a new thermostat is installed. Then the cooling system is refilled with the appropriate amount of antifreeze to bring the coolant to the proper mixture of antifreeze and water. For most vehicles and most climates, the mixture is 50 percent antifreeze and 50 percent water. In colder climates, more antifreeze is used, but must never exceed 75 percent antifreeze. Check your owner’s manual for the proper procedures and recommendations for your vehicle.
Get New Cooling System Parts for Your Vehicle
Is there anything worse than an overheating engine? It’s only a matter of time before it breaks down, leaving you stranded with an engine that will probably cost thousands of dollars to repair. Of course, you don’t have to worry about all of that as long as you keep your cooling system up and running. Luckily, getting new cooling system parts is fast and easy with CarParts.com.
CarParts.com offers a wide selection of freeze plugs, water pumps, radiators, and more, all sourced from the most trusted manufacturers in the industry. Be sure to use our vehicle selector and search filters, so you can easily browse through available parts that are compatible with your ride. Thanks to our strategically located warehouses around the US, you can also expect your new parts to arrive in as fast as two business days. Just order by 12 p.m. ET.
Don’t wait until your engine starts overheating before replacing defective parts in your cooling system. Check out our selection of high-quality freeze plugs, water pumps, radiators, and more at CarParts.com and order today.
Products Mentioned in this Guide
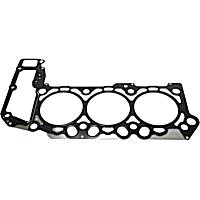 Cylinder Head Gasket
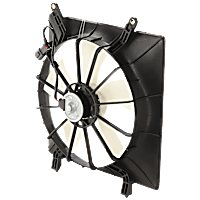 Cooling Fan Assembly
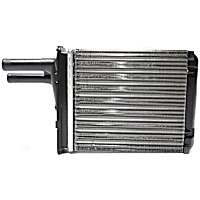 Heater Core
 Freeze Plugs
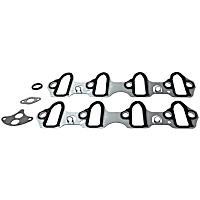 Intake Manifold Gasket
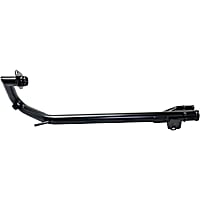 Heater Hose
Shop this Project


Any information provided on this Website is for informational purposes only and is not intended to replace consultation with a professional mechanic. The accuracy and timeliness of the information may change from the time of publication.







This is a fantastic article – thank you!
Since the reserve tank is usually not pressurized – is it safe to say that evaporation is likely to occur with a 1:1 ratio and more than average driving?