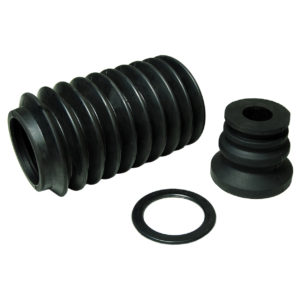
Did you know a vehicle’s constant velocity (CV) joint rarely ever fails? Considering it protects your vehicle’s CV axle, that’s certainly a relief. Unfortunately, however, it’s protected by a piece of rubber called the CV boot, which can wear over time. A damaged CV boot leaves the joint exposed to dirt and water, and all that grit and water will wear out the CV joint in short order.

When Do You Need a CV Axle Boot Replacement?

Clicking or Popping Sound
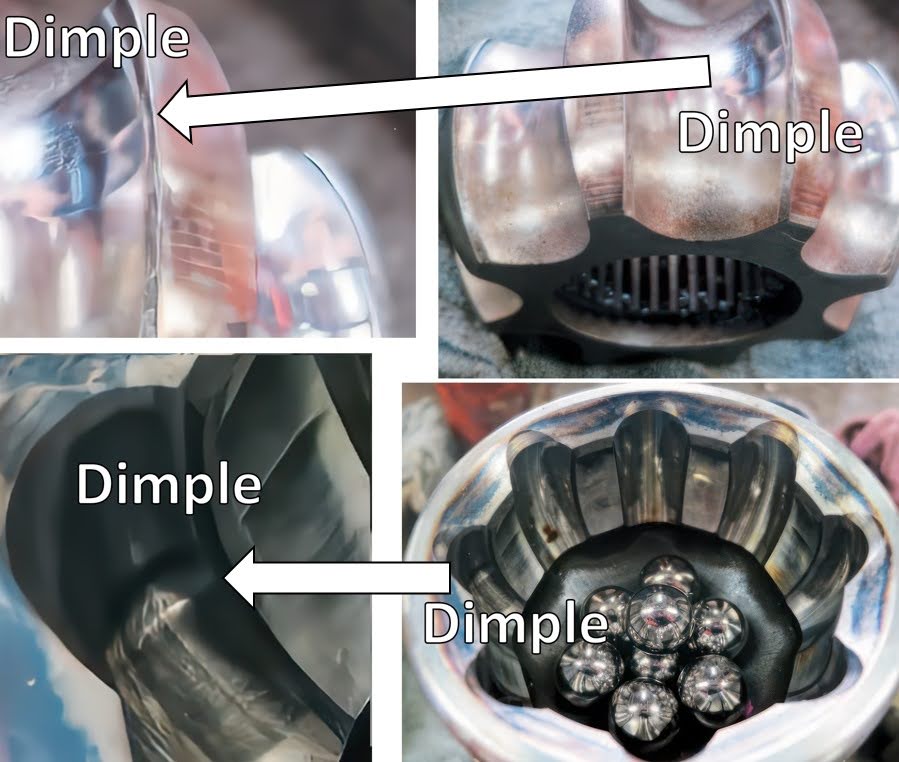
When you hear a clicking or popping sound when turning the wheel, it most likely points to a failing CV joint. But this can happen even on CV joints where the boots aren’t compromised. Some CV joints (like on Toyota Camrys) will have 8 ball instead of 6, which changes the frequency of the popping if you’re listening for a 6-ball popping sound. So what is this popping?
Explaining the Popping Noise
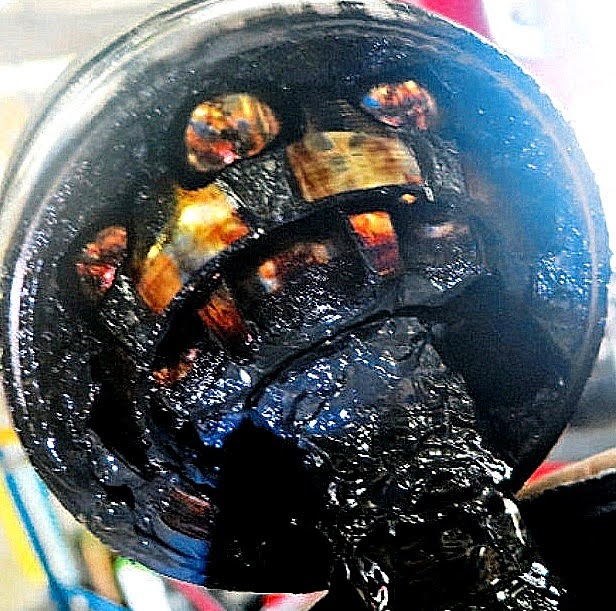
Some joints have a snap ring you squeeze with pliers right where the shaft enters the center of the joint. Others have a wire spring on the end of the shaft so that it snaps in place and has to be removed using a hammer with the shaft in a vise.
Vibrations
Several different issues can cause your vehicle to vibrate, and a damaged inner CV joint (which plunges to accommodate suspension action) is one of them. If your vehicle vibrates during acceleration, then you might need a new inner CV joint. The outer joint can cause vibrations too but outer joint vibrations aren’t as common as an inner joint. The boot may not be compromised on that inner joint either.
Grease Slinging
Check under your vehicle for any slinging grease. CV boots are supposed to keep grease from leaking from the CV joint.
How To Replace a Damaged CV Boot
Replacing a damaged CV boot all by yourself is easier on some vehicles than it is on others, so be careful not to get in over your head. Here are some tips to keep in mind:

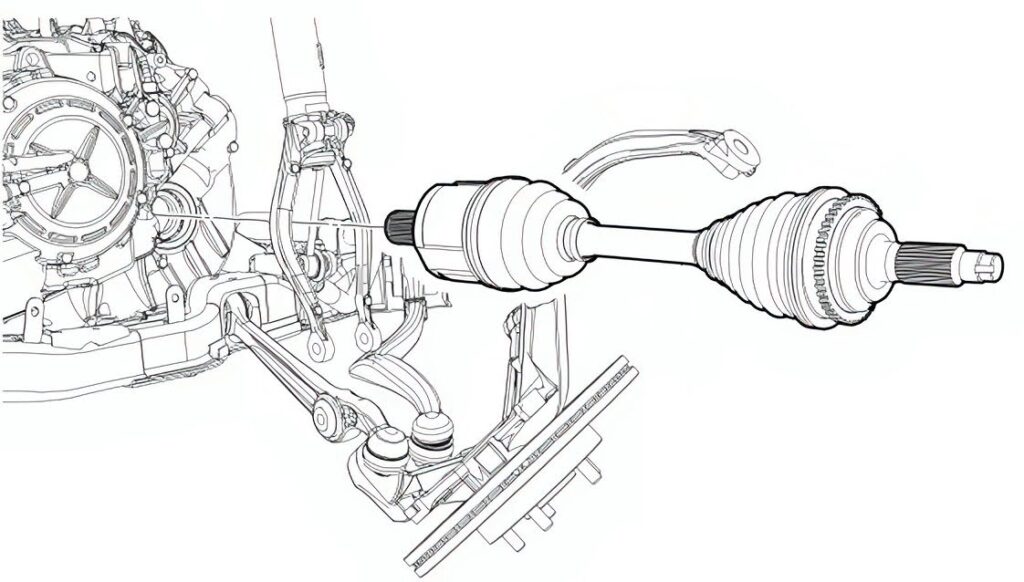
First, if you have the mechanical savvy to remove it, replacing the entire CV axle is better than fiddling with a $25 boot and the band clamps, which tend to take special pliers to install.
Hose clamps don’t work well, either. Thus, most smart DIY folks and shops usually replace the whole axle assembly.
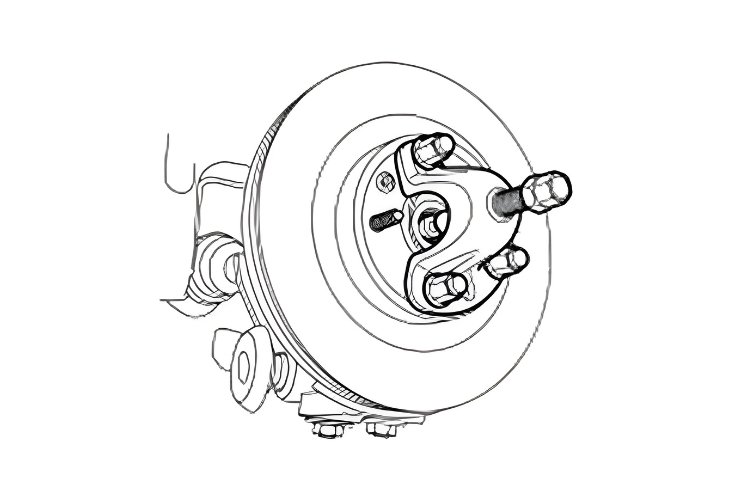
Second, you’ll most likely need some special tools to remove the CV axle. You must first remove the caliper and disconnect the steering knuckle, which can be challenging on some vehicles.
Other Tips for Replacing the CV Boot
Prepare the Necessary Tools
Unless you want to waste your time going back and forth from your car to your storage closet, you should prepare all the necessary tools before you begin. You’ll need a CV boot repair kit, a lug wrench, a utility knife, a brake cleaner, cutters, jack stands, and clean towels.
Wear Protective Gear
It never hurts to be more careful. Protect your eyes and hands by wearing safety glasses and gloves. It’s also a good idea to wear comfortable clothing that you won’t mind getting dirty.
Secure and Raise Your Vehicle
To replace your CV boot, you’ll have to raise your vehicle using a jack and jack stands. Look for a strong part of the frame or body under your vehicle, where you can position the jack. Then, install two jack stands on each side of the car. It’s a good idea to place them at opposite points, so the weight of the vehicle is evenly distributed.
Remove the Wheel and Other Parts First
Before you can actually get to your CV boot, you might have to remove a few other parts first. The exact procedure can vary depending on your vehicle’s year, make, and model. If you aren’t 100% sure how to proceed, don’t be afraid to consult a trusted mechanic.
Remove the Old Bands/Clamps
You can use a screwdriver to try and loosen the old clamps bands securing the old boot to your car. If this doesn’t work, you can also try using cutters, pliers, or metal snips.
Remove the Damaged CV Boot
Once you’ve finally made it to your CV boot, you can use a cutter or a utility knife to cut it off. A pair of pliers or snips can also get the job done.
Clean the Joint and Shaft
You’ll want to start with a clean slate before installing your new CV boot. Take a clean rag and start wiping off any dust and debris off the shaft and bearings. Then, spray some brake cleaner until there’s no more grease or dirt left.

Install the New CV Boot
Before attaching your new CV joint, you might have to cut part of the funnel until the end only slightly overlaps with the axle. You can use a utility knife or razor blade to make a nice, clean cut on the boot. Sharp, jagged edges can prevent it from sliding smoothly on the shaft, so you might want to remove any before installing it.
Grease the CV Joint
Don’t be shy when greasing your CV joint and bearing. Once you’ve installed the new CV boot, apply a liberal amount of grease to the joint and bearing.
Install the New Bands
To secure your brand-new CV joint, don’t forget to install its banding. The exact procedure will depend on the repair kit you bought, so be sure to follow the product’s instructions. Don’t forget to cut off any extra band.
Reinstall the Linkages and Wheels
Remember all the parts you had to remove before you could get to the CJ joint? Now it’s time to put them all back, but you’ll have to do so in the correct order. The last thing you want to do is forcibly install a part somewhere it doesn’t belong.
CV Boot Replacement Cost
If you plan on hiring a mechanic, you can expect to spend anywhere between $330 to $380 for a CV boot replacement. You can save on labor costs by performing the repair yourself, but you can still expect to pay around $10 to $160 for the CV boot itself. Usually, you can get an entire CV axle for less than $100.
Get a Replacement CV Boot Without Leaving Your Home
Your vehicle’s CV joint can go a long time without needing a replacement, but if your vehicle’s CV boot is starting to show signs of wear, it can significantly shorten the joint’s life span. It’s best to replace the CV boot as soon as you can. Thankfully, CarParts.com has many high-quality replacement CV boots in our online catalog.
CarParts.com makes ordering new parts online easy and convenient. We offer a wide range of CV boots, and you can browse them easily with only a few quick clicks. Navigating our website is easy, and you can filter results based on your vehicle’s make and model, your preferred brand and your budget. It certainly beats the hassle of going out to a physical store and scouring aisles and aisles of products for the right part.
Don’t leave your vehicle’s CV joint with a squeaky CV boot, or you’ll regret it over time. Order a new CV boot from CarParts.com now.
Any information provided on this Website is for informational purposes only and is not intended to replace consultation with a professional mechanic. The accuracy and timeliness of the information may change from the time of publication.


